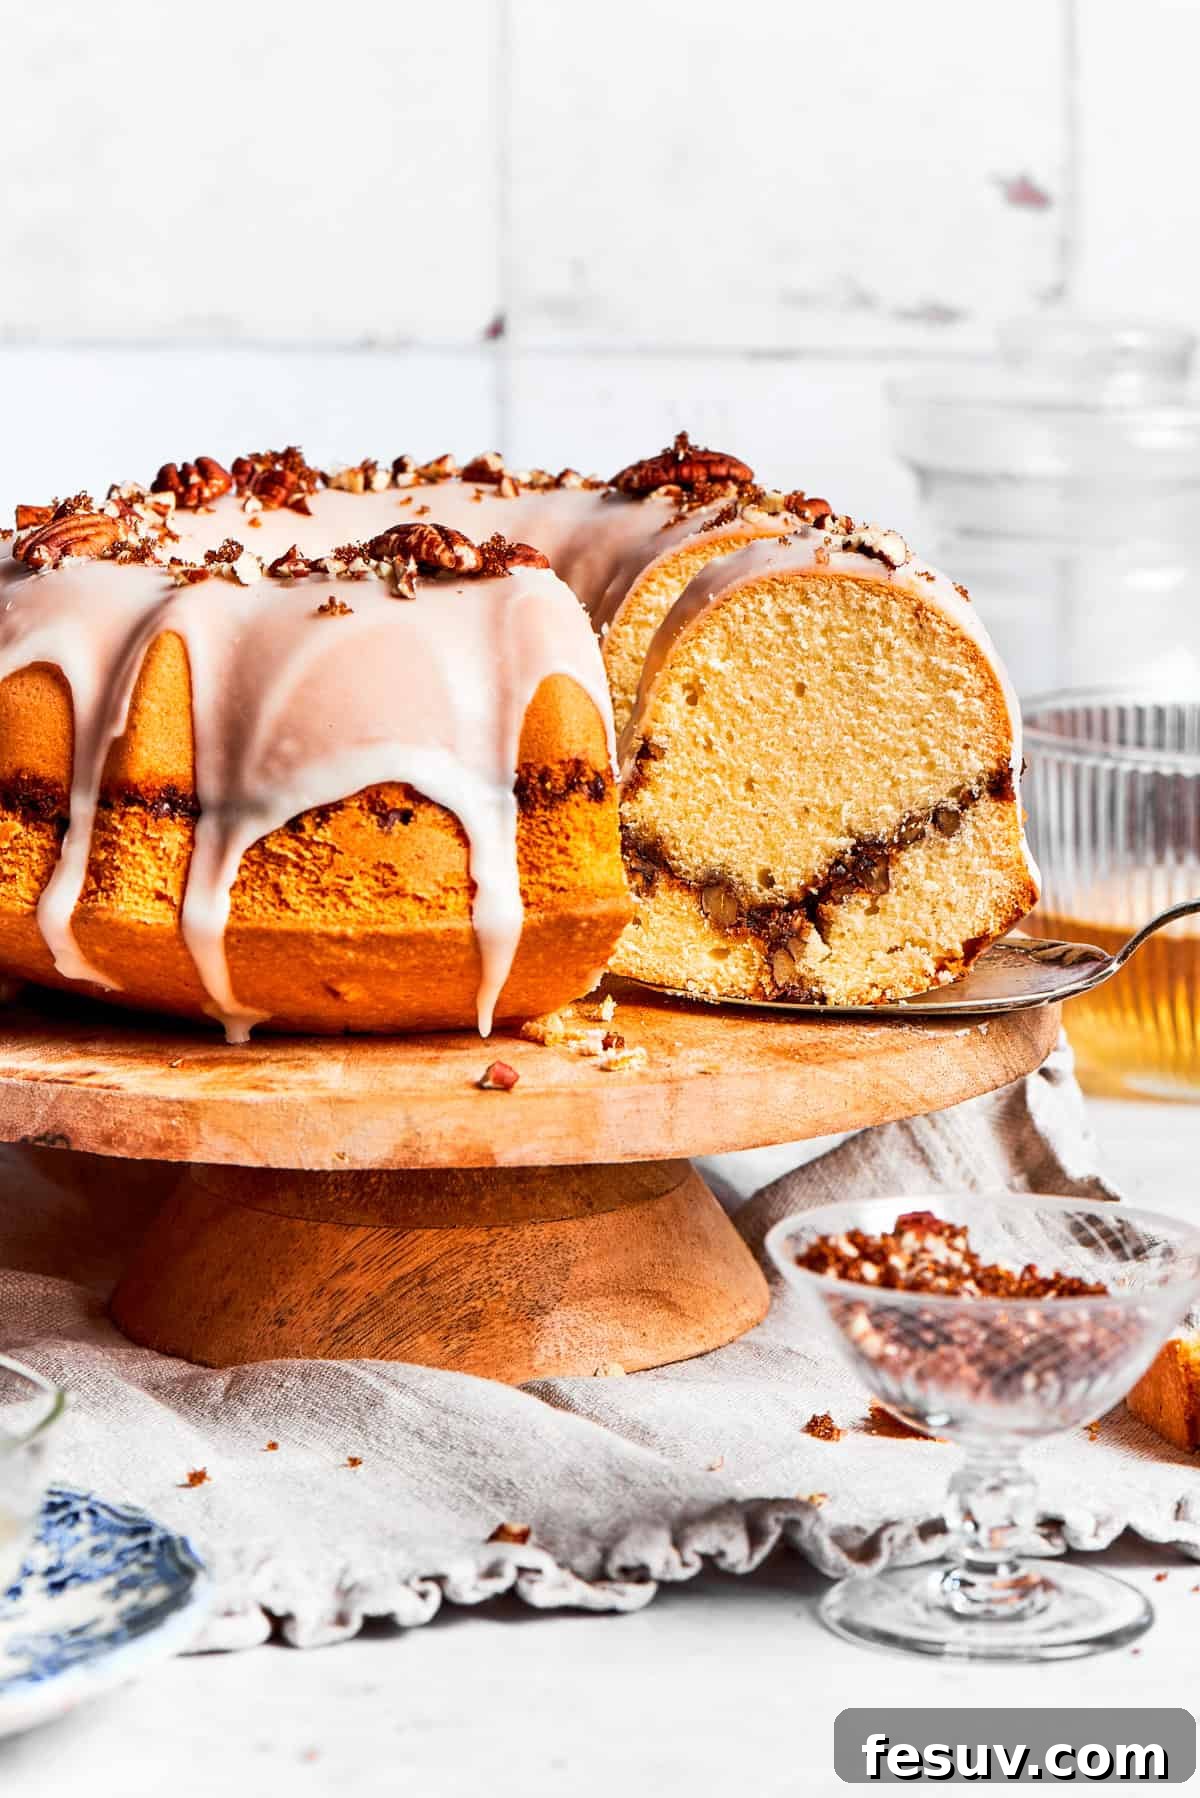
Step into a delightful journey back to the heart of American baking with this timeless Sock It To Me Cake recipe. Far from a simple coffee cake, this from-scratch rendition elevates a classic vintage dessert into an unforgettable culinary experience. Imagine a wonderfully moist, tender cake, generously swirled with a delectable ribbon of rich brown sugar, aromatic cinnamon, and crunchy toasted pecans. Each bite offers a harmonious blend of textures and flavors, crowned with a delicate vanilla glaze that takes this nostalgic treat to new heights. Forget the boxed mixes of yesteryear; our homemade version proves that some traditions are best revived with authentic, wholesome ingredients and a touch of modern baking finesse.
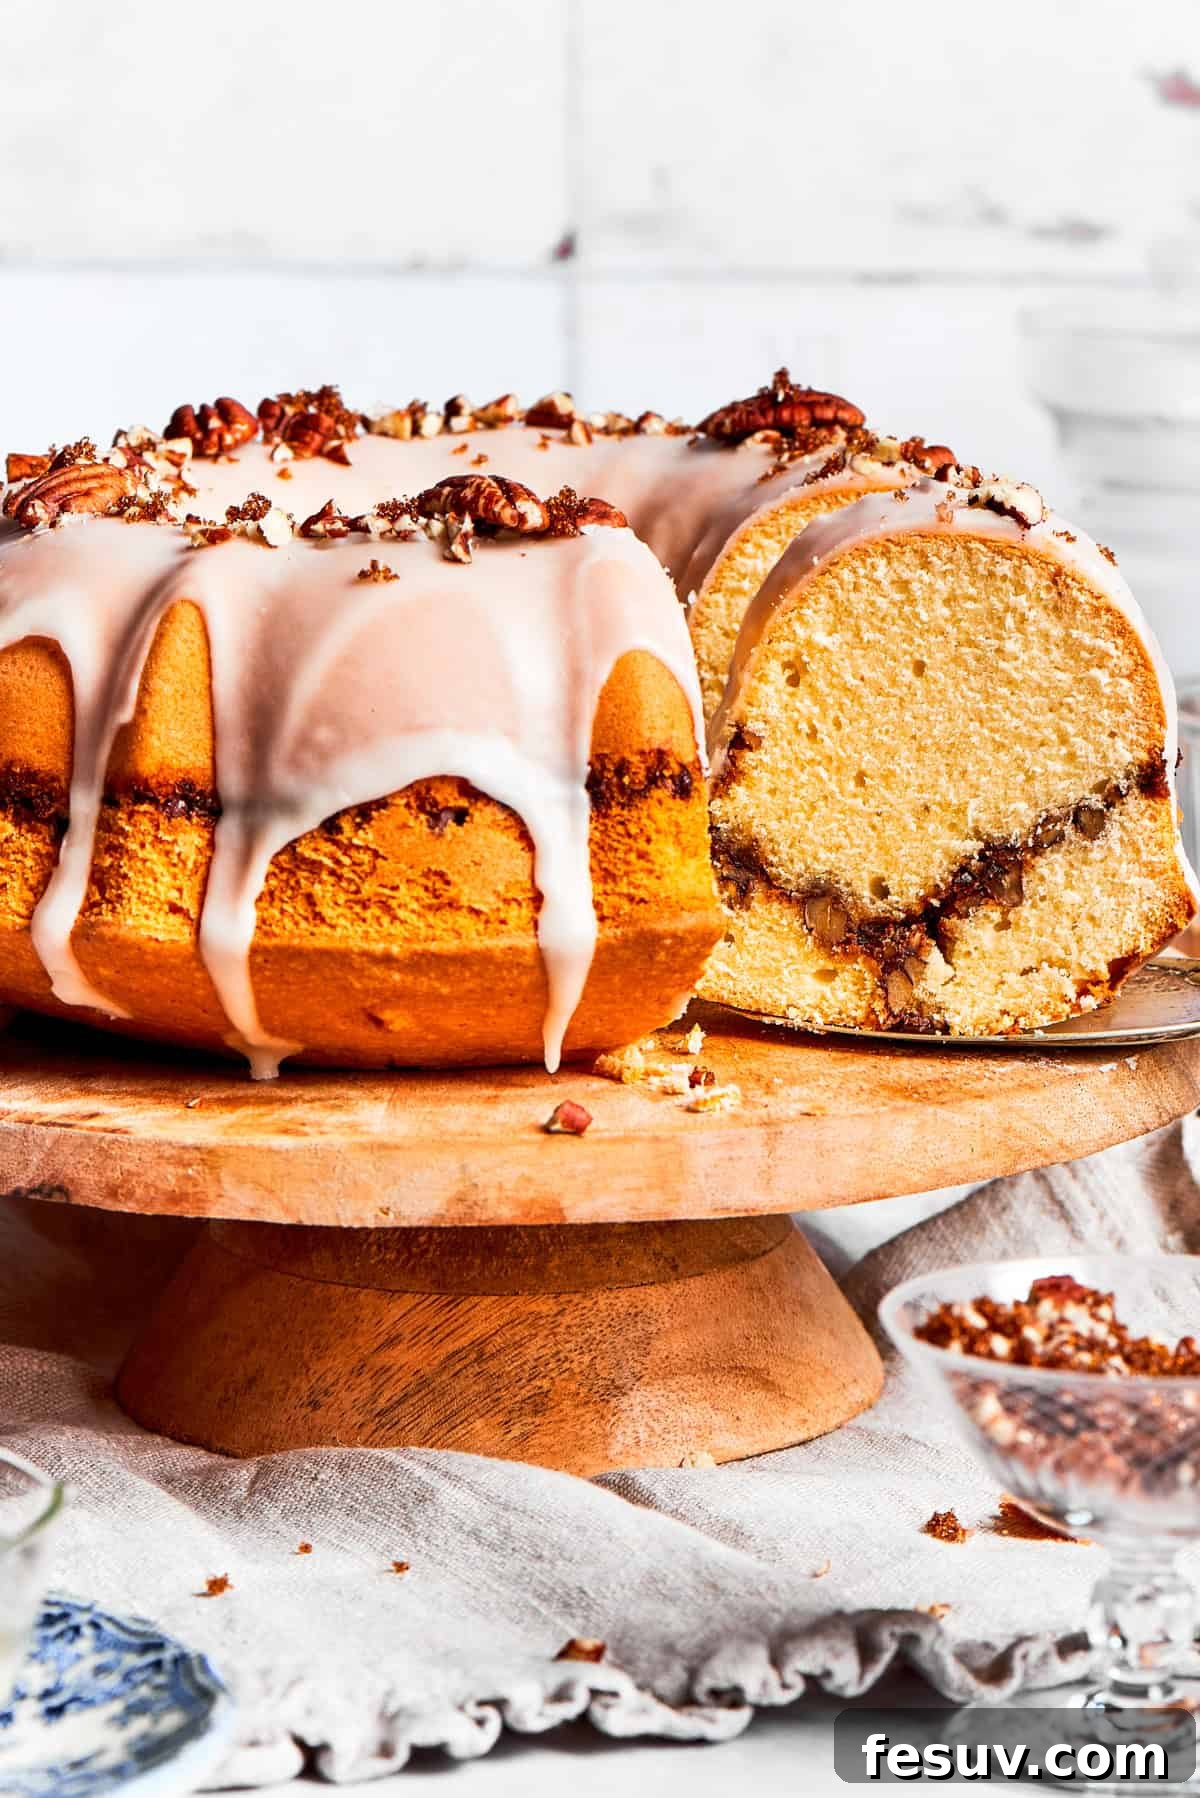
The Sock It To Me Cake is more than just a dessert; it’s a piece of culinary history, a beloved Bundt cake that gained immense popularity in 1960s America. While the original iteration often relied on the convenience of a boxed yellow cake mix, our updated recipe embraces the joy and superior flavor of baking entirely from scratch. You’ll discover that preparing a yellow cake from basic ingredients is not only surprisingly easy but also incredibly rewarding, allowing you to control every aspect of its exquisite taste and texture.
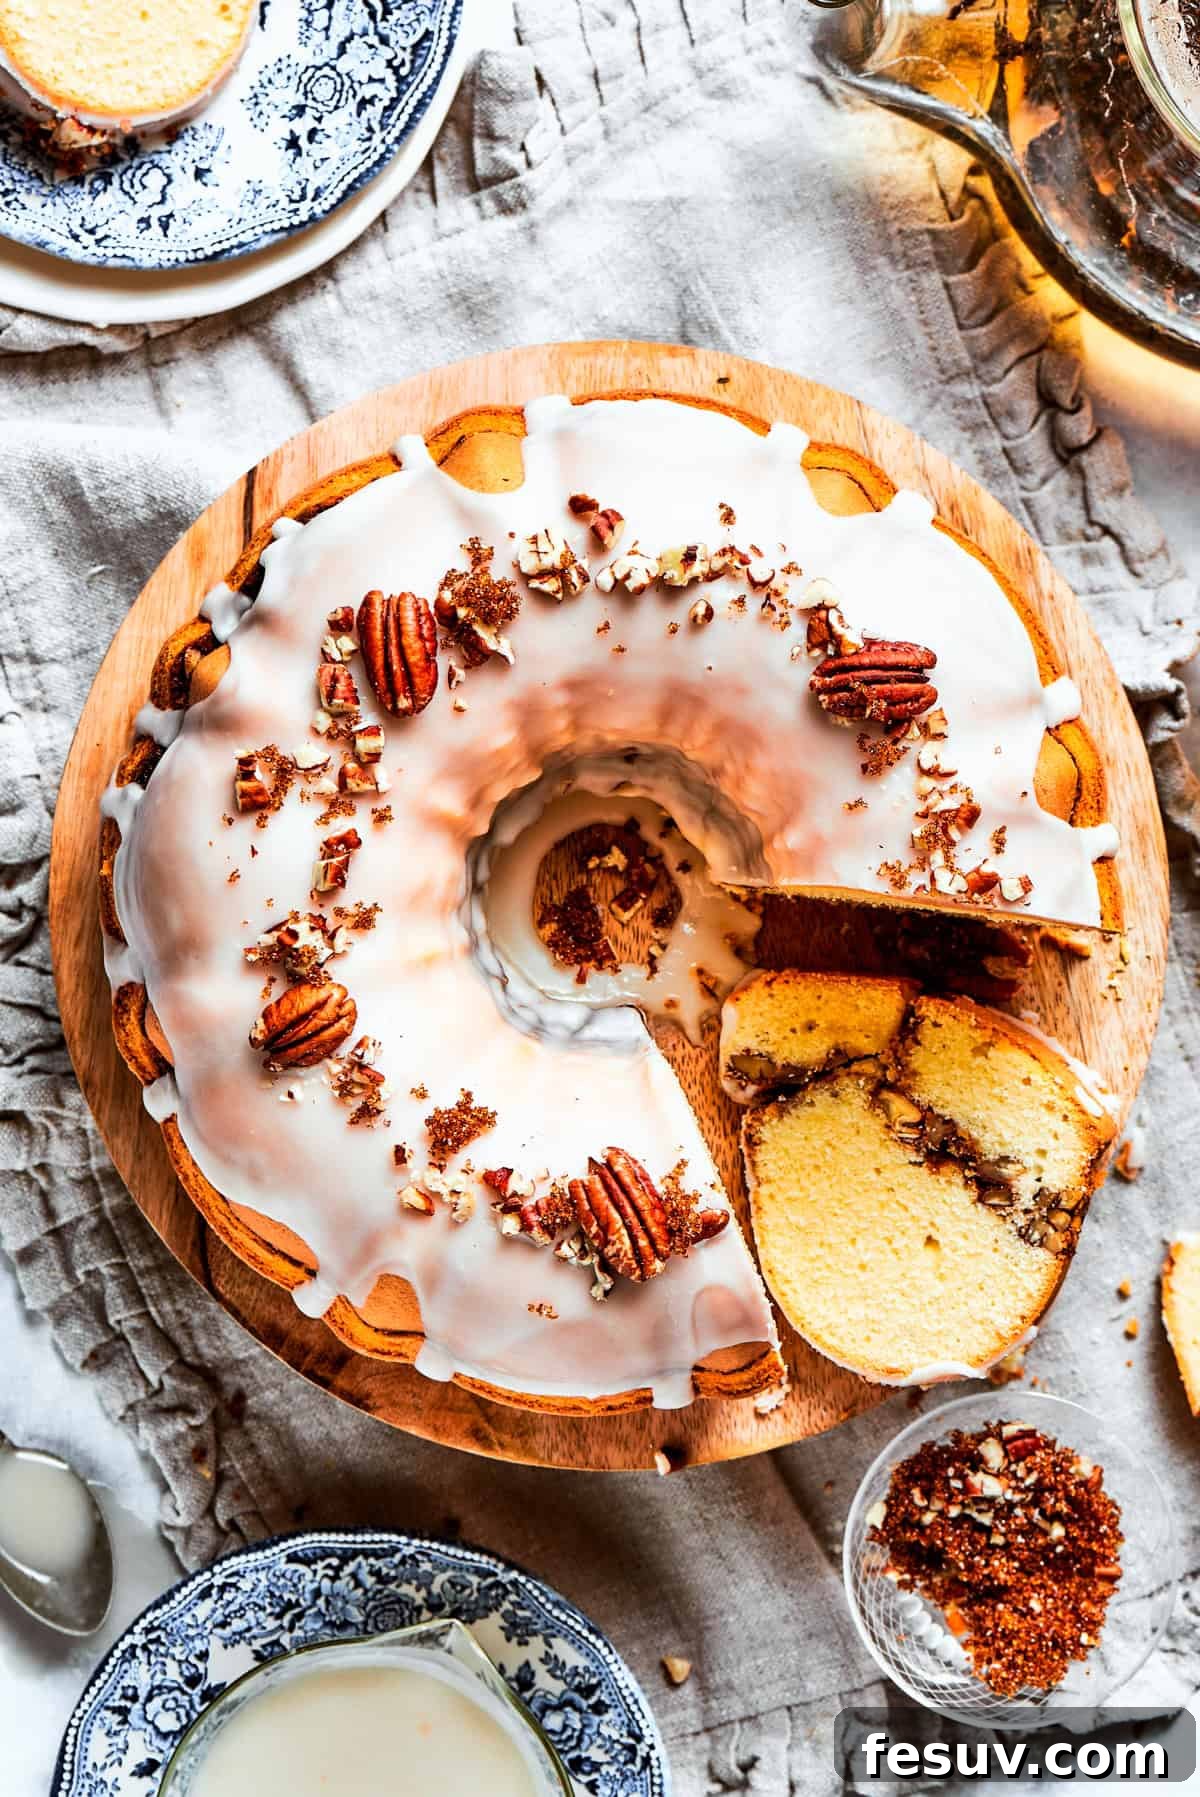
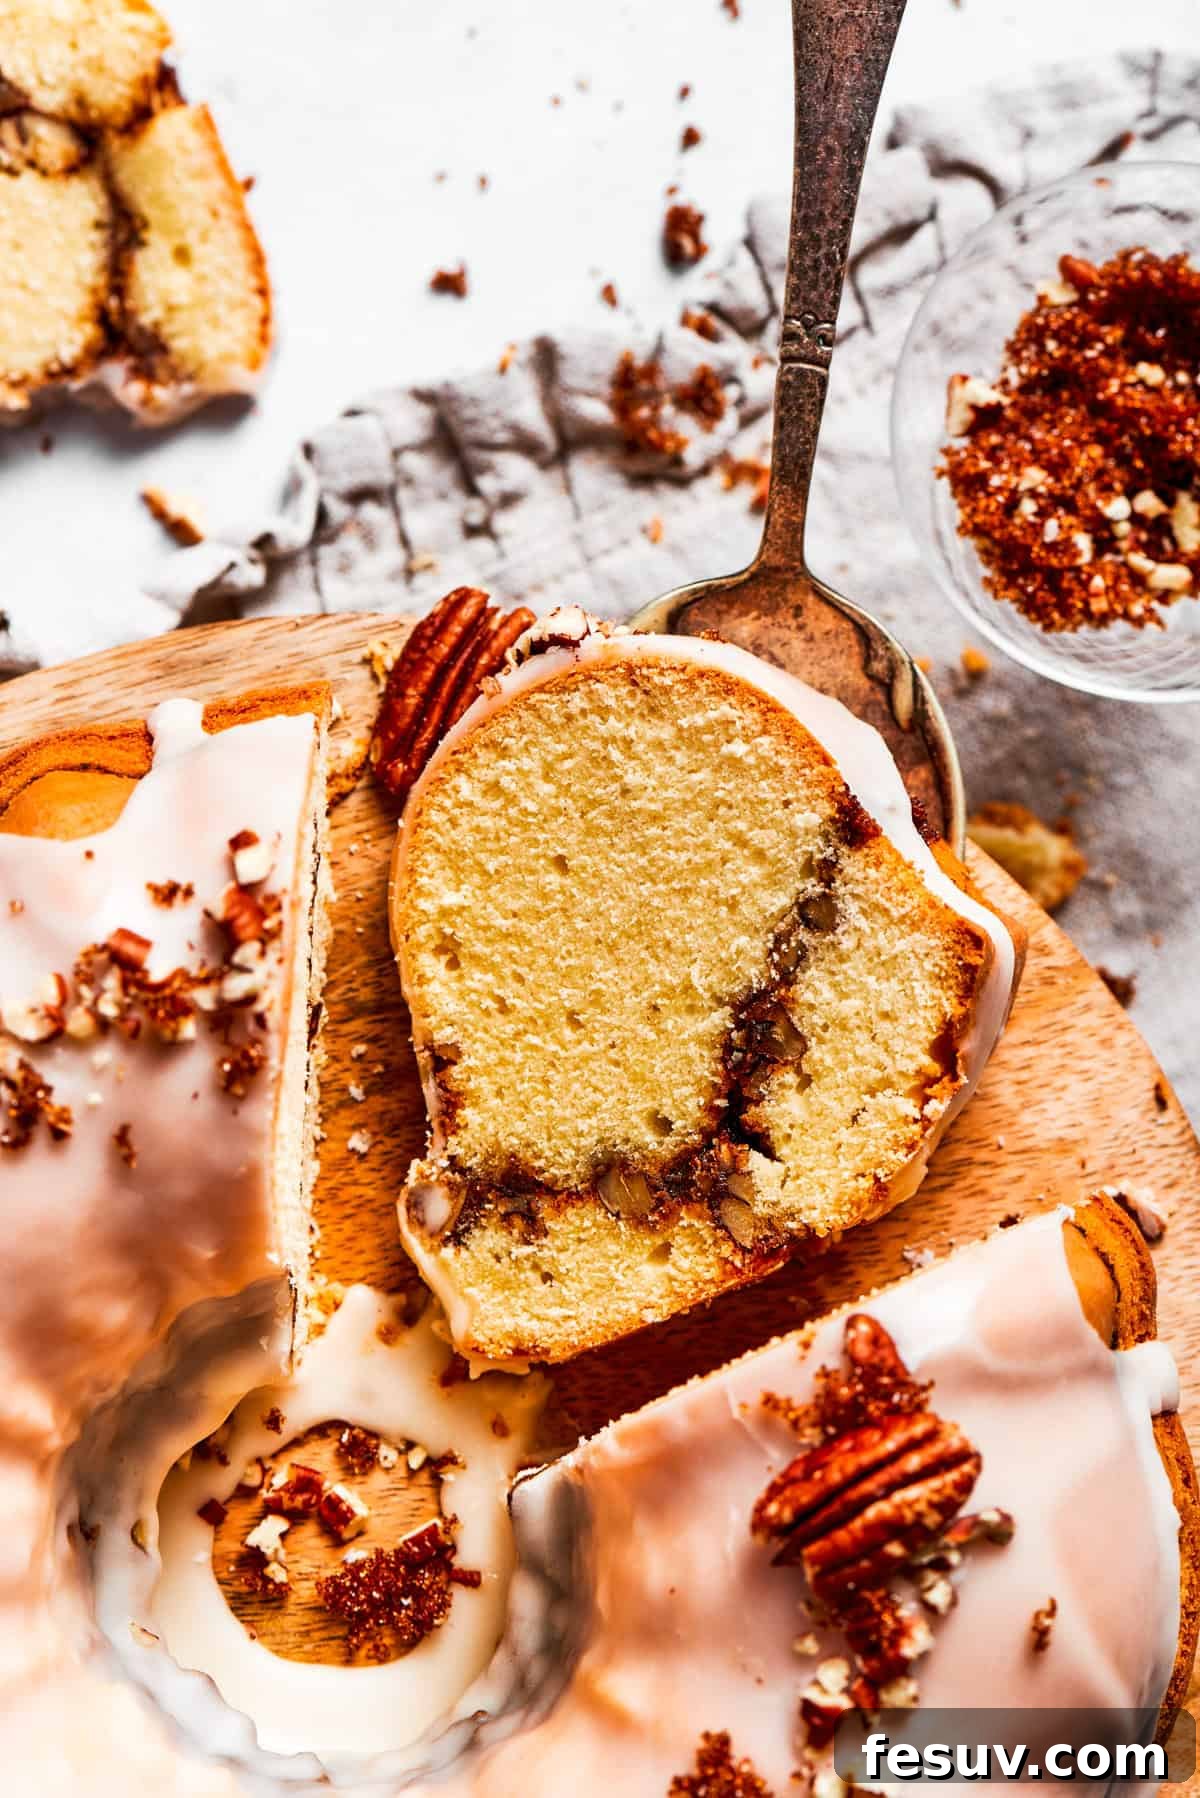
This particular recipe yields a Bundt cake with an exceptionally moist and tender crumb, a characteristic that truly sets it apart. This luxurious tenderness is wonderfully contrasted by a hidden, crunchy ribbon of sweet brown sugar and perfectly toasted pecans, creating an exciting textural interplay in every slice. To complete this irresistible creation, a simple yet elegant vanilla icing is drizzled over the top, adding a final touch of sweetness and visual appeal. This dessert isn’t just a nod to the past; it’s a celebration of comfort, flavor, and the enduring charm of homemade baking, destined to become a cherished favorite in your own kitchen.
Why You’ll Fall in Love with This Homemade Sock It To Me Cake
There are countless reasons why this Sock It To Me Cake will quickly become a cherished recipe in your baking repertoire. Beyond its nostalgic appeal, it offers a perfect blend of simplicity, captivating textures, and an understated elegance that makes it suitable for any occasion.
- Effortless Elegance: Don’t let its sophisticated appearance fool you – making this cake is surprisingly straightforward. The process involves a simple batter, a quick assembly of the delicious nut and sugar filling, and then allowing your oven to work its magic. The smooth vanilla glaze, a delightful finishing touch, comes together in mere minutes with minimal fuss. It’s the ideal dessert for when you want to impress without spending hours in the kitchen.
- Unforgettable Texture Harmony: What truly distinguishes this Bundt cake is the magnificent contrast in textures. The main cake boasts a wonderfully moist and tender crumb that practically melts in your mouth, providing a comforting, rich foundation. This soft base is then dramatically offset by the crunchy, caramelized ribbon of brown sugar and toasted pecans nestled within its core. This delightful interplay of tender and crisp creates a truly satisfying and engaging eating experience that keeps you coming back for more.
- Versatile Sophistication: While remarkably easy to prepare, the finished Sock It To Me Cake possesses an inherent elegance that belies its simplicity. Its distinctive Bundt shape, intricate internal swirl, and gleaming glaze make it a showstopper dessert that commands attention. Whether you’re hosting a casual family brunch, a festive holiday gathering, or an elegant dinner party, this cake fits seamlessly into any setting. It’s sophisticated enough to rival even the most elaborate layer cakes, making it a perfect choice for special occasions like Christmas or Easter, yet comforting enough for an everyday treat.
- A Taste of Nostalgia, Elevated: This recipe captures the essence of a beloved vintage dessert but elevates it with premium, from-scratch ingredients. It’s a comforting taste of the past, improved for today’s discerning palate, offering a pure, unadulterated flavor that boxed mixes simply cannot replicate.
- Perfect Coffee Companion: As a coffee cake by nature, its rich, sweet, and nutty profile pairs exquisitely with a morning cup of coffee or an afternoon tea, making it a wonderful accompaniment for any time of day.
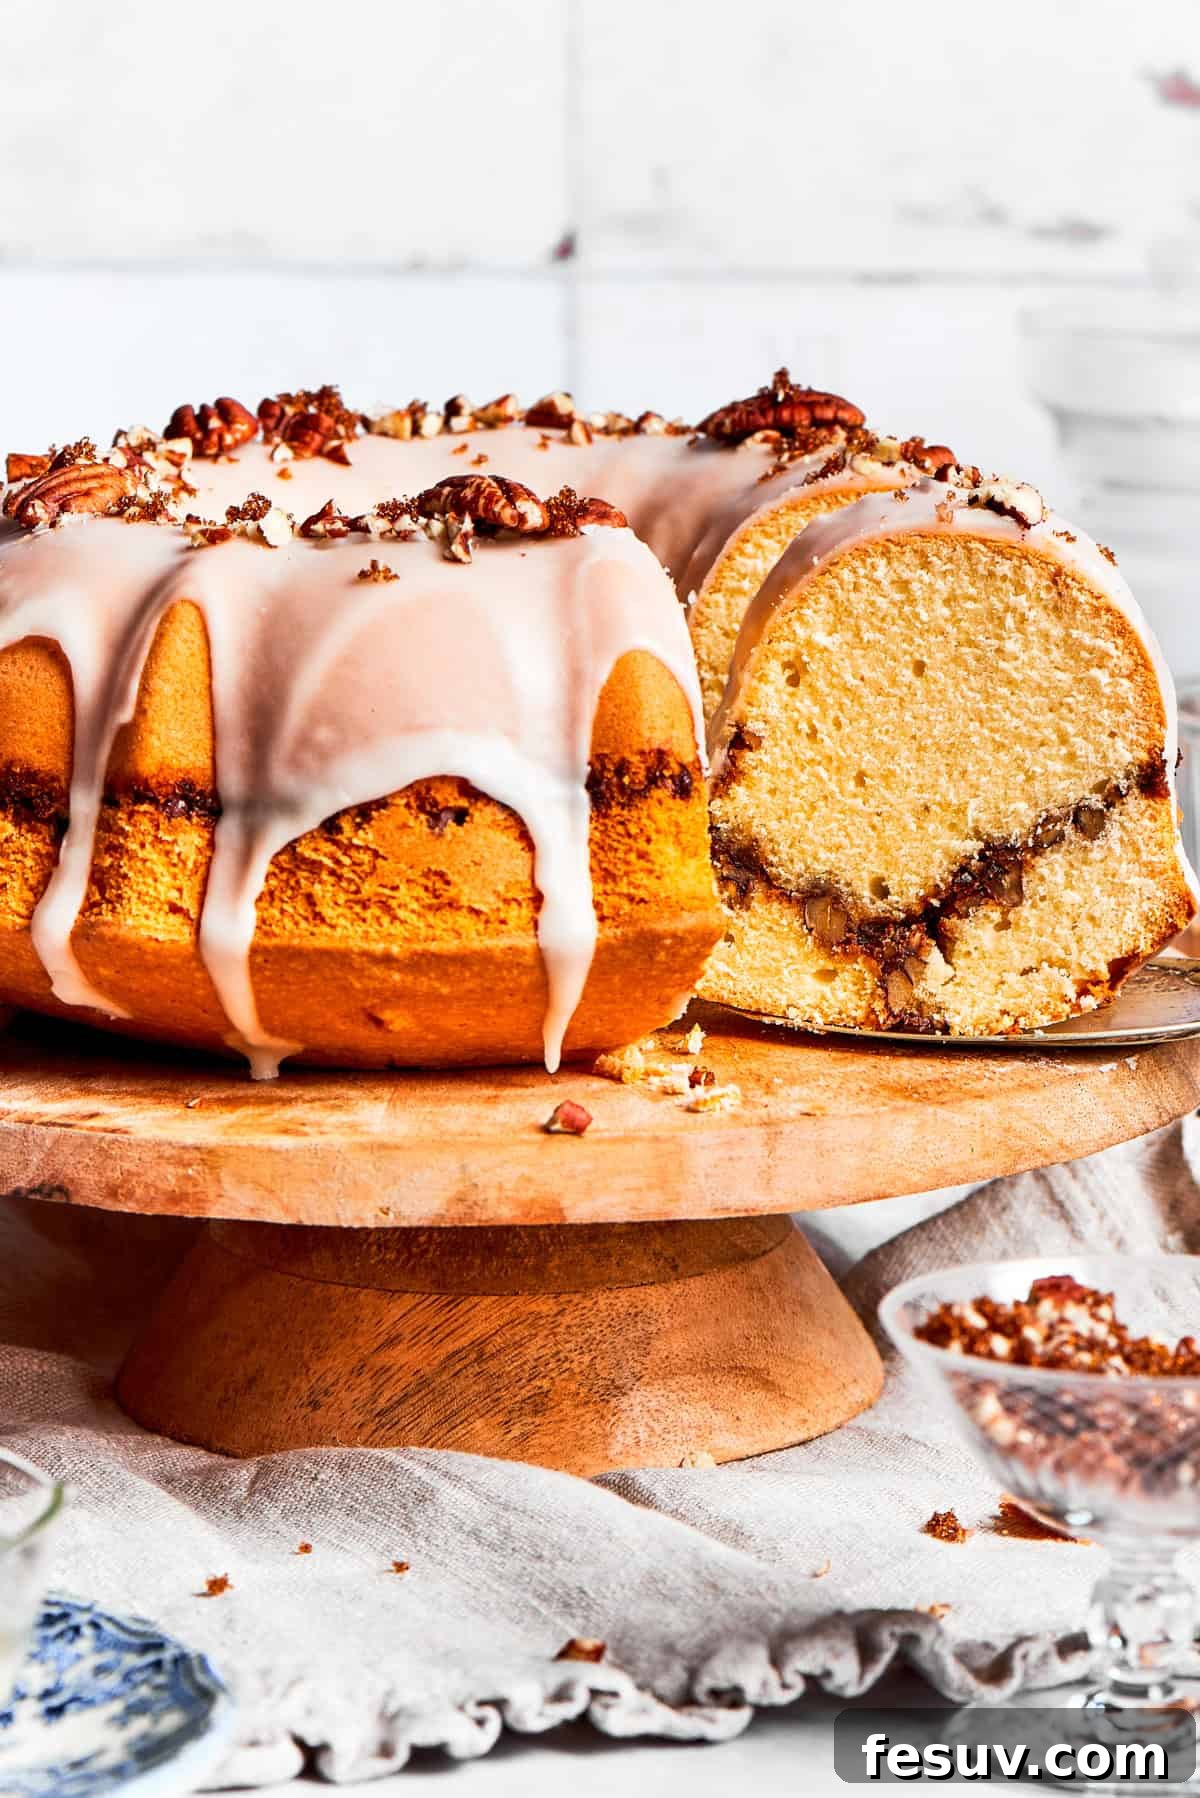
The Intriguing Origin: Why Is It Called “Sock It To Me?”
The name “Sock It To Me Cake” is as distinctive and captivating as the cake itself, sparking curiosity among those unfamiliar with its vintage roots. This delightful dessert emerged from the vibrant culinary landscape of 1960s America, a decade marked by significant cultural shifts, iconic music, and memorable slang. During this lively era, the phrase “sock it to me” was a popular colloquialism, conveying a sense of enthusiasm and desire – essentially meaning “give it to me,” “tell me something,” or “hit me with it” (in a metaphorical, positive sense). Its most famous utterance is perhaps immortalized in Aretha Franklin’s groundbreaking 1967 hit song “Respect,” where her backup singers famously chant the phrase, cementing its place in popular culture.
The precise story of how this particular cake acquired its catchy name remains somewhat shrouded in playful mystery. Food historians and baking enthusiasts speculate that the name likely arose from the cake’s irresistible nature. It’s easy to imagine that once people tasted a slice of this wonderfully moist, sweet, and nutty cake, their immediate reaction was an emphatic “sock it to me!” – a joyful demand for more. The sheer deliciousness made it utterly craveable, inspiring an immediate desire for another serving.
Historically, the original Sock It To Me Cake recipe gained widespread fame through its association with Duncan Hines, a prominent brand known for its convenient boxed cake mixes. It quickly became a staple in many American households, particularly in the Southern United States, where it remains a cherished dessert to this day. While the convenience of a mix was integral to its initial popularity, this from-scratch recipe honors the cake’s legacy by recreating its beloved flavors and textures with a focus on fresh, quality ingredients, ensuring a superior result that truly embodies the spirit of its catchy name.
Mastering the Art of Bundt Cakes: Tips for Perfect Release
Achieving a perfectly shaped Bundt cake, one that effortlessly releases from its intricate pan without a single crumb sticking, is a true mark of a seasoned baker. While the ornate designs of Bundt pans are beautiful, they can also be a source of frustration if not prepared correctly. The secret lies in one crucial step: generous and meticulous greasing and flouring of your pan. This isn’t just about a quick spray; it’s an art that ensures every nook, cranny, and delicate detail of your Bundt pan is thoroughly coated.
Start by liberally coating the entire interior surface of your Bundt pan with softened butter, shortening, or a high-quality non-stick baking spray specifically designed for baking (which often contains flour). Pay special attention to all the intricate crevices, ridges, and corners that define the Bundt shape. Once greased, sprinkle a generous amount of all-purpose flour into the pan. Now, here’s the trick for even coverage: gently tap the bottom of the pan while rotating it in your hands. This motion helps the flour to evenly adhere to all the greased surfaces, working its way into every tiny detail. Continue until the entire interior is dusted with a light, even layer of flour. Once coated, gently tap out any excess flour over a sink or trash can. This meticulous preparation creates a protective barrier, guaranteeing a smooth, flawless release and a beautifully sculpted cake every time.
How to Confidently Remove a Bundt Cake from its Pan
The moment of truth—unmolding your Bundt cake—can be nerve-wracking, but with the right technique, it’s always a triumph. My preferred method ensures a smooth and successful release, protecting your beautifully baked creation.
Once your cake has cooled in the pan for the recommended 15-20 minutes (as detailed in the recipe), prepare a sturdy wire cooling rack. Place the cooling rack directly on top of the Bundt pan, ensuring it’s centered. Carefully and firmly hold both the Bundt pan and the cooling rack together, then, with a swift yet gentle motion, invert the pan so that the cake now rests upside down on the rack. You might hear a soft “thump” as the cake releases. If it doesn’t immediately release, gently tap the bottom of the pan a few times. The heat from the cooling cake helps release it from the pan’s surface, and the structured cooling period prevents it from breaking. Once released, lift the Bundt pan away, and your perfectly formed cake will be ready to cool completely on the wire rack.
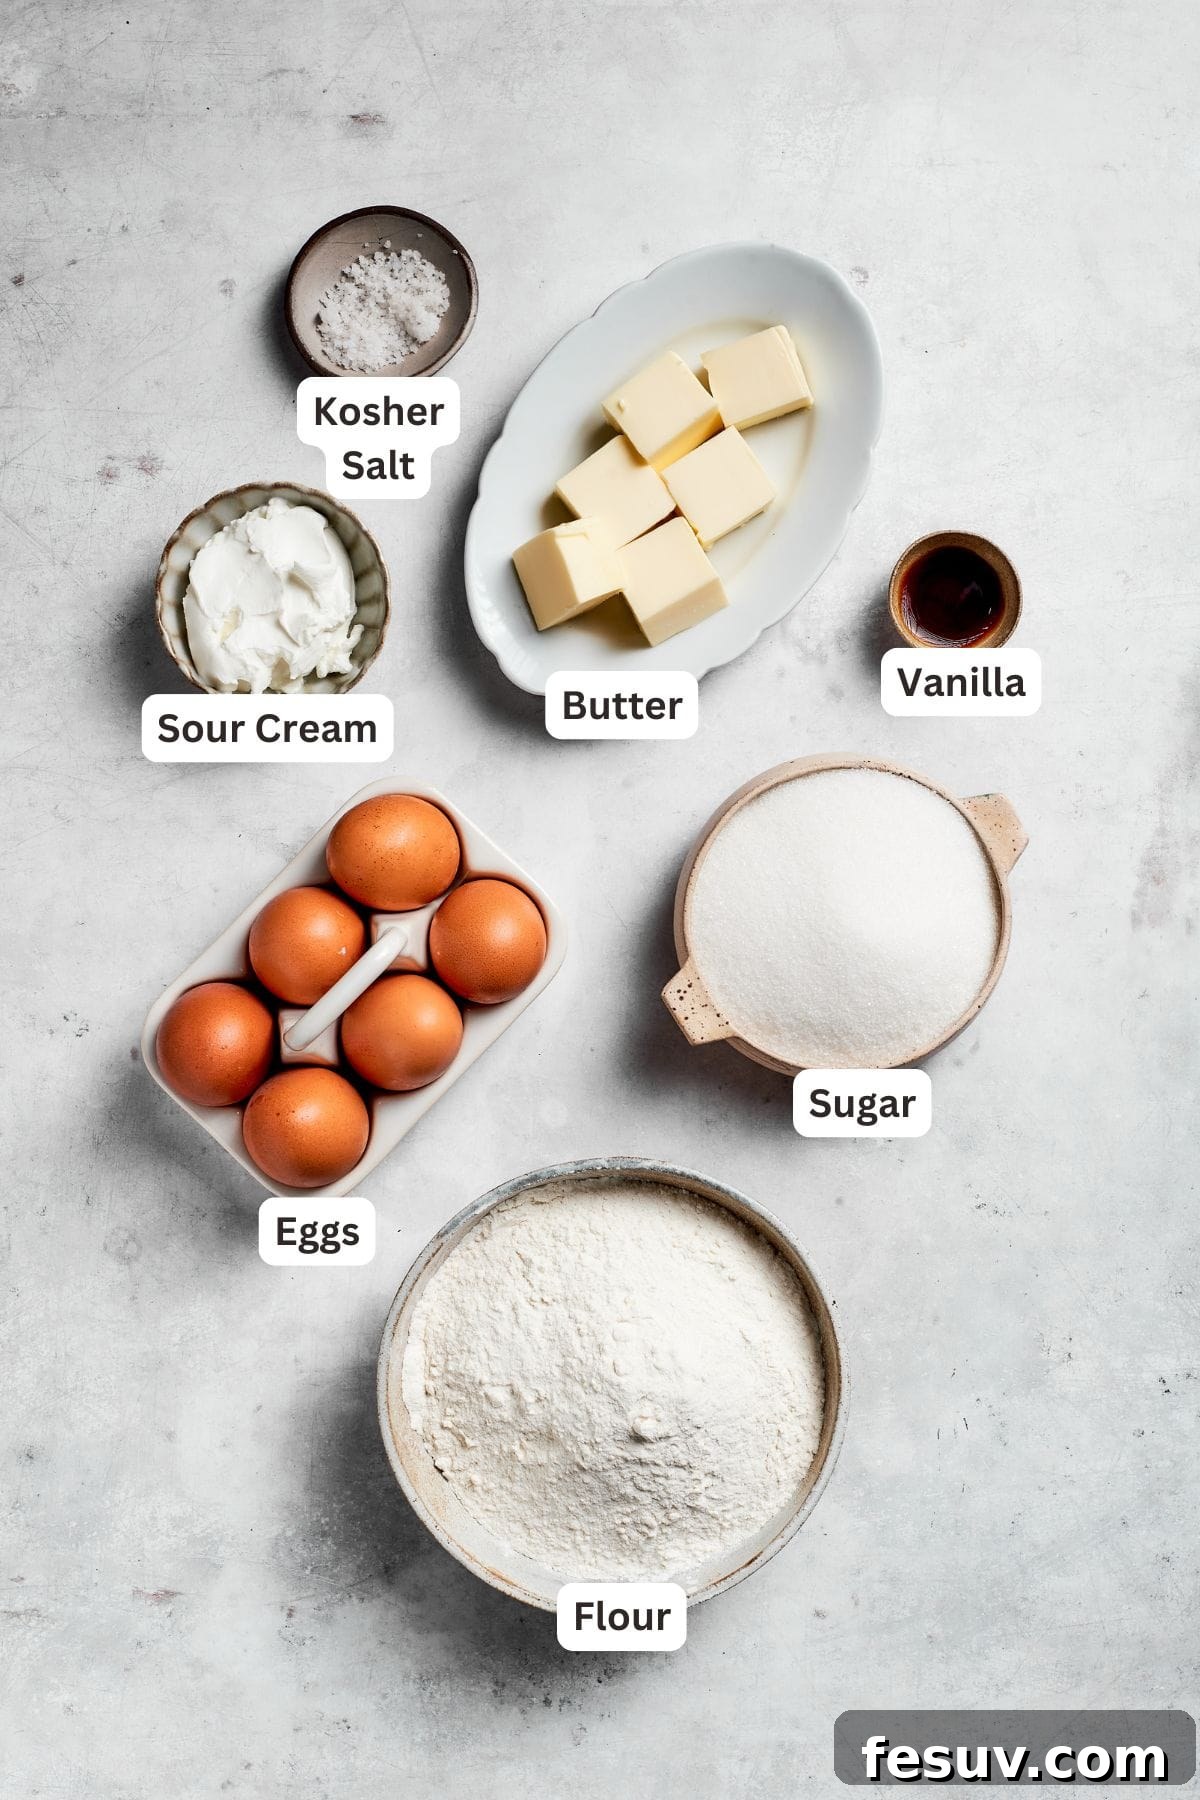
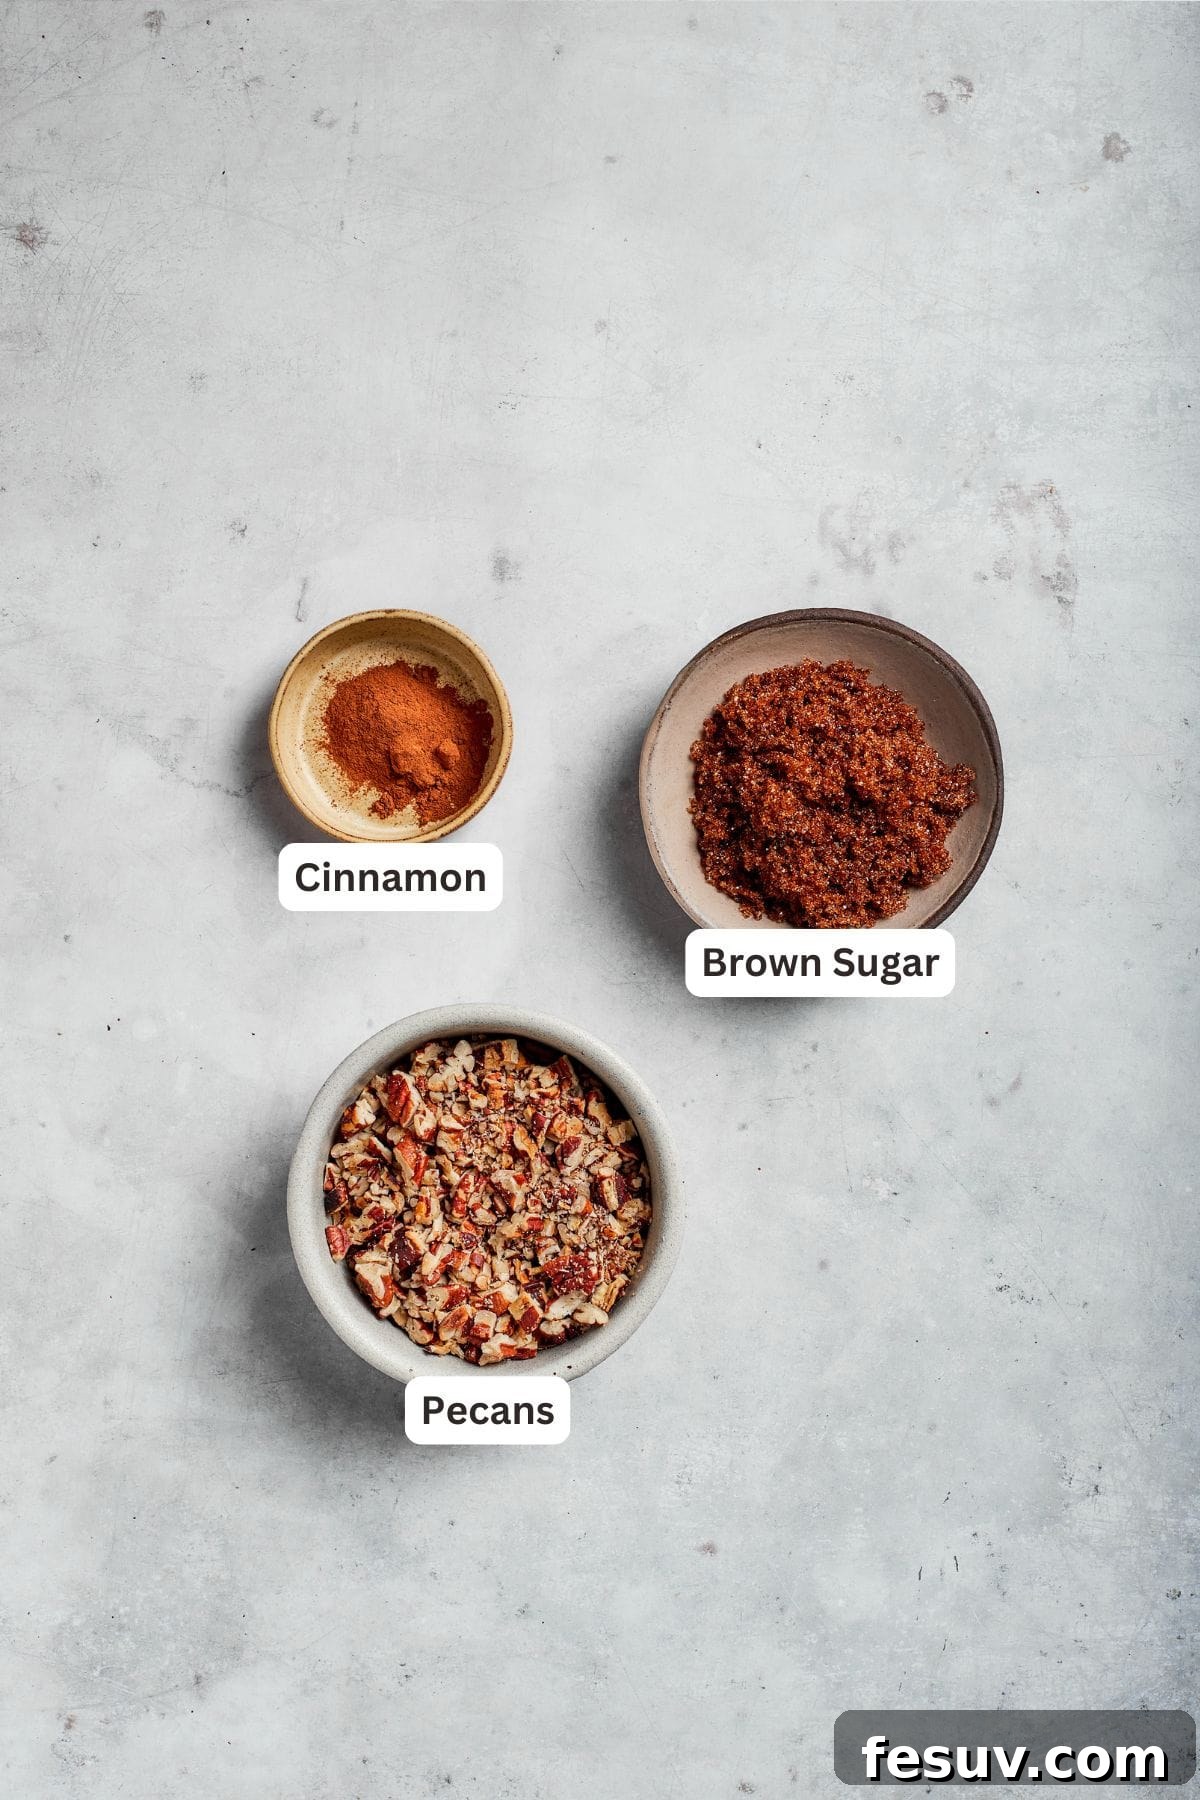
Essential Ingredients for Your Sock It To Me Cake
Crafting this delightful Sock It To Me Cake from scratch requires a selection of fresh, high-quality ingredients, many of which you likely already have in your pantry. Paying attention to details like ingredient temperature can make a significant difference in the final texture of your cake.
Here’s a detailed look at what you’ll need to create this masterpiece. For precise measurements, always refer to the complete recipe card below.
- Unsalted Butter: The foundation of our rich, tender cake. It’s absolutely crucial that your butter is at **room temperature**. This allows it to cream properly with the sugar, incorporating air and creating a light, fluffy base for your batter. Cold butter won’t emulsify correctly, and melted butter will result in a dense cake.
- Eggs: We’ll be using 6 large eggs, also at **room temperature**. Similar to butter, room temperature eggs emulsify better with the other ingredients, leading to a smoother batter and a more uniform, tender crumb. Cold eggs can cause the batter to curdle.
- Cake Batter Basics:
- All-Purpose Flour: The primary structural component of the cake. Measure it correctly by spooning it into a measuring cup and leveling it off, rather than scooping directly from the bag, which can lead to over-measuring.
- Granulated Sugar: Provides sweetness and helps create that desirable light and fluffy texture when creamed with butter.
- Kosher Salt: A touch of salt is essential to balance the sweetness and enhance all the other flavors in the cake, preventing it from tasting flat.
- Ground Cinnamon: A hint of cinnamon in the cake batter itself complements the filling beautifully, adding a subtle warmth.
- Vanilla Extract: Pure vanilla extract is a flavor enhancer that adds depth and warmth to the entire cake, elevating the overall taste profile.
- Sour Cream: This is a secret weapon for an incredibly moist and tender cake. The acidity in sour cream reacts with the leavening agents, while its fat content contributes to a rich flavor and a wonderfully soft crumb. If you don’t have sour cream, an equal amount of plain, full-fat yogurt (Greek or regular) can be used as a substitute.
- Pecans: For the iconic filling. I highly recommend using **toasted pecans** as the toasting process significantly deepens their nutty flavor, making them more aromatic and irresistible in the cake. If you can only find raw pecans, don’t worry! I’ve included simple instructions below on how to toast them yourself at home.
- Brown Sugar: The brown sugar in the filling, either light or dark, provides a deeper, more molasses-like sweetness and helps create that wonderful caramelization within the cinnamon ribbon.
- Glaze Essentials:
- Confectioner’s Sugar (Powdered Sugar): Forms the base of our smooth, pourable glaze.
- Milk: Used to achieve the perfect consistency for the glaze. You can use any type of milk you prefer. If you’re out of milk, heavy cream or even certain coffee creamers can work in a pinch. If your creamer is already flavored (like vanilla or hazelnut), you might want to omit the extra vanilla extract in the glaze to avoid overpowering the flavor.
- Vanilla Extract (for glaze): Adds a final layer of classic vanilla flavor to the sweet glaze.
Expert Tips for Sock It To Me Cake Success
Baking a perfect Sock It To Me Cake, or any Bundt cake for that matter, is a rewarding experience, but a few key strategies can elevate your results from good to absolutely spectacular. These tips address common baking challenges and ensure your cake is moist, flavorful, and beautifully presented.
- Master the Pan Preparation: I cannot stress this enough – **greasing and flouring your Bundt pan exceptionally well is the most crucial step** to prevent sticking. Go beyond a light spray. Use softened butter or shortening to meticulously coat every crevice and detail of the pan, then dust generously with flour, tapping out the excess. A high-quality baking spray with flour (like Baker’s Joy or Wilton Bake Easy) can also be your best friend here. This ensures your cake releases cleanly, preserving its intricate design.
- Respect the Baking Process: This cake is designed to bake for a longer duration at a slightly lower temperature (325°F). This gentle, slow bake allows the cake to cook evenly all the way through without drying out the edges or browning the exterior too quickly. **Do not be tempted to raise the oven temperature** to 350°F or higher to speed things up. Doing so will cause the outside of the cake to set and brown rapidly, while the interior remains underbaked and gooey. Patience is key for a uniformly baked, tender crumb.
- Prevent Over-Browning: If you notice your cake is achieving a beautiful golden-brown color on the outside, but a toothpick inserted into the center still comes out with wet batter or moist crumbs (indicating it’s not yet done), don’t panic. Simply **loosely cover the Bundt pan with a sheet of aluminum foil**. This acts as a shield, preventing the exterior from browning further while allowing the internal temperature to continue rising and the cake to finish baking. Remember to use oven mitts when handling the hot pan and foil.
- Cooling Time is Non-Negotiable: After removing your cake from the oven, allow it to **cool in the Bundt pan for precisely 15 minutes**. This critical cooling period allows the cake to firm up slightly and gently pull away from the sides of the pan, making it much easier to invert and release without breaking. Attempting to remove it too soon can result in your beautiful cake crumbling or tearing apart. After 15 minutes, carefully invert it onto a wire rack to cool completely.
- The Art of Toasting Pecans: Toasted pecans offer a depth of flavor that raw nuts simply can’t match, significantly enhancing the filling. If you don’t have pre-toasted pecans, here’s how to do it yourself:
- Preheat your oven to 325°F (160°C).
- Spread the pecan halves in a single layer on a rimmed baking sheet.
- Bake for approximately 8-12 minutes, stirring them halfway through to ensure even toasting. Keep a close eye on them, as nuts can burn quickly.
- The pecans are done when they are fragrant and slightly darker in color.
- Let them cool completely before roughly chopping them with a sharp knife for the filling.
- Explore Other Nut Varieties: While pecans are traditional, feel free to **experiment with other nuts** to customize your cake. Walnuts are an excellent alternative and can be toasted using the exact same method as pecans. Once toasted and chopped, proceed with the recipe as directed. Almonds or even a mix of nuts could also add an interesting twist.
- Don’t Overmix the Batter: Once you add the flour, mix until just combined. Overmixing develops the gluten in the flour, which can lead to a tough, dry cake.
- Ensure Ingredients are Room Temperature: This tip is mentioned in the ingredients section, but it bears repeating. Room temperature butter and eggs cream together more smoothly, incorporating more air, which results in a lighter and fluffier cake.
- Test for Doneness Properly: A toothpick or a thin skewer inserted into the thickest part of the cake (avoiding the very center hole of the Bundt pan) should come out clean or with just a few moist crumbs attached.
Explore More Irresistible Cake Recipes
If you loved baking this classic Sock It To Me Cake, you’re sure to enjoy exploring other delightful cake recipes that are perfect for any occasion:
- Better Than Sex Cake: A decadent, rich chocolate cake with a creamy topping that lives up to its name.
- Orange Cake: A bright, citrusy cake that’s light, refreshing, and bursting with fresh orange flavor.
- Cranberry Pound Cake: A festive and moist pound cake studded with tart cranberries, perfect for holidays.
- Easy Chocolate Cake: The ultimate go-to recipe for a simple yet incredibly satisfying chocolate cake.
- Lemon Bundt Cake: A zesty and elegant Bundt cake, infused with vibrant lemon, ideal for spring and summer.
Sock It To Me Cake
by Katerina | Easy Weeknight Recipes
An easy recipe for Sock It To Me Cake, a tender coffee cake with a ribbon of brown sugar, cinnamon and toasted pecans through the center.
Ingredients
For the Cake
- 1 cup unsalted butter, at room temperature
- 2½ cups granulated sugar
- 6 large eggs, at room temperature
- ¼ teaspoon kosher salt
- 3 cups all-purpose flour
- 1 cup sour cream
- 1 tablespoon vanilla extract
For the Pecan Filling
- 1½ cups chopped pecans, toasted
- ¼ cup brown sugar
- 1 tablespoon cinnamon
For the Glaze
- 2½ cups confectioner’s sugar
- 5 tablespoon milk
- 1 teaspoon vanilla extract
Instructions
- Prep your tools. Preheat the oven to 325°F (160°C). Generously grease and flour a 14-16 cup Bundt pan, ensuring all crevices are coated.
- Cream the butter and sugar. In the bowl of a stand mixer fitted with the paddle attachment, or using a hand mixer, cream the room temperature unsalted butter and granulated sugar until the mixture is light, fluffy, and pale in color, about 2-3 minutes.
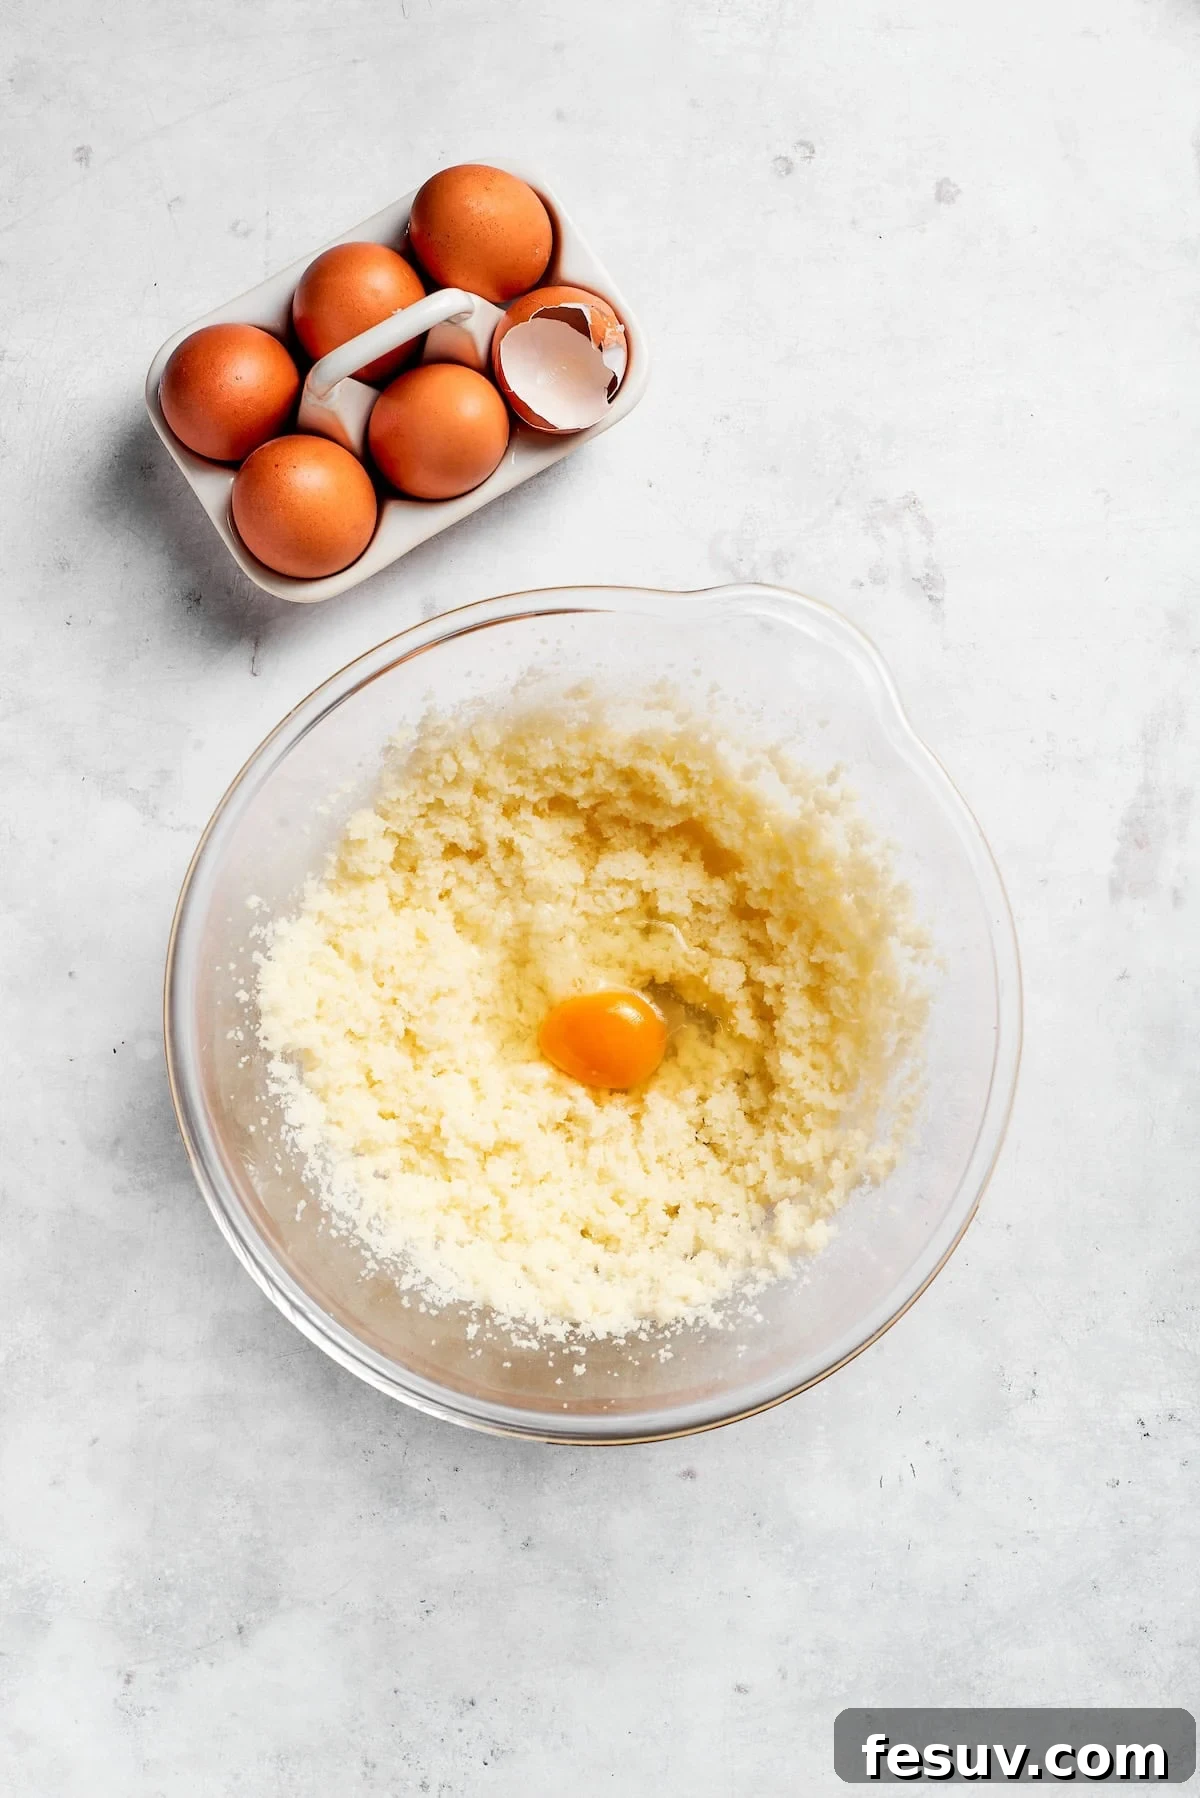
- Add eggs. Reduce the mixer speed to low. Add the large eggs one at a time, allowing each egg to be fully incorporated before adding the next. Scrape down the sides of the bowl as needed to ensure everything is well combined.
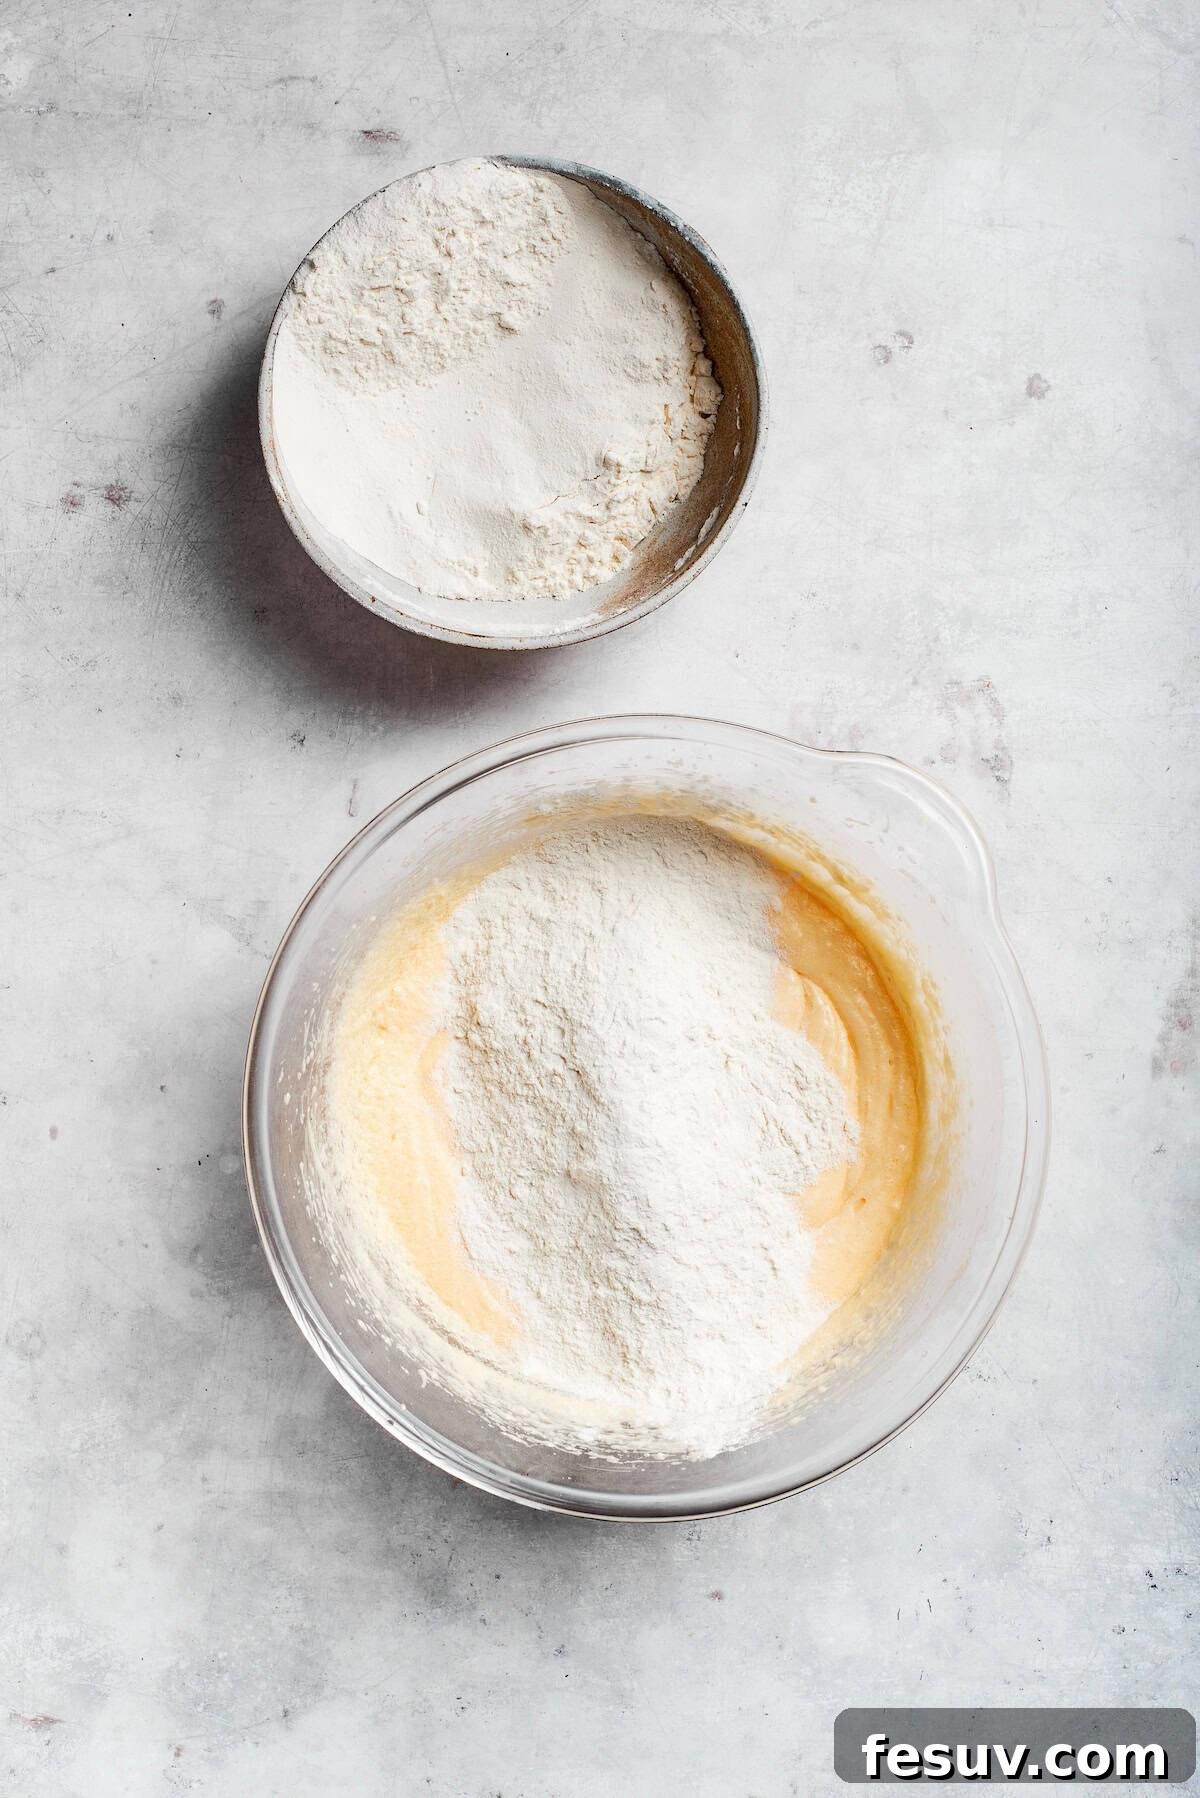
- Add salt and half of the flour. With the mixer still on low speed, add the kosher salt and half of the all-purpose flour. Mix until just combined and no streaks of dry flour remain. Avoid overmixing.
- Add the sour cream, vanilla, and remaining flour. Add the sour cream and vanilla extract to the batter and mix until completely incorporated. Then, gradually add the remaining flour and mix on low speed until the batter is smooth and thoroughly combined, again being careful not to overmix.
- Prepare the filling. In a small separate bowl, combine the chopped toasted pecans, brown sugar, and ground cinnamon. Stir well to ensure the pecans are evenly coated.
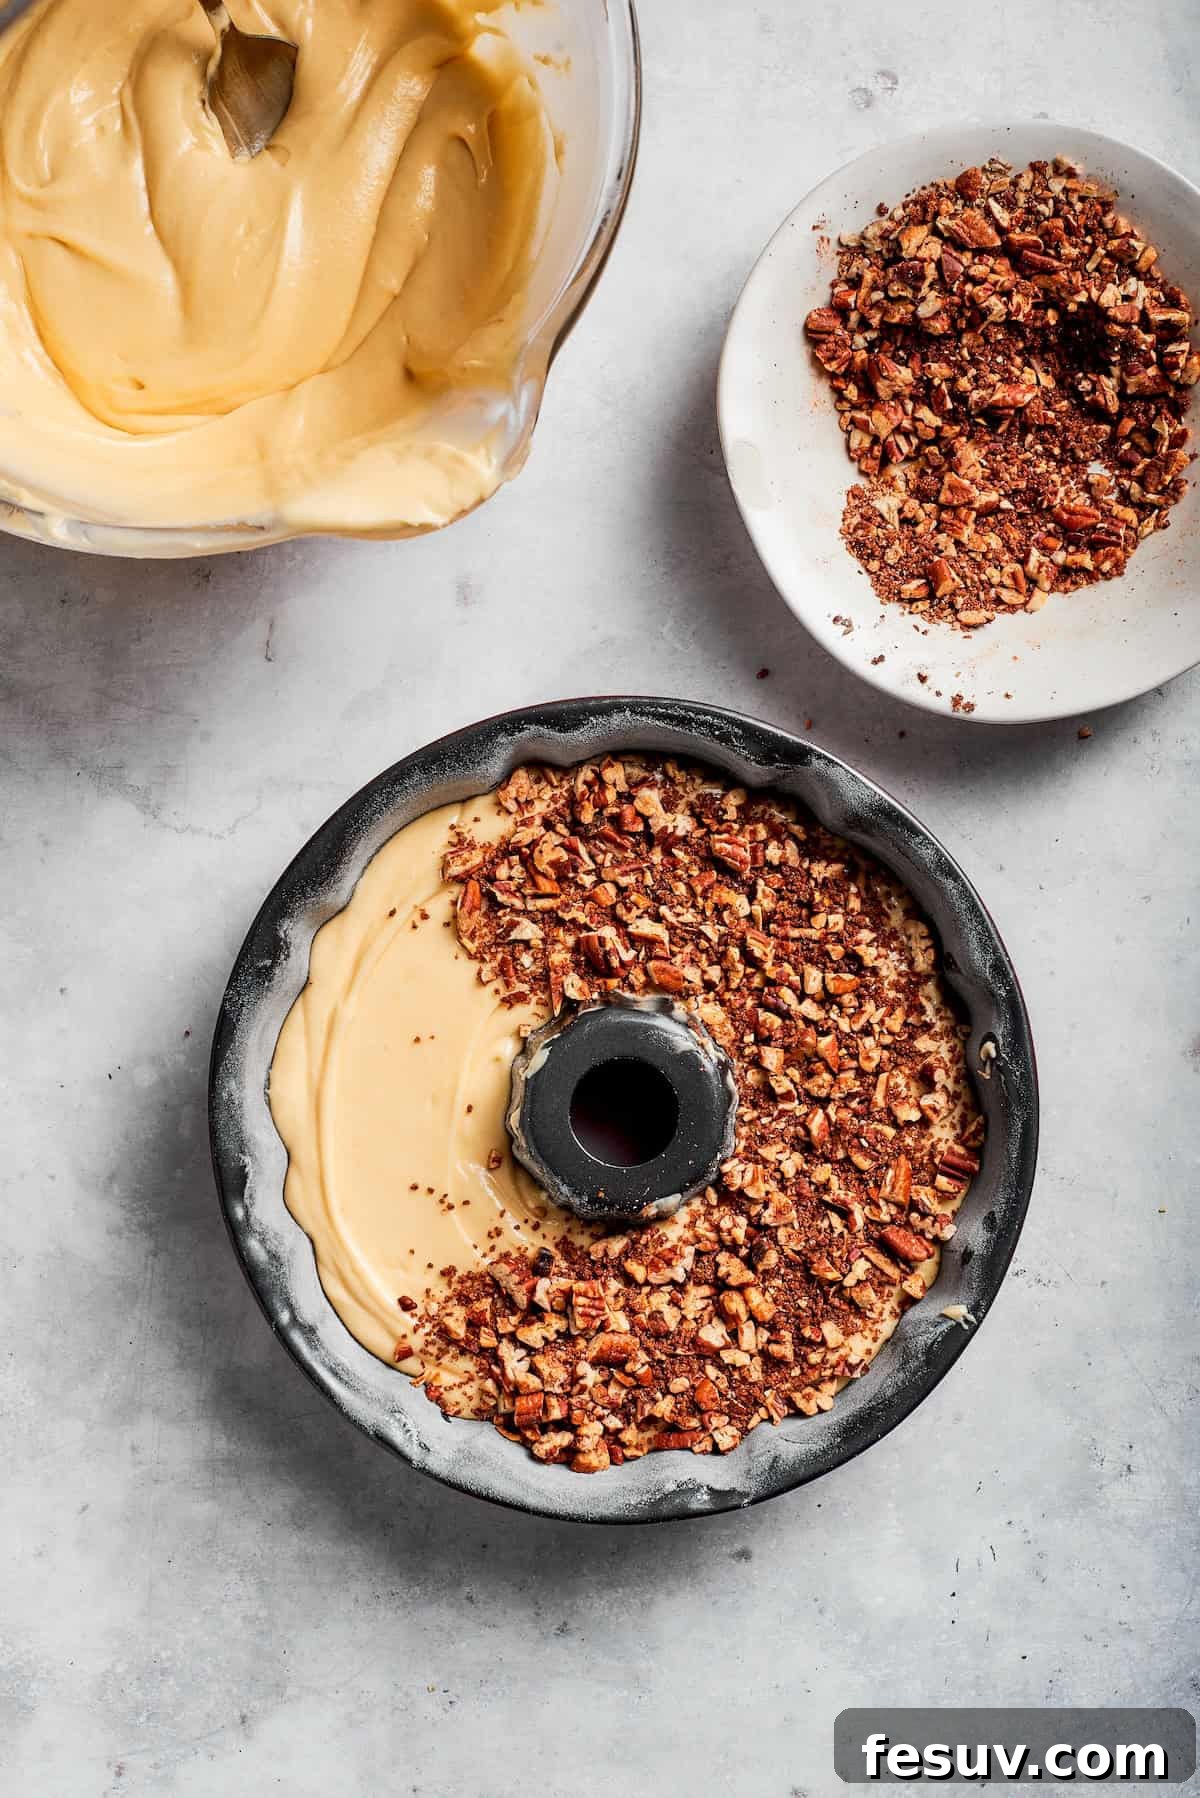
- Begin assembling your cake. Pour approximately half of the prepared cake batter evenly into the bottom of your greased and floured Bundt pan.
- Add the pecan ribbon. Evenly sprinkle the entire pecan and cinnamon mixture over the layer of batter in the Bundt pan. Ensure the nuts and sugar are distributed across the surface.
- Top with remaining batter. Carefully spread the remaining cake batter over the pecan mixture, gently sealing in the cinnamon-sugar ribbon. Use an offset spatula or the back of a spoon to smooth the top.
- Bake. Place the filled Bundt pan into the preheated oven. Bake for 85-90 minutes, or until a wooden skewer or toothpick inserted into the thickest part of the cake (avoiding the very center hole) comes out clean or with a few moist crumbs attached. If the cake is browning too quickly, loosely tent with aluminum foil.
- Cool. Once baked, remove the cake from the oven and let it cool in the Bundt pan on a wire rack for exactly 15 minutes. This allows the cake to firm up and pull away from the pan’s sides, making it easier to release.
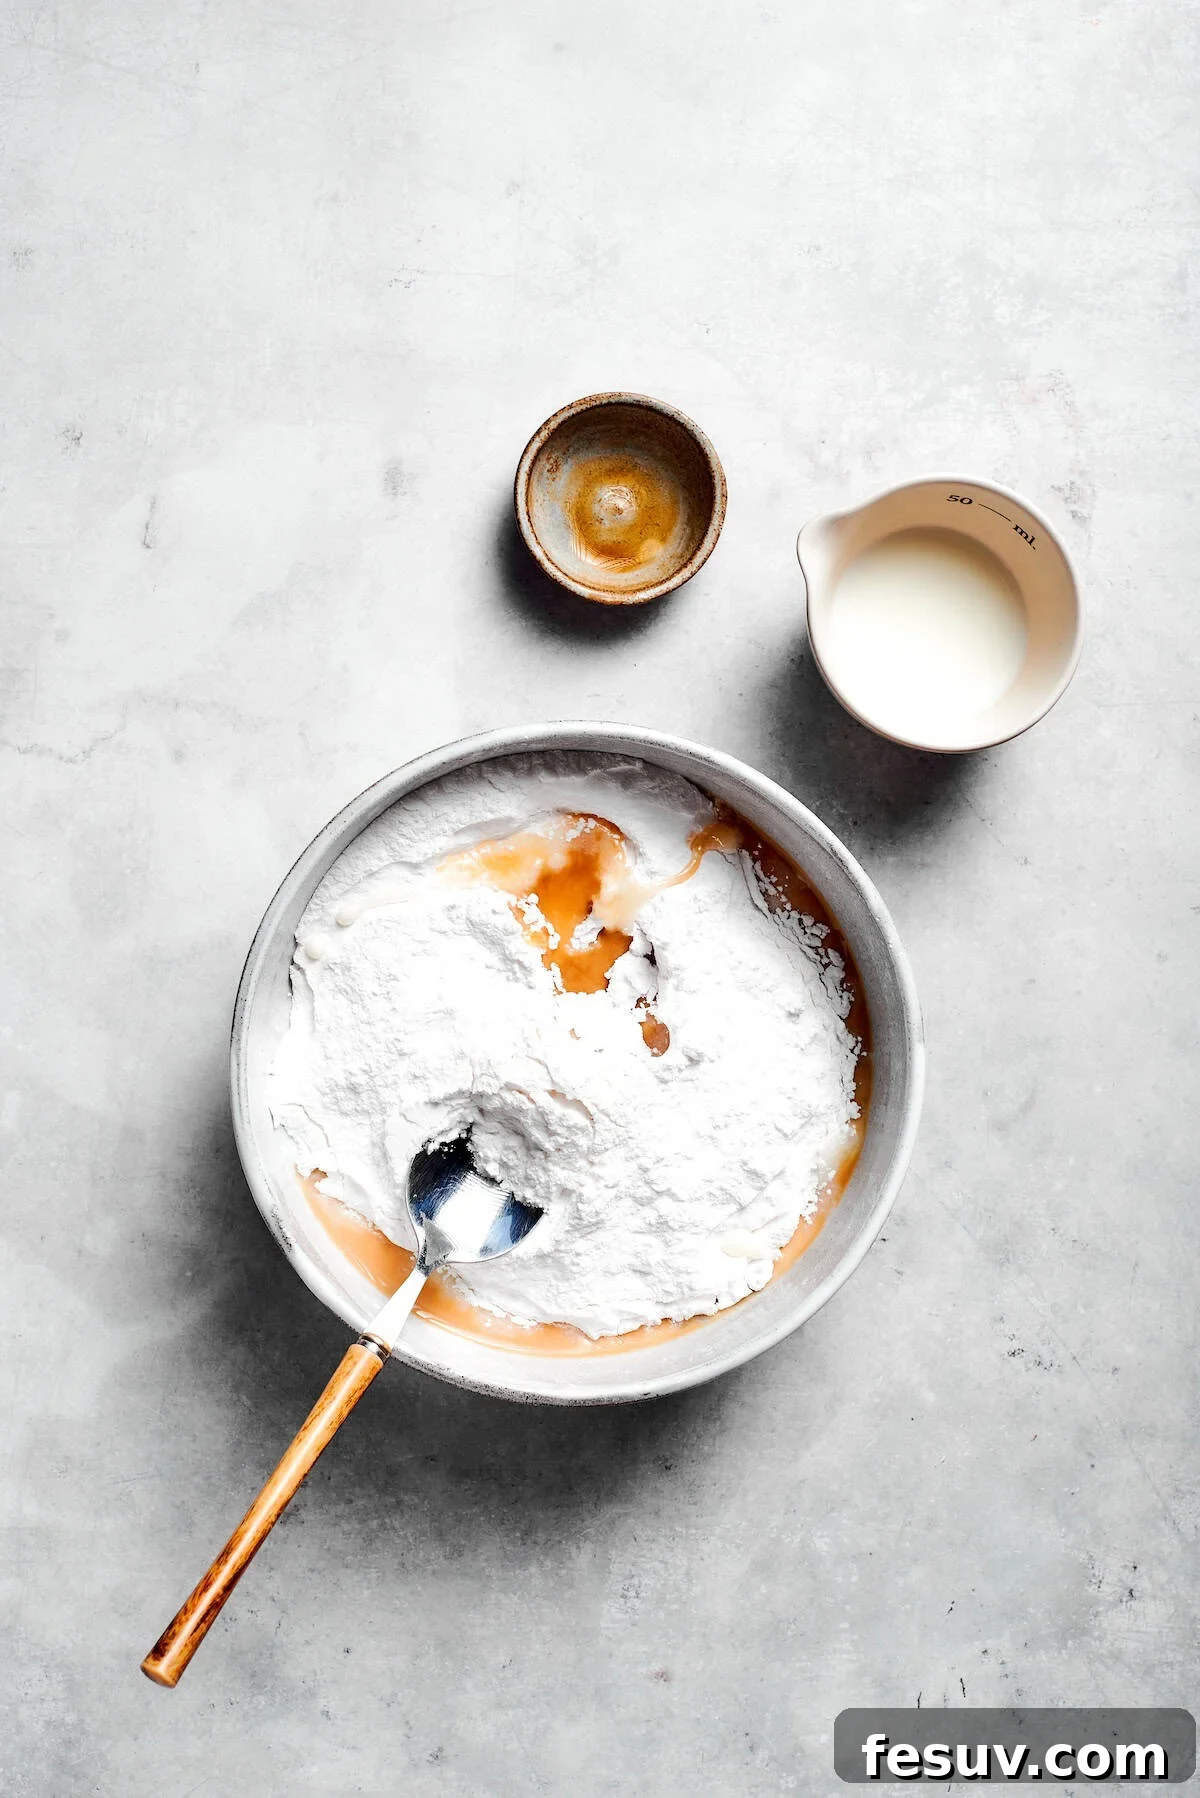
- Prepare the glaze. While the cake is cooling, whisk together the confectioner’s sugar, milk, and vanilla extract in a small bowl until smooth and free of lumps. Adjust milk quantity slightly if needed to achieve a pourable but not too thin consistency.
- Finish and serve. Once the cake has cooled completely on the wire rack (this is important for the glaze to set properly), spoon or drizzle the prepared glaze evenly over the top, allowing it to drip attractively down the sides. Let the glaze set for about 15-20 minutes. Slice and enjoy your delicious homemade Sock It To Me Cake!
Equipment
- Bundt Pan
- Measuring Cups and Spoons
- Stand mixer or hand mixer
- Mixing bowls
Nutrition
Nutritional information is an estimate and provided as a courtesy. Values may vary according to the ingredients and tools used. Please use your preferred nutritional calculator for more detailed info.
Step-by-Step Visual Guide: How to Bake a Perfect Sock It To Me Cake
Baking this Sock It To Me Cake is an enjoyable process, and these visual steps, combined with the detailed recipe card, will guide you to a flawless finish. Follow along to create a stunning and delicious dessert.
- Prepare Your Baking Environment: Preheat your oven to 325°F (160°C). This ensures the oven is at the correct temperature when your cake is ready to bake. Take the time to generously grease and flour your 14-16 cup Bundt pan. This crucial step prevents sticking and guarantees a beautiful cake release.
- Cream Butter and Sugar: In a large mixing bowl or the bowl of a stand mixer, beat the room temperature unsalted butter with the granulated sugar until the mixture becomes wonderfully light, fluffy, and pale. This usually takes about 2-3 minutes at medium speed. This step is vital for incorporating air, which contributes to the cake’s tender texture.
- Incorporate Eggs Gradually: Reduce the mixer speed to low. Add the large room temperature eggs one at a time, mixing well after each addition until fully incorporated into the butter and sugar mixture. This gradual process helps maintain a smooth emulsion.
- Add First Half of Dry Ingredients: With the mixer still on low speed, gently mix in the kosher salt and half of the all-purpose flour. Mix only until just combined and no visible streaks of dry flour remain. Be careful not to overmix, as this can lead to a tough cake.
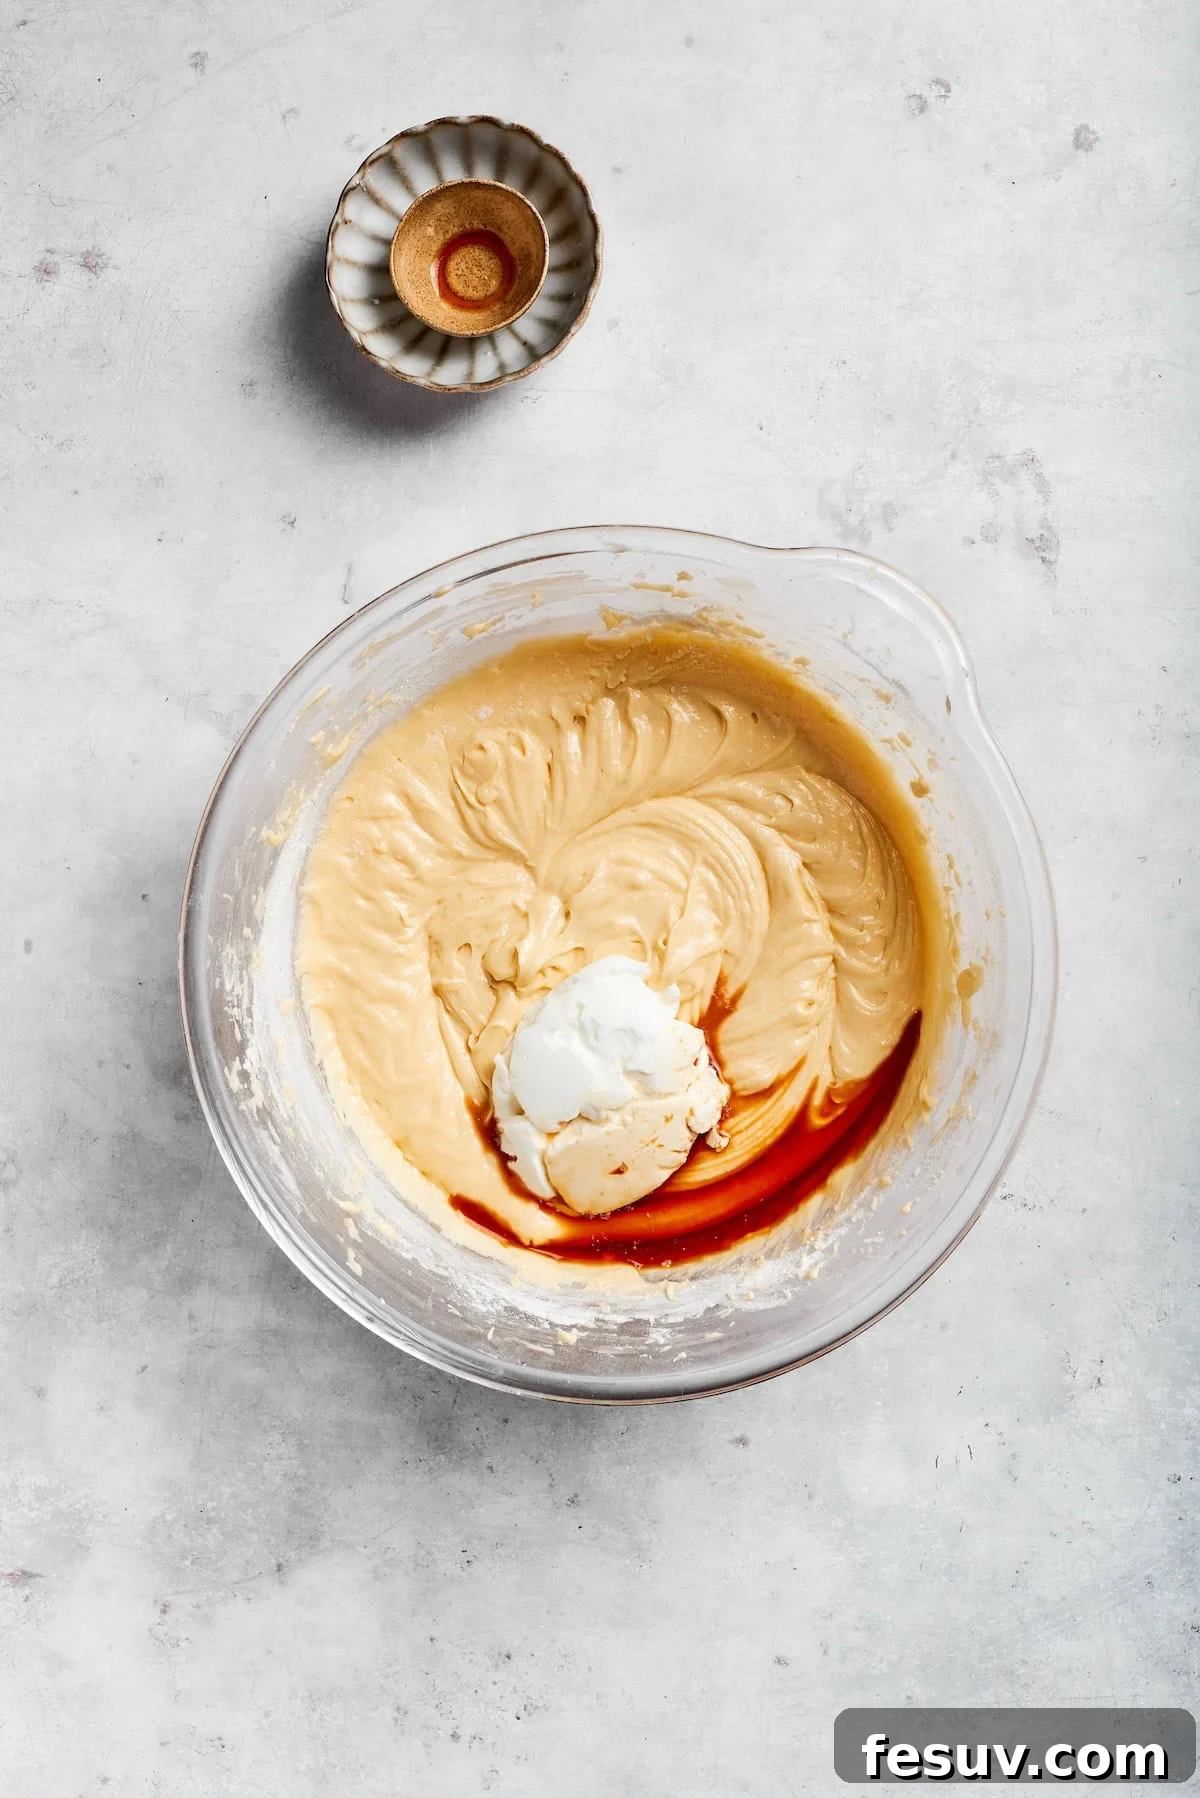
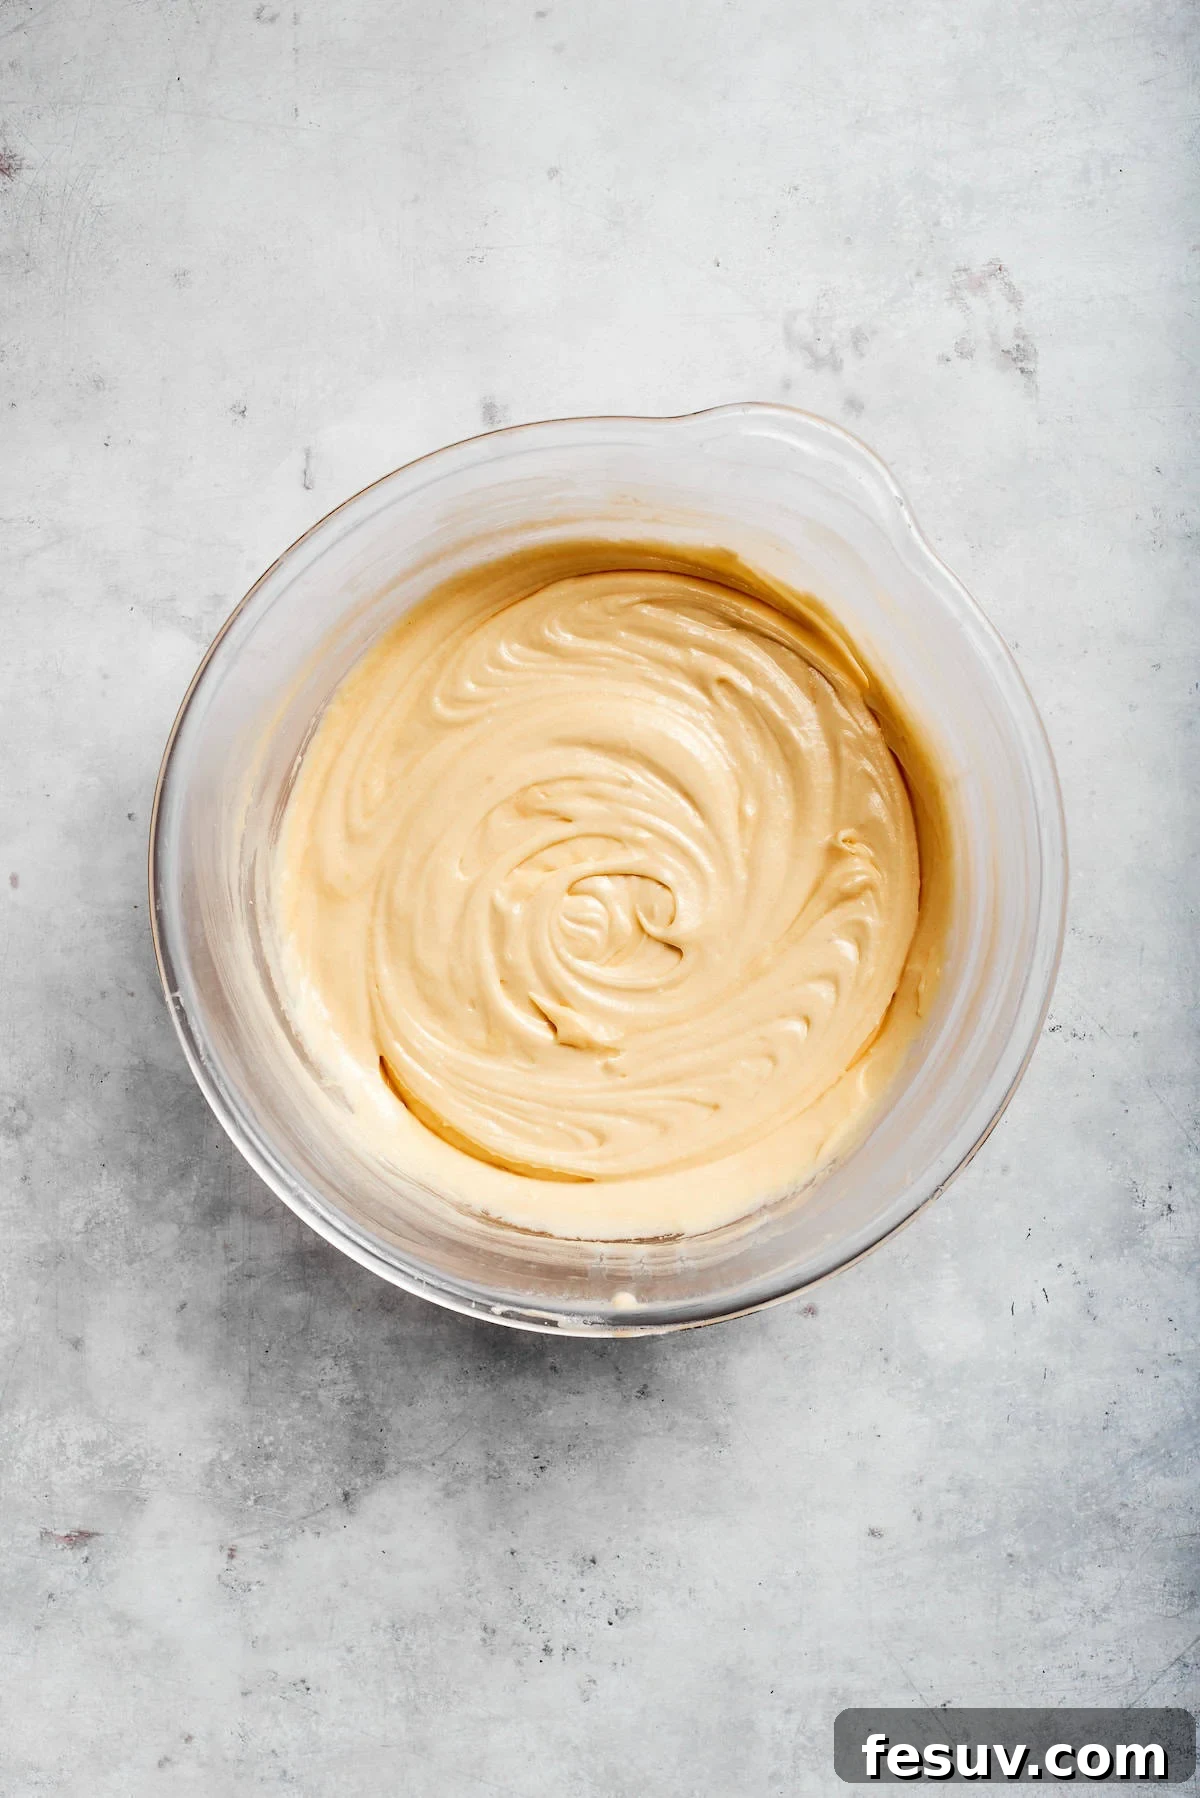
- Introduce Sour Cream and Remaining Flour: Add the sour cream and vanilla extract to the batter, mixing until thoroughly combined. Then, gradually add the remaining flour, mixing until the batter is smooth and homogeneous. Again, mix just until combined to avoid overworking the gluten.
- Start Assembling the Cake: Carefully pour approximately half of the prepared cake batter into your meticulously greased and floured Bundt pan, spreading it evenly across the bottom.
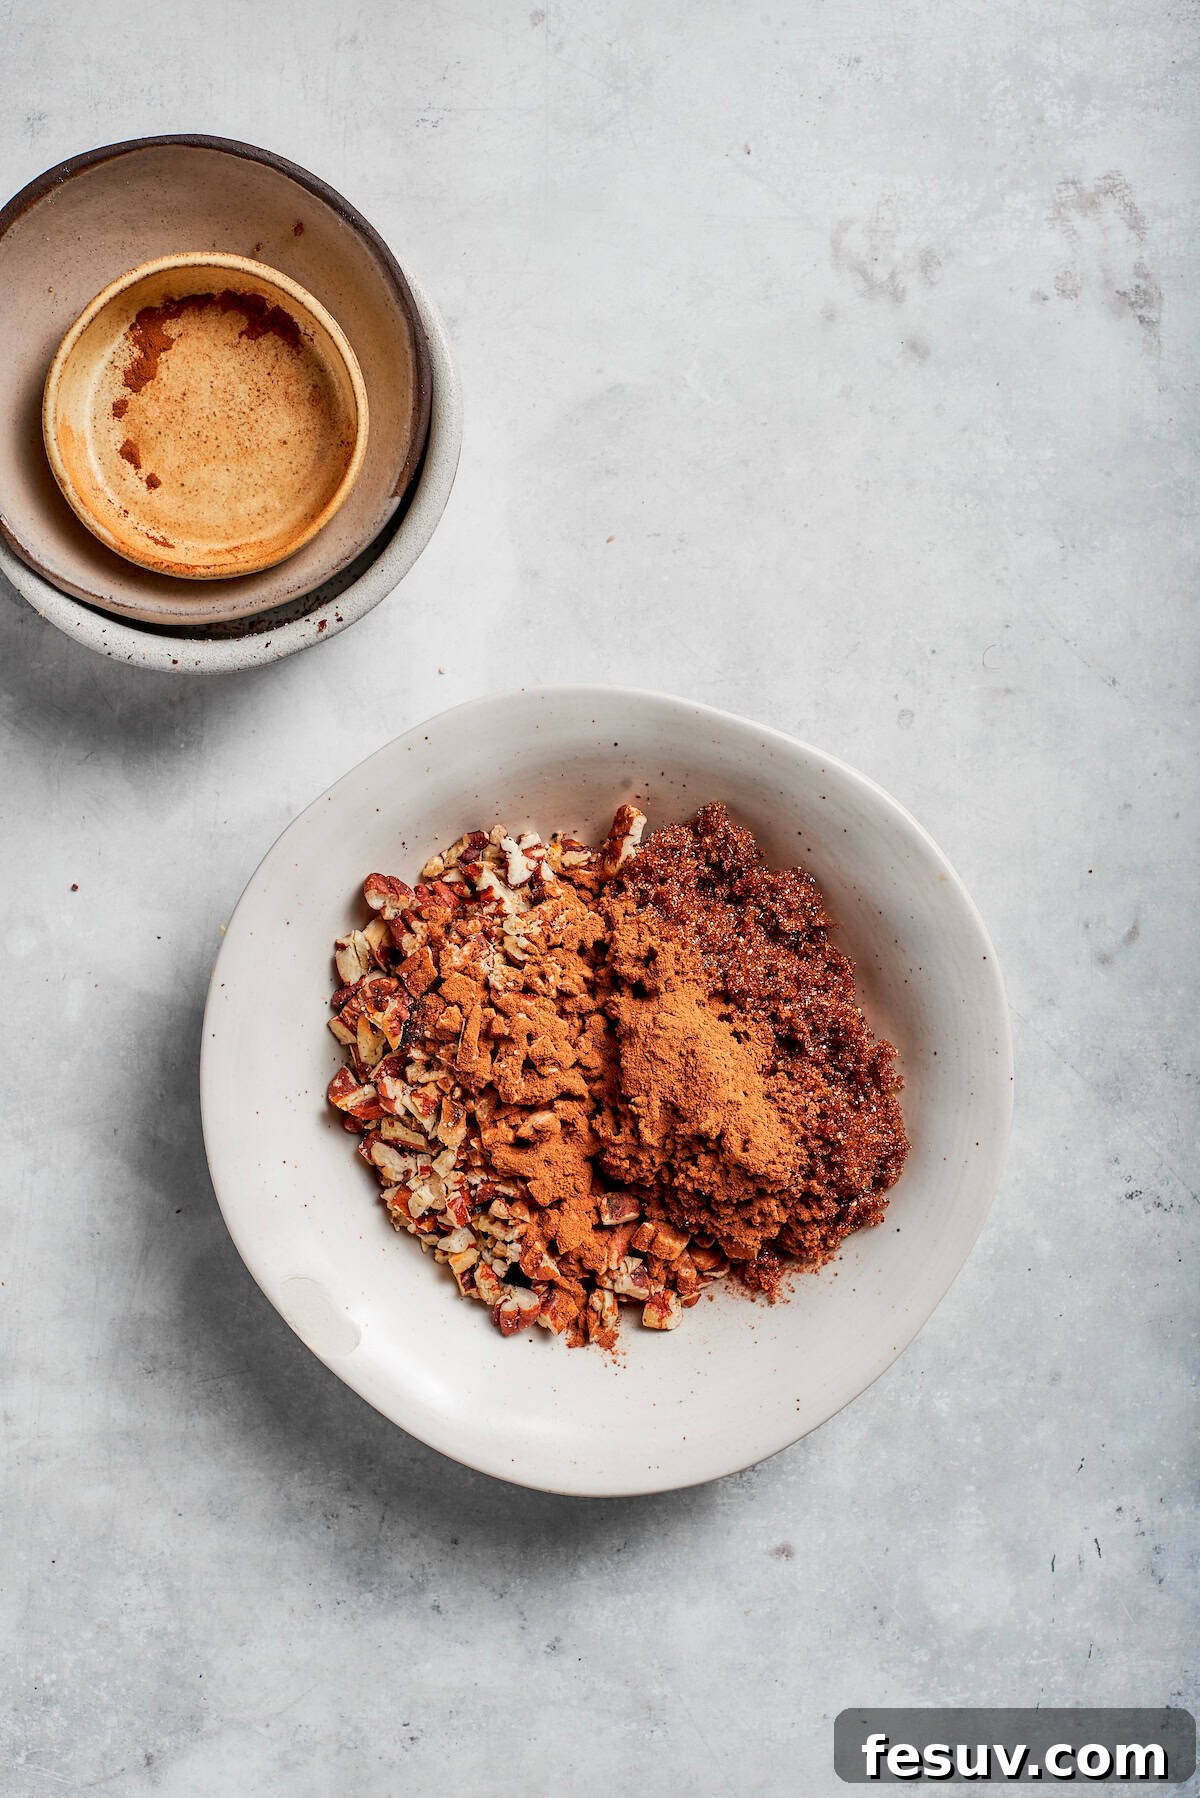
- Craft the Pecan Filling: In a separate small bowl, combine the chopped toasted pecans, rich brown sugar, and ground cinnamon. Stir well to ensure the pecans are fully coated with the sugary spice mix.
- Layer the Filling: Evenly sprinkle the entire pecan and cinnamon mixture over the layer of batter you poured into the Bundt pan. This creates the signature “sock it to me” ribbon.
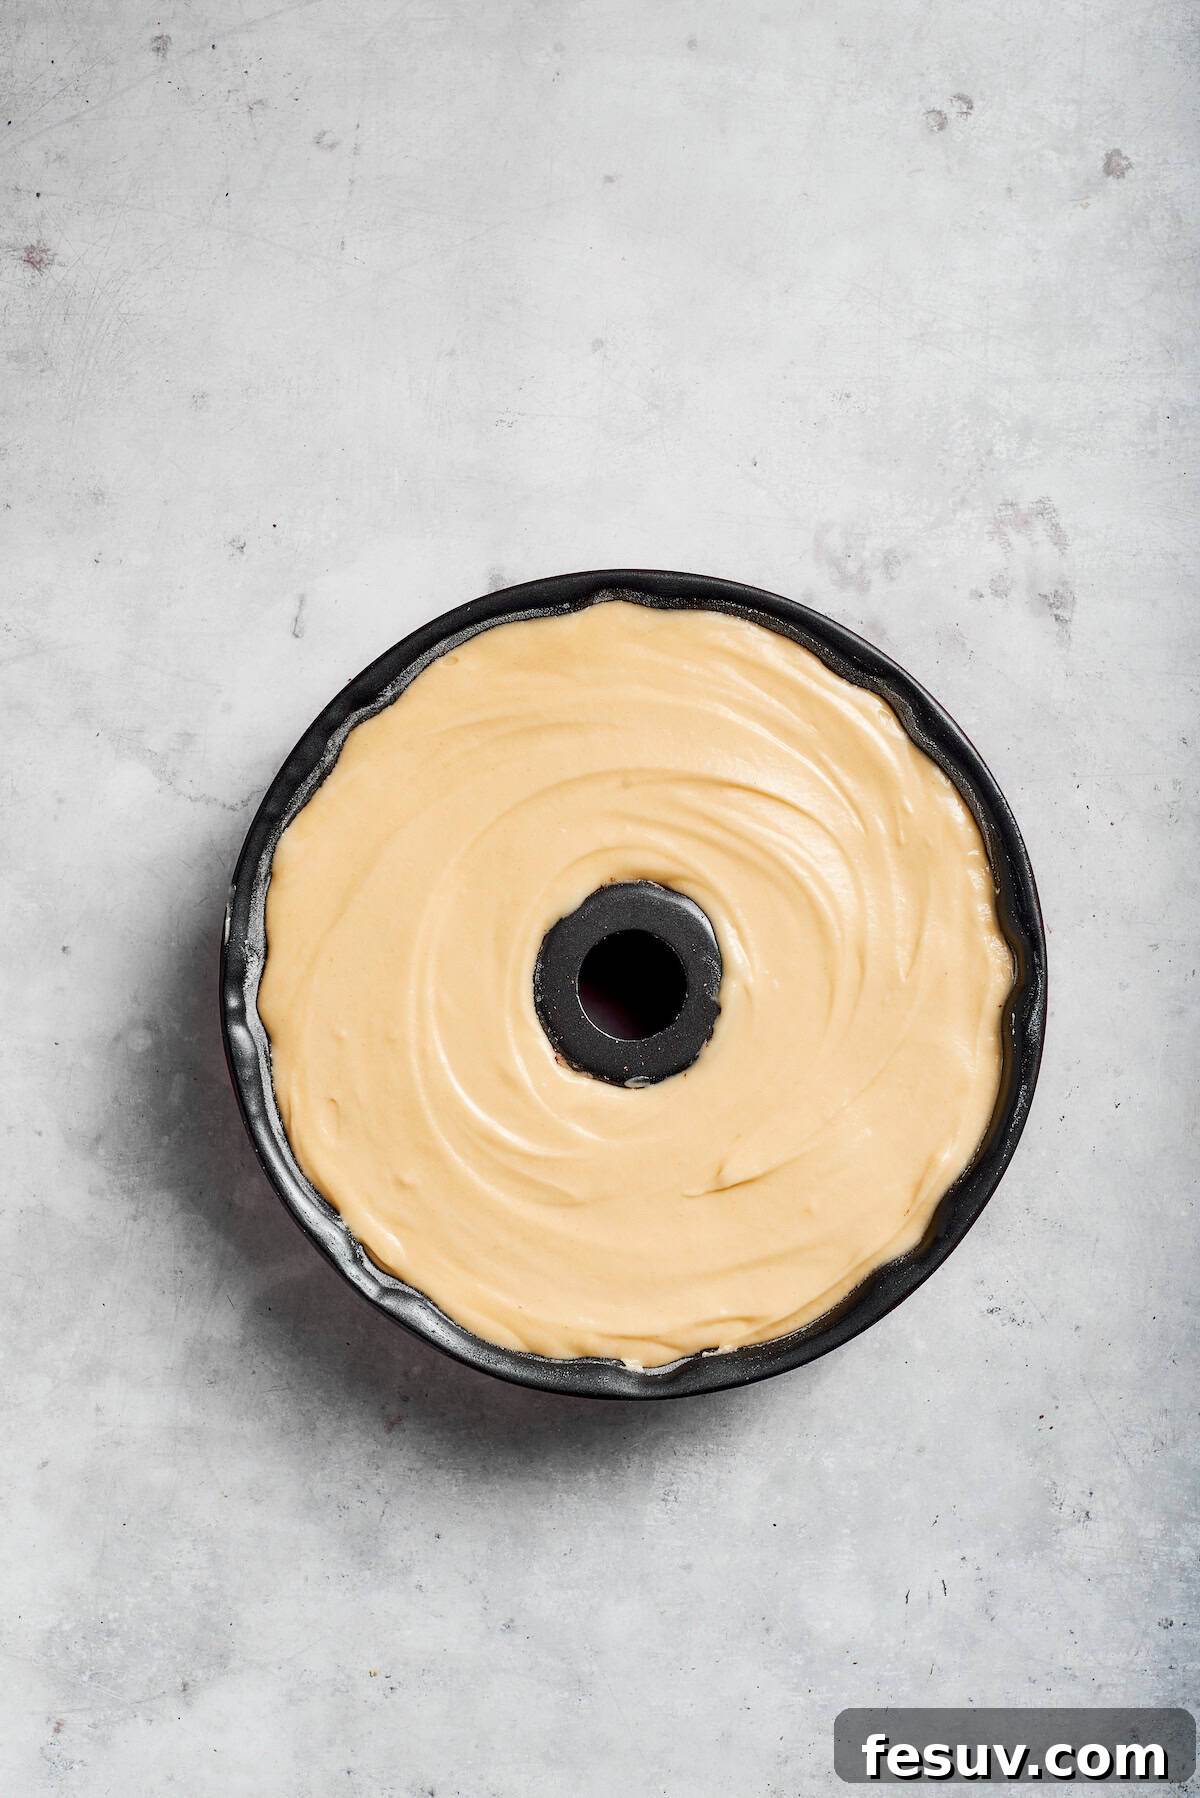
- Finish Layering and Bake: Gently spread the remaining cake batter evenly on top of the pecan mixture, ensuring it covers the nuts completely. Place the Bundt pan into the preheated oven and bake for 85-90 minutes, or until a wooden skewer inserted into the thickest part comes out clean.
- Initial Cooling: Once baked, remove the cake from the oven and let it cool in the pan on a wire rack for 15 minutes. This allows the cake to firm up and pull away from the pan’s sides, crucial for a clean release.
- Prepare the Glaze: While the cake is cooling, whisk together the confectioner’s sugar, milk, and vanilla extract in a small bowl until smooth and free of lumps. Adjust the milk quantity slightly to achieve your desired consistency.
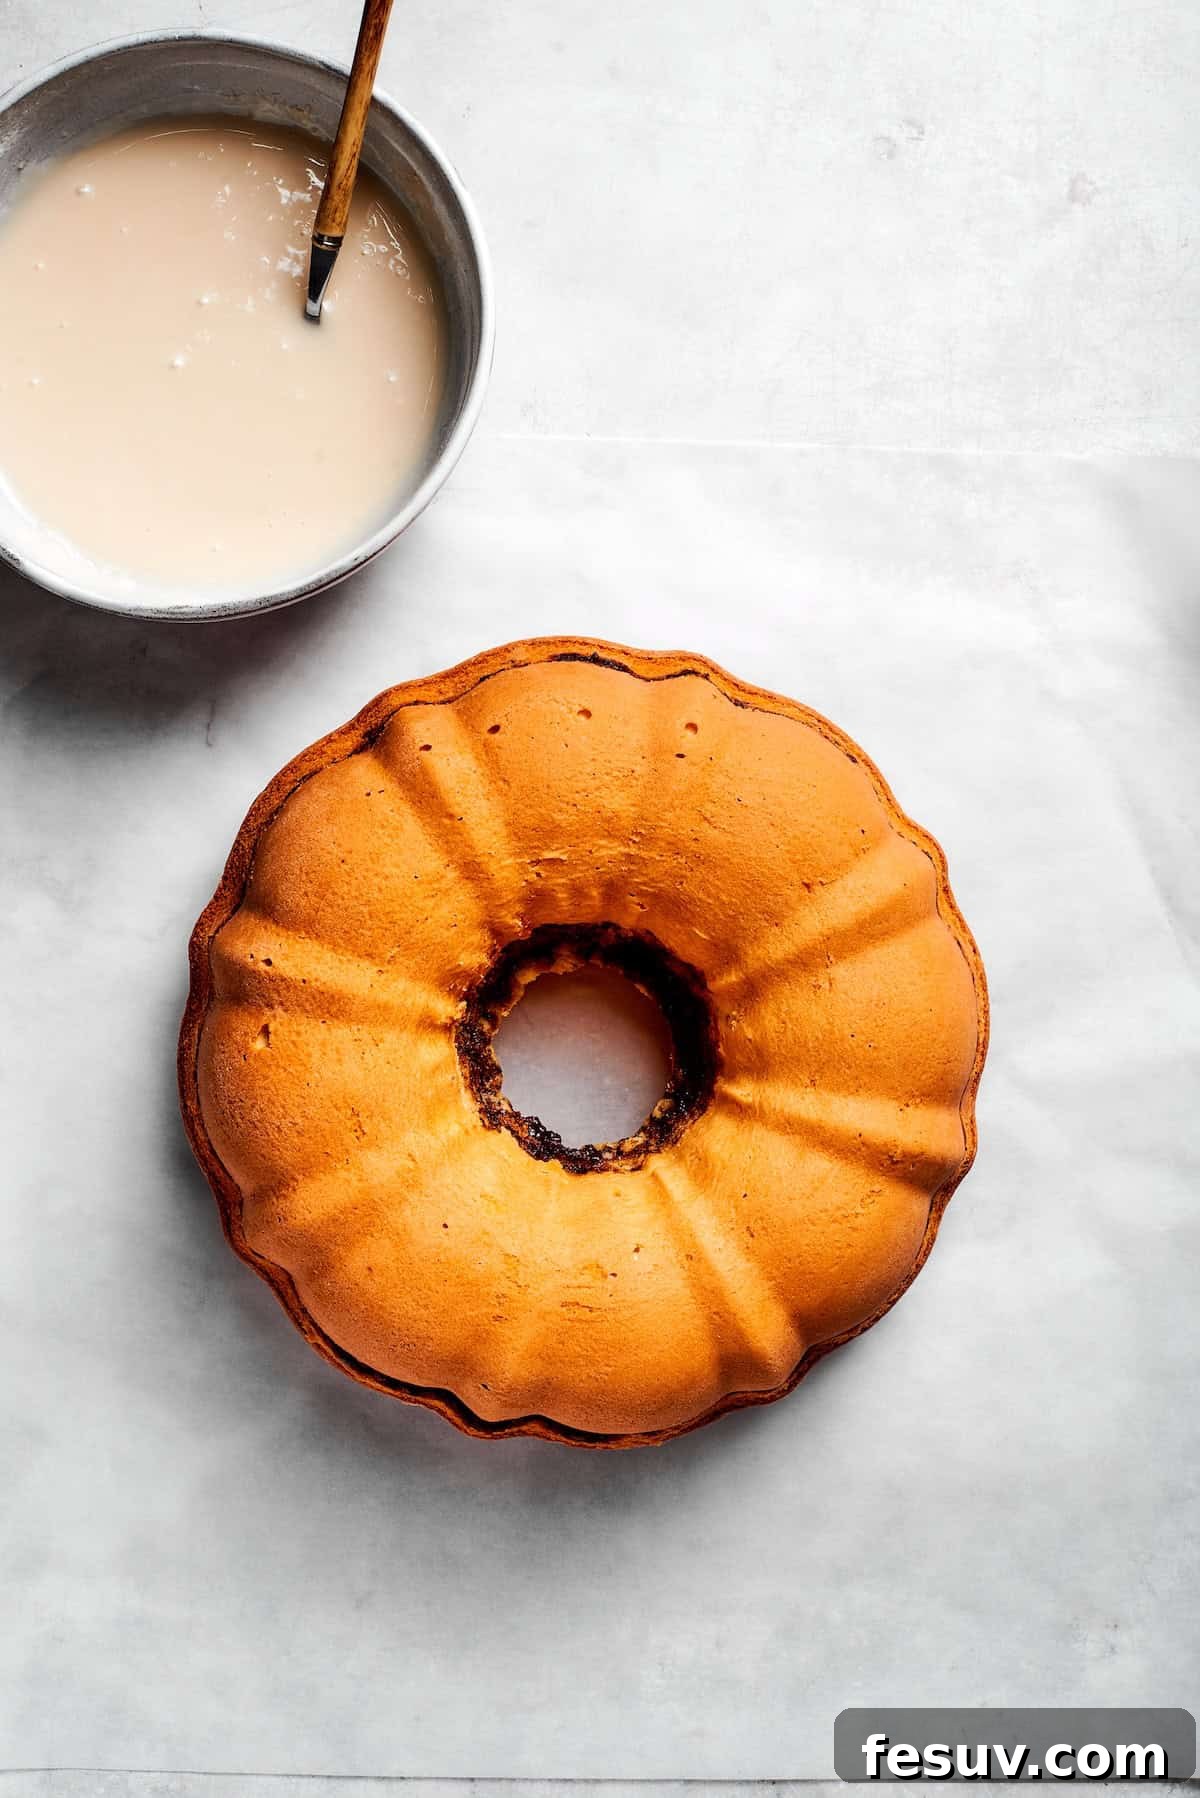
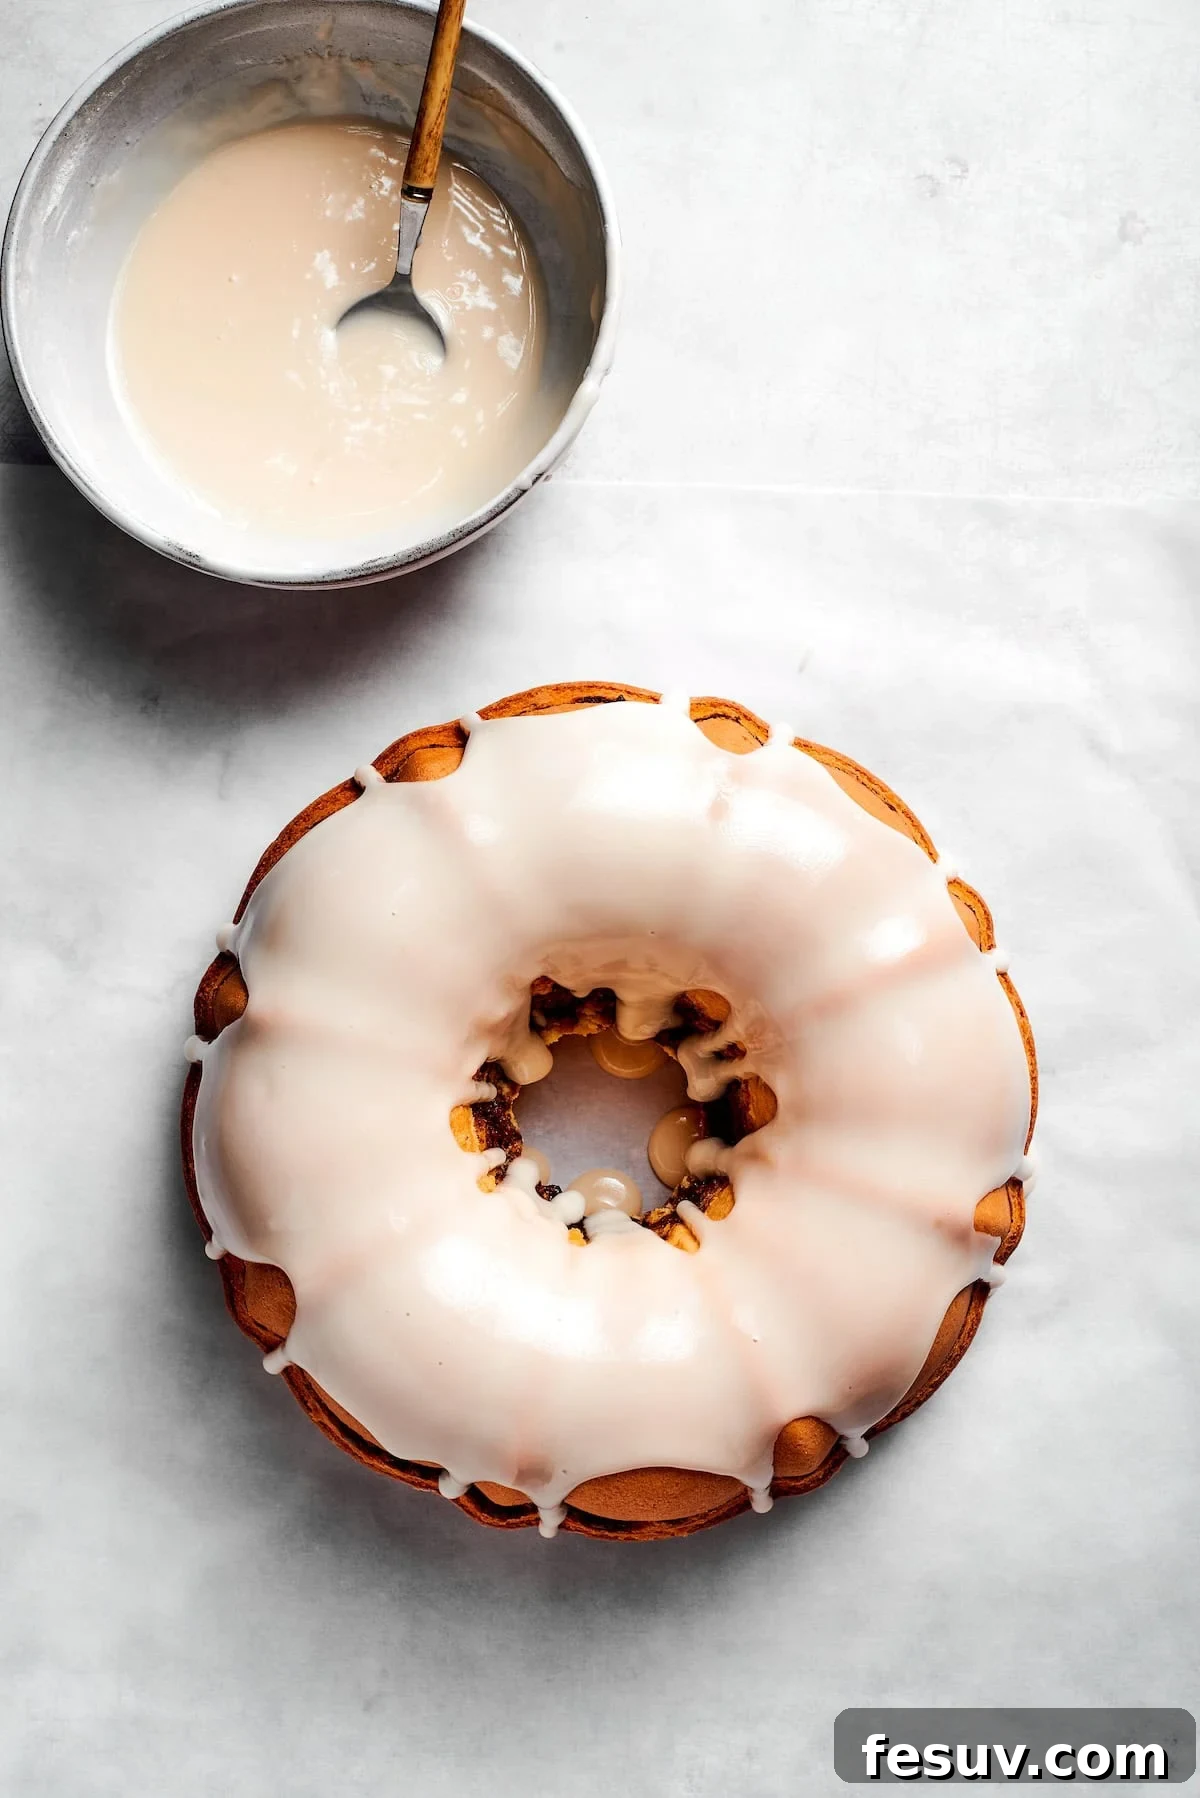
- Complete Cooling: After the initial 15 minutes, invert the cake onto a wire cooling rack and allow it to cool completely. This is a vital step before glazing to ensure the icing sets beautifully and doesn’t melt into the cake.
- Glaze and Serve: Once the cake is thoroughly cooled, spoon or drizzle the prepared glaze generously over the cake. For an extra touch of elegance and flavor, you can sprinkle additional chopped toasted pecans on top of the wet glaze. Let the glaze set for about 15-20 minutes, then slice and serve this exquisite vintage treat!
Optimal Storage Techniques for Your Sock It To Me Cake
Proper storage is key to maintaining the delightful moistness and fresh taste of your homemade Sock It To Me Cake, ensuring every slice is as enjoyable as the first. The method you choose can impact the cake’s texture and the glaze’s consistency.
- Countertop Storage (Short-Term): If you plan to enjoy the cake within a couple of days, it can be stored at room temperature on the counter. Once the cake has cooled completely and the glaze has set, wrap it loosely in plastic wrap or place it under a cake dome. The reason for loose wrapping (or using a dome) is to prevent excessive moisture buildup from the glaze, which can make the cake surface sticky. Stored this way, the cake will remain fresh and delicious for up to 3 days.
- Refrigerator Storage (Preferred Method for Extended Freshness): For optimal freshness and to keep the glaze from softening, storing the cake in the refrigerator is often the best choice. Once fully cooled, tightly wrap the cake (or individual slices) in plastic wrap, then place it in an airtight container. This tight seal prevents the cake from absorbing odors from the fridge and helps retain its moisture. Stored in the refrigerator, your Sock It To Me Cake will stay wonderfully fresh for up to 7 days. When you’re ready to indulge, you can enjoy it chilled directly from the fridge, or allow individual slices to warm to room temperature on the counter for about an hour for a softer, more traditional texture.
- Freezer Storage (Long-Term): Freezing is an excellent option for preserving your cake for longer periods, especially if you want to enjoy individual servings at your leisure. To prepare for freezing, ensure the cake is completely cooled and the glaze is fully set. I recommend freezing the cake in individual slices; this makes it incredibly convenient to thaw only what you need. Wrap each slice tightly in plastic wrap, then place them all in an airtight, freezer-safe container or a heavy-duty freezer bag. Properly stored, the cake slices will keep well in the freezer for up to 3 months. To thaw, simply transfer a slice to the refrigerator overnight, or let it sit on the counter for a few hours until it reaches your desired temperature. This ensures you always have a delightful piece of Sock It To Me Cake ready to enjoy whenever a craving strikes!