
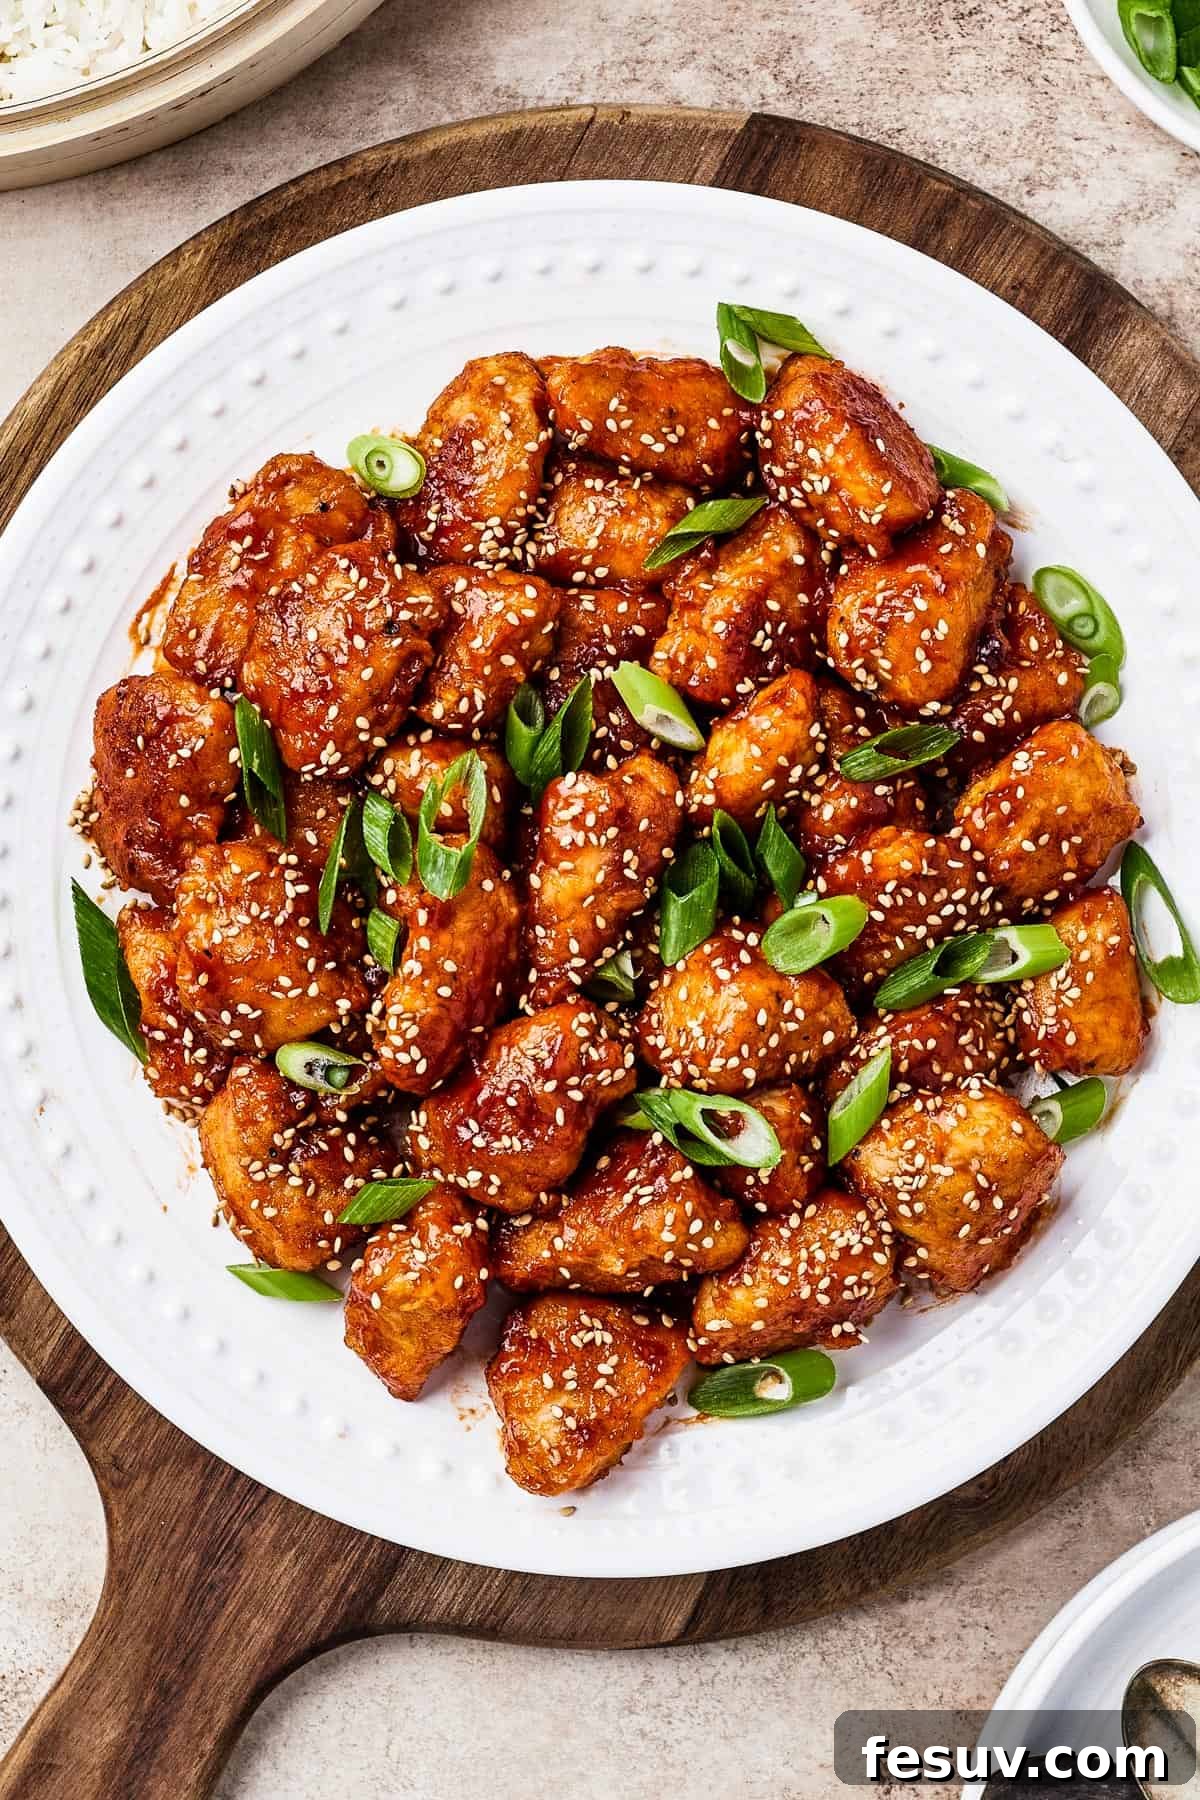
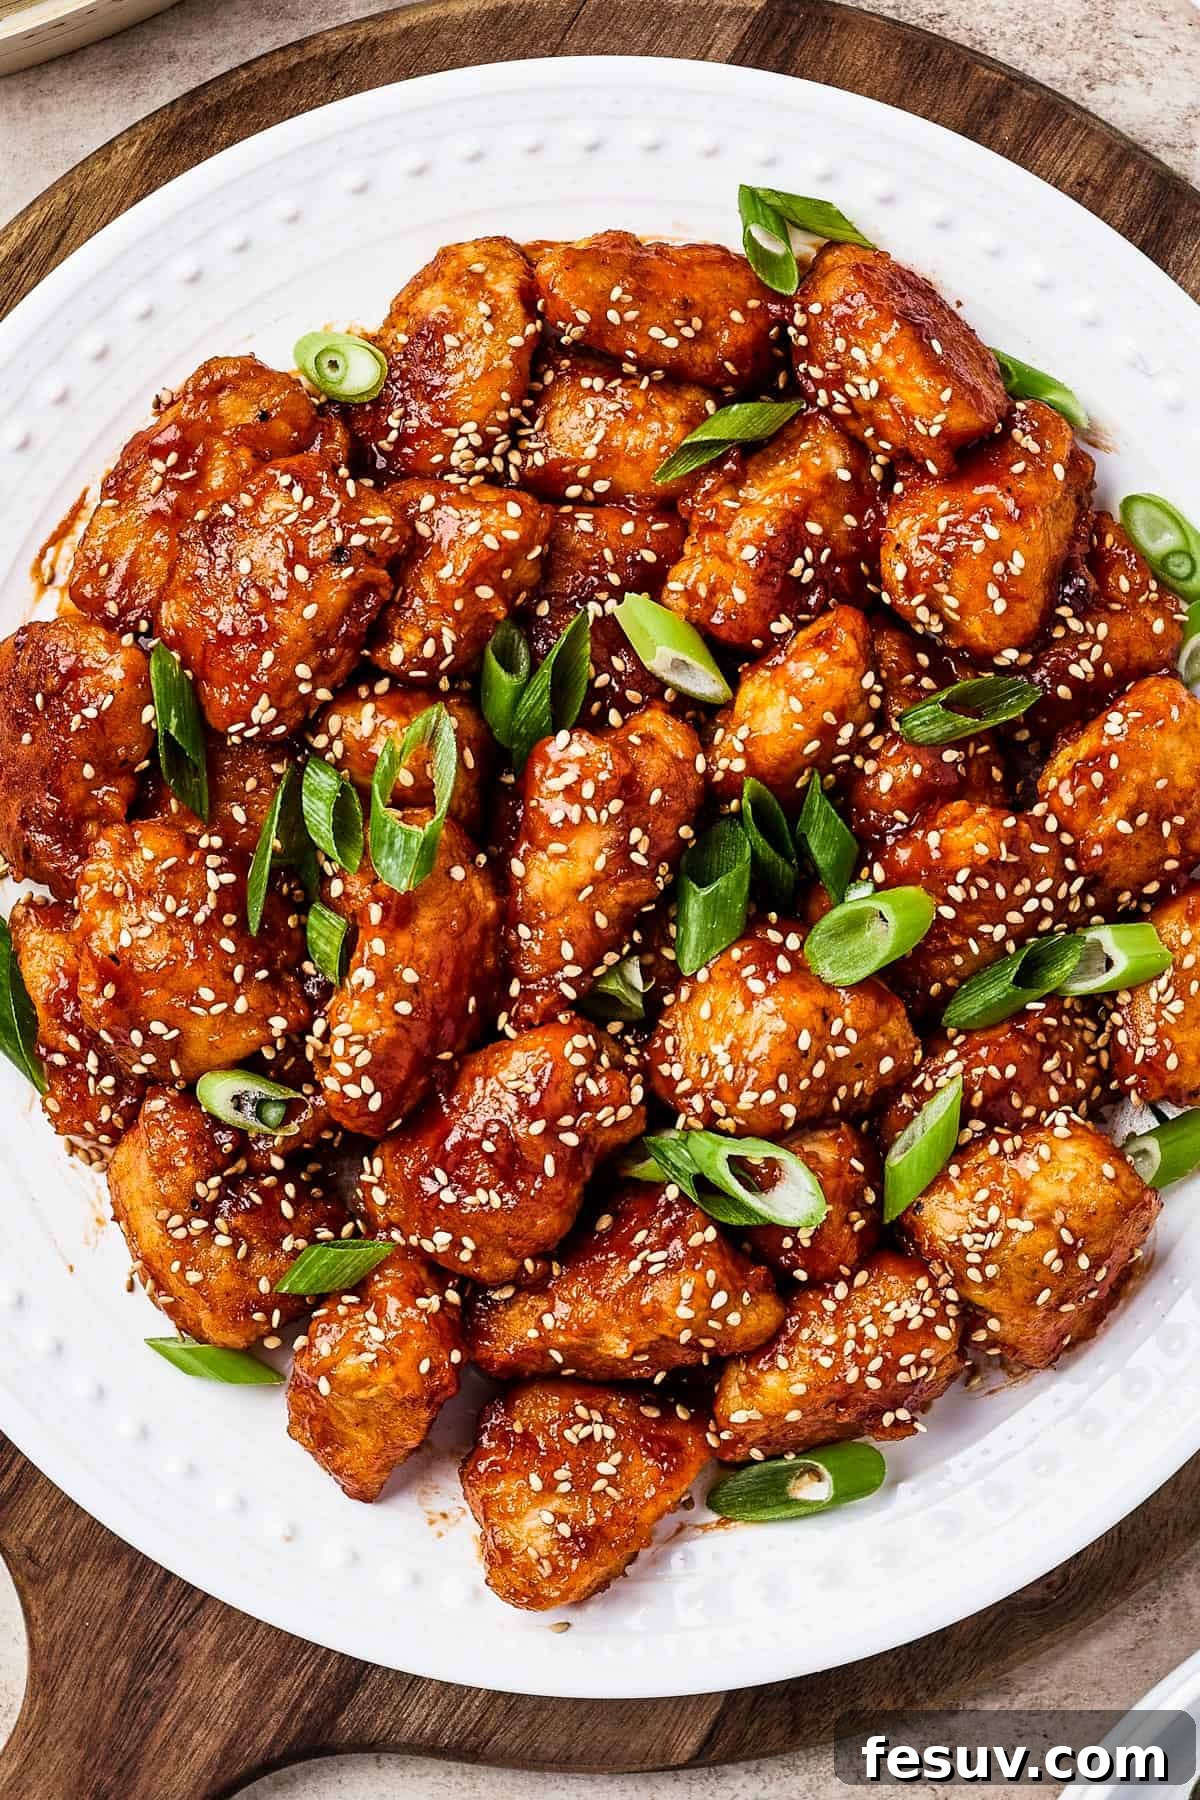
Craving that iconic taste of your favorite Chinese takeout? Look no further! This incredible **homemade Sweet and Sour Chicken** recipe brings all the vibrant flavors and delightful textures right to your kitchen. Forget greasy, lukewarm delivery – imagine tender, juicy white meat chicken, perfectly breaded and fried to a golden crisp, then coated in a glistening, perfectly balanced sweet and sour stir-fry sauce that hits all the right notes. Served alongside fluffy rice or your chosen sides, this dish isn’t just a meal; it’s a culinary adventure that promises to become a cherished family favorite for busy weeknights and special occasions alike.
Recreating a Takeout Classic: Homemade Sweet and Sour Chicken
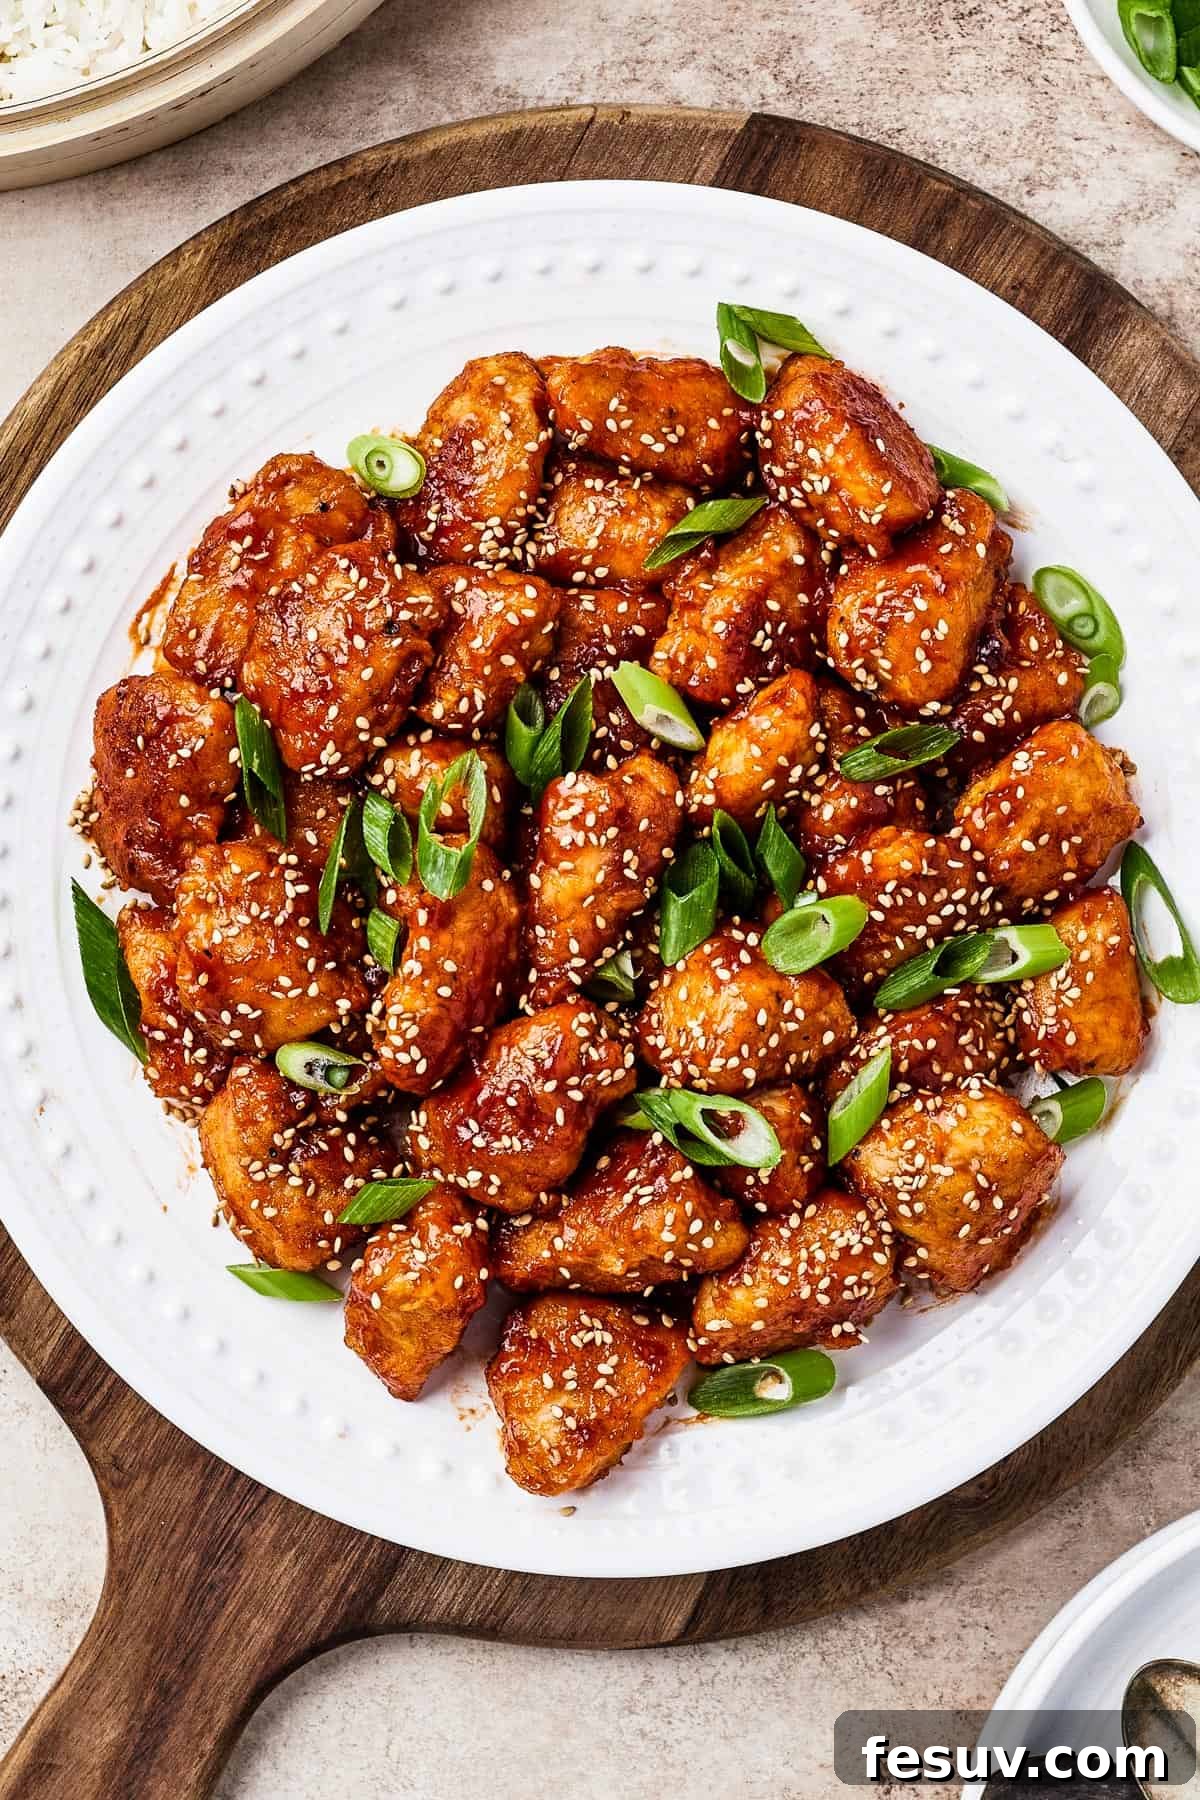
There’s something truly satisfying about recreating a beloved restaurant dish in your own home. Our **homemade Sweet and Sour Chicken** recipe is designed to deliver that authentic, mouth-watering experience you typically find at your favorite New York-style Chinese restaurant or bustling food court. Imagine crispy pieces of chicken breast, coated in a light, flavorful breading, drenched in a thick, glossy sauce that expertly balances the tang of vinegar with the sweetness of sugar and pineapple. This isn’t just a meal; it’s an elevated dining experience that puts you in control of the flavors and ingredients.
While the idea of breading, frying, and crafting your own sauce might seem a bit daunting at first, rest assured that this recipe is incredibly straightforward. With a few simple steps and a little bit of prep, you’ll be amazed at how easily you can transform basic ingredients into a restaurant-quality meal. Not only is it fresher and often healthier than its takeout counterpart, but it also allows for customization to perfectly suit your family’s palate. Get ready to impress everyone at the dinner table with this delicious, crispy, and saucy chicken!
Sweet and Sour vs. Orange Chicken: Understanding the Differences
Many people often wonder about the distinction between sweet and sour chicken and orange chicken, as they both feature crispy chicken in a vibrant sauce. While they share similarities in preparation, their flavor profiles are distinct. Typically, orange chicken boasts a more pronounced citrusy tang, often accompanied by a subtle spicy kick from chili flakes or sriracha. Its sauce tends to be bolder and more aromatic, heavily featuring orange zest and juice.
In contrast, **Sweet and Sour Chicken** is characterized by a more balanced blend of sweet and tart, with less emphasis on spice. The sauce achieves its signature tang primarily from vinegar and its sweetness from sugar and fruit juices like pineapple. While some variations might include a hint of heat, it’s generally milder and aims for a harmonious interplay of its namesake flavors. Although in some casual eateries and food courts these dishes can sometimes appear interchangeable, a truly classic sweet and sour chicken offers a distinct and delightful experience, focusing on a bright, refreshing balance rather than an intense citrus or spicy profile.
Key Ingredients for Authentic Chinese Sweet and Sour Chicken
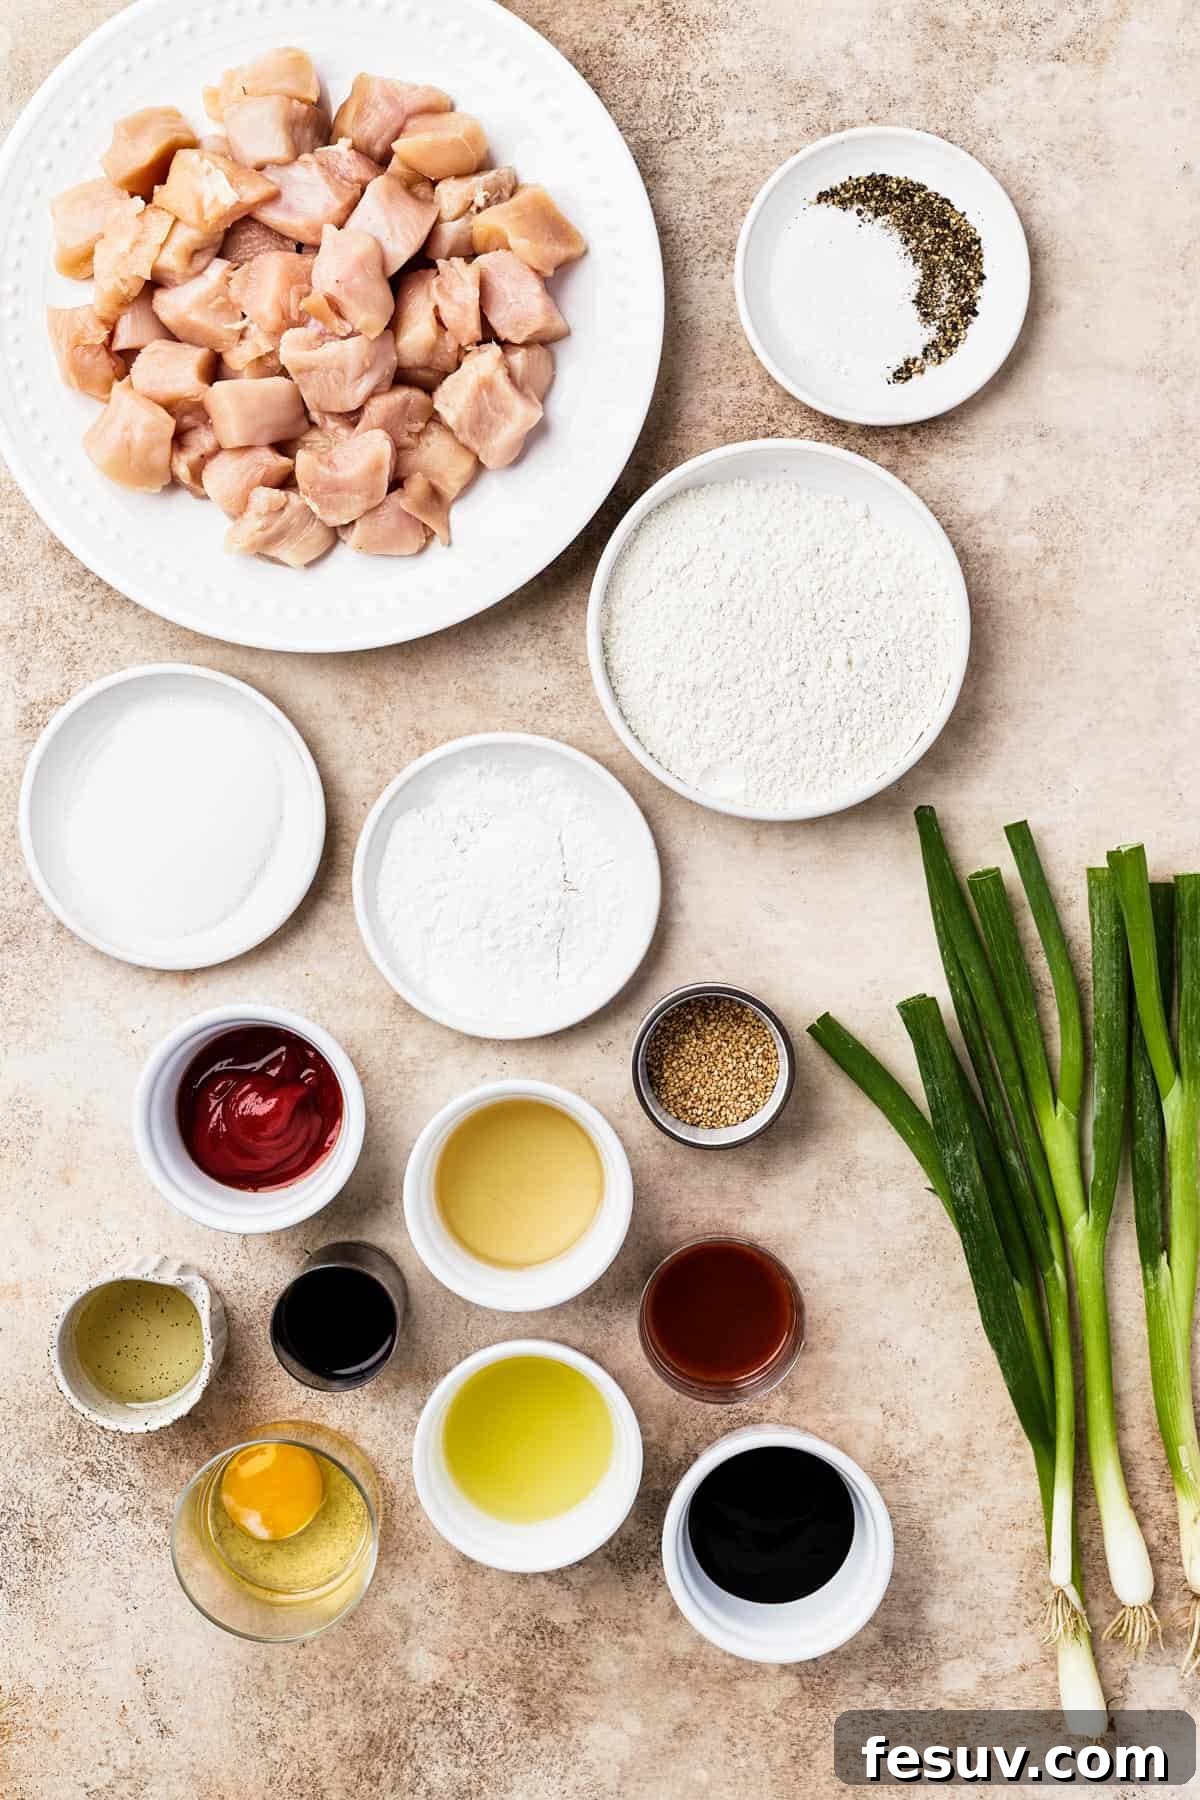
Crafting this irresistible homemade sweet and sour chicken requires a selection of fresh ingredients and pantry staples. The beauty of this recipe lies in its accessibility; most of these items are likely already in your kitchen, or easily found at any local grocery store. Let’s dive into the essential components that make this dish truly special:
- Soy Sauce: Essential for marinating the chicken, infusing it with umami and a foundational savory flavor. For dietary preferences, tamari (gluten-free) or coconut aminos are excellent substitutes.
- Chicken Breast: Boneless, skinless chicken breasts are ideal for their lean texture and ease of preparation. Cut them into uniform 1-inch chunks to ensure even cooking and optimal crispiness. Chicken thighs can also be used for a richer, juicier result.
- Pineapple Juice: The sweet and tangy backbone of our sauce. You can use store-bought pineapple juice, the liquid from canned pineapple (a great way to minimize waste!), or freshly squeezed juice for the brightest flavor.
- Ketchup: This might seem unexpected, but ketchup adds a crucial sweetness, tang, and a rich red hue that’s characteristic of classic sweet and sour sauces. Regular or sugar-free ketchup works perfectly.
- Rice Vinegar: A milder, slightly sweeter vinegar compared to white vinegar, rice vinegar is indispensable for achieving the signature tang without overpowering the other flavors. It’s a staple in many Asian stir-fries and dressings.
- Oyster Sauce: Don’t let the name deter you! This thick, dark, and savory sauce offers a profound depth of flavor (umami) that elevates the sweet and sour sauce from good to truly exceptional. It brings that elusive “takeout” taste. You’ll typically find it in the ethnic foods aisle of most supermarkets.
- Sugar: Granulated white sugar is standard for sweetness, but feel free to experiment with brown sugar for a deeper, molasses-like note, or honey for a different kind of sweetness.
- Cornstarch: The magic ingredient for thickening the sauce to a beautiful, glossy consistency that clings perfectly to the crispy chicken. It also contributes to the sauce’s shiny appearance.
- Sriracha: For those who appreciate a touch of heat, sriracha adds a pleasant warmth that complements the sweet and sour profile. Omit it entirely if you prefer a milder, kid-friendly dish.
- Oil: A high-heat cooking oil is crucial for frying the chicken to crispy perfection. Canola oil, vegetable oil, or peanut oil are all excellent choices.
- Flour: All-purpose flour forms the base of our crispy breading, giving the chicken a light yet satisfying crunch.
- Salt and Pepper: Basic seasonings to enhance the flavor of the chicken and the breading.
- Egg Wash: A simple mixture of whisked egg and water. This acts as a binder, helping the flour mixture adhere beautifully to the chicken pieces, ensuring a consistently crispy coating.
- Garnishes: Optional but highly recommended for adding a pop of color, texture, and fresh flavor. Toasted sesame seeds offer a nutty crunch, while chopped green onions provide a fresh, pungent contrast.
Step-by-Step Guide to Making Sweet and Sour Chicken at Home
Now that we’ve gathered our ingredients, let’s walk through the simple yet satisfying process of bringing this incredible sweet and sour chicken to life. Follow these steps carefully, and you’ll be enjoying a homemade takeout masterpiece in no time!
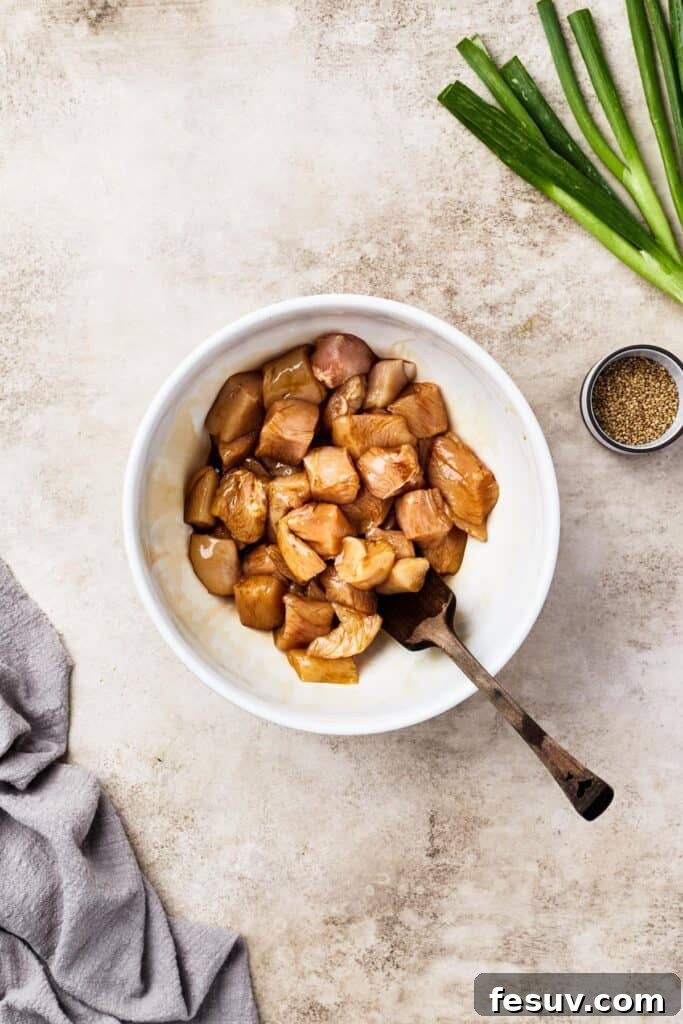
- Briefly Marinate the Chicken: Begin by tossing your 1-inch chicken chunks with soy sauce in a large bowl. This initial marinade infuses the chicken with a savory depth. Cover the bowl and let the chicken marinate for 5 to 10 minutes. This short period is just enough time to prepare your other ingredients and is key to tender, flavorful chicken.
- Prepare the Sweet and Sour Sauce: While the chicken marinates, whisk together the pineapple juice, ketchup, rice vinegar, oyster sauce, sugar, cornstarch, and sriracha (if using) in a medium bowl. Whisk until the cornstarch is fully dissolved and the mixture is smooth. This ensures a lump-free, glossy sauce later. Set this flavorful sauce mixture aside.
- Set Up Your Breading Station: In a large bowl, combine the flour, salt, and pepper, whisking them well to ensure even distribution. Divide this seasoned flour mixture evenly into two separate bowls. In a third bowl, whisk the egg with 2 tablespoons of water to create your egg wash. Having these three bowls (flour 1, egg wash, flour 2) arranged in an assembly line will make the breading process smooth and efficient.
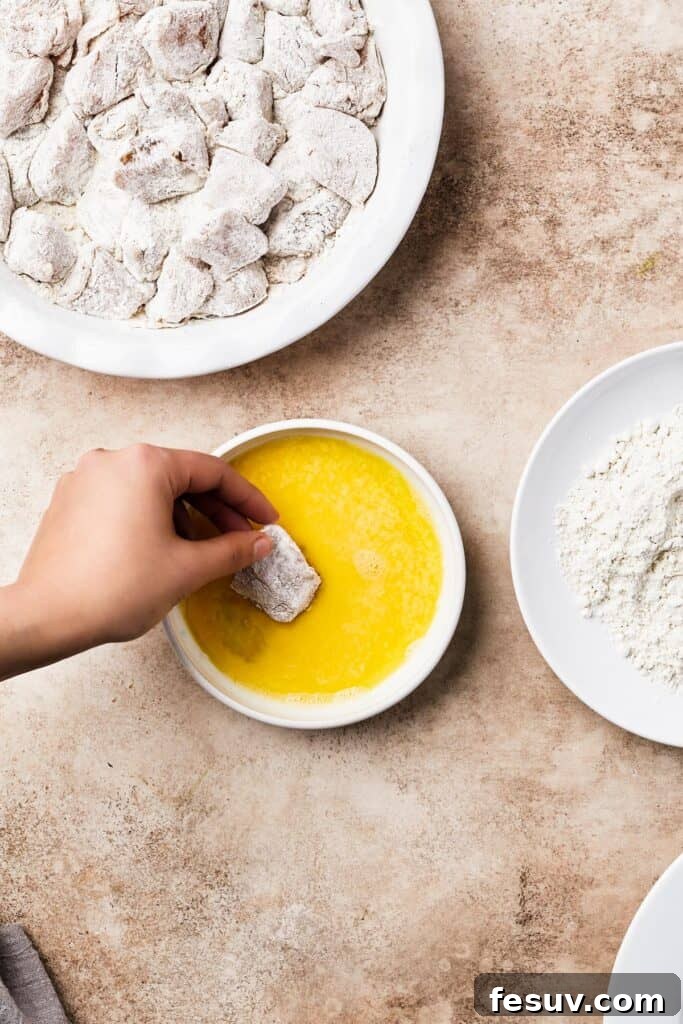
- Bread the Chicken for Ultimate Crispiness: Remove the marinated chicken from the soy sauce, gently shaking off any excess liquid, then pat the pieces dry with paper towels. A dry surface helps the breading adhere better. First, toss the chicken pieces in the first bowl of flour mixture, ensuring they are completely coated. Next, dip each floured piece into the egg wash, letting any excess drip off. Finally, transfer the chicken to the second bowl of flour mixture, coating it thoroughly again. This double-breading technique creates an extra crispy crust. Place the breaded chicken pieces on a clean plate as you work, making sure they don’t touch too much.
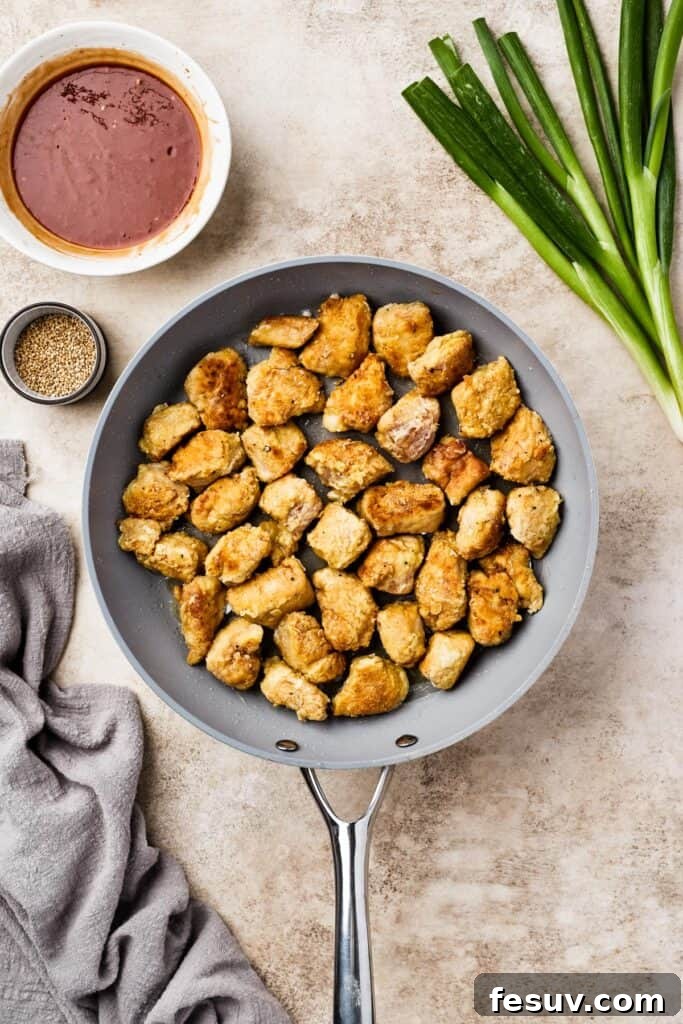
- Cook the Crispy Chicken: Heat your high-heat oil (canola or vegetable) in a large wok or a deep skillet over medium to medium-high heat. The oil is ready when it shimmers, or a small sprinkle of flour sizzles immediately upon contact. Carefully add the breaded chicken pieces in a single layer, making sure not to overcrowd the pan (cook in batches if necessary). Fry the chicken, tossing and stirring occasionally, for 5 to 7 minutes, or until each piece is beautifully golden brown, crispy, and cooked through. The internal temperature of chicken should reach 165°F (74°C).
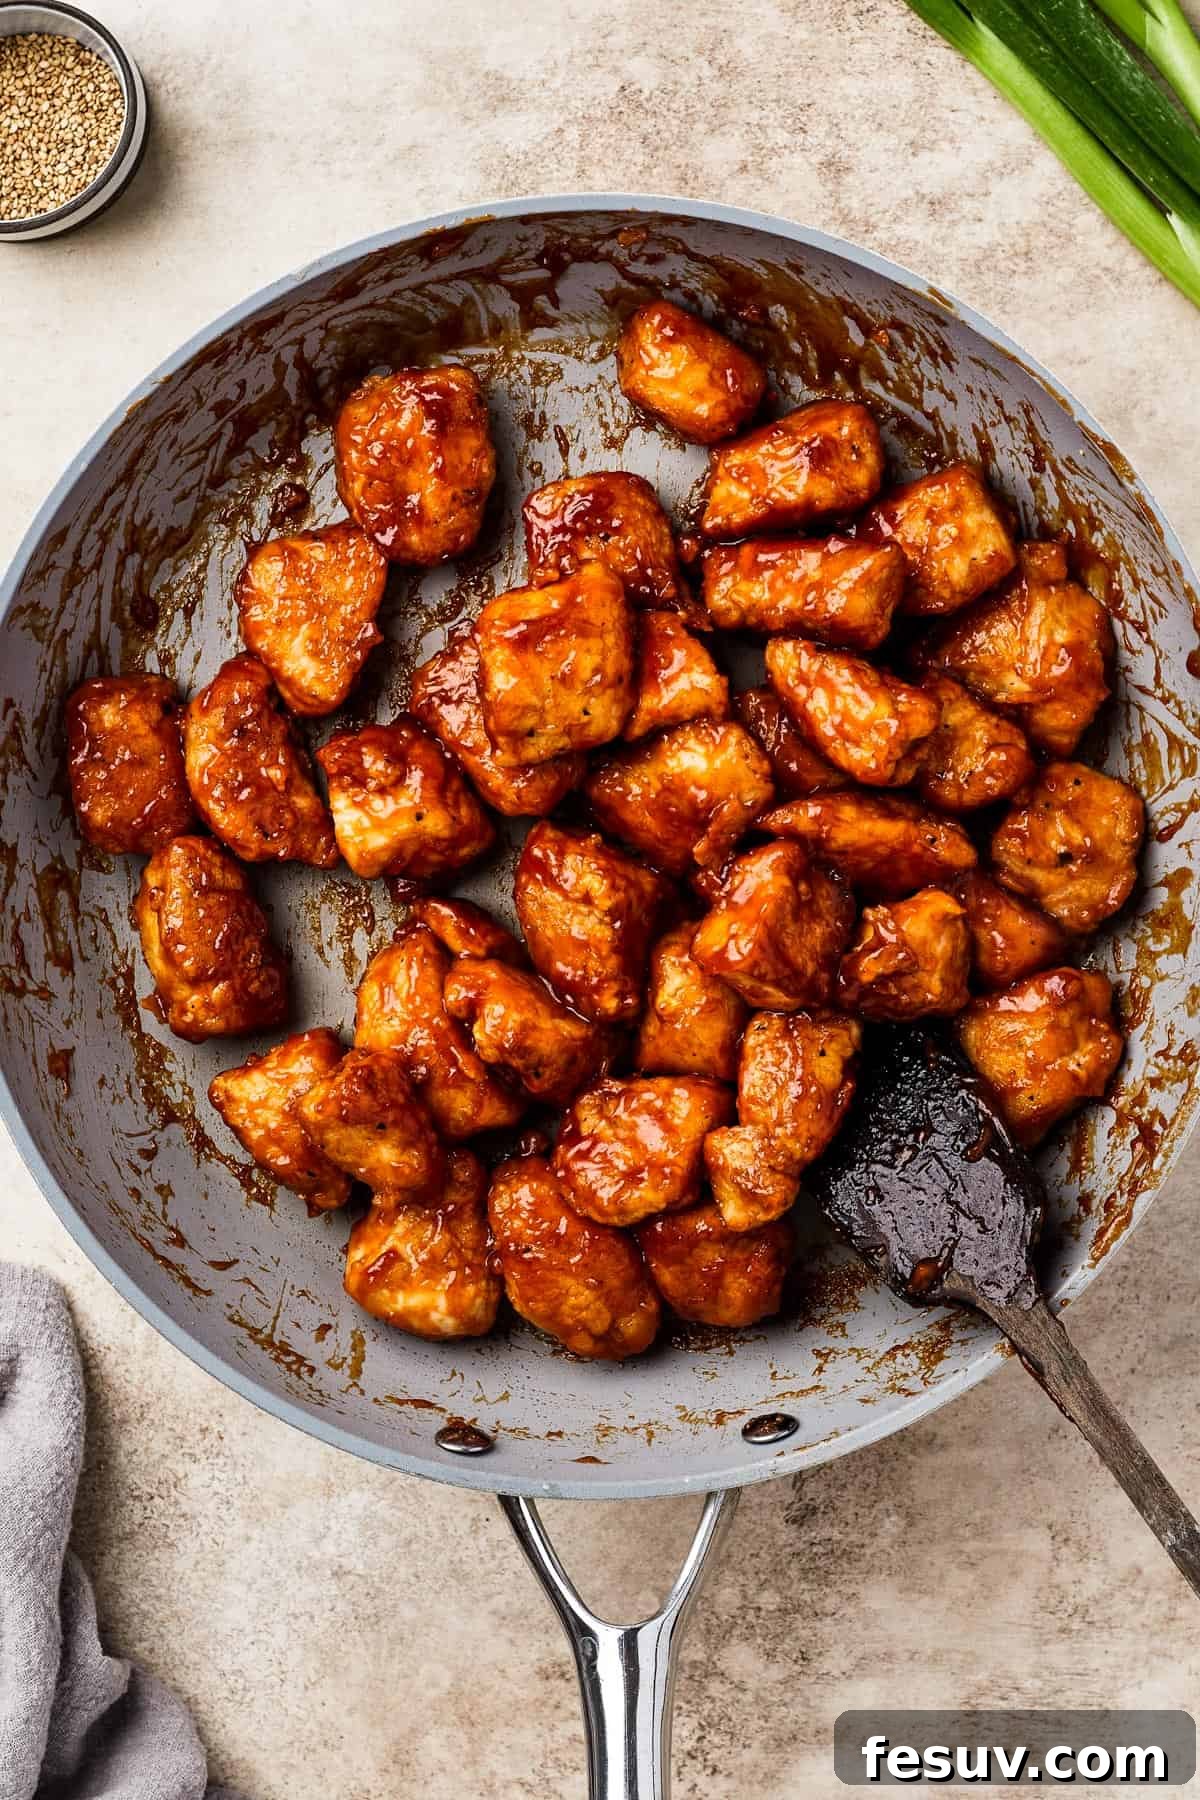
- Combine with the Irresistible Sauce: Once the chicken is perfectly cooked and crispy, reduce the heat to medium-low. Pour the reserved sweet and sour sauce mixture directly over the fried chicken in the wok or skillet. Gently stir to ensure all the crispy chicken pieces are thoroughly coated in the luscious sauce. Continue stirring occasionally for another 1 to 2 minutes, or until the sauce has thickened to a rich, glossy consistency that clings beautifully to the chicken.
- Serve and Enjoy!: Remove the wok or skillet from the heat. Garnish generously with toasted sesame seeds and freshly chopped green onions (if using) for added flavor and visual appeal. Serve your spectacular homemade sweet and sour chicken immediately while it’s hot and crispy. Get ready for a chorus of compliments!
Expert Tips for Your Best Sweet and Sour Chicken
Achieving truly spectacular sweet and sour chicken is easy with a few insider tips and tricks. Before you start cooking, take a moment to review these hacks to ensure your dish is as flavorful and crispy as possible:
- Opt for Chicken Thighs for Extra Juiciness: While chicken breast works beautifully, using boneless, skinless chicken thighs can elevate the dish to another level of richness and moisture. Dark meat retains moisture exceptionally well during frying, resulting in an even more tender and succulent bite.
- Mastering Oil Temperature for Perfect Crispiness: The right oil temperature is crucial for crispy chicken. To test your oil, drop a small pinch of the flour mixture into the hot oil. If it immediately sizzles and floats to the top, your oil is ready. If it sinks without much activity, the oil isn’t hot enough; if it burns instantly, it’s too hot. Maintain a consistent medium-high heat.
- Don’t Overcrowd the Pan: Frying chicken in batches is key to maintaining a high oil temperature and ensuring each piece gets beautifully crispy. Overcrowding cools down the oil, leading to soggy chicken rather than golden perfection.
- Customize Your Sauce: The beauty of homemade sweet and sour chicken is the ability to tailor the sauce to your exact preference. For a tangier sauce, add an extra splash of rice vinegar. For more sweetness, a bit more sugar or pineapple juice will do the trick. If you love a spicier kick, increase the sriracha. Always taste and adjust as you go!
- Speedy Sauce Substitution: In a pinch, good quality store-bought sweet and sour sauce can be a time-saver. After frying your chicken, simply reduce the heat to low and add 1 to 1 ½ cups of your favorite bottled sauce to the pan or wok. Toss until the chicken is coated and the sauce is heated through. While homemade is always recommended, this is a great quick fix.
- Boost Nutrition with Veggies: Adding fresh vegetables is an effortless way to enhance both the flavor and nutritional value of this dish. Towards the end of cooking the chicken, or even after the sauce has thickened, stir in some quickly stir-fried bell peppers, onions, broccoli florets, snow peas, or sliced mushrooms. They add a wonderful freshness and crunch.
- Gluten-Free Adaptation: Easily make this recipe gluten-free by substituting regular soy sauce with tamari or coconut aminos, and using a gluten-free all-purpose flour blend for the breading. Ensure all other ingredients (like oyster sauce and ketchup) are certified gluten-free.
Delicious Serving Suggestions for Your Sweet and Sour Chicken
This sweet and sour chicken is fantastic on its own, but pairing it with the right side dishes can transform it into a complete and delightful meal. Here are some yummy suggestions to round out your homemade takeout feast:
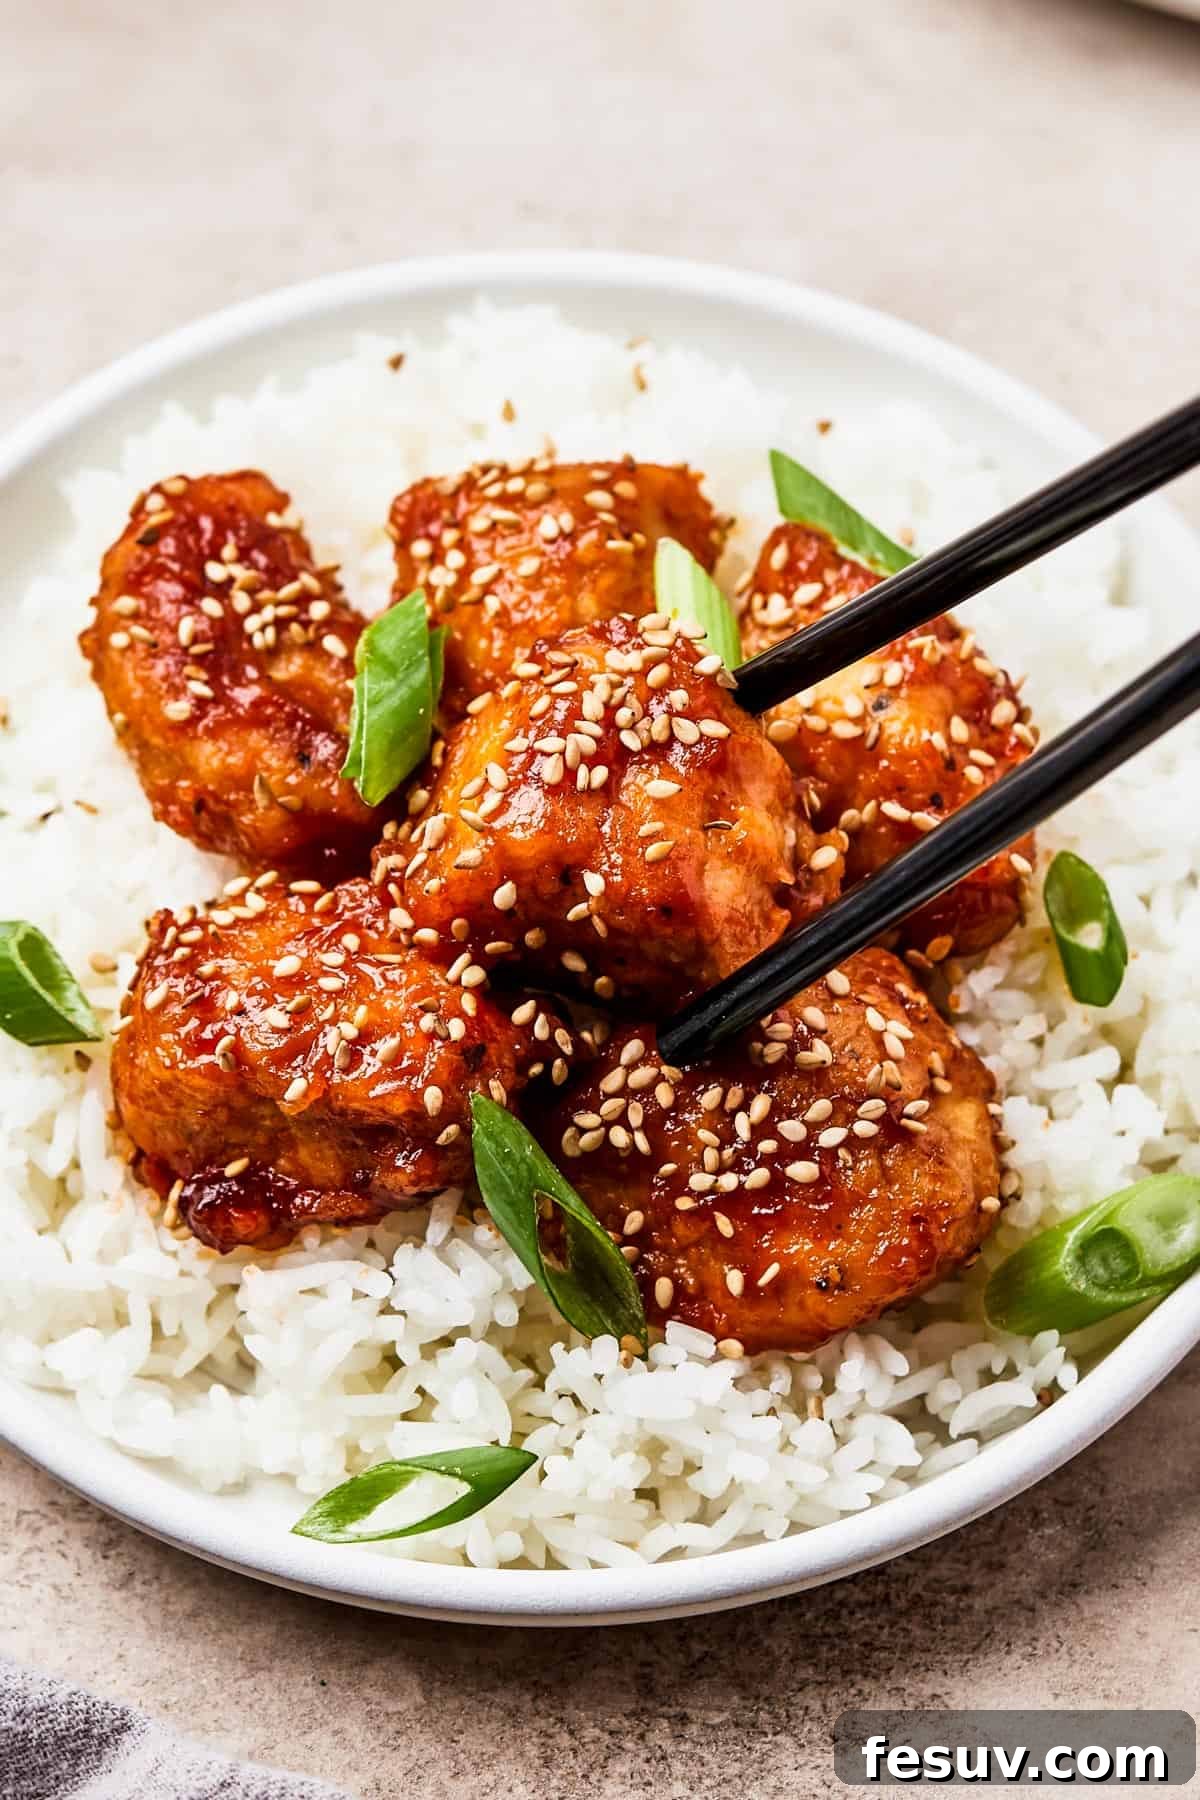
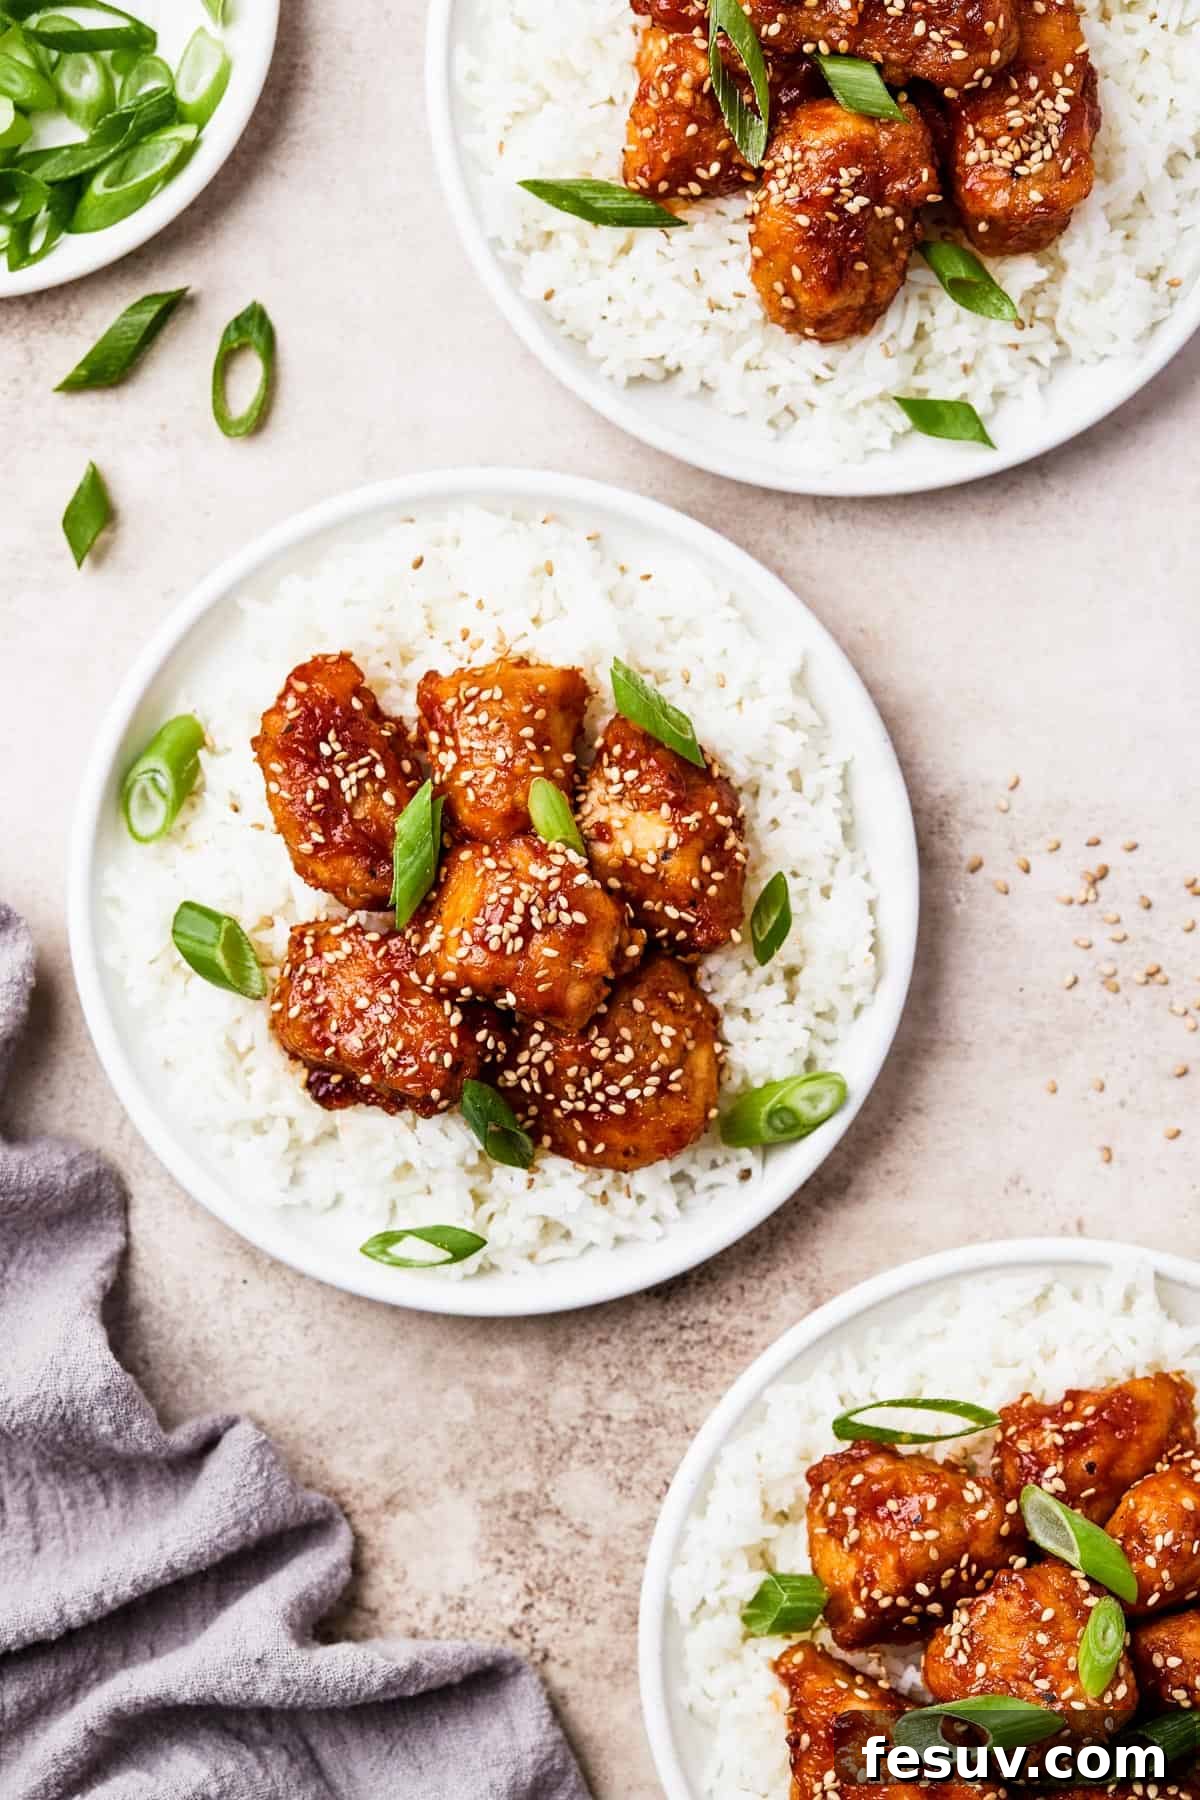
- Perfect Rice Pairings: A simple bed of steamed white rice is the classic accompaniment, with jasmine rice being a favorite for its aromatic fragrance and slightly sticky texture. For a healthier alternative, brown rice or even cauliflower rice can be excellent choices to soak up every last drop of that amazing sauce.
- Classic Egg Drop Soup: If you’re anything like us, a Chinese meal isn’t quite complete without a comforting bowl of soup. Our homemade Egg Drop Soup is incredibly easy to prepare and provides a light, savory contrast to the sweet and tangy chicken.
- Crispy Crab Rangoons: Elevate your appetizer game with these irresistible Crab Rangoon Wontons. Filled with a rich, savory cream cheese mixture and fried to a golden crisp, they are addictively delicious and a perfect match for sweet and sour chicken.
- Fresh Golden Veggie Spring Rolls: For an extra-special and vibrant side, these Golden Veggie Spring Rolls are a winner. Their savory filling and crunchy wrappers provide a delightful texture and flavor contrast to the main dish.
- Steamed or Stir-fried Vegetables: A simple side of steamed broccoli, green beans, or stir-fried mixed vegetables with a hint of garlic and soy sauce can add freshness and color to your plate.
- Asian Cucumber Salad: A light and refreshing cucumber salad, often dressed with rice vinegar, sesame oil, and a touch of soy sauce, can cut through the richness of the fried chicken beautifully.
Storing and Reheating Your Sweet and Sour Chicken
Enjoying leftovers of your delicious homemade sweet and sour chicken is simple with proper storage and reheating techniques:
- To Store: Allow the sweet and sour chicken to cool completely to room temperature (this prevents condensation and sogginess). Transfer the chicken and sauce to an airtight food storage bag or container. Refrigerate promptly for up to 3 days. For best texture, it’s sometimes ideal to store the chicken and sauce separately if you anticipate leftovers, adding the sauce just before reheating.
- To Reheat: For best results, reheat individual portions in a covered saucepan or skillet over low to medium-low heat. Add a splash of water or chicken broth if the sauce seems too thick. Stir occasionally, allowing the chicken to heat slowly and thoroughly until it’s piping hot. Alternatively, you can reheat in the microwave in short bursts, stirring in between, but this may result in a slightly less crispy texture for the chicken.
Freezing Sweet and Sour Chicken for Later
Sweet and sour chicken can be a fantastic make-ahead meal that freezes well, allowing you to enjoy a homemade takeout meal whenever the craving strikes:
- To Freeze: Ensure the cooked sweet and sour chicken has cooled completely. Pack it into freezer-safe bags or airtight containers, removing as much air as possible to prevent freezer burn. Label with the date and freeze for up to 3 months.
- Thawing and Reheating Frozen Chicken: Thaw the frozen sweet and sour chicken overnight in the refrigerator before reheating. Once thawed, reheat following the instructions above for refrigerated leftovers. Keep in mind that while the chicken and sauce freeze well, any vegetables added to the dish (like bell peppers or broccoli) may become softer or mushy after freezing and thawing. For optimal texture, you might consider freezing only the chicken and sauce, then adding fresh, stir-fried vegetables when you reheat the dish.
Sweet and Sour Chicken Recipe
This homemade Sweet and Sour Chicken is a family favorite, made with a perfectly-balanced stir-fry sauce and tender, juicy, white meat chicken.
Prep Time: 15 minutes
Cook Time: 10 minutes
Total Time: 30 minutes
Servings: 6
Ingredients
- ¼ cup less sodium soy sauce
- 2 pounds boneless skinless chicken breast, cut into 1-inch chunks
- ⅓ cup pineapple juice
- 4 tablespoons ketchup
- 2 tablespoons rice vinegar
- 2 tablespoons oyster sauce
- 2 tablespoons sugar
- 1 tablespoon cornstarch
- 2 teaspoons sriracha
- 2 tablespoons canola or vegetable oil
- 2 cups flour
- 1 teaspoon salt
- 1 teaspoon pepper
- 1 egg, whisked with 2 tablespoons of water
- 2 to 3 tablespoons toasted sesame seeds
- Chopped green onion
Instructions
- Toss the soy sauce and chicken in a large bowl, and cover. Let marinate for 5 to 10 minutes while you prepare the other ingredients.
- In a medium-sized bowl, whisk together the pineapple juice, ketchup, rice vinegar, oyster sauce, sugar, cornstarch, and sriracha. Set aside.
- In a large bowl, whisk together the flour, salt, and pepper. Divide the flour mixture evenly into two bowls.
- Remove the chicken from the soy sauce marinade and lightly pat dry with paper towels. Toss the chicken pieces in one of the flour mixture bowls, completely coating the chicken. This is your chicken’s first coating of flour.
- Next, arrange an assembly line for dredging your chicken. Dip each flour-coated piece of chicken into the whisked egg, then dip it into the second bowl of flour mixture, and place the coated chicken on a plate. Repeat until all the chicken pieces are dredged.
- In a large wok or a skillet, heat oil over medium heat. Once the oil is heated and shimmering, add the chicken. Fry the chicken on all sides, tossing and stirring occasionally for about 5 to 7 minutes, or until crispy, golden brown, and cooked through.
- Decrease the heat to medium-low. Add the previously prepared pineapple juice mixture and the chicken pieces to the skillet; stir until the chicken pieces are evenly coated. Stir occasionally until the sauce has thickened, another 1 to 2 minutes.
- Remove from heat, and garnish with sesame seeds and chopped green onions. Serve immediately.
Nutrition Information
Calories: 435kcal | Carbohydrates: 42g | Protein: 39g | Fat: 11g | Saturated Fat: 2g | Polyunsaturated Fat: 4g | Monounsaturated Fat: 3g | Trans Fat: 1g | Cholesterol: 124mg | Sodium: 1290mg | Potassium: 691mg | Fiber: 2g | Sugar: 6g | Vitamin A: 90IU | Vitamin C: 4mg | Calcium: 53mg | Iron: 3mg
Nutritional info is an estimate and provided as courtesy. Values may vary according to the ingredients and tools used. Please use your preferred nutritional calculator for more detailed info.
More Takeout-Inspired Favorites to Try
If you loved this homemade sweet and sour chicken, you’ll definitely want to explore these other fantastic takeout-inspired recipes that are perfect for weeknight dinners:
- Pad See Ew: A beloved Thai stir-fried noodle dish with wide rice noodles, tender meat, and Chinese broccoli, all coated in a savory, slightly sweet sauce.
- Shrimp Fried Rice with Pineapple: A vibrant and flavorful fried rice recipe packed with juicy shrimp, sweet pineapple chunks, and fluffy rice, making for a quick and satisfying meal.
- Instant Pot Mongolian Beef: Achieve tender, savory, and slightly spicy beef in a fraction of the time with this easy Instant Pot recipe, just like your favorite restaurant version.