
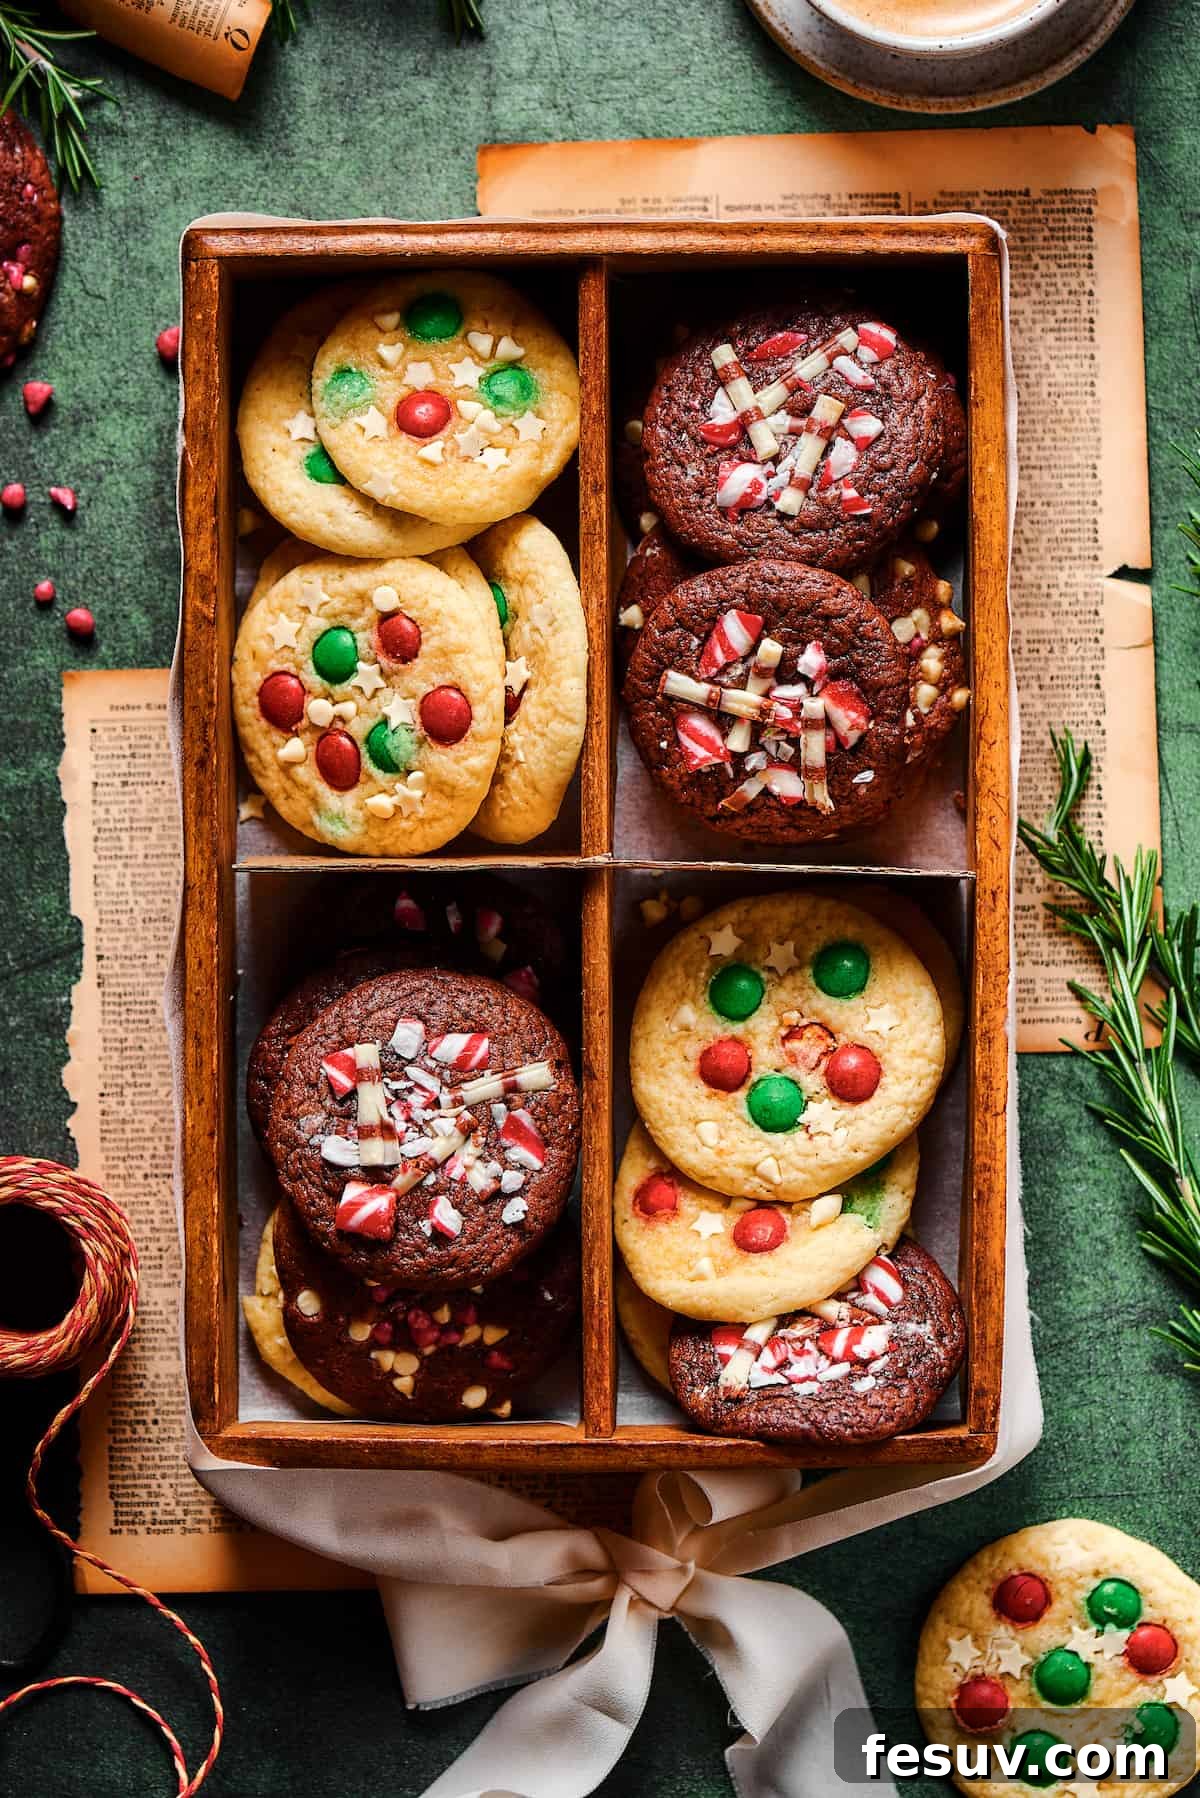
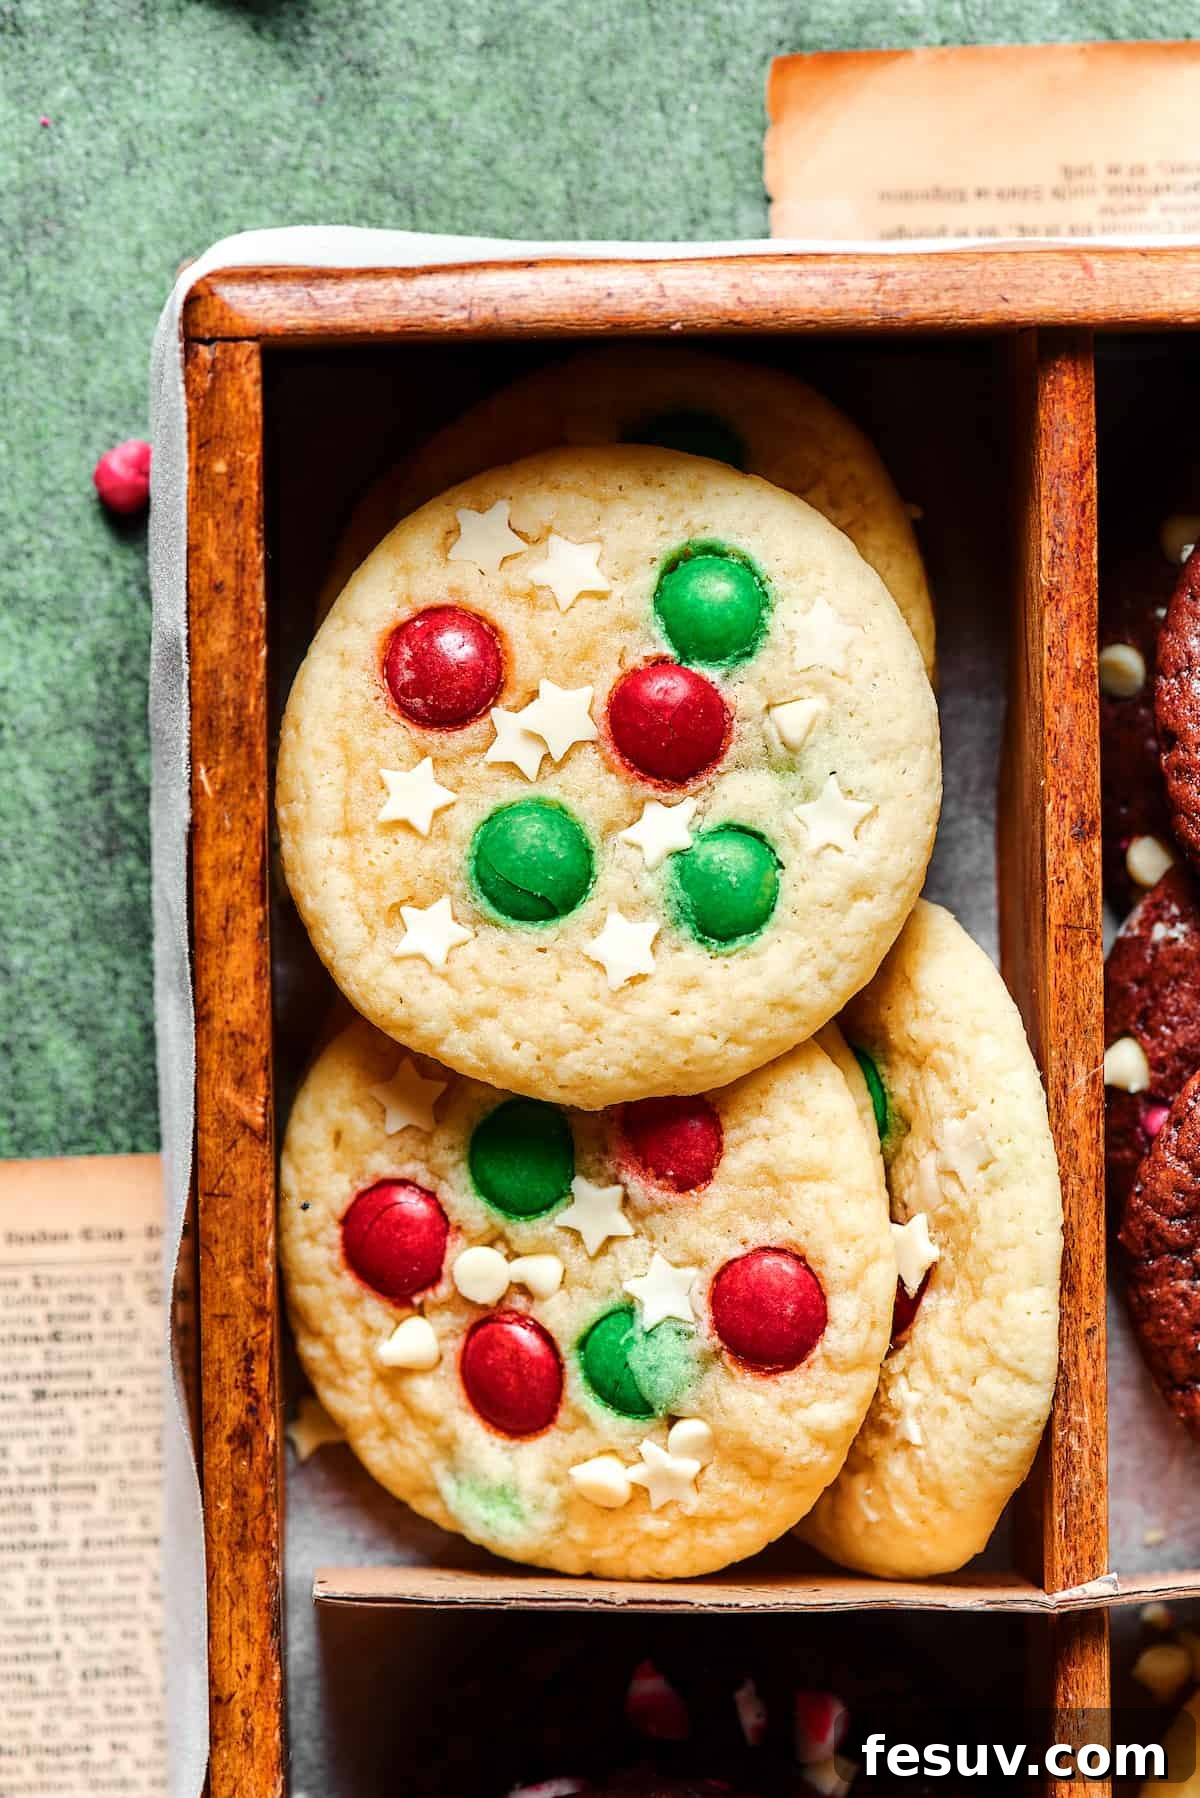
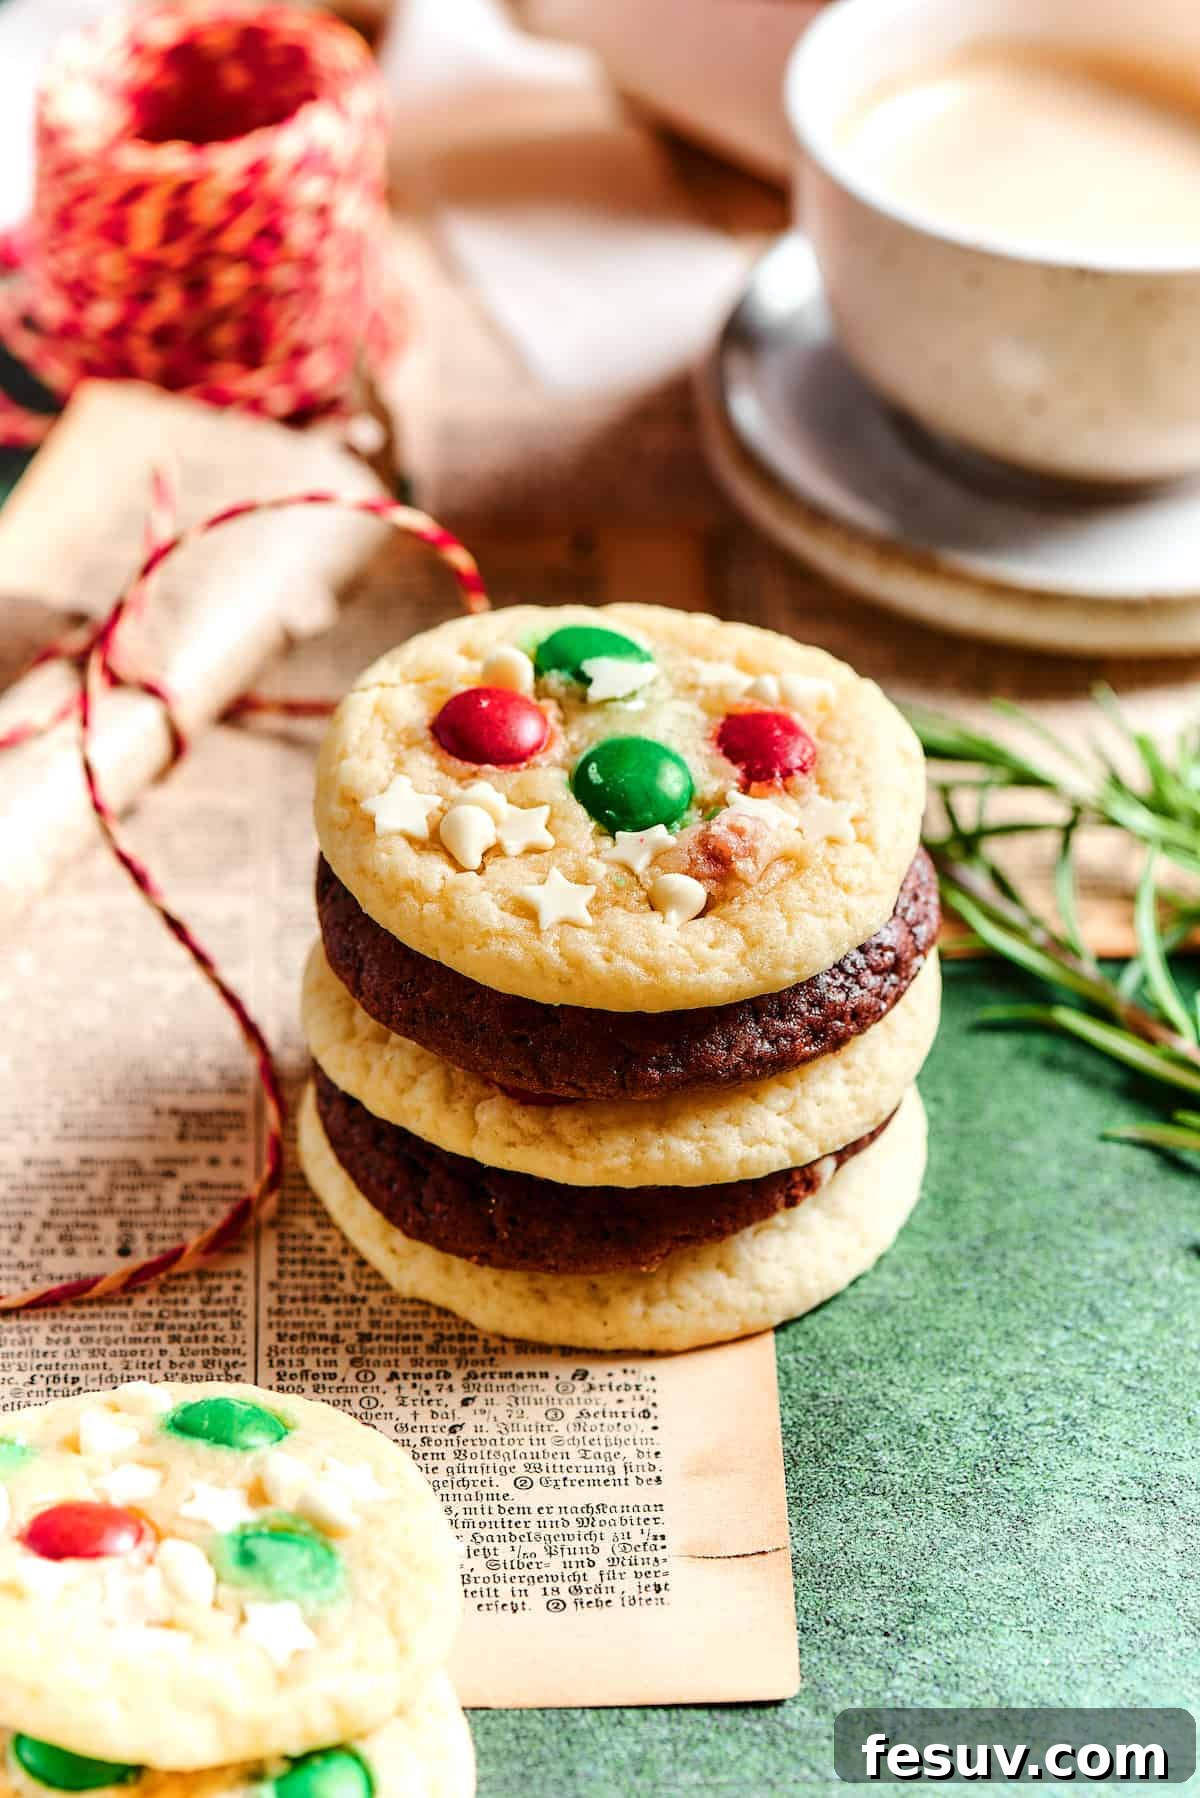
Unlock the secret to effortless holiday baking with our incredibly simple recipe for Vanilla and Chocolate Christmas Cake Mix Cookies. These delightful treats are not only studded with festive red and green M&Ms but also artfully decorated with an array of holiday goodies, making them an instant showstopper at any cookie exchange. Forget complicated recipes that eat into your precious holiday time; these cookies promise maximum festive cheer with minimal fuss. They’re the perfect companion to classic stained glass cookies, adding a vibrant burst of color and flavor to your seasonal spread.
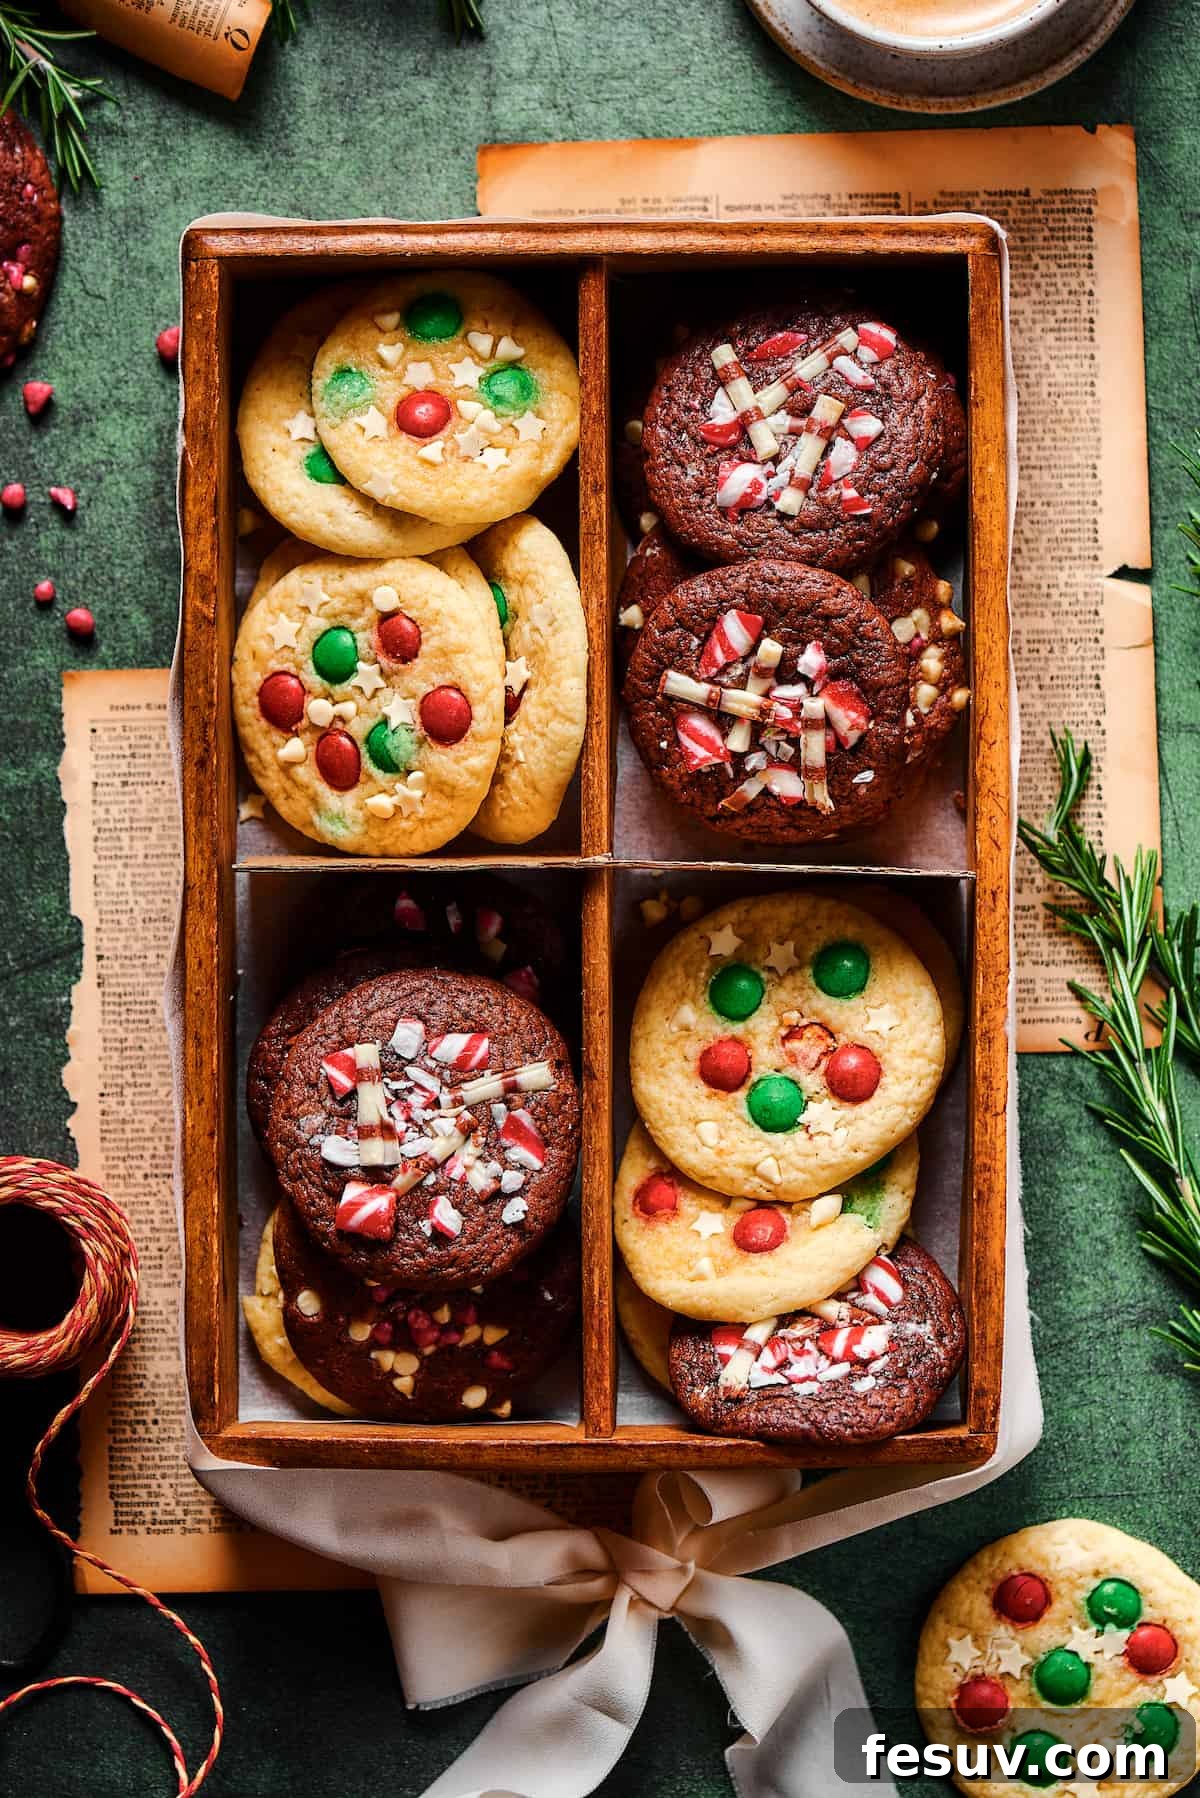
Effortless Holiday Magic: Super Easy Christmas Cookies from a Cake Mix!
There’s an undeniable charm to a homemade cookie, especially during the festive season. But what if you could achieve that comforting, irresistible taste and texture without spending hours in the kitchen? Enter the humble cake mix – your secret weapon for creating exceptionally soft, moist, and flavorful cookies with remarkable ease. This isn’t just any cookie recipe; it’s a celebration of convenience and deliciousness, perfectly tailored for the busy holiday period.
I confess a profound love for any kind of chocolate chip cookie, but M&M cookies hold a special place in my heart. Perhaps it’s the satisfying crunch of the candy shell giving way to creamy chocolate, or simply the vibrant burst of color they bring. Either way, M&Ms are a fantastic way to instantly color-coordinate your baked goods for any occasion. Planning an Easter brunch? Grab pastel M&Ms. A Valentine’s Day party? Pink and red, of course! And for Christmas, our classic red-and-green M&M cookies are an absolute must. They bring instant festive cheer to every bite.
The real game-changer here, however, is the cake mix. If you’re searching for a shortcut to infuse your cookies with an incredible depth of flavor and that coveted soft, chewy texture, cake mix is your answer. It’s expertly formulated to bake up fluffy and moist, and with just a few simple adjustments, it transforms into an outstanding cookie dough. This recipe not only demonstrates how to harness this fantastic hack but also shows you how to create both classic vanilla and rich chocolate varieties, giving you double the holiday deliciousness.
Gather Your Baking Essentials: What You’ll Need
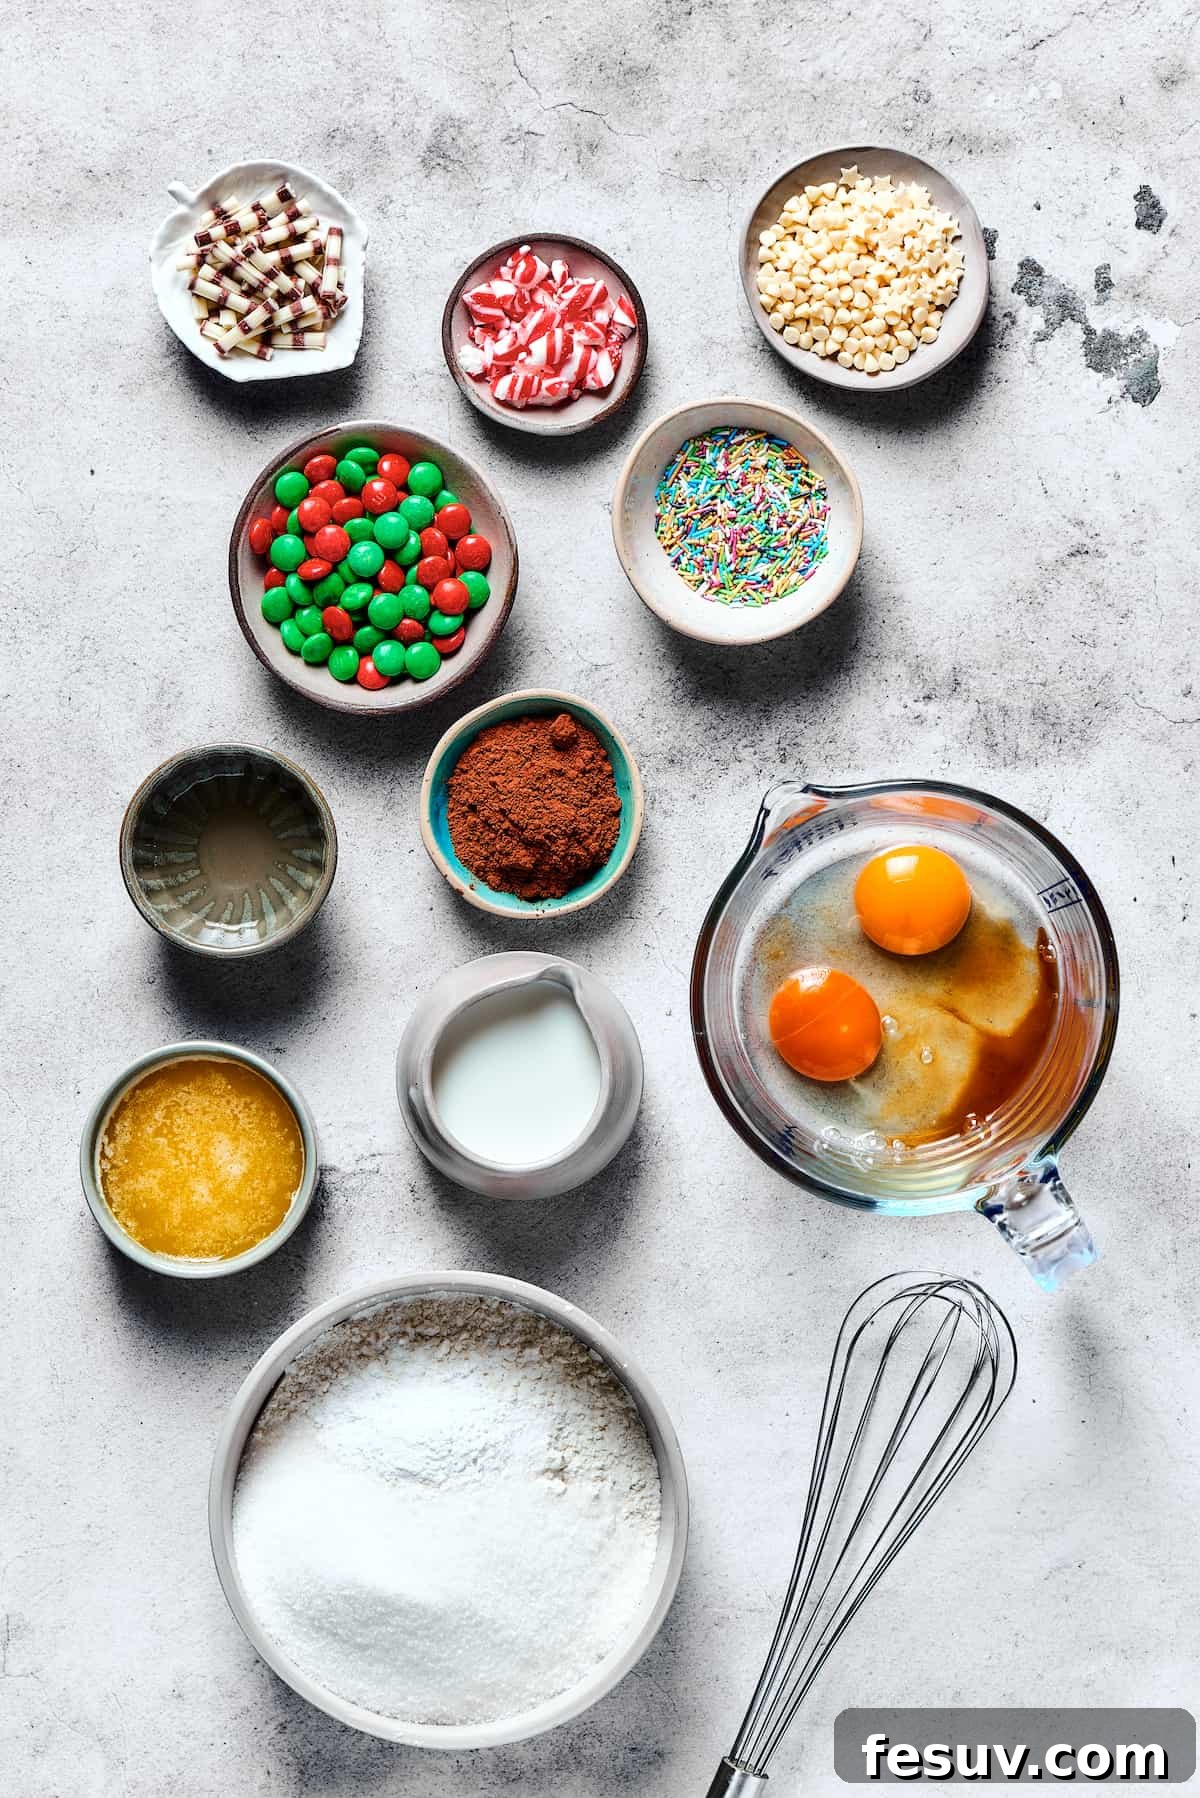
Preparing these cake mix cookies requires only a handful of common pantry staples, proving that extraordinary flavor doesn’t need an elaborate shopping list. Each ingredient plays a crucial role in creating cookies that are truly ah-mazing and perfect for sharing. Here’s a detailed look at what you’ll need to make these festive holiday treats:
- Yellow Cake Mix: One standard box of yellow cake mix forms the convenient base of our cookies. This shortcut provides both flavor and an ideal texture without the need for multiple dry ingredients.
- Baking Powder: A touch of baking powder is essential for ensuring your cookies achieve a light, airy, and wonderfully soft texture that melts in your mouth.
- Salt: Just a teaspoon of salt helps to balance the sweetness and enhance all the other flavors in the cookies, creating a more complex and satisfying taste.
- Eggs: Two large, whole eggs are vital binders, bringing the dough together, adding richness, and contributing to the cookie’s overall structure and chewiness.
- Unsalted Butter and Vegetable Oil: We use both for a reason! Melted unsalted butter infuses a rich, buttery flavor, while vegetable oil adds crucial moisture, ensuring your cookies stay perfectly soft and tender.
- Milk: Room temperature milk helps to create a smooth, homogenous batter. Make sure it’s not cold, as this can seize the melted butter and affect the dough’s consistency.
- Pure Vanilla Extract: A generous teaspoon of pure vanilla extract elevates the flavor profile, adding a warm, aromatic note that is a hallmark of classic, delicious cookies.
- Cocoa Powder: For our delectable chocolate variety, 1½ tablespoons of your favorite unsweetened cocoa powder will transform half of the dough into a rich, decadent treat.
- Red and Green M&Ms: Approximately one cup of these festive candies provides both a delightful chocolatey crunch and the iconic red and green hues that instantly scream “Christmas!”
- Holiday Decorations: Get creative with your cookie decorating! A half-cup of mini white chocolate chips, crushed candy canes, and an assortment of Christmas-themed sprinkles are fantastic for adding extra sparkle and texture.
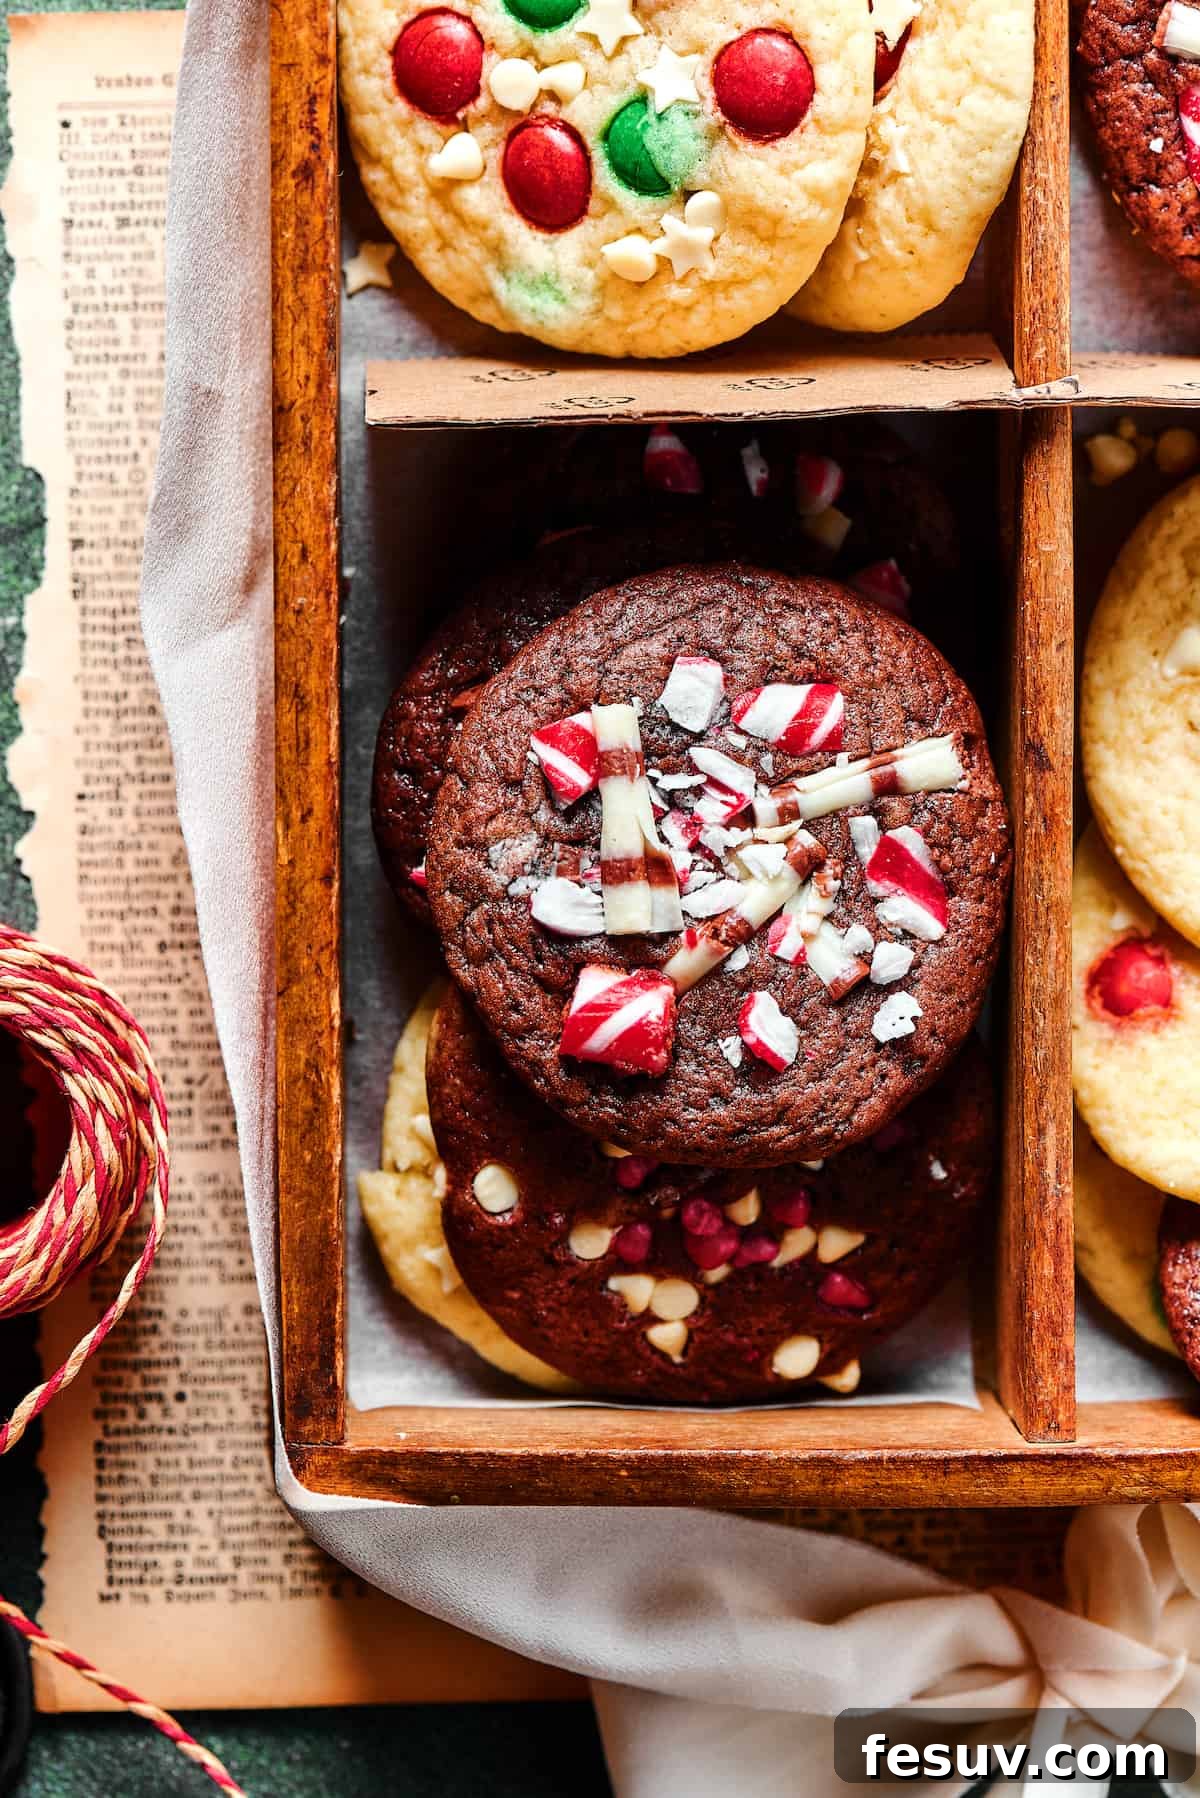
Navigating Cake Mix Sizes: The Standard Box Dilemma
It’s completely understandable if you find yourself puzzled by the fluctuating sizes of cake mix boxes in grocery stores today. For many years, the standard size for a box of cake mix was 18.25 ounces. However, in recent times, manufacturers have largely transitioned to a new, smaller standard of 15.25 ounces. This change can often lead to confusion for bakers following older or traditional recipes.
But fear not – if the 15.25-ounce box is all you can find, your Christmas Cake Mix Cookies will still turn out wonderfully! The recipe is forgiving enough to accommodate this slight difference. The primary effect of using a smaller box will be a minor alteration in the liquid-to-dry ingredient ratio, potentially resulting in cookies that are a tiny bit thinner than anticipated. While still delicious, some bakers prefer a slightly thicker, chewier cookie.
To counteract this, and achieve the perfect consistency and thickness, we have a simple trick: add approximately ¼ cup of additional all-purpose flour to your batter. This extra flour helps to balance out the reduced dry ingredients from the smaller cake mix box, bringing the dough back to its ideal texture and ensuring your cookies have that delightful plumpness and chewiness. So, whether you find the classic 18.25-ounce box or the newer 15.25-ounce size, you can proceed with confidence, knowing your festive cookies will be a triumph.
Baking Joy: How to Craft Your Christmas Cake Mix Cookies
Making these festive cookies is an absolute breeze, making it an ideal activity to share with family, especially the little ones, during the holiday season. The straightforward steps guarantee a fun and rewarding baking experience, culminating in a batch of irresistible treats. Here’s a detailed, step-by-step guide to bring these delightful cookies to life:
- Preparation is Key: Before diving into the dough, ensure your oven is preheated to 350°F (175°C). Line a sturdy baking sheet with parchment paper to prevent sticking and ensure even baking. Setting this aside now makes the baking process seamless.
- Combine the Dry Wonders: In a spacious mixing bowl, meticulously combine the yellow cake mix, baking powder, and salt. Use a whisk to gently blend these dry ingredients until they are thoroughly incorporated. This step ensures an even distribution of leavening agents and flavor throughout your cookies. Set this bowl aside for now.
- Whisk the Wet Ingredients to Perfection: In a separate, large bowl, lightly beat the two large eggs. Then, introduce the melted unsalted butter, vegetable oil, room temperature milk, and pure vanilla extract. Using a hand mixer or a stand mixer fitted with a paddle attachment, beat this mixture for approximately 3 minutes until it achieves a wonderfully smooth and creamy consistency. This emulsification is crucial for the cookies’ soft texture.
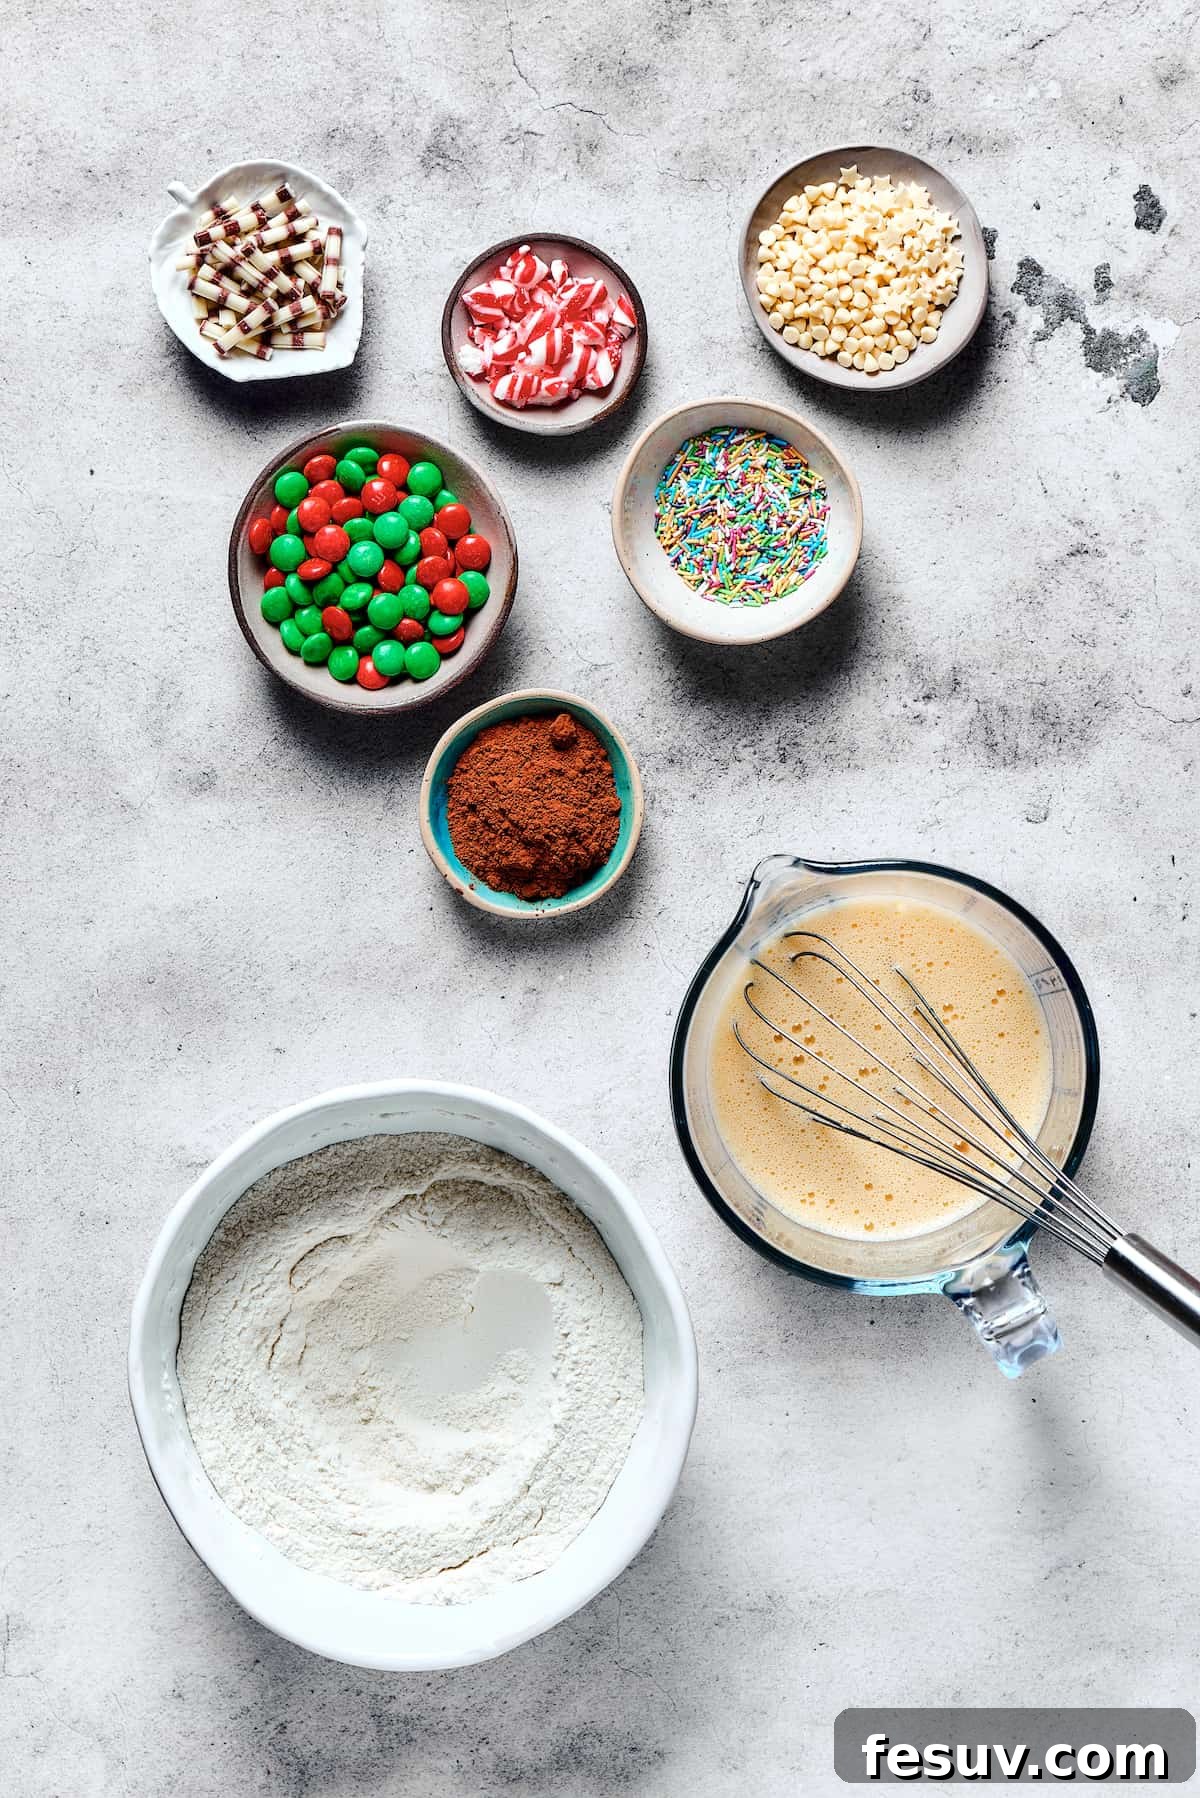
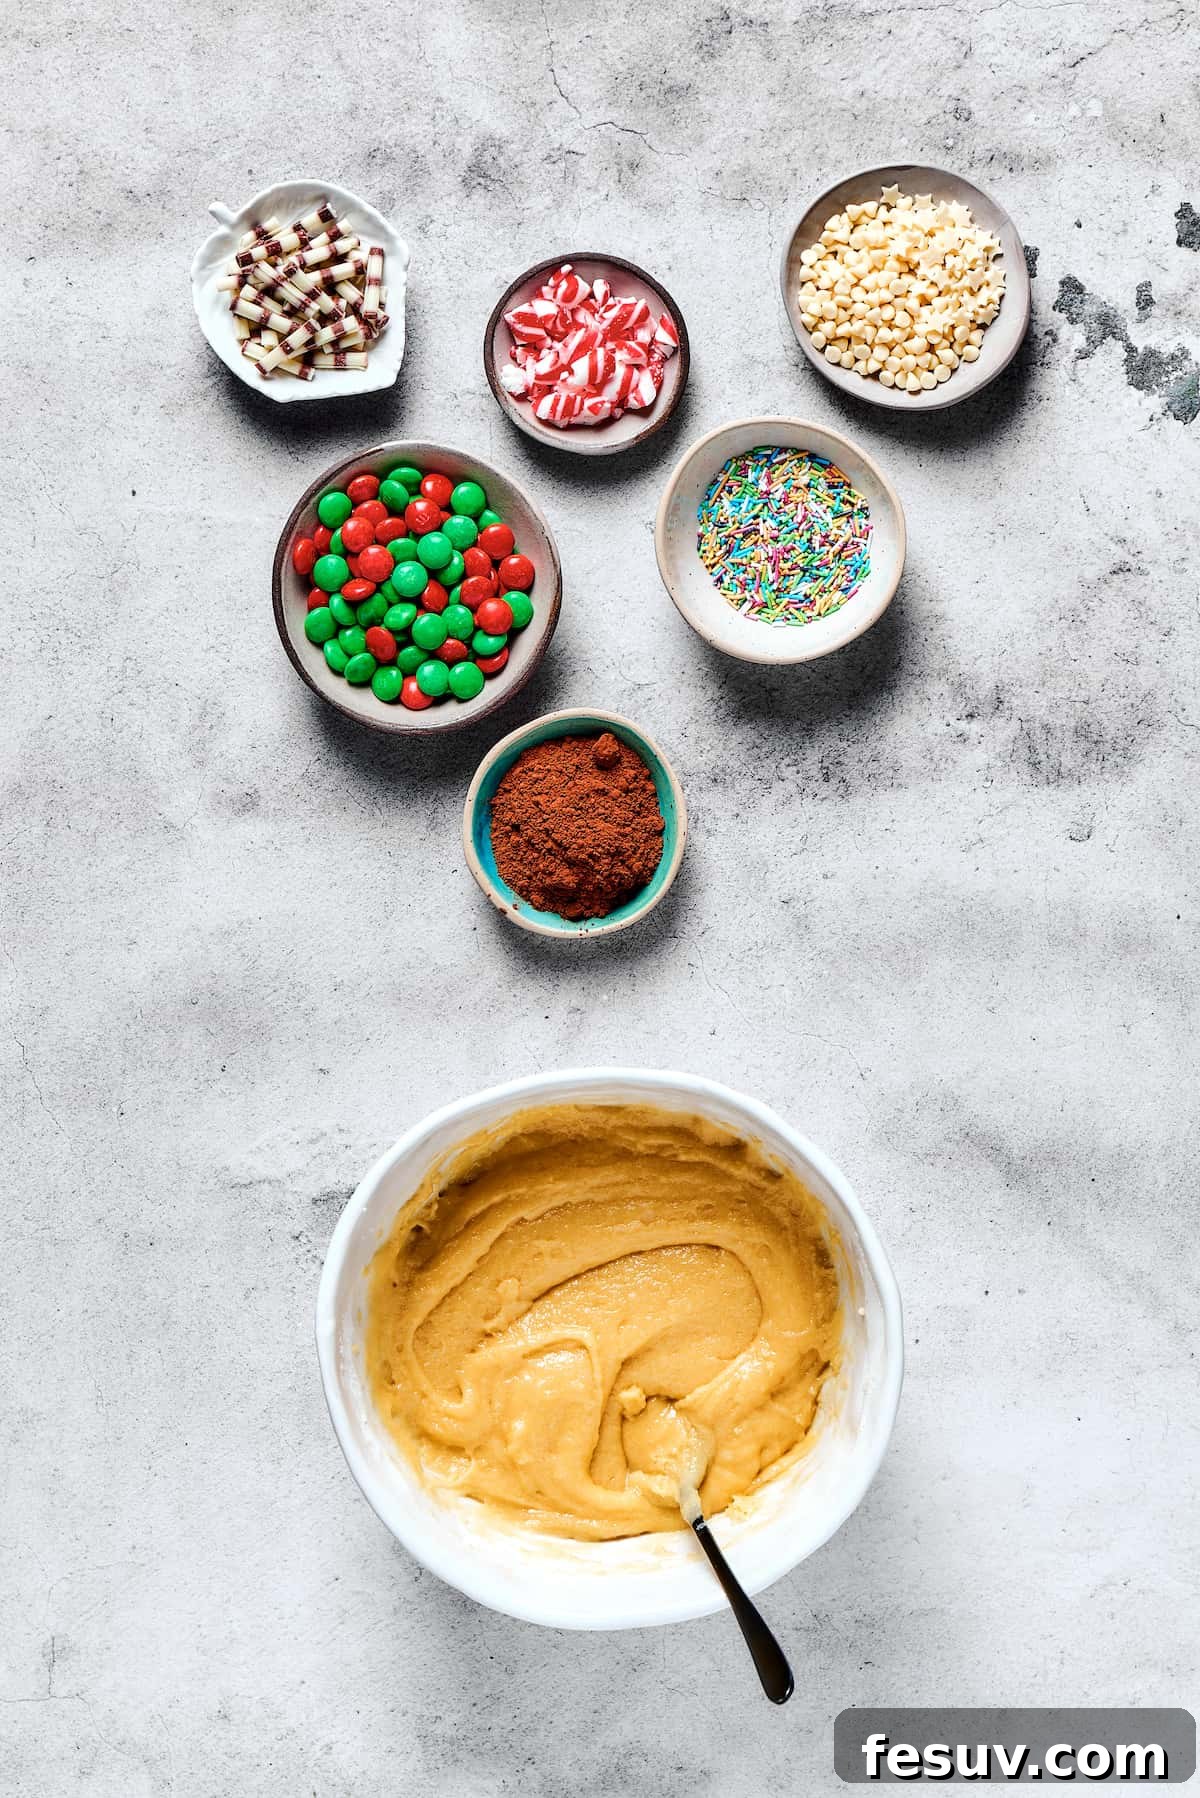
- Unite the Mixtures: Gently pour the wet ingredient mixture into the bowl containing your dry ingredients. Using a large spoon or a sturdy rubber spatula, carefully mix until the wet and dry components are just combined, forming a cohesive cookie dough. Be careful not to overmix, as this can lead to tougher cookies.
- Introduce the Chocolate Magic: Now for the exciting part – creating two distinct flavors! Divide your freshly made cookie dough into two equal portions. To one half, add the cocoa powder. Mix it in with a spoon or spatula until the cocoa is fully incorporated, transforming that portion of the dough into a rich, velvety chocolate delight.
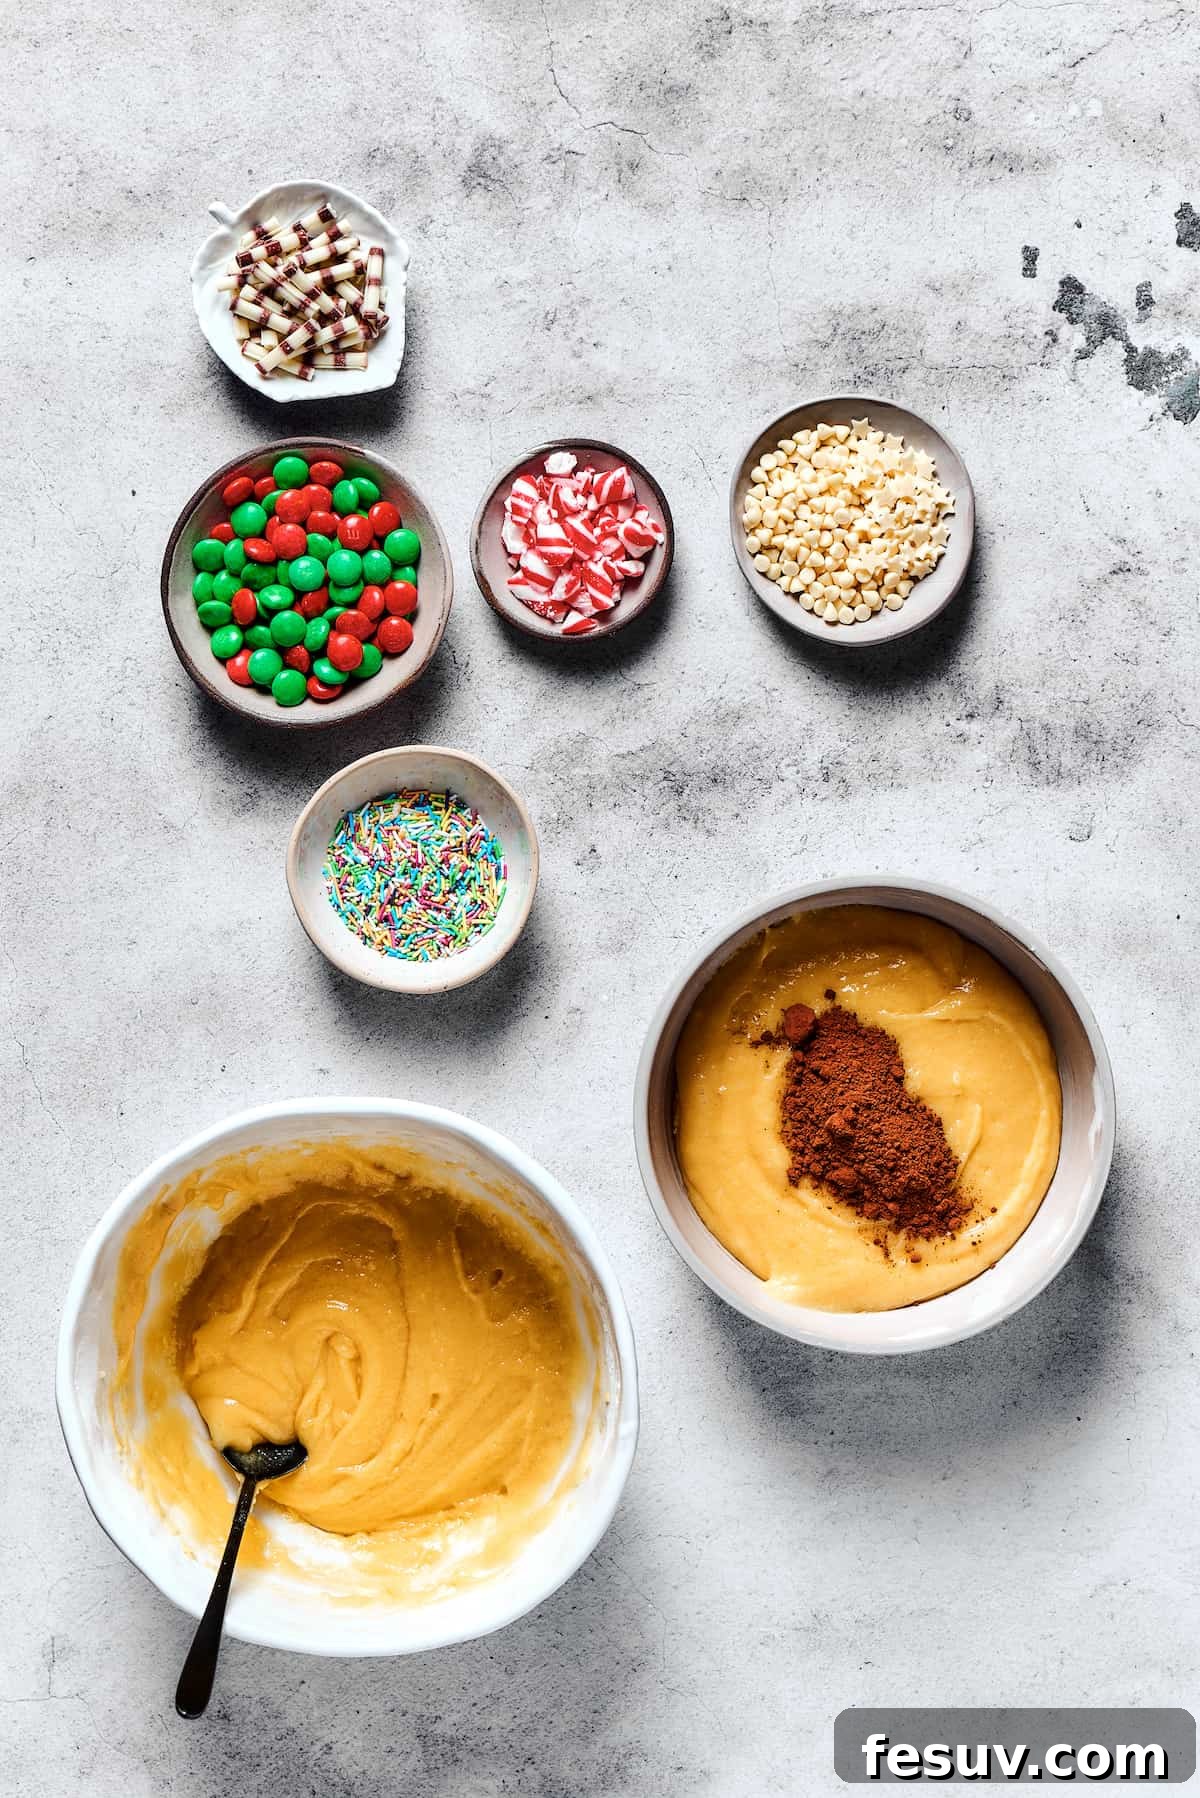
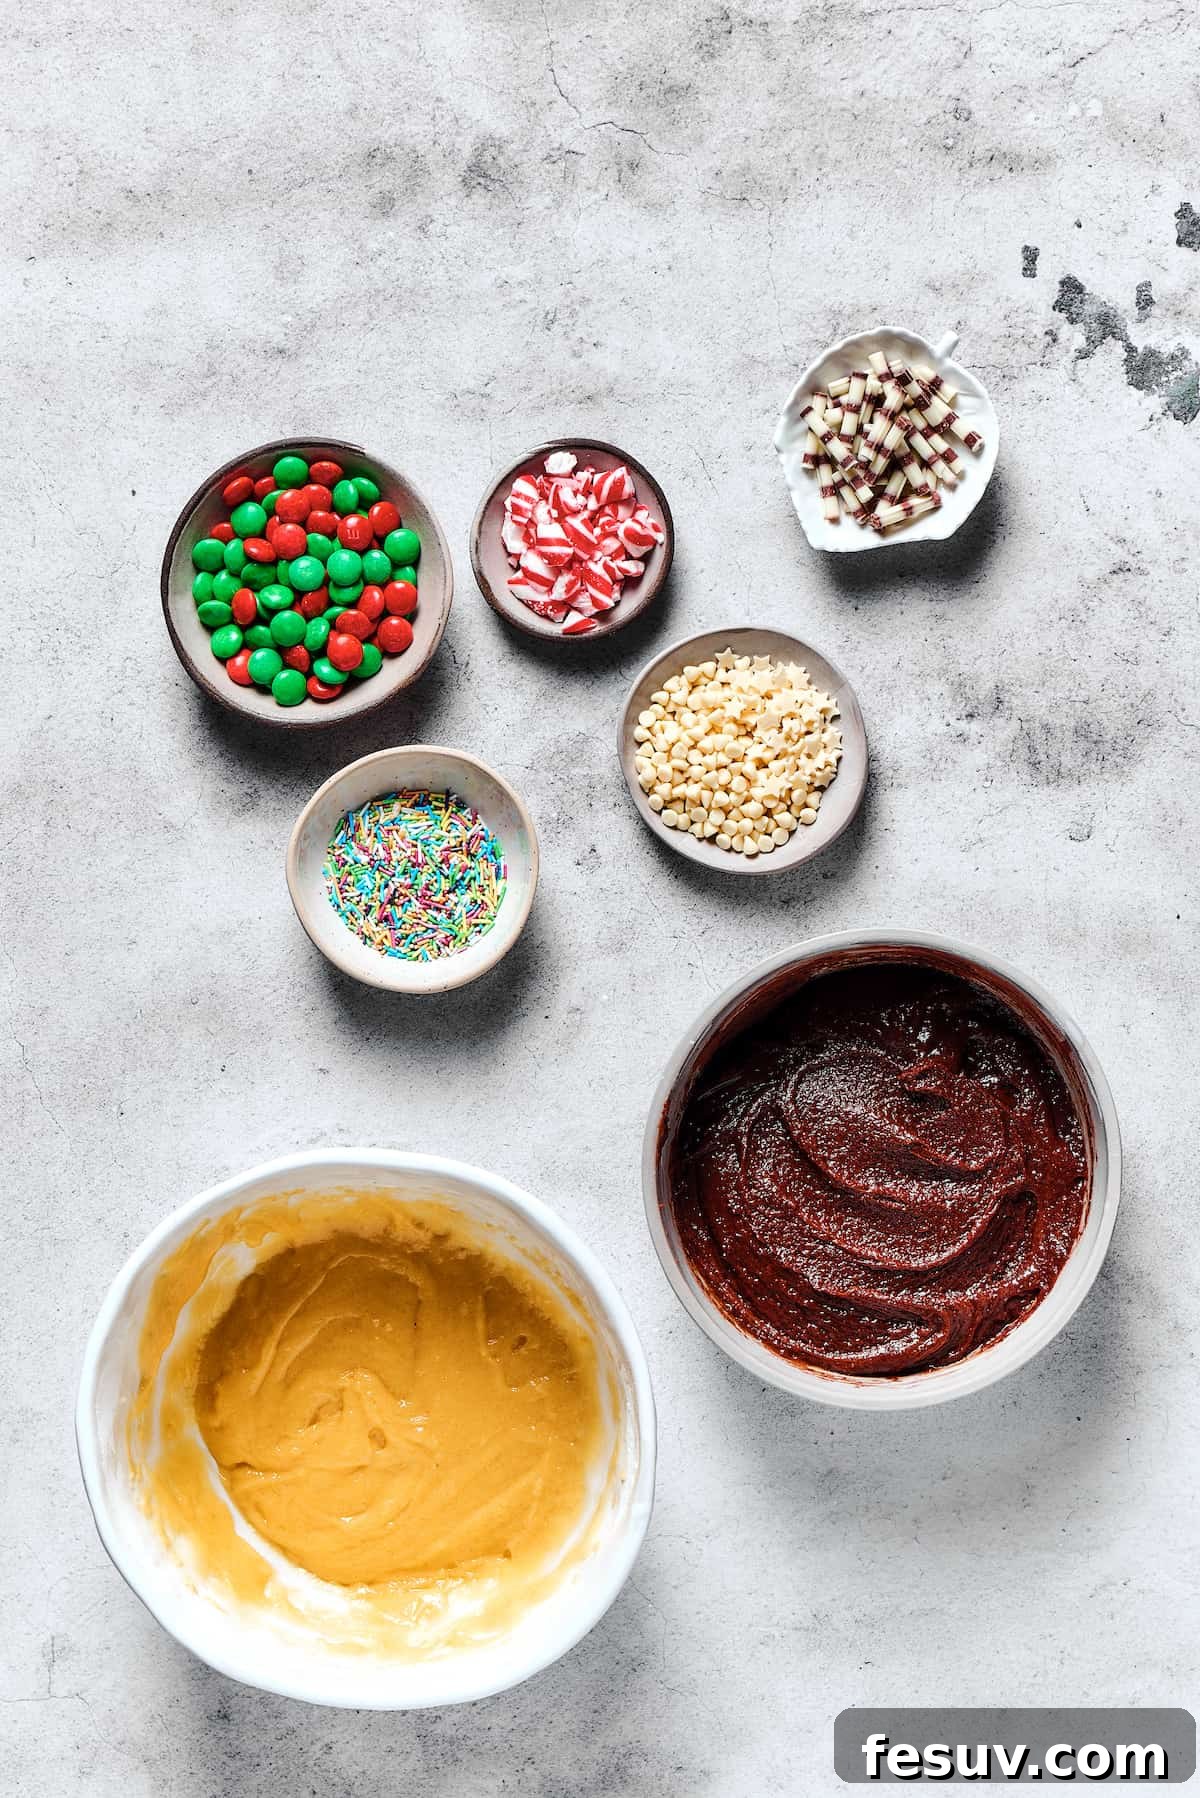
- Shape and Arrange Your Festive Treats: Using your hands, roll approximately one tablespoon of dough for each cookie into neat balls. Arrange these dough balls on your prepared parchment-lined baking sheet, ensuring they are spaced about 2 inches apart to allow for spreading. You may need to bake in batches or utilize multiple baking sheets if you’re making a large quantity.
- Deck the Cookies with Holiday Cheer: Gently flatten each dough ball slightly with the palm of your hand. Now comes the fun part – decorating! Press vibrant red and green M&Ms, glistening white chocolate chips, crushed candy cane pieces, or any other festive decorations you desire onto the surface of each cookie. This adds both visual appeal and delightful texture.
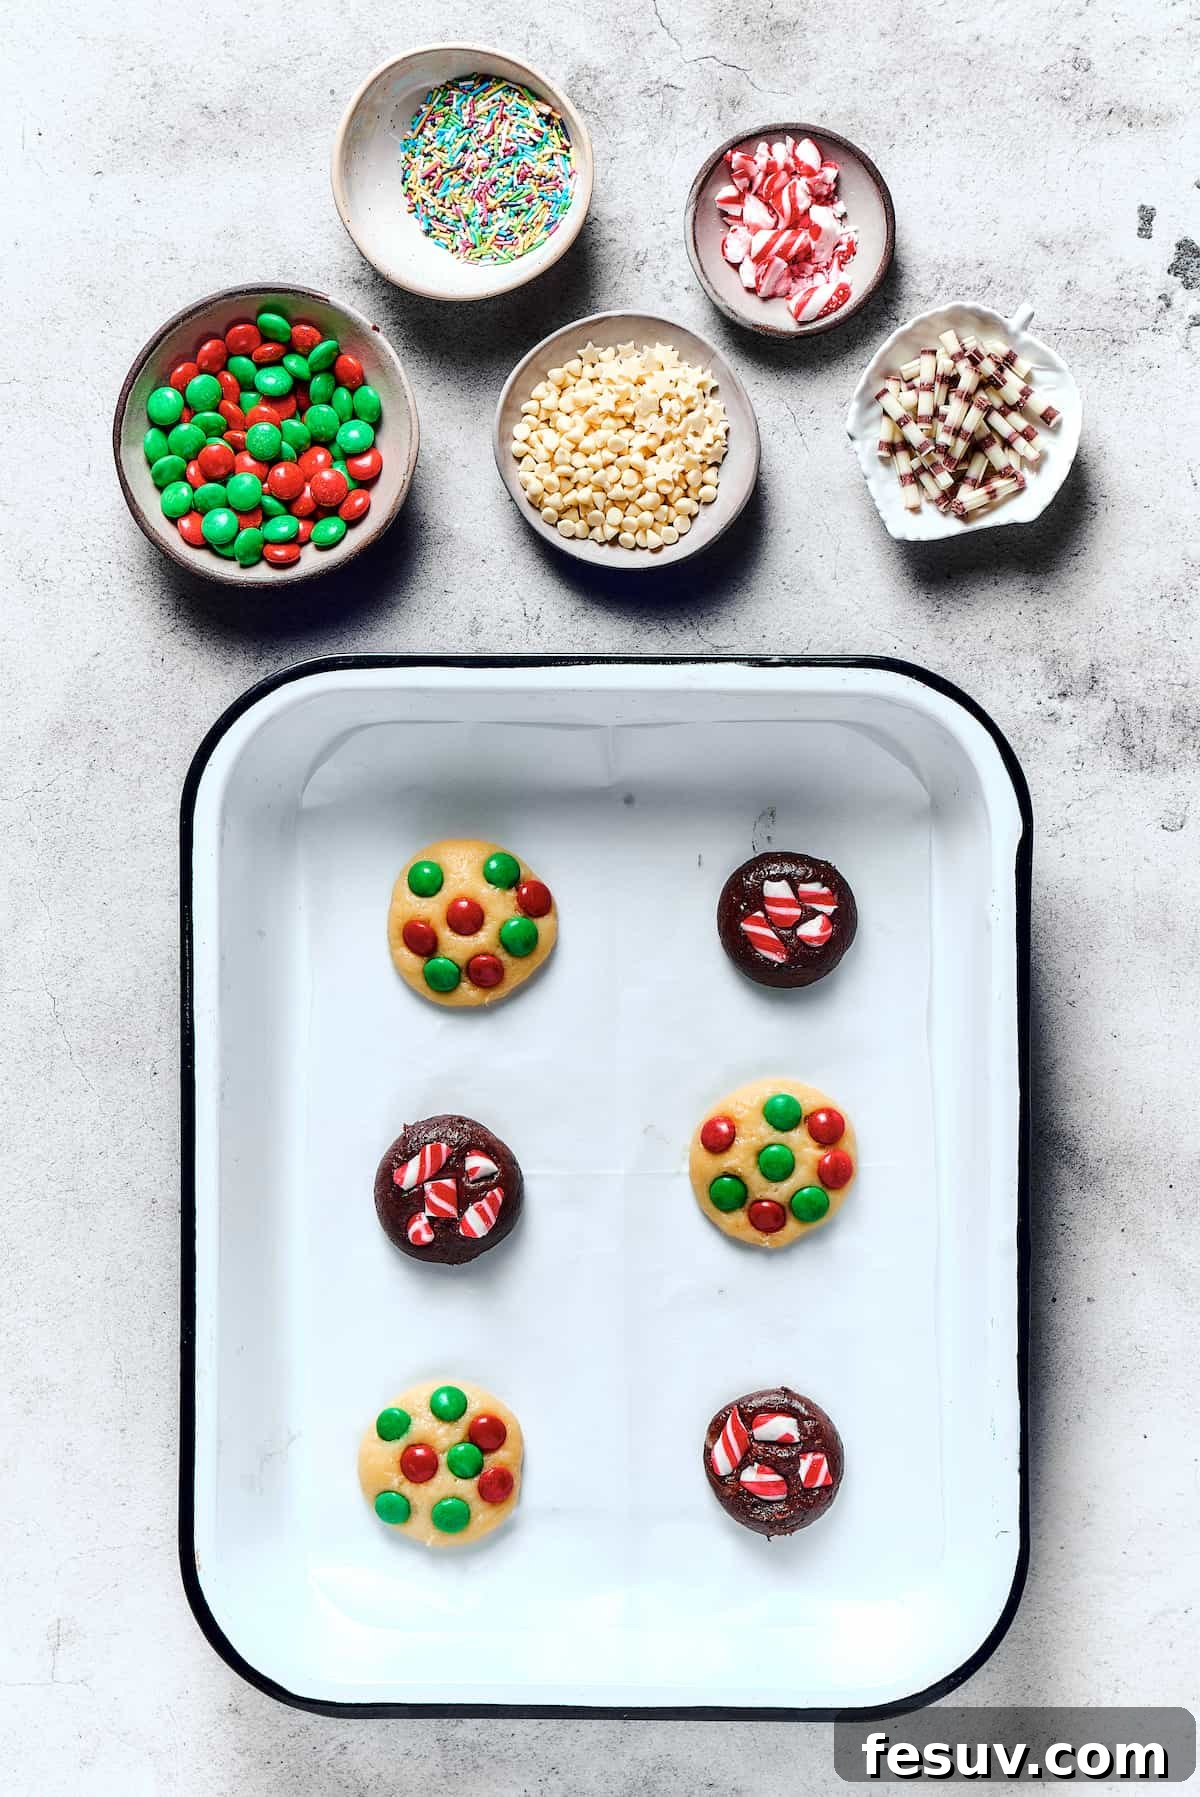
- Bake to Golden Perfection: Carefully slide your baking sheets into the preheated oven. Bake the cookies for a short period, typically 8 to 9 minutes. Look for visual cues: the tops should just begin to crack gently, and the edges should appear slightly set. It’s crucial not to overbake, as this will result in crunchy rather than the desired soft and chewy cookies.
- The Essential Cooling Phase: Once baked, remove the cookies from the oven. Allow them to cool on the baking sheet for a few minutes. This brief resting period helps them to set and firm up before they are carefully transferred to a wire rack to cool completely. Cooling on a rack ensures air circulation, preventing soggy bottoms.
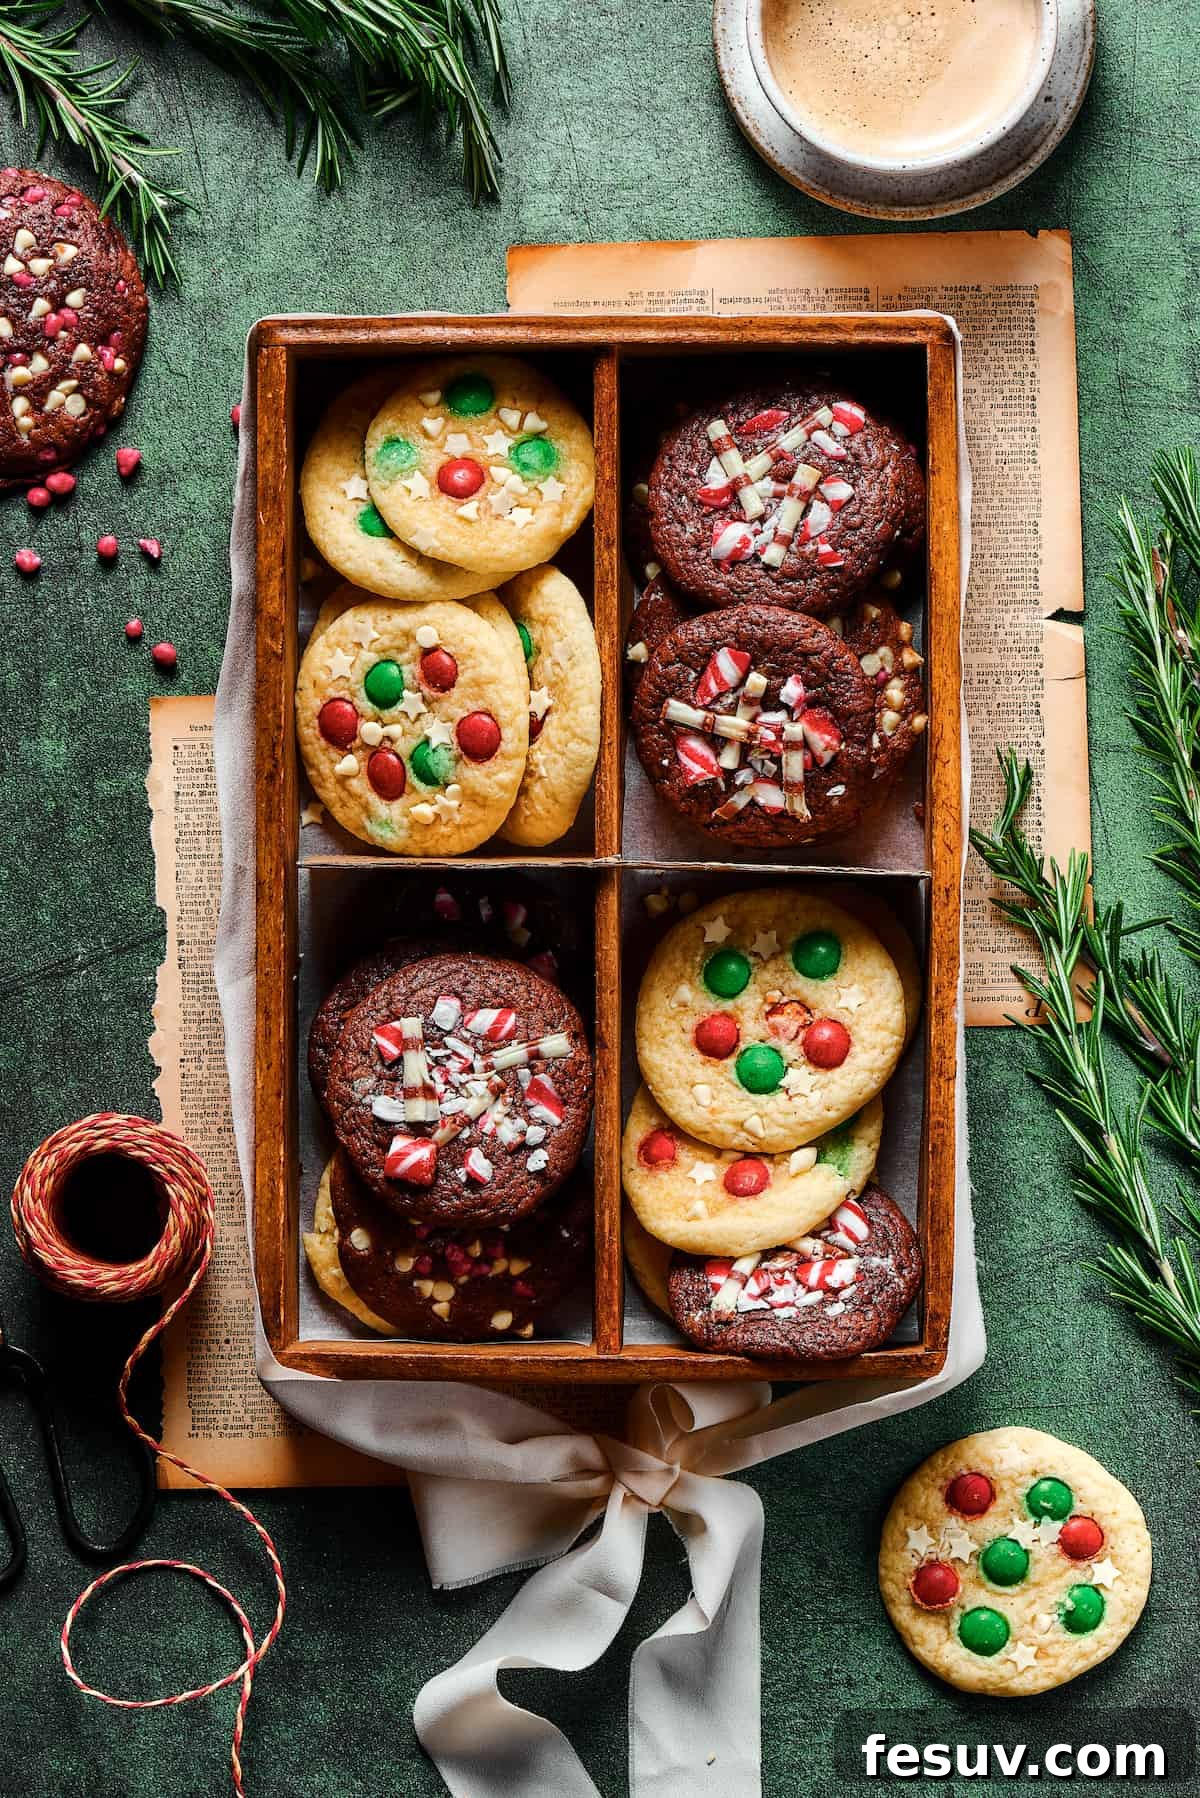
Expert Tips for Perfect Cake Mix Cookies Every Time
While the beauty of cake mix cookies lies in their simplicity, a few expert tips can elevate your baking game and ensure every batch is a resounding success. These insights will help you master the art of cake mix cookie making and open doors to exciting variations!
- Exploring Cake Mix Options: Don’t feel limited to yellow cake mix! This recipe is incredibly versatile. You can experiment with white cake mix for a purer vanilla flavor, spice cake mix for a warming, aromatic cookie, or even red velvet cake mix for a striking holiday hue. Just be mindful that not all cake mixes will pair well with added cocoa powder, so taste as you go!
- No Cake Mix? No Problem!: If you find yourself without a box of cake mix, you can still create these delicious cookies from scratch. Simply substitute the cake mix with a blend of two cups of all-purpose flour and one cup of granulated sugar. While the texture might be subtly different from a cake mix base, your cookies will still be wonderfully flavorful and satisfying. Consider adding an extra half teaspoon of vanilla extract to enhance the flavor.
- Customizing Cookie Size: This recipe is designed for smaller, bite-sized cookies, perfect for a diverse cookie platter or for portion control. However, you can easily scale them up to create larger, more substantial cookies. If opting for bigger cookies, roll larger dough balls and ensure they are flattened slightly on the baking sheet to prevent them from becoming too dome-like. Remember to increase the space between them on the baking sheet, as larger cookies will spread more.
- Mastering Baking Time for Desired Texture: The baking time is crucial for achieving your preferred cookie texture. For wonderfully soft and chewy cake mix cookies that remain tender even after cooling, stick strictly to the recommended baking time of 8-9 minutes. If you prefer a crispier cookie, perfect for dunking into milk or coffee, extend the baking time by just an extra minute or two, up to 10-11 minutes. This slight increase allows the edges to crisp up while still maintaining a pleasant chew in the center. Bake them exactly the way you like them and enjoy every bite!
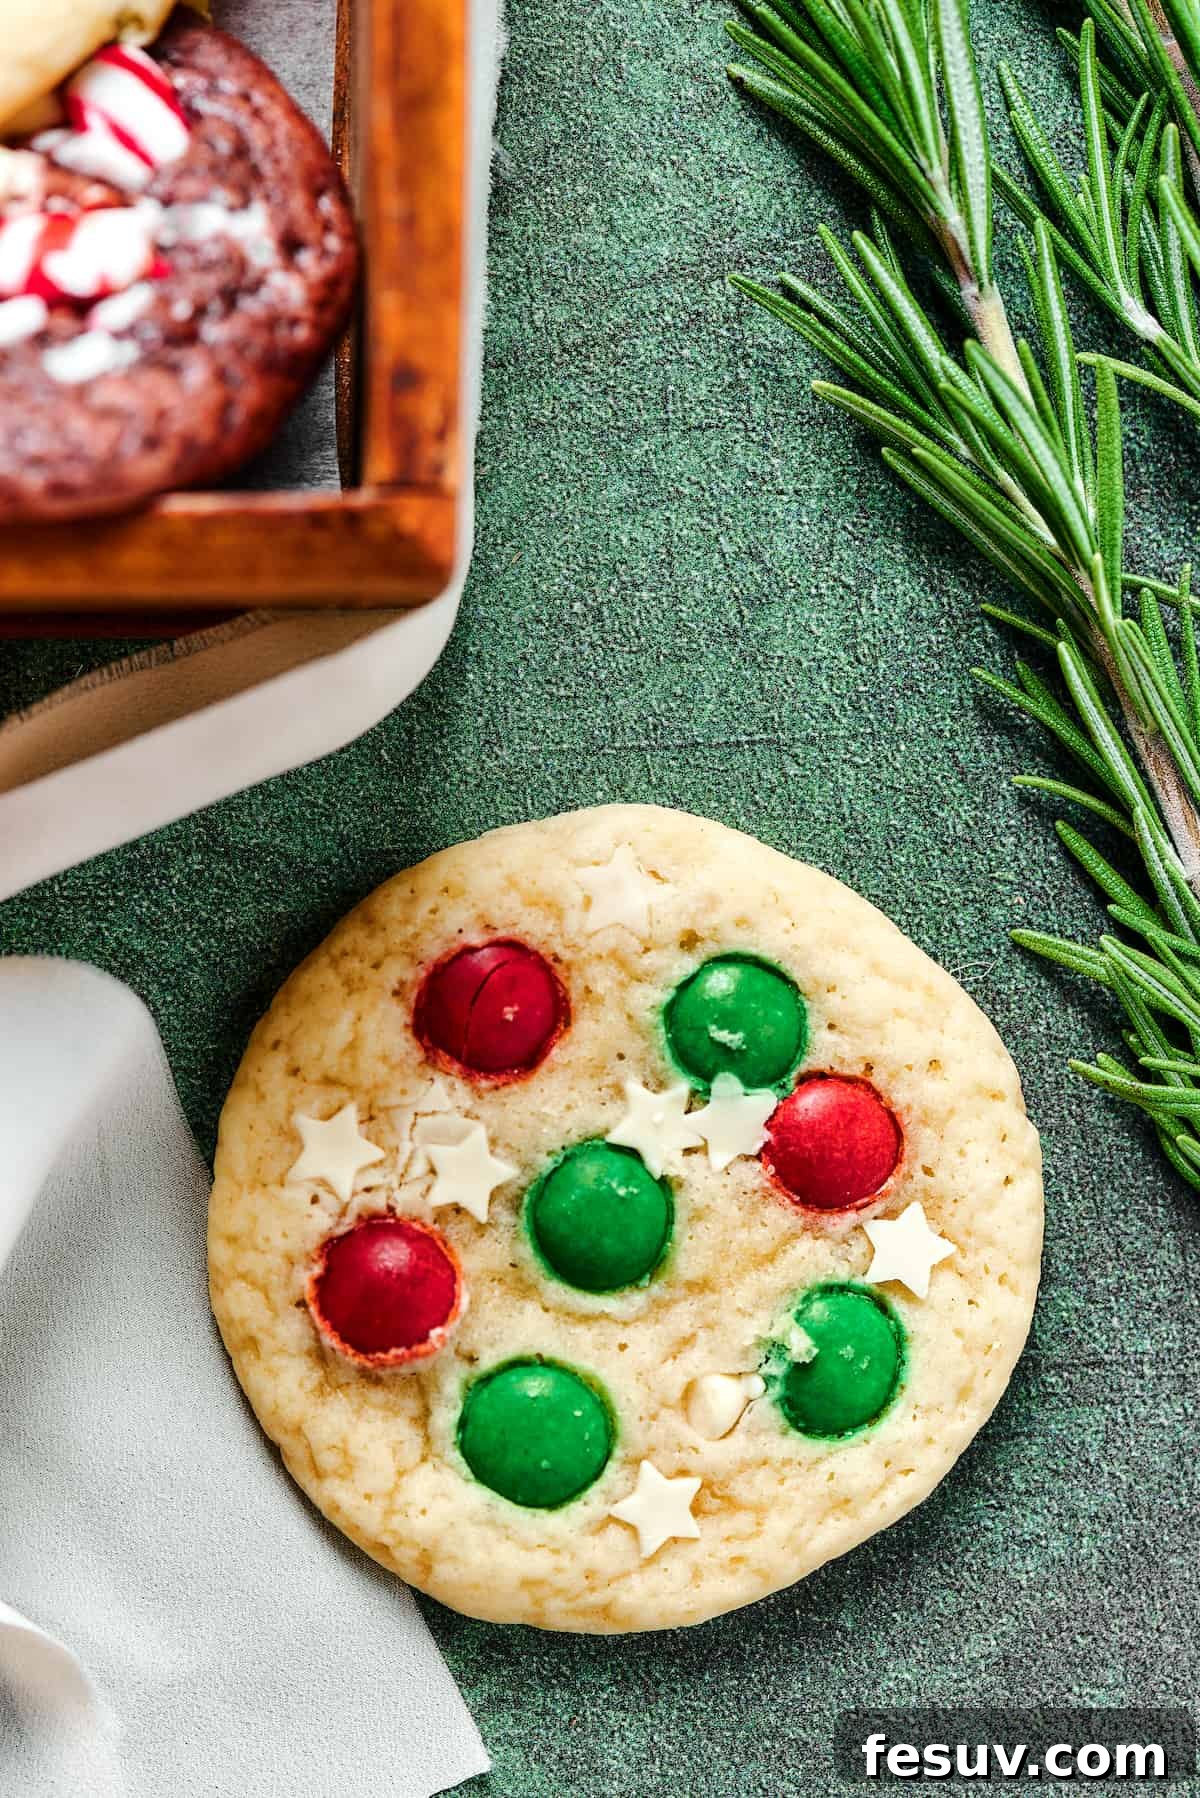
Unleash Your Creativity: Exciting Recipe Variations
While our classic Christmas Cake Mix Cookies are absolutely perfect as is, the holiday season is an ideal time to get creative and experiment with flavors and decorations. Here are some sweet and exciting ways to customize your festive cake mix cookies, making each batch uniquely yours!
- Aromatic Extra Extracts: Infuse your cookies with even more delightful aromas! A touch of almond extract can add a sophisticated, nutty note to vanilla cookies, while a hint of peppermint extract makes chocolate cookies irresistibly festive. Orange or lemon extract can also bring a bright, zesty twist, especially to the vanilla dough.
- Warm Spice Infusion: For a cozy, comforting flavor, stir in a small amount of warm spices to the cookie dough. Ground cinnamon, nutmeg, or a ready-made pumpkin spice blend can give these cookies a subtle sweetness and an inviting warmth that perfectly complements the holiday season.
- Crunchy Nut Additions: Elevate the texture and flavor by incorporating finely chopped nuts. Toasted walnuts or pecans add a delightful crunch and earthy depth that pairs beautifully with both vanilla and chocolate dough. Stir them in at the same time you add the cocoa powder (if making chocolate cookies) or along with the M&Ms.
- Dazzling Decoration Extravaganza: Beyond M&Ms, the possibilities for decorating are endless! Sprinkle these cookies with chopped peppermint candies for a refreshing minty crunch, or add pieces of your favorite chocolate bars for an extra layer of indulgence. Crushed Andes mints, toffee bits, or even mini marshmallows can create unique textures and flavors. Explore different baking chips like butterscotch chips, peanut butter chips, or even holiday-themed sprinkles for a truly festive look.
- Irresistible Sandwich Cookies: Transform these simple cookies into elegant sandwich cookies! Pair two cooled cookies with a rich, firm filling such as a classic buttercream frosting, a tangy cream cheese frosting, or even a luscious ganache. For a summery twist, use softened ice cream as a filling, then freeze the assembled sandwiches until firm for a delightful frozen treat.
Preserving Freshness: How to Store Your Christmas Cake Mix Cookies
To ensure your delicious Christmas Cake Mix Cookies remain soft, fresh, and delightful for as long as possible, proper storage is essential. Here are the best practices for keeping your holiday treats at their peak:
- Airtight is Key: Always store your cooled Christmas Cake Mix Cookies in an airtight container. This prevents air exposure, which is the primary cause of cookies going stale and losing their desired soft texture.
- Layer for Perfection: When stacking cookies, especially decorated ones, place a layer of wax paper or parchment paper between each layer of cookies. This simple step prevents them from sticking to each other, smudging decorations, or transferring flavors.
- Room Temperature Longevity: Properly stored, these cookies will maintain their delightful freshness and soft texture for several days at room temperature. Keep them in a cool, dry place away from direct sunlight or heat sources.
Planning Ahead: Can I Freeze Cake Mix Cookies?
Absolutely! Cake mix cookies are fantastic candidates for freezing, offering incredible flexibility for holiday baking. Whether you want to prepare dough in advance or save baked cookies for later, here’s how to do it effectively to preserve their quality:
- To Freeze Dough for Future Baking: Prepare the cookie dough exactly as instructed in the recipe. Instead of baking, roll the dough into individual balls, using about a tablespoon for each, just as you would for baking. Place these dough balls on a baking sheet lined with parchment paper, ensuring they don’t touch. Transfer the baking sheet to the freezer until the dough balls are completely solid, which usually takes about one hour. Once frozen, transfer the solid dough balls to a freezer-safe bag or an airtight container, labeling it with the date. They can be stored in the freezer for up to three months. When you’re ready to bake, simply place the frozen dough balls on a prepared baking sheet and bake directly from frozen, adding an extra minute or two to the baking time as needed.
- To Freeze Baked Cookies: Allow your baked cookies to cool completely on a wire rack before freezing. This is crucial to prevent condensation and ice crystals from forming. Once fully cooled, arrange them in a single layer on a baking sheet and freeze until solid. Then, transfer the frozen cookies to an airtight, freezer-safe container, placing sheets of parchment paper between layers to prevent them from sticking together. These baked cookies can be frozen for up to 3 months. To serve, thaw them in the refrigerator overnight, then let them come to room temperature on the counter for about 30 minutes before enjoying.
More Festive Christmas Treats to Explore
- Nutella Puff Pastry Christmas Tree
- The Best Pecan Pie Recipe
- Muddy Buddies
- Red Velvet Crinkle Cookies
Christmas Cake Mix Cookies
Ingredients
- 1 box (18.25 ounces) yellow cake mix
- 2 teaspoons baking powder
- 1 teaspoon salt
- 2 large eggs
- ½ cup unsalted butter,, melted
- 3 tablespoons vegetable oil
- 3 tablespoons milk,, at room temperature
- 1 teaspoon pure vanilla extract
- 1½ tablespoons cocoa powder
- 1 cup red and green M&Ms
- ½ cup mini white chocolate chips
- candy cane sprinkles,, or other Christmas themed sprinkles, optional
Instructions
-
Preheat the oven to 350°F (175°C) and line a baking sheet with parchment paper. Set aside.
-
In a mixing bowl, whisk together the yellow cake mix, baking powder, and salt until well combined. Set aside.
-
In a large bowl, using a hand mixer or stand mixer fitted with a paddle attachment, lightly beat the eggs. Then, add in the melted butter, vegetable oil, room temperature milk, and vanilla extract, and continue to mix until the mixture is completely smooth and creamy, about 3 minutes.
-
Pour the wet ingredients into the bowl with the dry ingredients and mix together with a large spoon or rubber spatula until just combined. Be careful not to overmix.
-
Divide the cookie dough into two equal parts. To one part of the dough, add the cocoa powder and mix until fully combined and evenly colored.
-
Roll the dough into small balls, using about 1 tablespoon of dough for each one. Arrange the dough balls on the prepared baking sheet, ensuring they are spaced 2 inches apart. You will need to work in batches, or use more than one baking sheet to accommodate all cookies.
-
Gently flatten the dough balls just slightly. Decorate each cookie with red and green M&Ms, white chocolate chips, sprinkles, crushed candy cane, or any other sweet decorations you prefer and have on hand.
-
Bake the cookies for 8 to 9 minutes, or until the tops begin to crack slightly and the edges feel just set. It is very important not to overbake, as this will result in crunchy instead of soft cookies.
-
Remove the cookies from the oven and allow them to cool on the baking sheet for 2 to 3 minutes before carefully transferring them to a wire rack to cool completely.
-
Repeat the baking process with any remaining cookie dough until all cookies are baked.
-
Store the cooled cookies in an airtight container. If stacking, place a layer of wax paper or parchment paper between each layer of cookies to prevent sticking. Cookies will remain fresh for several days at room temperature.
Equipment
-
Stand Mixer
-
Mixing Bowls
-
Parchment paper
-
Cookie Sheets
-
Cooling Wire Rack
Notes
- Cake Mix Flexibility: If you can’t find a Yellow Cake Mix, or wish to explore different flavors, feel free to use a White Cake Mix, Spice Cake Mix, Red Velvet Cake Mix, or any other flavor you prefer. Be mindful that some flavors might not blend well with added cocoa powder.
- Adjusting for Smaller Cake Mixes: If you are using a 15.25-ounce cake mix box instead of the traditional 18.25-ounce size, add an extra ¼ cup of all-purpose flour to the cake mix before proceeding with the recipe. This will help maintain the ideal cookie texture.
- Homemade Cake Mix Alternative: In the absence of a boxed cake mix, you can create a suitable substitute by combining 2 cups of all-purpose flour with 1 cup of granulated sugar.
- Cookie Size Customization: For larger cookies, simply roll larger dough balls. Remember that larger cookies will require slightly more space on the baking sheet and may need a minute or two of additional baking time.
- Texture Control with Baking Time: To achieve a wonderfully soft and chewy cookie, adhere strictly to the suggested baking time of about 8-9 minutes. For those who prefer a crunchier cookie, you may extend the baking time slightly to about 10 to 11 minutes.
Nutrition
Nutritional information is an estimate and provided as a courtesy. Values may vary according to the specific ingredients, brands, and tools used. Please utilize your preferred nutritional calculator for more precise and detailed information.