
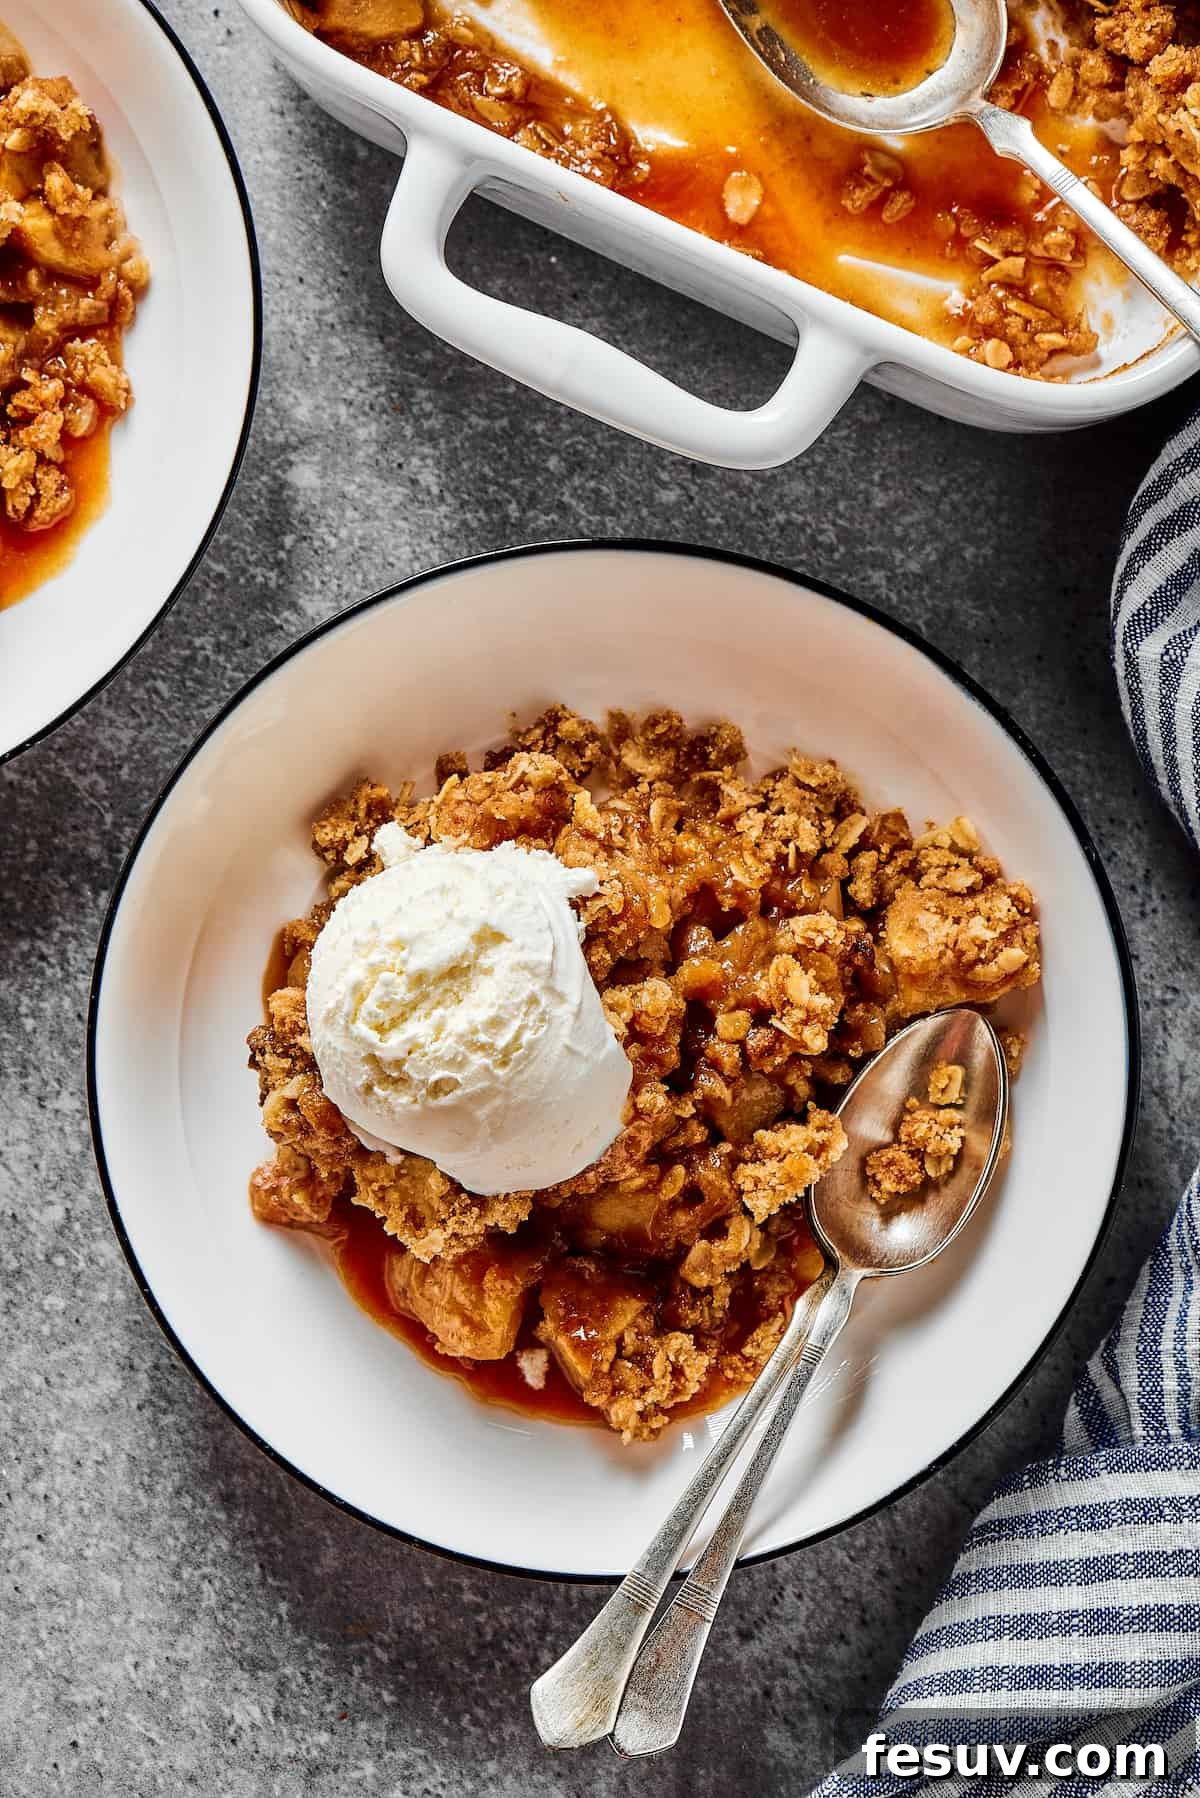
Welcome to the ultimate guide to crafting the most irresistible **Easy Apple Crisp**! This quintessential fall dessert effortlessly blends wholesome goodness with indulgent flavors, making it the dream recipe for chilly evenings and festive gatherings. Imagine a tender, warmly spiced apple filling crowned with a buttery, golden oat topping – a symphony of textures and tastes that evokes pure comfort. Whether you’re a seasoned baker or just starting your culinary journey, this foolproof recipe promises a treat that’s both simple to make and utterly delicious, guaranteeing smiles around your table. Get ready to embrace the cozy spirit of autumn with every delightful bite of this homemade classic.
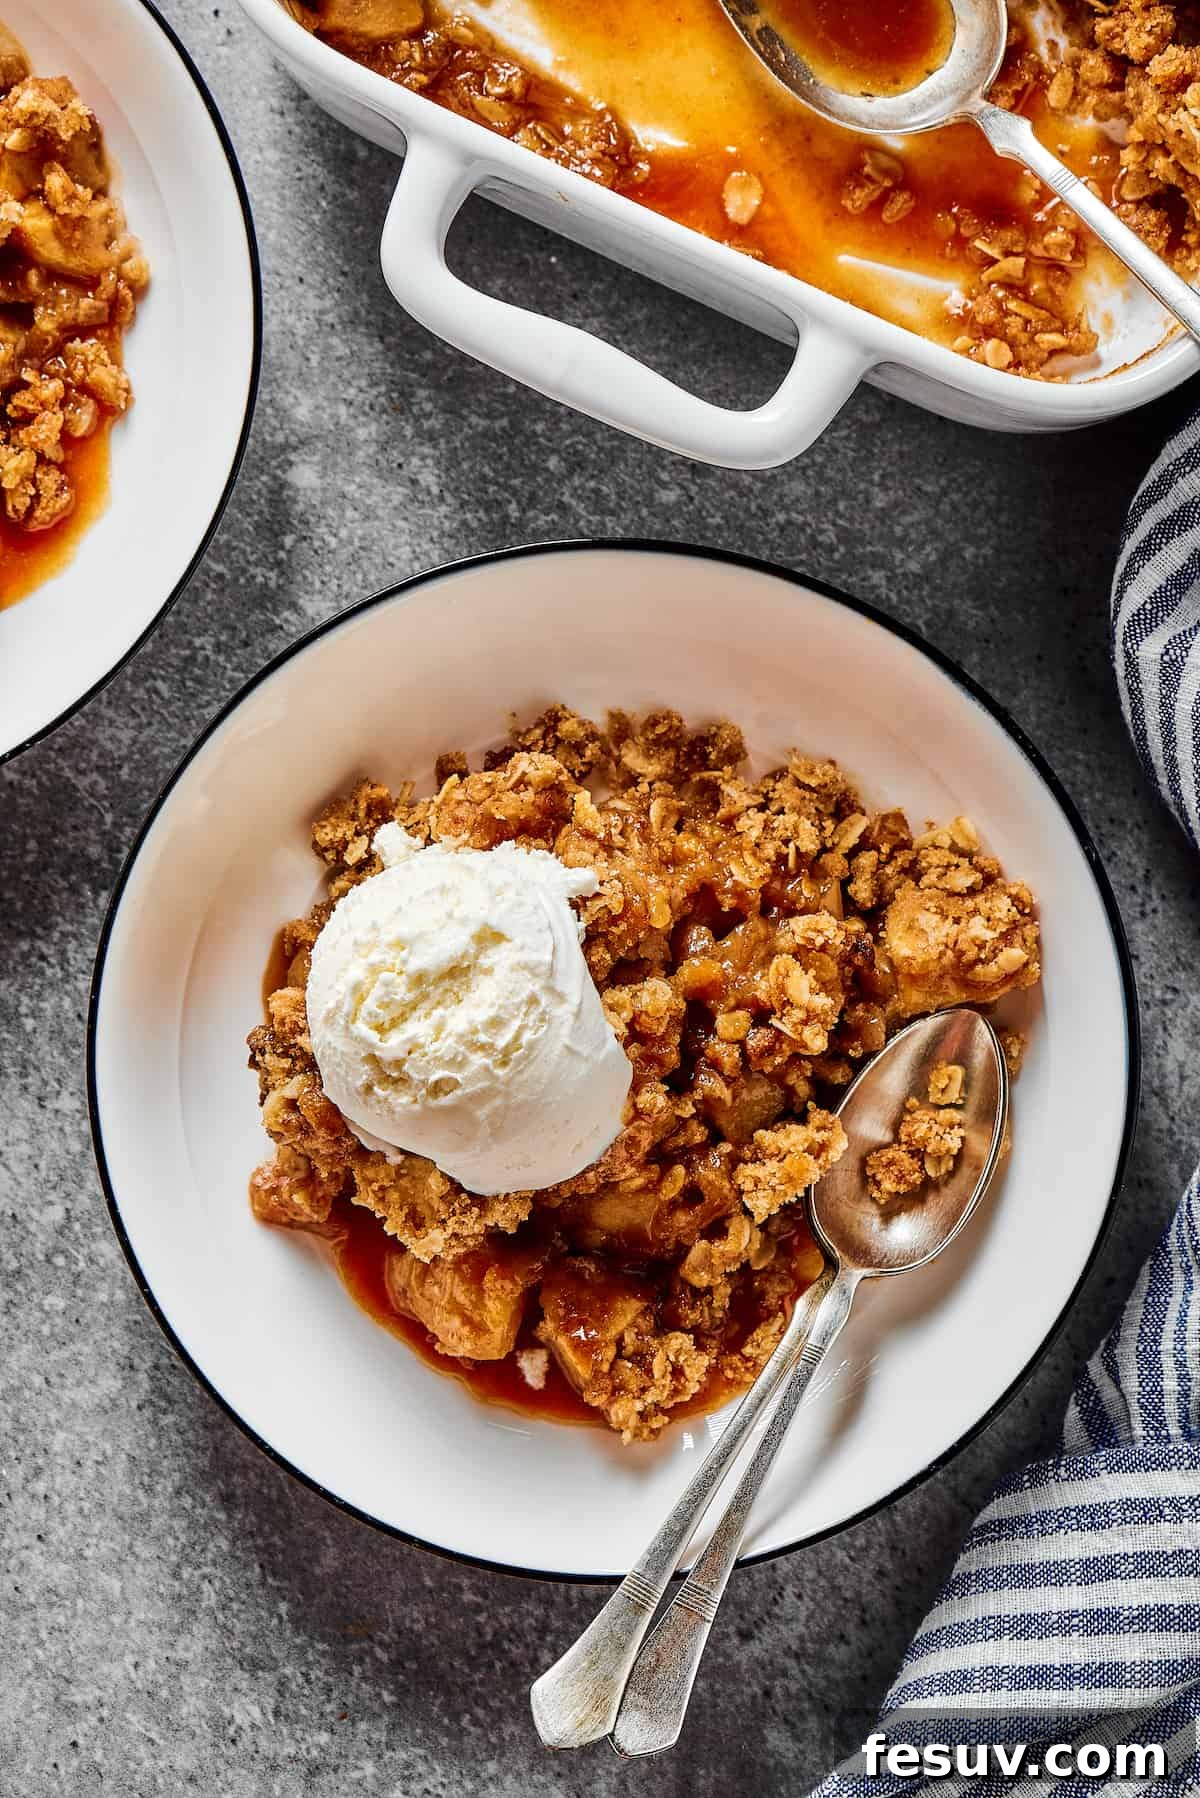
Embracing the Season: A Wholesome Apple Classic
There’s an undeniable magic in the air as fall arrives, and with it, the bounty of crisp, juicy apples. From bustling farmer’s markets to your local grocery store, the very best apples make their grand appearance, ripe for the picking and perfect for both snacking and baking. Not only are these seasonal fruits bursting with fresh, vibrant flavor, but they’re often more affordable than their off-season counterparts, making it easy (and tempting!) to stock up. Who can resist a basket overflowing with nature’s sweet treasures?
If you find yourself with an abundance of apples – a delightful predicament, wouldn’t you agree? – it simply means more opportunities to create a variety of heartwarming treats. Beyond this sensational Easy Apple Crisp, you could whip up a rustic Homemade Apple Pie, simmer a batch of rich Instant Pot Apple Butter, or even start your day right with a comforting Blueberry Apple Baked Oatmeal. But for pure, unadulterated comfort with minimal fuss, this apple crisp stands out. Its harmonious blend of warm spices, tender fruit, and a golden, crunchy oat topping makes it a beloved dessert that truly captures the essence of autumn.
Crisp vs. Crumble: Understanding the Delightful Difference
Often used interchangeably, “crisp” and “crumble” both refer to delightful baked fruit desserts topped with a crumbly mixture. While strikingly similar in their sweet fruit base and delightful textured toppings, there’s a subtle yet distinct difference that gives each its unique character. The key lies in the topping ingredients and the texture they achieve during baking.
An **apple crisp** traditionally features a topping that includes rolled oats. These oats toast beautifully in the oven, creating a delightfully crispy, almost granola-like texture. This is where the “crisp” in apple crisp comes from – that satisfying crunch that perfectly contrasts with the soft, stewed apples beneath. On the other hand, an **apple crumble** typically employs a topping made primarily from flour, butter, and sugar, resulting in a streusel-like texture that’s more uniform and, as the name suggests, “crumbly” rather than distinctly crisp. While both are incredibly delicious and comforting, if you’re seeking that extra layer of crunchy texture, a crisp is definitely the way to go.
Gather Your Ingredients: The Heart of the Crisp
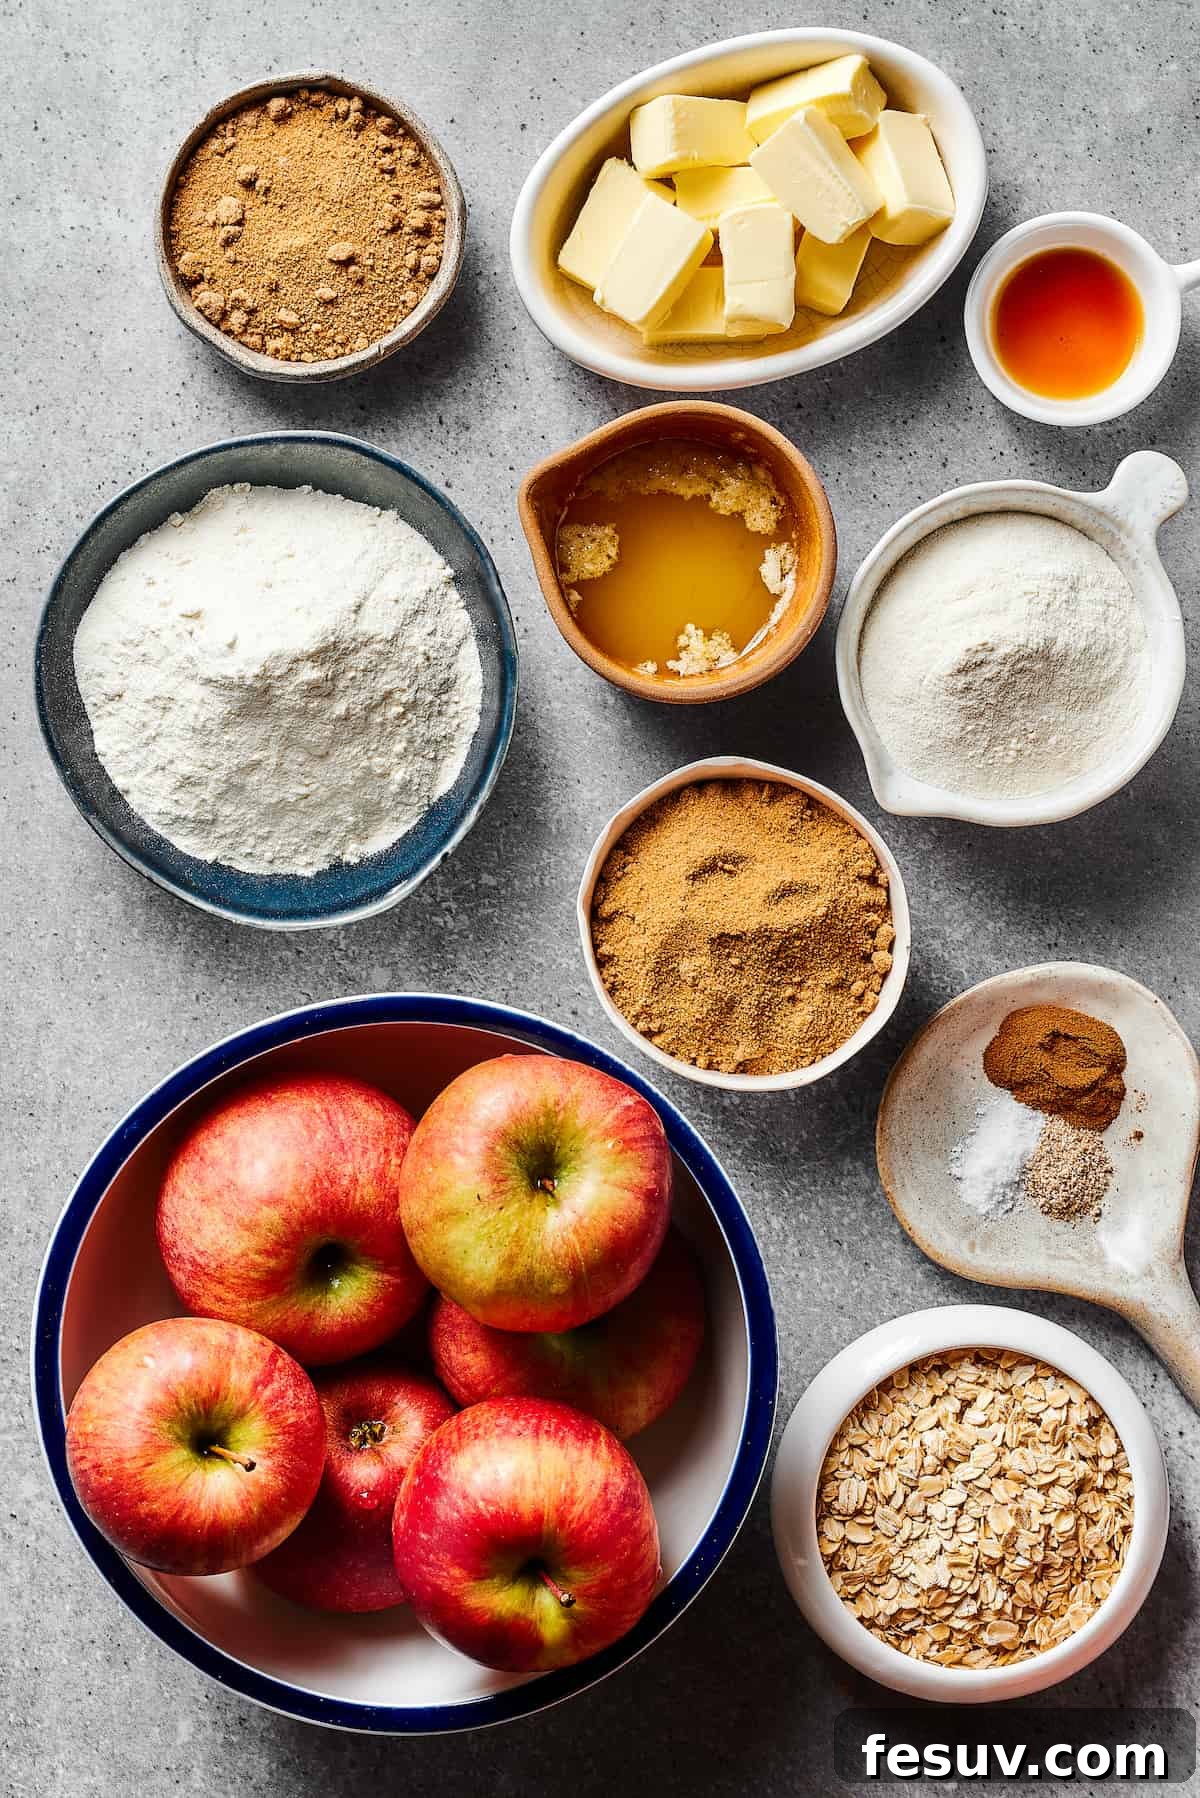
One of the many charms of this classic apple crisp recipe is its reliance on simple, pantry-staple ingredients. Despite its humble components like fresh apples, flour, and butter, the resulting dessert tastes incredibly rich and complex, as if you spent hours slaving away in the kitchen. Here’s a detailed look at what you’ll need to create this amazing treat, along with tips for making the best choices for each element.
For the Luscious Apple Filling
- Apples: The star of the show! You’ll need 6 to 8 medium apples, peeled, cored, and cut into uniform chunks. The choice of apple variety is crucial and can significantly impact the final texture and flavor of your crisp. We’ll delve deeper into selecting the best apples below.
- Brown Sugar: A third of a cup of brown sugar will sweeten the apples and provide a lovely depth of flavor. You can use either light or dark brown sugar; light will offer a milder, sweeter taste, while dark brown sugar will impart a more intense, caramel-like molasses flavor. Both work beautifully, so choose according to your preference.
- Flour: Just ⅔ cup of all-purpose flour helps to slightly thicken the apple juices as they cook, creating a luscious, not watery, filling.
- Butter: ⅓ cup of unsalted butter, melted, will coat the apples, enriching their flavor and helping them cook down beautifully. Unsalted butter allows you to control the overall saltiness of the dish.
- Pure Vanilla Extract: 1 teaspoon of vanilla extract adds a warm, aromatic note that enhances the apple and spice flavors. Don’t skip this!
- Warm Spices: 1 teaspoon of ground cinnamon and a pinch of ground nutmeg are essential for that quintessential cozy fall flavor. These spices pair perfectly with apples, creating an inviting aroma and taste. For an even more complex profile, consider adding a pinch of allspice or ground cloves.
- Salt: A tiny pinch of salt (about ¼ teaspoon) might seem counterintuitive for a dessert, but it’s vital for balancing the sweetness and intensifying all the other flavors in the filling.
For the Irresistibly Crunchy Crisp Topping
- Flour: You’ll need 1 cup of all-purpose flour for the topping, providing structure for that perfect crumbly consistency.
- Brown Sugar: ¾ cup of brown sugar for the topping, again, can be light or dark. It contributes to the topping’s sweet flavor and helps it achieve a beautiful golden-brown color.
- Butter: ⅔ cup of unsalted butter, but this time, it needs to be chilled and cut into small cubes. The cold butter is essential for creating the ideal crumbly, crispy texture. As the cold butter melts slowly during baking, it creates steam pockets, which helps the topping become light and crisp rather than dense.
- Old-Fashioned Rolled Oats: 1 cup of old-fashioned rolled oats is the defining ingredient of a true apple crisp. These oats are thicker and retain their shape and chewiness after baking, providing that signature crispy bite. Avoid instant oats, which can turn powdery, and steel-cut oats, which won’t soften sufficiently during the baking time.
For an Extra Indulgent Serving Experience
- Ice cream: Vanilla bean or cinnamon ice cream makes a fantastic accompaniment, melting delightfully over the warm crisp.
- Caramel sauce: A drizzle of rich caramel sauce adds another layer of sweet indulgence.
Choosing the Perfect Apples for Your Crisp
The type of apple you choose can dramatically change the outcome of your crisp. While personal preference plays a huge role, understanding the characteristics of different apple varieties can help you achieve your desired texture and flavor profile. Many experienced bakers recommend a mix of apples for the best results, combining firm, tart varieties with softer, sweeter ones to create a complex filling that holds its shape and offers balanced sweetness.
Here are some popular choices and what they bring to an apple crisp:
- Granny Smith: A favorite for baking due to its firm texture and distinct tartness. It holds its shape well and provides a bright, zesty counterpoint to the sweet topping.
- Honeycrisp: Known for its exceptional crispness and sweet-tart flavor, Honeycrisp apples remain somewhat firm after baking, adding a delightful bite.
- Pink Lady (Cripps Pink): Offers a good balance of sweet and tart, with a firm texture that softens beautifully without turning mushy.
- Fuji: Sweet and very crisp, Fuji apples contribute sweetness and a pleasant chewiness to the filling.
- Gala: A sweeter apple with a mild flavor and firm flesh, suitable for those who prefer a less tart crisp.
- Golden Delicious: This sweet standby softens considerably during baking, creating a melt-in-your-mouth texture. It’s often paired with a firmer, tarter apple to balance its sweetness and texture.
For a truly dynamic crisp, consider using a blend of two to three apple varieties. For example, combining Granny Smith (for tartness and firmness) with Honeycrisp (for balanced sweetness and crunch) and a softer apple like Golden Delicious (for tender pockets of sweetness) can create an incredibly nuanced and satisfying filling. Experiment with different combinations to discover your ultimate apple crisp!
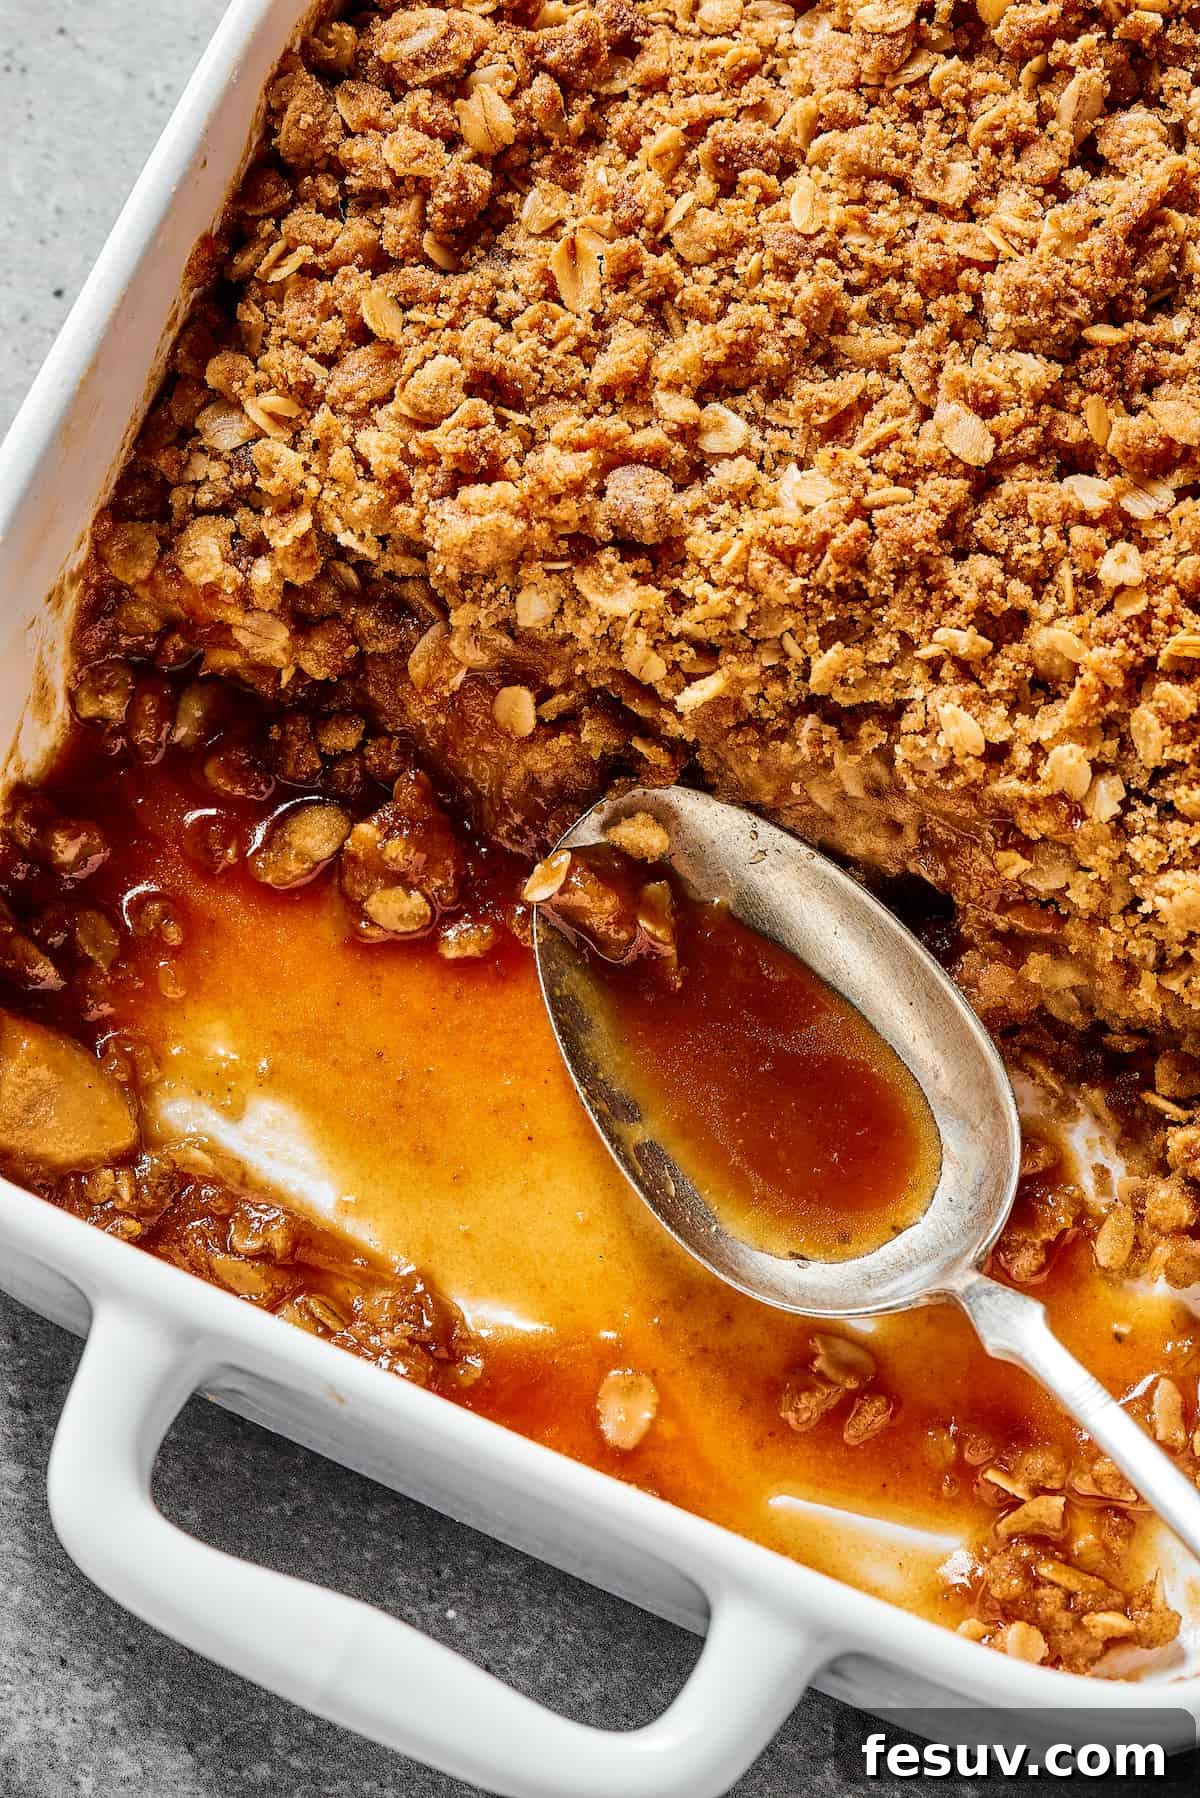
Crafting Your Masterpiece: A Simple Guide to Easy Apple Crisp
The beauty of apple crisp lies not only in its delightful taste but also in its incredible ease of preparation. This recipe is significantly quicker and more straightforward than making a traditional apple pie, making it a beloved favorite for busy cooks and anyone craving a homemade dessert without the hassle. Follow these simple steps to create a warm, bubbly, and utterly delicious apple crisp.
- Prepare Your Baking Dish and Oven: Begin by selecting a 9×13-inch casserole dish or baking pan. Generously grease the inside of the dish with butter to prevent sticking and ensure easy cleanup. Next, preheat your oven to 350°F (175°C). While the oven heats up, you can start preparing the delicious apple filling.
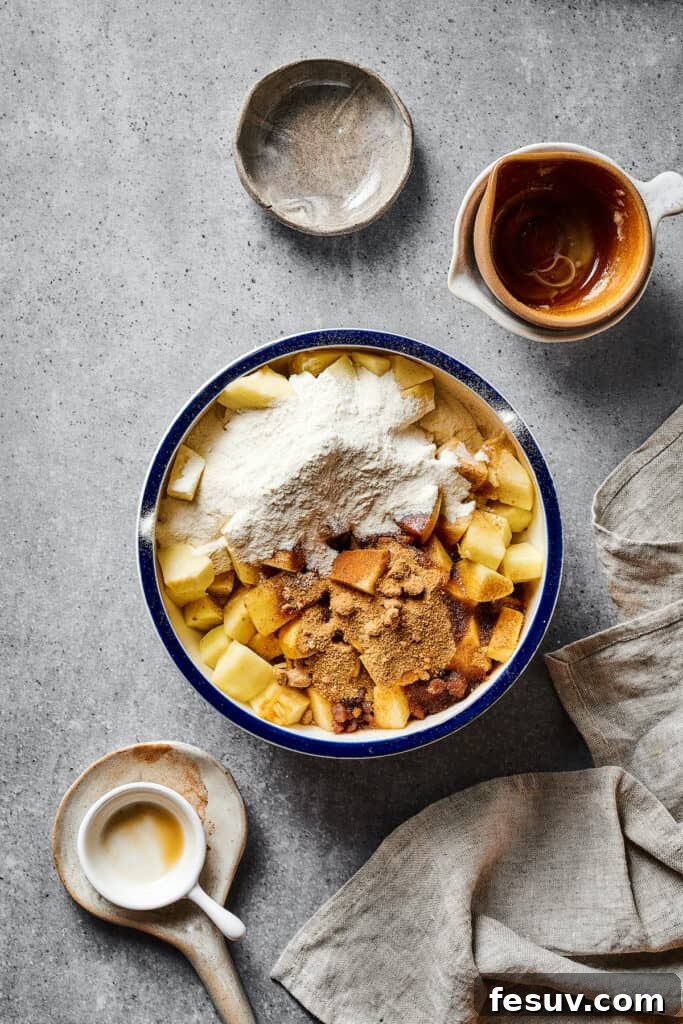
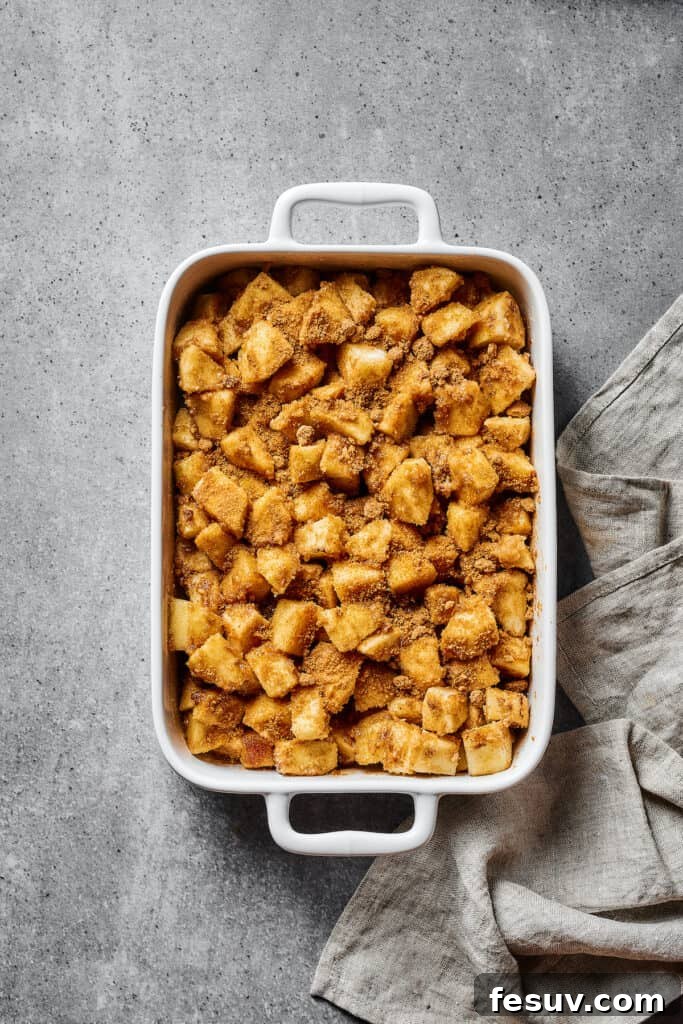
- Create the Flavorful Apple Filling: In a large mixing bowl, combine the all-purpose flour, brown sugar, ground cinnamon, pinch of nutmeg, and salt. Whisk these dry ingredients together thoroughly. Add your peeled, cored, and uniformly chopped apples to this spice and sugar mixture. Toss gently to ensure every apple piece is evenly coated – this step is crucial for developing maximum flavor and preventing the apples from becoming watery. Finally, drizzle in the melted butter and toss again until all the apples are glistening and thoroughly moistened. Carefully spoon and scrape the coated apples into your prepared baking dish, spreading them into an even layer. Set this aside as you prepare the topping.
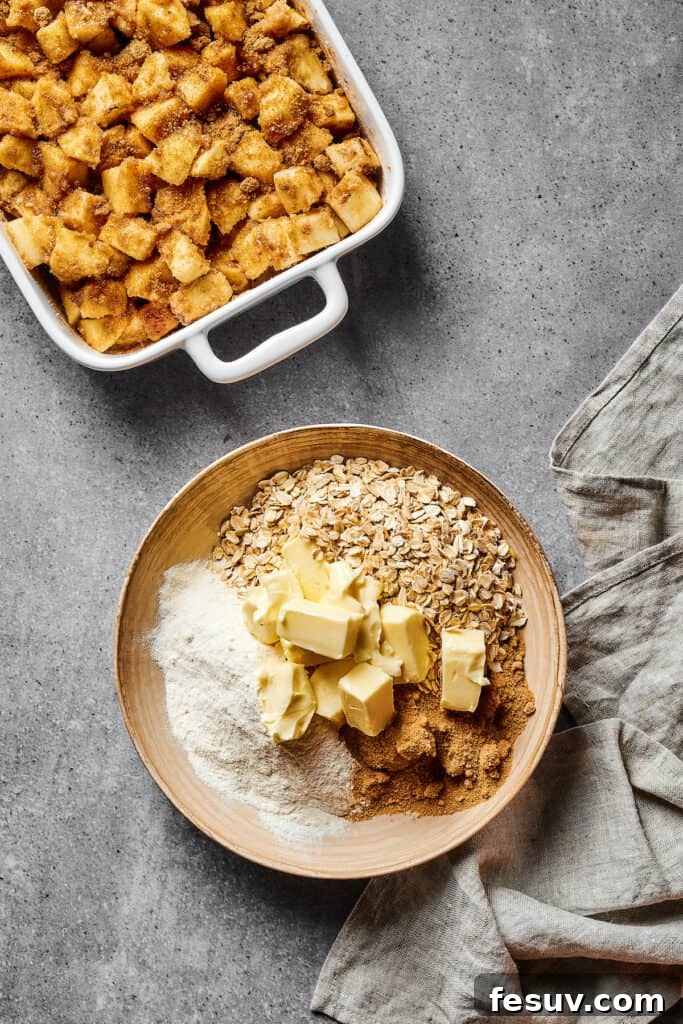
- Assemble the Perfect Crisp Topping: In a separate medium-sized bowl, combine the old-fashioned rolled oats, all-purpose flour, brown sugar, and the chilled, cubed butter. This is where your hands become your best tool! Using your fingertips, work the butter into the dry ingredients. The goal is to create a crumbly mixture, resembling coarse sand with pea-sized lumps of butter distributed throughout. Avoid overmixing; you don’t want a smooth dough. This crumbly texture is what will yield that desirable crispiness. Once achieved, sprinkle this oat topping evenly over the apple filling in the baking dish, ensuring good coverage.
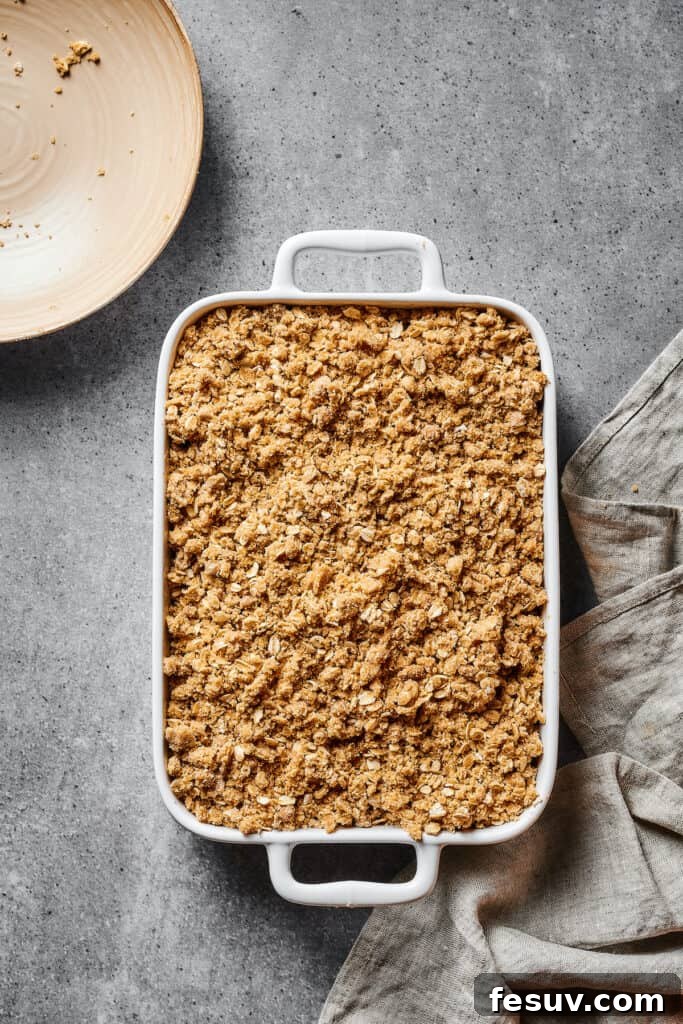
- Bake to Golden Perfection: Carefully transfer the baking dish to your preheated oven and bake for 40 to 45 minutes. The apple crisp is perfectly done when the topping is a beautiful golden-brown color, the apples underneath are fork-tender, and the fruit juices are visibly bubbling deliciously around the edges of the dish. This bubbling indicates the filling has thickened and is perfectly cooked.
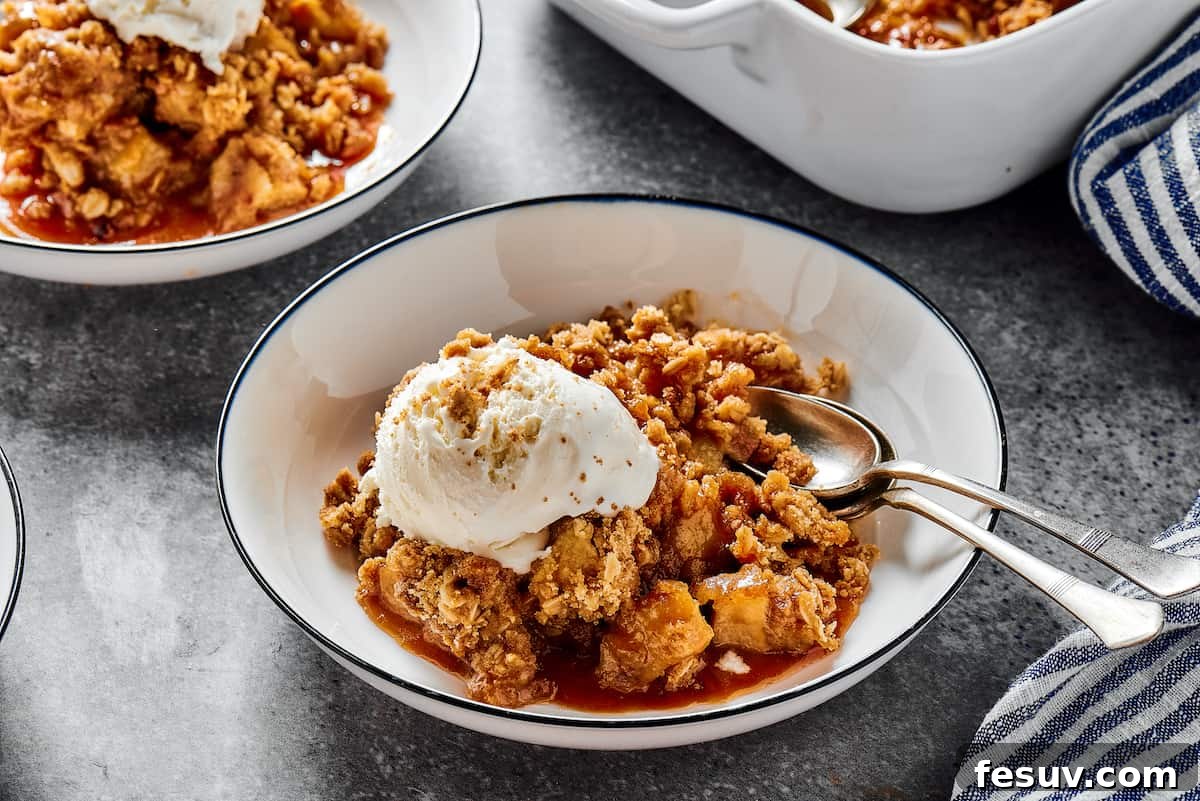
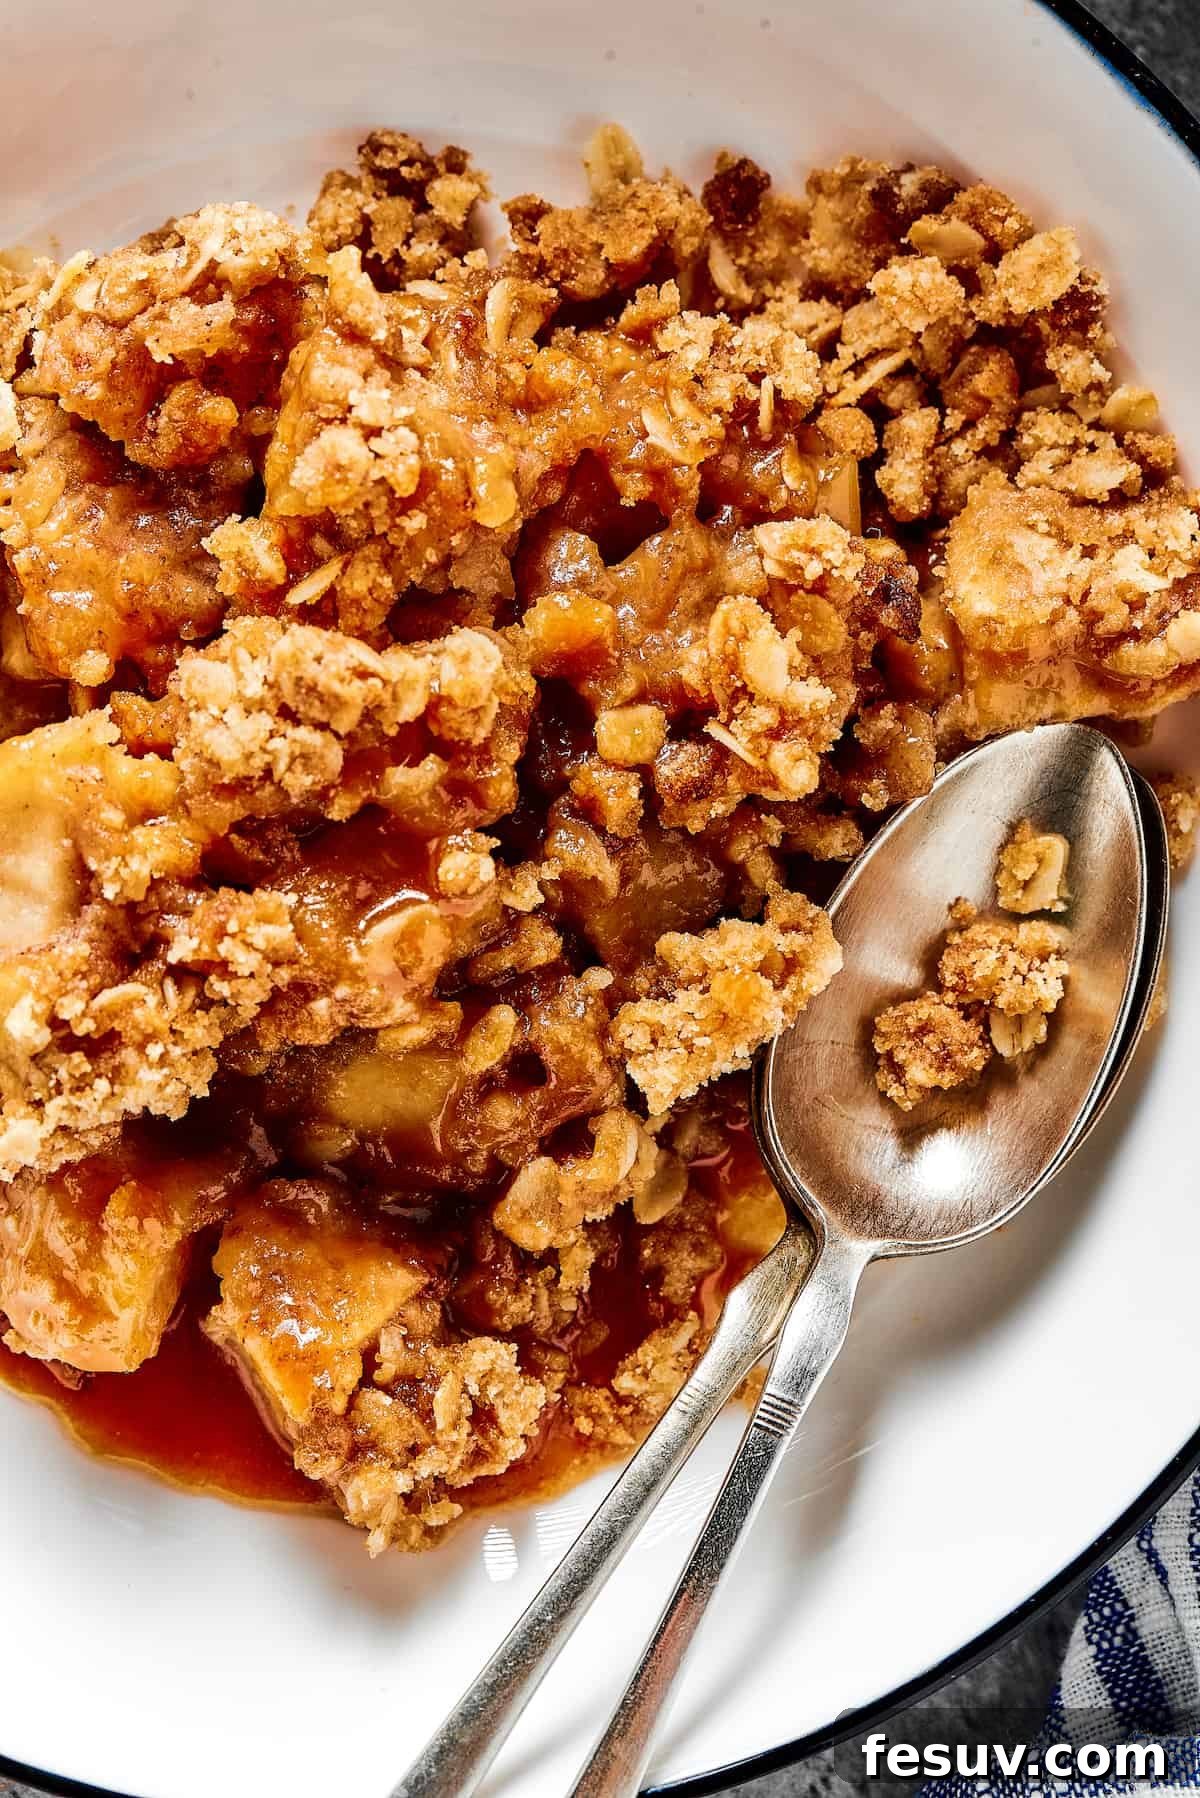
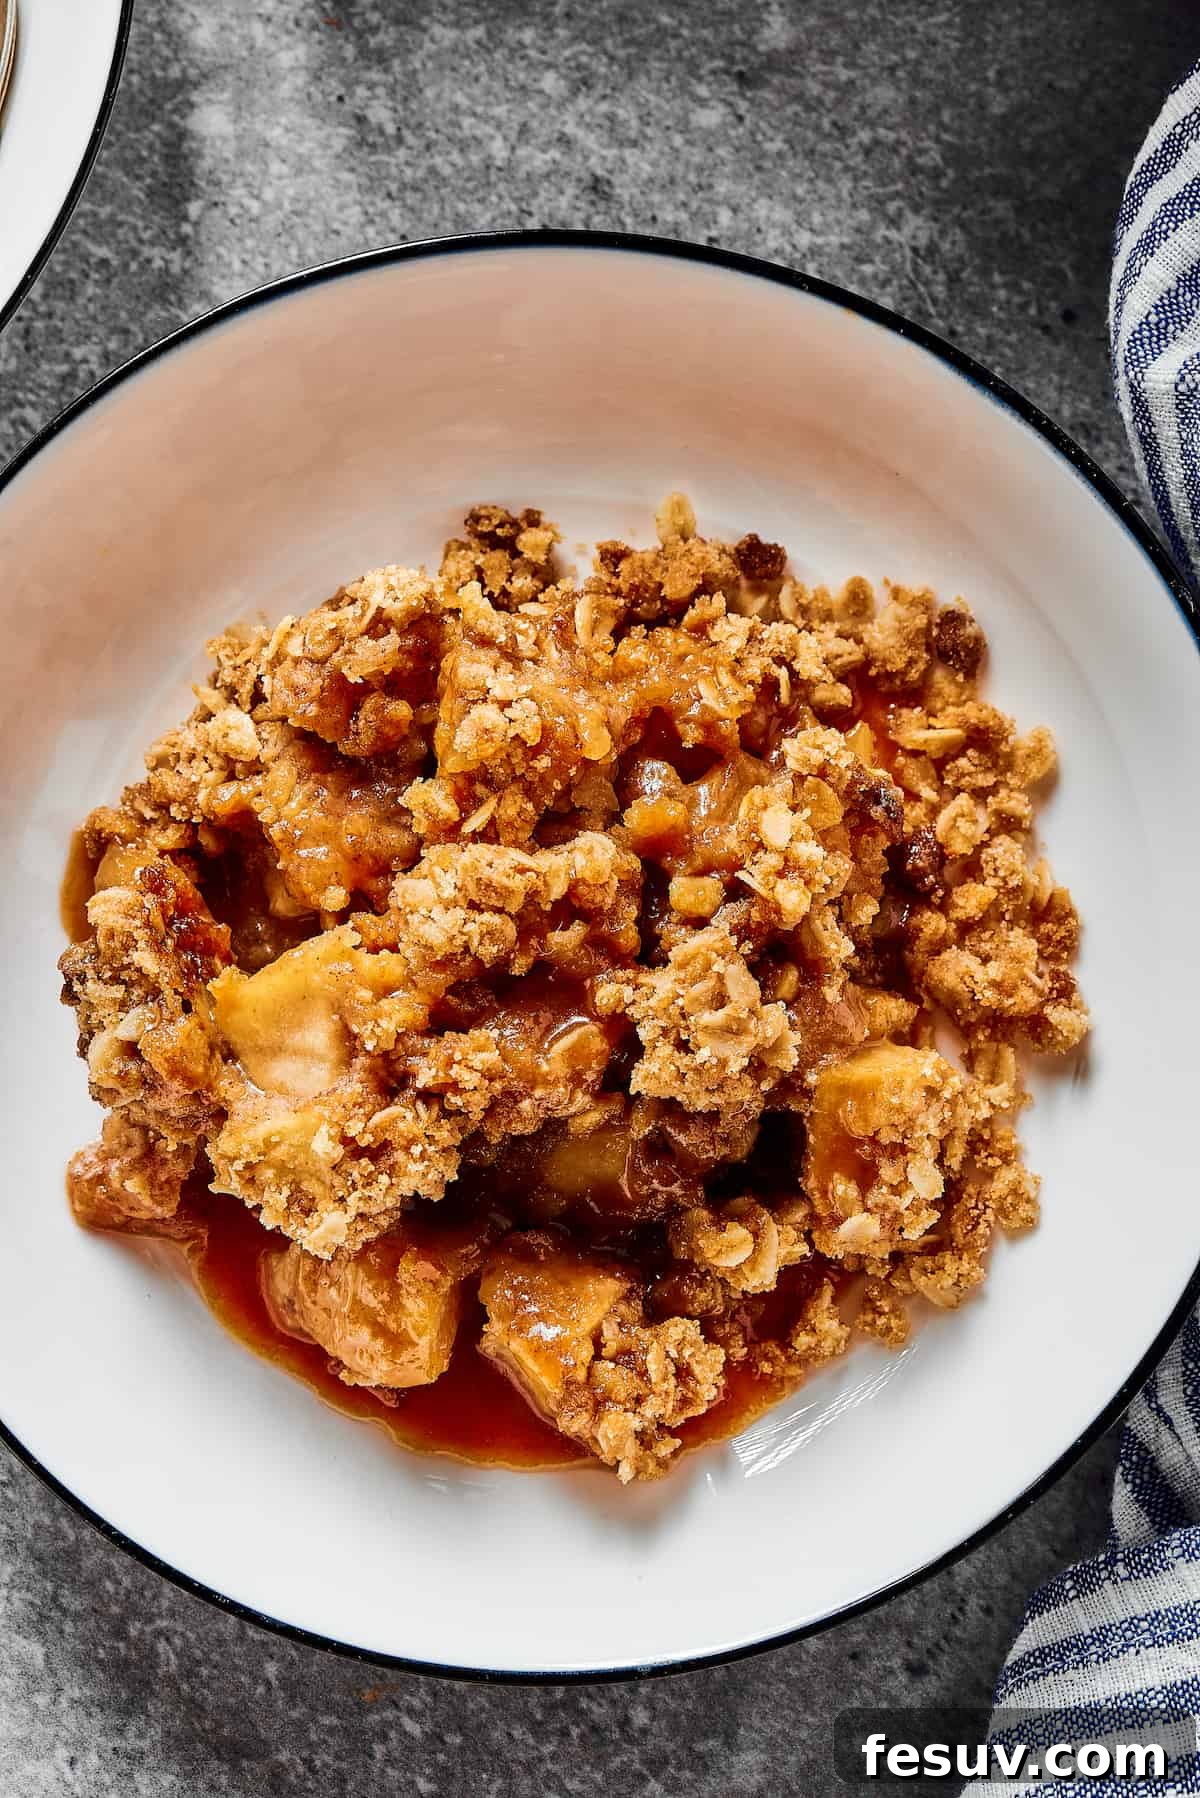
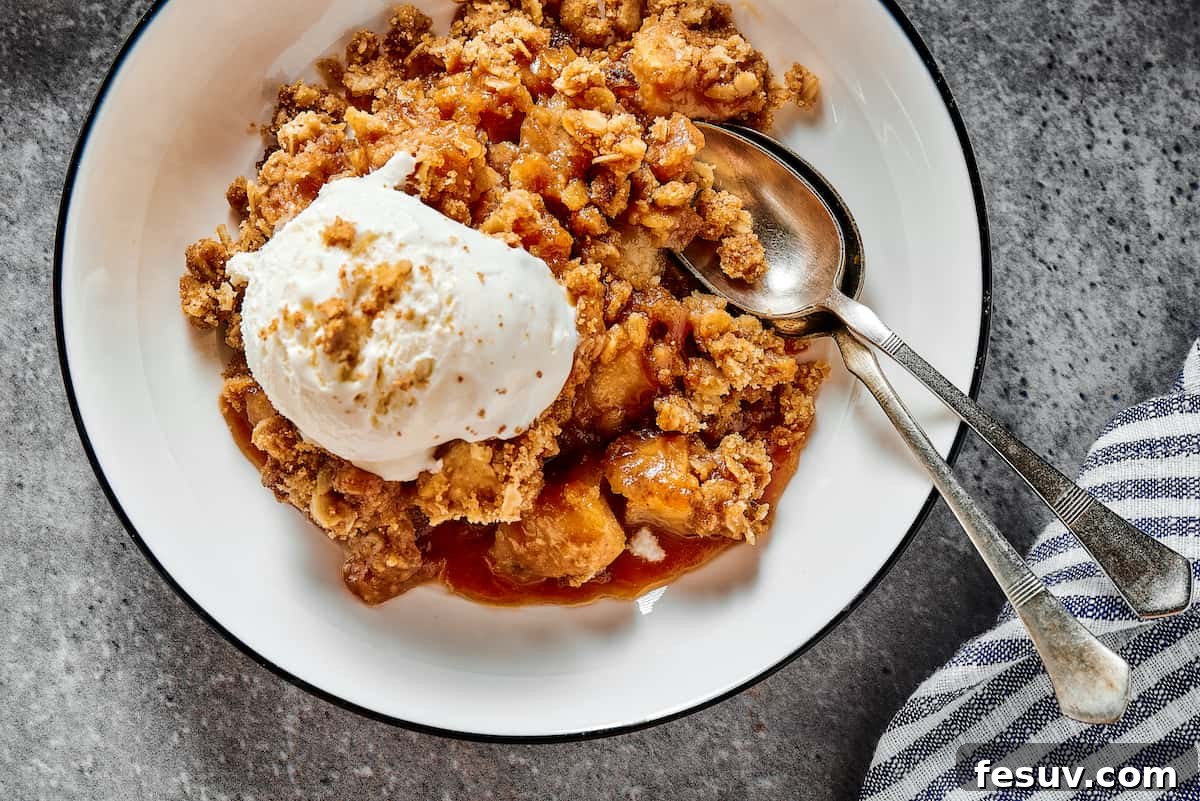
- Rest and Enjoy: Once baked, remove the apple crisp from the oven and let it rest on a wire rack for at least 10 to 15 minutes. This crucial resting period allows the filling to set slightly, making for easier serving and preventing it from being too runny. Serve your warm, aromatic apple crisp as is, or elevate the experience with a scoop of vanilla ice cream and a drizzle of homemade caramel sauce for an extra touch of decadence. It’s also delightful served at room temperature.
Expert Tips and Delicious Variations for Your Apple Crisp
This simple apple crisp recipe is truly perfect as is, offering a comforting and satisfying dessert experience. However, its versatility allows for a variety of easy tweaks and additions that can further customize it to your taste. Don’t be afraid to get creative and make this recipe truly your own!
- Elevate with Nuts or Seeds: For an extra layer of crunch and nutty flavor, consider adding about ½ cup of chopped nuts or seeds to your crisp topping. Toasted pecans, walnuts, sliced almonds, or even pepitas (pumpkin seeds) are all fantastic choices. They brown beautifully in the oven, intensifying their flavor and adding textural contrast.
- Customize Apple Cut: Chunks or Slices? The way you cut your apples influences the final texture. I prefer a chunky texture for a rustic feel, but thinly sliced apples work equally well and will result in a softer, more uniformly cooked filling. The thinner the pieces, the more quickly they will tenderize, so adjust your baking time slightly if using very thin slices.
- Embrace Pie Spice Blends: While cinnamon and nutmeg are classics, feel free to use a pre-made apple pie spice blend if you prefer. These blends often contain a harmonious mix of spices like cinnamon, nutmeg, allspice, and cloves, guaranteeing a wonderfully aromatic and flavorful crisp.
- Creative Topping Ideas Beyond Ice Cream: While a scoop of creamy vanilla ice cream is a match made in heaven for warm apple crisp, there are many other delightful serving options. Consider a dollop of freshly whipped cream, a spoonful of tangy vanilla yogurt, or even plain Greek yogurt drizzled with a touch of honey or maple syrup for a lighter, yet equally delicious, twist. A warm Crème Anglaise (custard sauce) also makes for a decadent pairing.
- A Zesty Brightness: To add a vibrant lift to your apple filling, consider incorporating the zest of one lemon or orange along with a tablespoon of its juice. The citrus brightens the flavors and provides a lovely counterpoint to the richness of the butter and sugar.
- Mix and Match Fruits: While apple is king here, this crisp recipe is wonderfully adaptable to other fruits. Try adding a cup of fresh or frozen berries (blueberries, raspberries), sliced pears, or even peaches to the apple filling for a delicious twist.
- Gluten-Free Option: For those with dietary restrictions, this recipe can easily be made gluten-free. Simply substitute the all-purpose flour in both the filling and the topping with a high-quality 1:1 gluten-free baking flour blend. Ensure your rolled oats are certified gluten-free as well.
Storing and Reheating Your Homemade Apple Crisp
Enjoying warm apple crisp fresh from the oven is a treat, but this dessert also holds up beautifully for a few days, making it perfect for meal prepping or enjoying leftovers. Proper storage is key to maintaining its deliciousness, especially the crispness of the topping.
- Refrigeration: Once cooled to room temperature, any leftover apple crisp should be covered tightly with plastic wrap or transferred to an airtight container. It will keep well in the refrigerator for up to five days. To help preserve the crispness of the topping and absorb any excess moisture, you can lay a paper towel directly over the topping before sealing the container or covering with plastic wrap.
- Reheating: For the best results and to revive that delightful crisp texture, reheat your apple crisp in the oven. Preheat your oven to 350°F (175°C) and bake the crisp until it is warmed through, usually about 15-25 minutes for individual servings or larger portions. If the topping starts to brown too much, you can loosely tent it with foil. While you can microwave individual servings for a quick warm-up, be aware that the topping may lose some of its crispness this way.
Does Apple Crisp Freeze Well? Absolutely!
Yes, apple crisp is an excellent candidate for freezing, making it a perfect dessert for make-ahead planning or for savoring the flavors of fall long after the season ends. You can freeze it either baked or unbaked, depending on your needs. This flexibility is fantastic for holiday entertaining or simply having a comforting dessert ready at a moment’s notice.
- Freezing Baked Apple Crisp: If you have already baked your apple crisp and have leftovers you wish to save, first allow the crisp to cool completely to room temperature. This is crucial to prevent ice crystals from forming. Once cooled, scoop individual portions or larger sections into freezer-safe, airtight containers. Label the container with the date. It will maintain its best quality in the freezer for 2 to 3 months. When ready to enjoy, you can reheat it directly from frozen in a 350°F (175°C) oven until warmed through.
- Freezing Unbaked Apple Crisp: For ultimate convenience, you can assemble the entire apple crisp but skip the baking step. After assembling in your baking dish (a disposable aluminum baking pan is ideal for this, as it can go directly from freezer to oven), wrap the entire dish tightly. Start with a layer of plastic wrap or press ‘n’ seal, ensuring no air can get in, followed by a layer of heavy-duty aluminum foil. Label with the date and freeze for up to 2 to 3 months.
- Baking/Reheating from Frozen: Whether frozen baked or unbaked, you can transfer the crisp directly from the freezer to a preheated 350°F (175°C) oven. Be prepared for the baking or reheating time to be significantly longer – it can take up to double the time, or even a bit more, for the crisp to fully heat through and the apples to tenderize. To prevent the topping from over-browning while the interior cooks, loosely cover the dish with aluminum foil during the initial baking period, removing it for the last 15-20 minutes to allow the topping to crisp up and turn golden.

Easy Apple Crisp
Ingredients
For the Apple Filling
- 6 to 8 medium apples,, peeled, cored, and cut into chunks
- ⅓ cup brown sugar
- ⅔ cup all-purpose flour
- ⅓ cup unsalted butter,, melted
- 1 teaspoon pure vanilla extract
- 1 teaspoon ground cinnamon
- pinch salt
- pinch ground nutmeg
For the Crisp Topping
- 1 cup all-purpose flour
- ¾ cup brown sugar
- ⅔ cup unsalted butter,, chilled and cubed
- 1 cup old fashioned rolled oats
For Serving
- Ice cream
- Caramel sauce
Instructions
-
Preheat the oven to 350°F (175°C). Grease a 9×13 baking dish generously with butter. Set aside.
-
In a large bowl, combine the flour, brown sugar, cinnamon, nutmeg, and salt. Add the peeled, cored, and chopped apples to the mixture, and toss well to evenly coat. Drizzle in the melted butter, and toss again until all apples are thoroughly moistened.
-
Transfer the coated apples to the previously prepared baking dish, spreading them into an even layer. Set aside.
-
In a separate bowl, combine the rolled oats, flour, brown sugar, and chilled, cubed butter. Using your fingertips, mix well until a crumbly topping forms, resembling coarse sand with pea-sized lumps of butter. Sprinkle this mixture evenly over the apples in the baking dish.
-
Bake in the preheated oven for 40 to 45 minutes, or until the topping is golden-brown, the apples are fork-tender, and the fruit juices are bubbling around the edges.
-
Remove from oven and let rest for 10 to 15 minutes to allow the filling to set.
-
Serve warm or at room temperature. Enhance with a scoop of ice cream and a drizzle of caramel sauce if desired. Enjoy!
Nutrition
Carbohydrates: 75g |
Protein: 5g |
Fat: 24g |
Saturated Fat: 15g |
Polyunsaturated Fat: 1g |
Monounsaturated Fat: 6g |
Trans Fat: 1g |
Cholesterol: 61mg |
Sodium: 14mg |
Potassium: 259mg |
Fiber: 5g |
Sugar: 43g |
Vitamin A: 784IU |
Vitamin C: 6mg |
Calcium: 51mg |
Iron: 2mg
Nutritional info is an estimate and provided as courtesy. Values may vary according to the ingredients and tools used. Please use your preferred nutritional calculator for more detailed info.
Did you make a recipe? Leave a rating
Explore More Delightful Fall Baking Recipes
If this Easy Apple Crisp has ignited your passion for fall baking, you’re in for a treat! The season offers an abundance of cozy flavors and comforting recipes waiting to be discovered. Here are some more irresistible fall baking ideas to fill your home with wonderful aromas and your belly with deliciousness:
- Baked Apple Cider Doughnuts with Maple Glaze: A taste of the orchard, perfectly baked and coated in a sweet maple glaze.
- Soft Pumpkin Cookies: Pillowy soft cookies bursting with pumpkin spice, a true autumn classic.
- Easy Pumpkin Muffins from Scratch: Simple to make, incredibly moist, and wonderfully spiced—perfect for breakfast or a snack.
Embrace the season’s flavors and enjoy the warmth and comfort that homemade baked goods bring. Happy baking!