

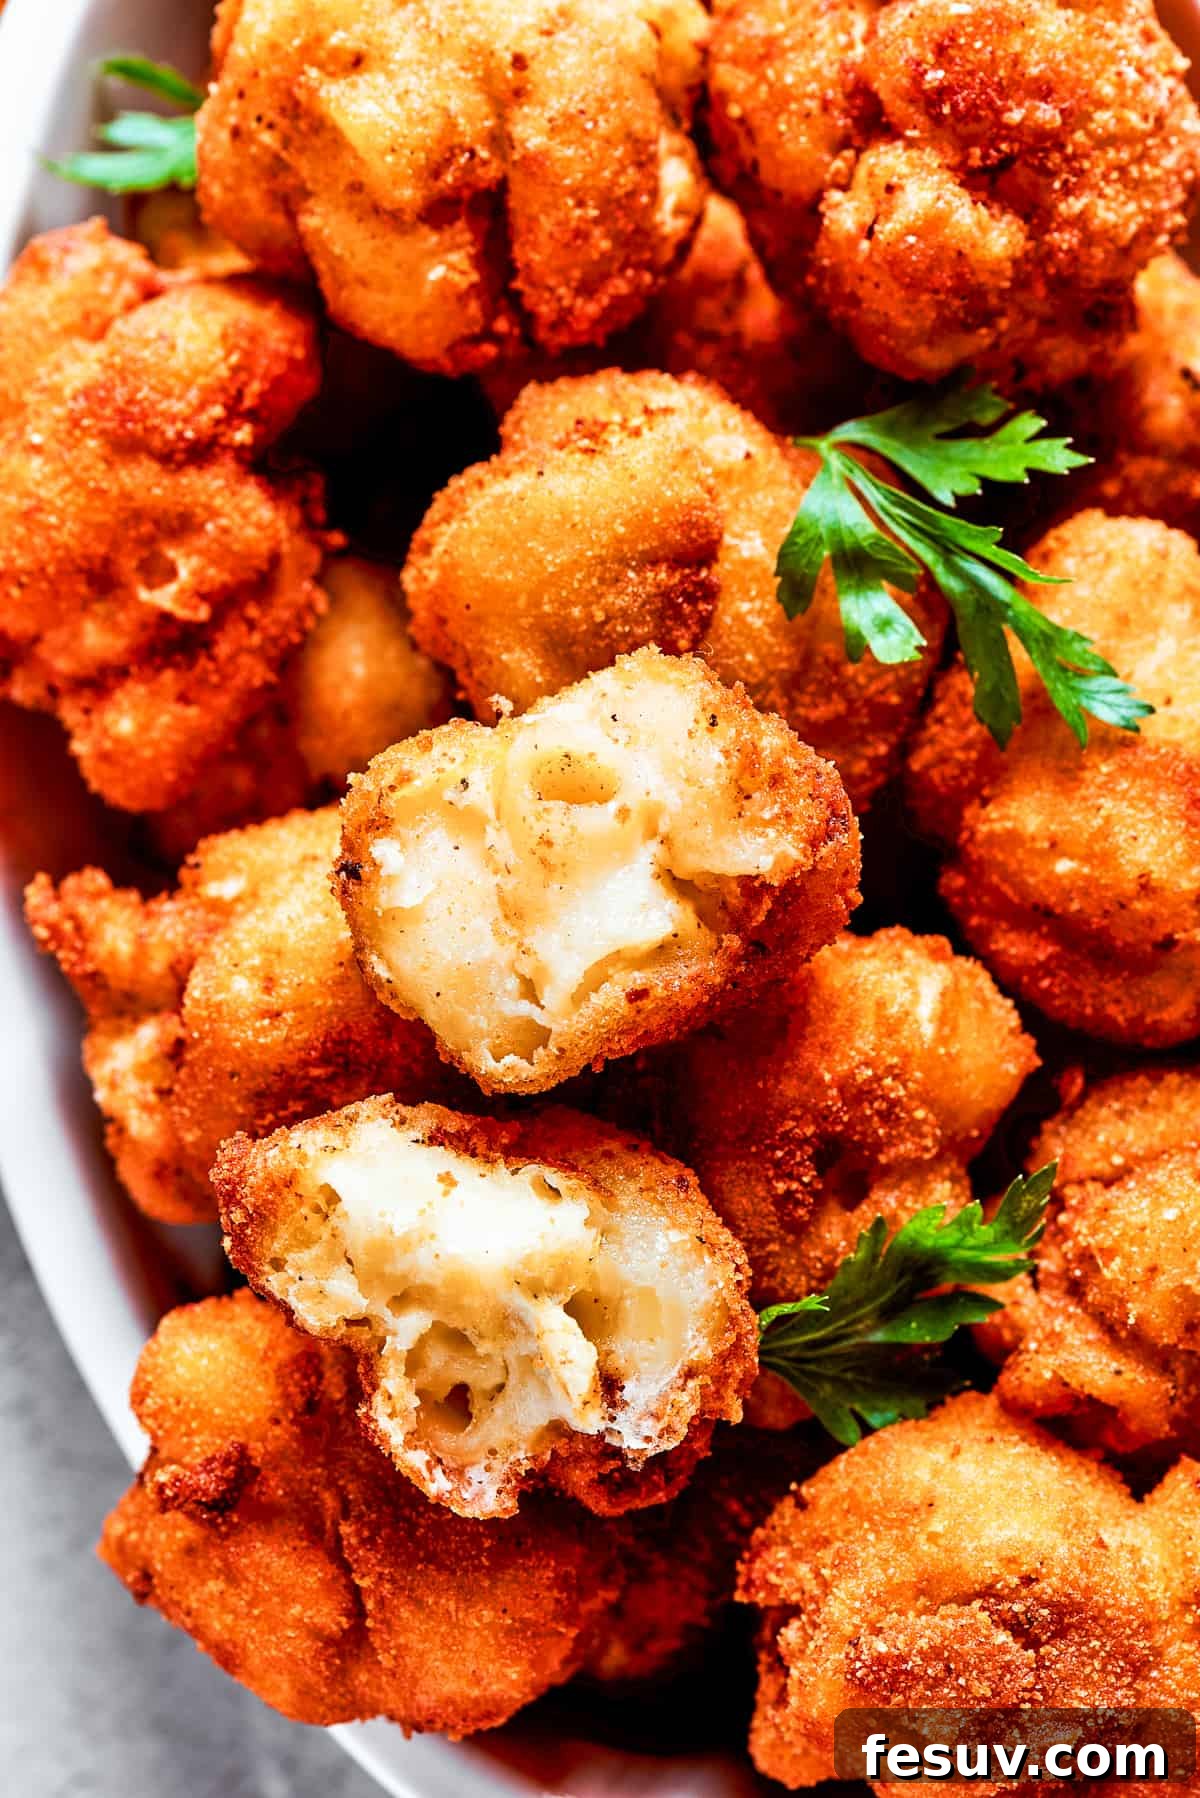
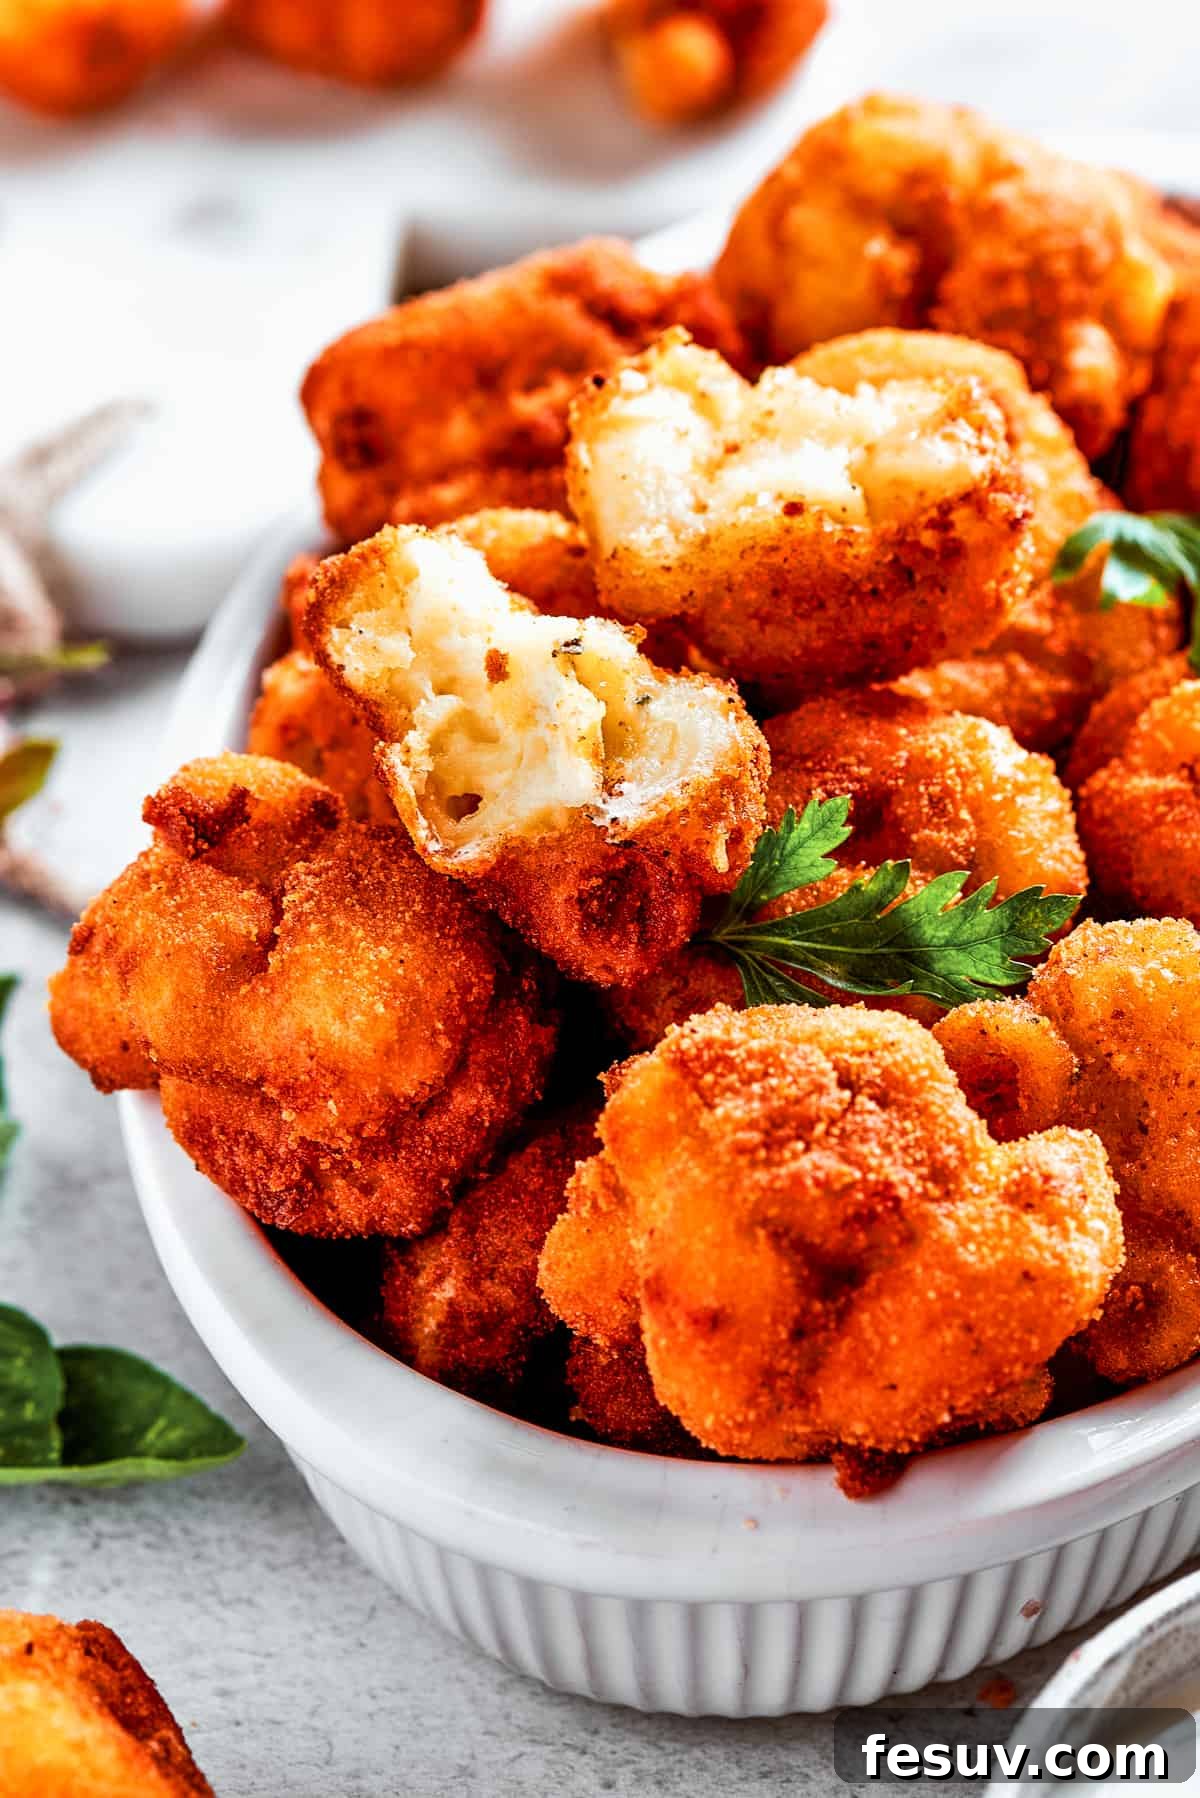
Imagine a culinary masterpiece: golden-brown and impeccably crispy on the outside, giving way to an irresistibly rich, creamy, and gloriously gooey interior. These aren’t just any snacks; these are Mac and Cheese Bites, the ultimate fusion of comfort food and sophisticated finger fare. Perfectly portioned and endlessly satisfying, they elevate classic mac and cheese into an appetizer or side dish that will steal the show at any gathering. From casual weeknight dinners to festive holiday parties, these fried delights offer a textural symphony and flavor profile that everyone will adore. They encapsulate everything cherished about traditional macaroni and cheese but transform it into a portable, delectable fried treat.

Irresistible Fried Mac and Cheese Bites: A Crowd-Pleasing Twist
Macaroni and cheese holds a special place in the hearts of many, a nostalgic staple synonymous with warmth and pure culinary bliss. Its rich, cheesy embrace is undeniably comforting. However, even the most beloved classics can benefit from an exciting new interpretation. This recipe for mac and cheese bites does precisely that, reimagining the familiar dish into a sensational fried finger food that is both novel and deeply satisfying.
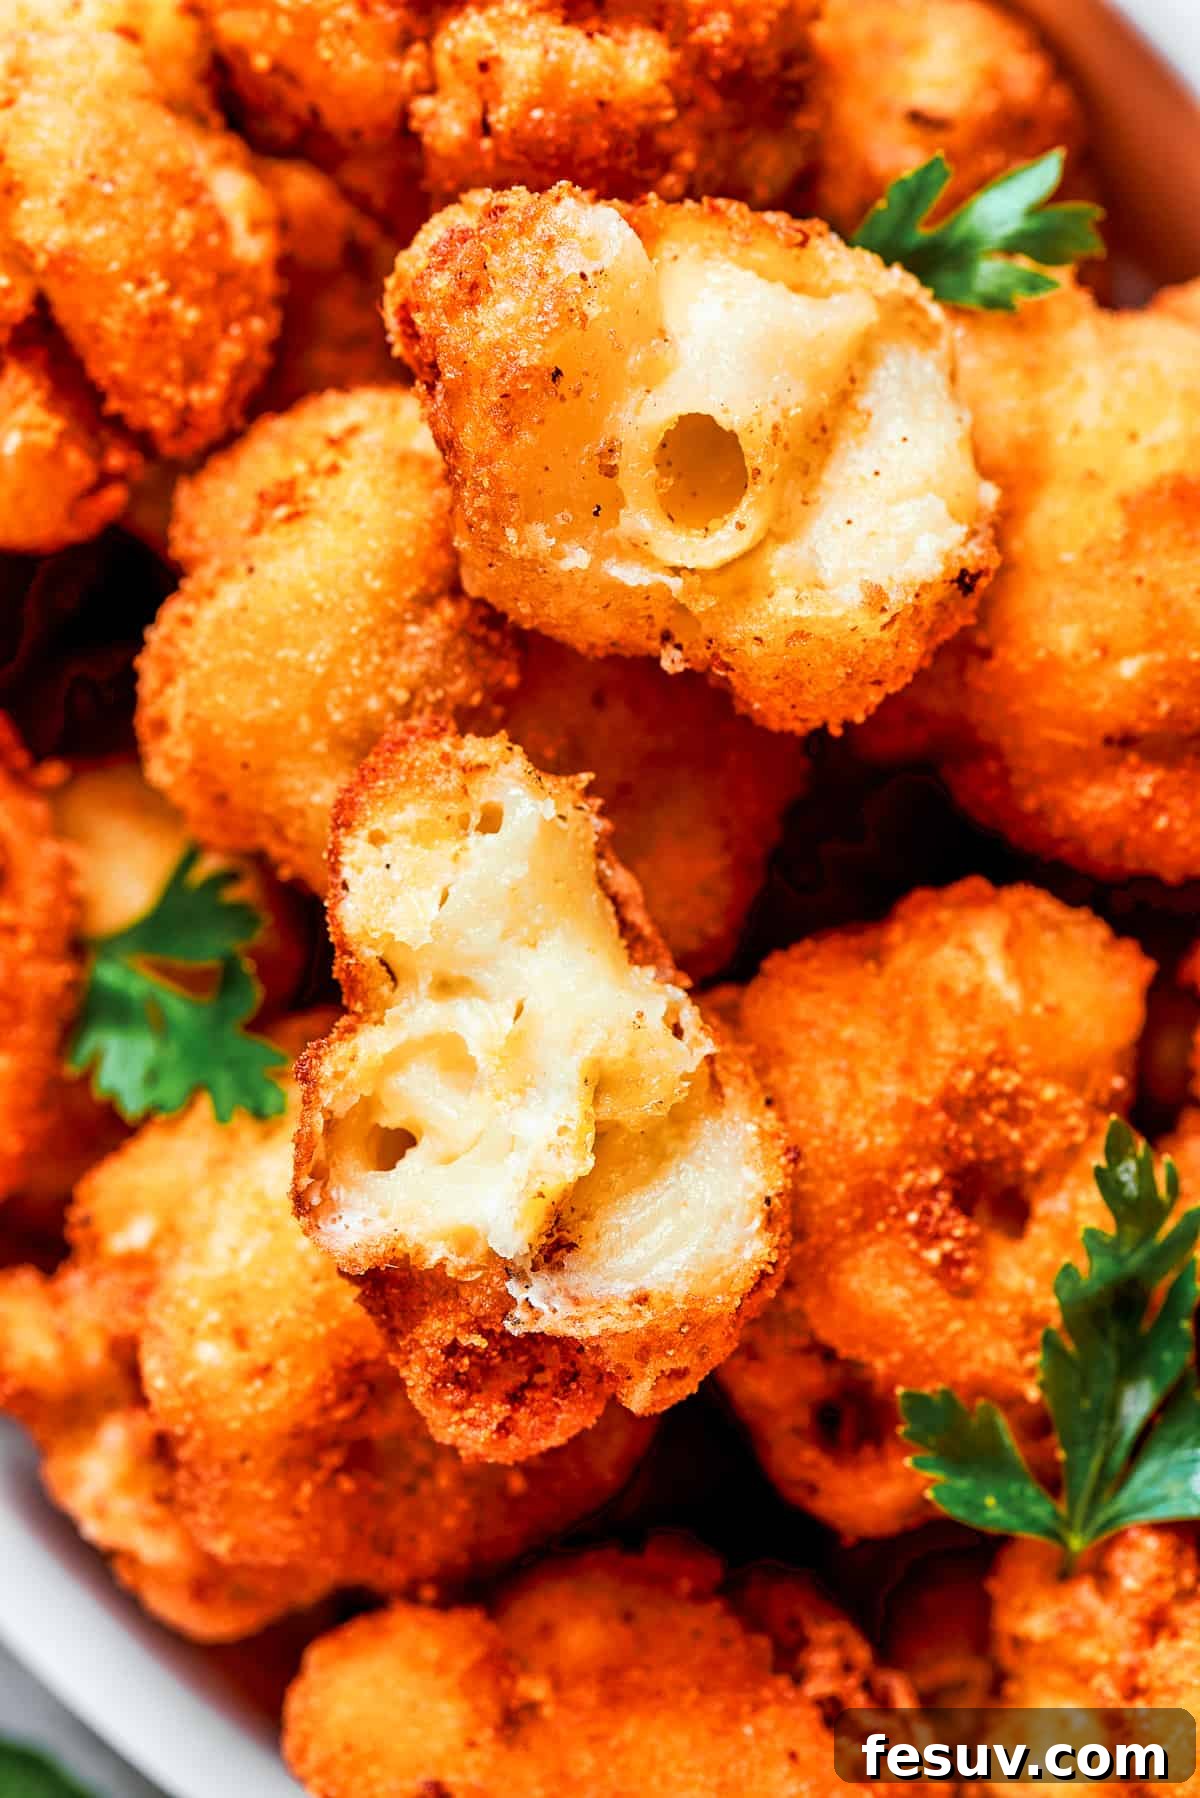
These individual cheesy morsels are a testament to delightful contrasts. Each bite offers a supremely crunchy, golden-brown crust, expertly seasoned to perfection. This gives way to an interior brimming with a luscious, molten blend of mozzarella and parmesan cheeses, expertly seasoned with a hint of garlic and onion powder. The interplay between the intensely flavorful, melty cheese core and the crisp Panko breadcrumb coating is truly remarkable. What might seem like a complex culinary feat is, in reality, a surprisingly straightforward process, making these fun finger foods accessible to home cooks of all skill levels. They deliver maximum flavor and textural pleasure with minimal fuss, making them an instant favorite.
Why You’ll Fall in Love with These Mac ‘n’ Cheese Bites
This recipe isn’t just about making mac and cheese; it’s about crafting an experience. Here are the compelling reasons why these fried mac and cheese bites are poised to become your new go-to:
- Surprisingly Easy Preparation: Don’t let the gourmet appearance fool you; this recipe is straightforward and designed for home cooks. While it does involve a few stages, such as chilling the pasta mixture and frying each bite, the steps themselves are simple and logical. There are no complicated techniques or fancy equipment required, making it an approachable project for a delicious reward. The process is broken down into manageable steps, ensuring success even for those new to frying.
- The Ultimate Party Appetizer: When it comes to entertaining, finding finger foods that are both impressive and easy to prepare in large quantities can be a challenge. These mac and cheese bites tick all the boxes. They are incredibly popular, easy to scale up for larger crowds, and remain wonderfully delicious even as they cool down, making them perfect for buffets or passed appetizers. Their convenient size and irresistible taste make them a guaranteed hit at any social gathering, from game nights to holiday celebrations.
- Infinitely Customizable Flavors: While this recipe provides a perfectly balanced and deliciously simple base using mozzarella, parmesan, garlic, onion, and Italian seasoning, it’s also a fantastic canvas for your creativity. Feel free to adjust the flavor profile to your preference. Consider adding a pinch of smoked paprika for depth, a dash of cayenne for a subtle kick, or a touch of Dijon mustard for tang. You can even incorporate finely diced cooked vegetables, crispy bacon bits, or a hint of jalapeño for a spicier variation. The possibilities are endless, allowing you to tailor the bites to any palate.
- Unforgettable Texture Contrast: The true magic of these mac and cheese bites lies in their incredible texture. The exterior boasts a golden, crunchy crust, thanks to the Panko breadcrumbs, offering a satisfying crispness with every bite. This contrasts beautifully with the warm, velvety smooth, and utterly gooey cheese sauce and tender macaroni within. This delightful interplay of textures is what makes these bites so addictive and memorable, setting them apart from traditional mac and cheese.
- Versatile Serving Options: Whether you need a standout appetizer to kick off a meal, a hearty and comforting side dish, or a fun snack for game day, these mac and cheese bites fit the bill. They pair wonderfully with a variety of dipping sauces, from classic marinara and ranch to a spicy sriracha aioli. Their versatility makes them a valuable addition to your culinary repertoire, adaptable to countless occasions and preferences.
Essential Ingredients for Perfect Mac and Cheese Bites
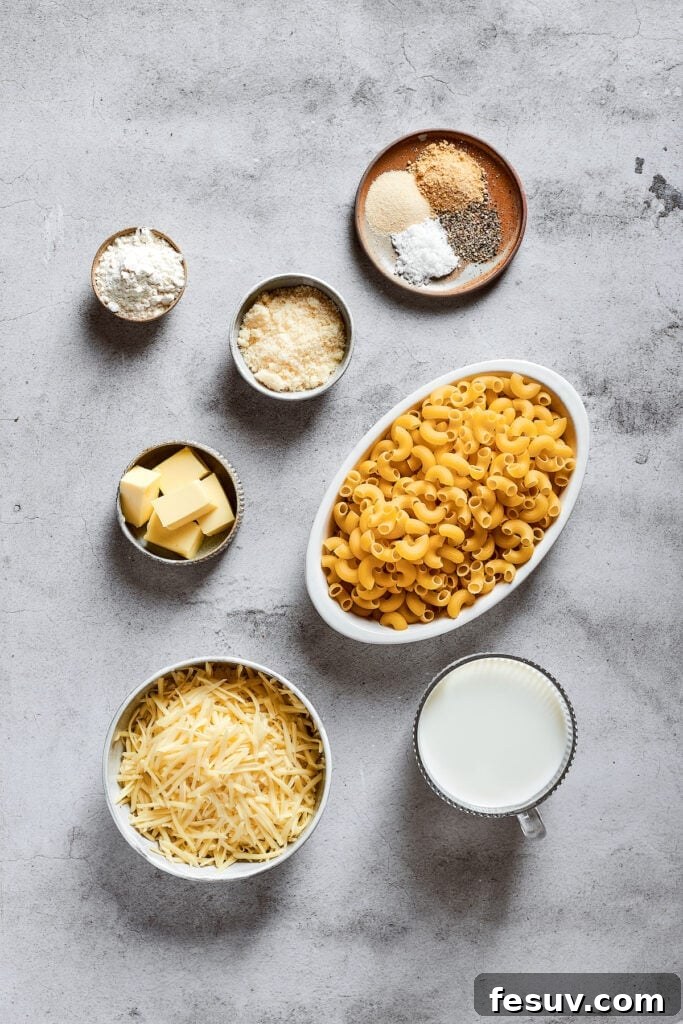
Crafting these delectable bites begins with selecting the right ingredients. Here’s a detailed look at what you’ll need to achieve that signature crispy exterior and rich, gooey interior:
For the Creamy Mac and Cheese Base:
- Elbow Macaroni: This classic pasta shape is ideal for mac and cheese as its small, curved tubes perfectly cradle the creamy sauce. Cooking it al dente is crucial as it will continue to cook slightly when fried, ensuring it doesn’t become mushy.
- Mozzarella Cheese: Known for its incredible melt and stretch, mozzarella is key to the gooey factor. While pre-shredded cheese is convenient, shredding your own from a block often results in a smoother melt and better flavor, as pre-shredded varieties can contain anti-caking agents.
- Parmesan Cheese: Adds a sharp, nutty, and savory depth of flavor that complements the milder mozzarella. Freshly grating parmesan offers a superior texture and more intense flavor compared to pre-grated options, making a noticeable difference in the final product.
- Unsalted Butter: The foundation of our roux, unsalted butter allows you to control the overall saltiness of the dish. Cut it into cubes for easier melting and even incorporation.
- All-Purpose Flour: Essential for creating the roux, which thickens the cheese sauce to the perfect consistency, ensuring it clings beautifully to the macaroni.
- Whole Milk: For the richest, creamiest sauce, whole milk is highly recommended. Its higher fat content contributes to a luxuriously smooth and flavorful cheese sauce that coats every noodle.
- Garlic Powder and Onion Powder: These pantry staples infuse the cheese sauce with aromatic depth, providing a savory background that enhances the cheesy goodness without overpowering it.
- Salt & Freshly Ground Black Pepper: Fundamental for seasoning. Add gradually and taste as you go to achieve a perfectly balanced flavor profile. Freshly ground pepper offers a more vibrant taste.
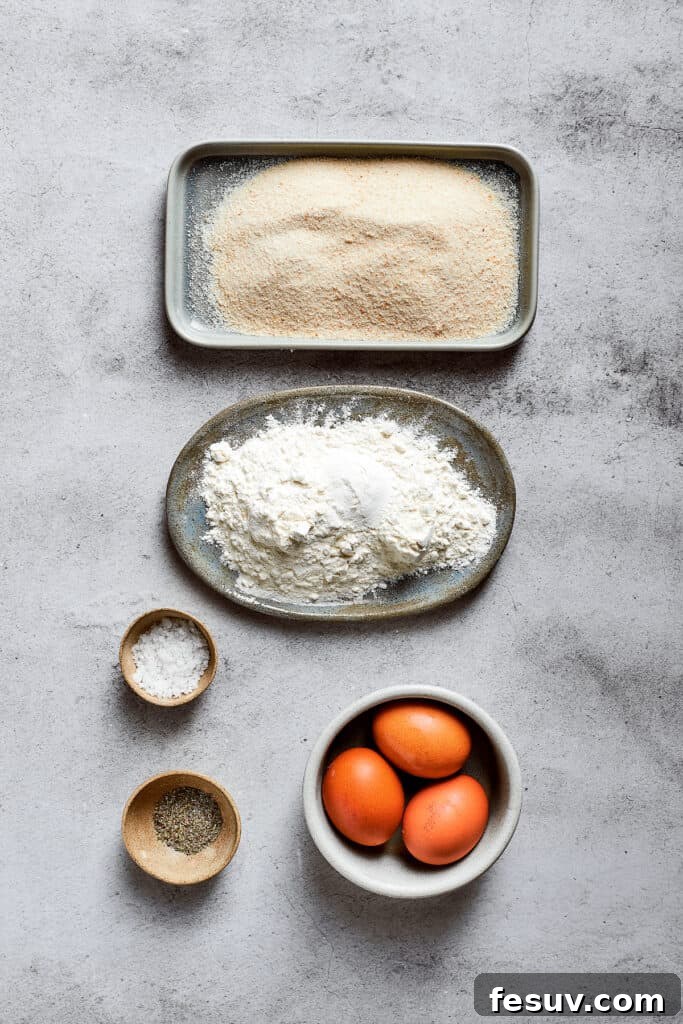
For the Crispy Breading:
- All-Purpose Flour: The first layer in the breading process, it helps the egg wash adhere evenly to the mac and cheese balls.
- Large Eggs: Whisked eggs create the crucial “glue” that binds the breadcrumbs to the flour-dusted mac and cheese, ensuring a uniform and durable crust.
- Panko Breadcrumbs: This is a non-negotiable for achieving truly crispy bites. Panko, a Japanese-style breadcrumb, is coarser and flakier than regular breadcrumbs, absorbing less oil and frying up significantly lighter and crispier. If regular breadcrumbs are all you have, they’ll work, but Panko is highly recommended for that optimal crunch.
- Italian Seasoning: A fragrant blend of herbs like oregano, basil, thyme, and rosemary, it adds a wonderful aromatic flavor to the breading, enhancing the savory profile of the bites.
- Salt: A pinch of salt in the breadcrumbs further seasons the exterior, ensuring every layer of the bite is flavorful.
For Frying:
- Vegetable Oil: A neutral-flavored oil with a high smoke point is essential for deep frying. Vegetable oil, canola oil, or peanut oil are excellent choices. Ensure you use enough oil to submerge the bites for even cooking and crisping.
How to Make Perfect Mac and Cheese Bites: A Step-by-Step Guide
Follow these instructions carefully to create crispy, gooey mac and cheese bites that are sure to impress. It’s a surprisingly easy recipe that yields fantastic results!
- Prepare the Macaroni: Bring a large pot of salted water to a rolling boil. Add the elbow macaroni and cook according to package directions until it reaches an al dente texture. It’s important not to overcook the pasta, as it will be fried later. Drain the pasta thoroughly and set it aside.
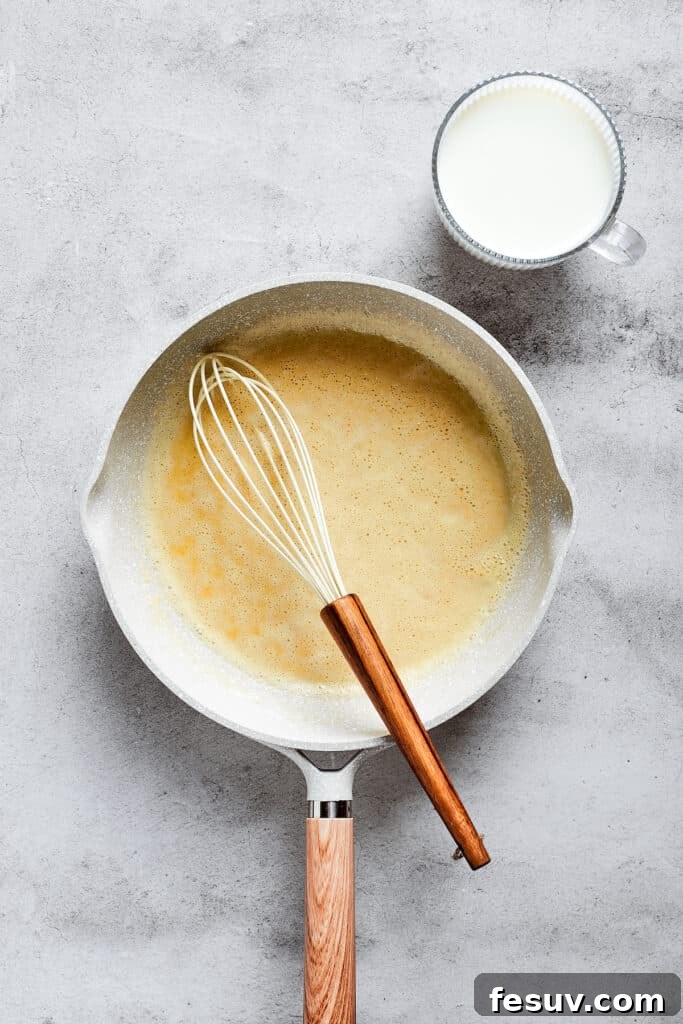
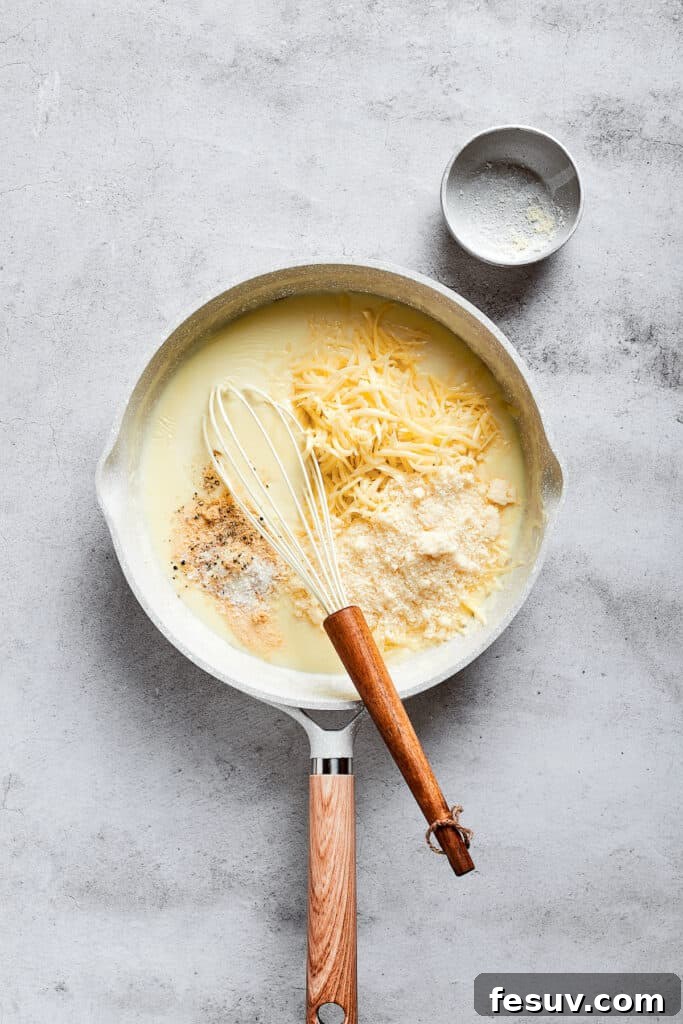
- Craft the Silky Cheese Sauce: In a large, heavy-bottomed saucepan, melt the unsalted butter over medium heat. Once the butter is fully melted and shimmering, add the all-purpose flour. Whisk continuously for about 1 minute to cook out the raw flour taste and form a smooth roux. Gradually and slowly pour the whole milk into the saucepan while whisking constantly to prevent lumps from forming. Continue whisking until the mixture is smooth and slightly thickened. Reduce the heat to low, then add both the shredded mozzarella and grated parmesan cheeses. Stir continuously until both cheeses are completely melted and the sauce is smooth and creamy.
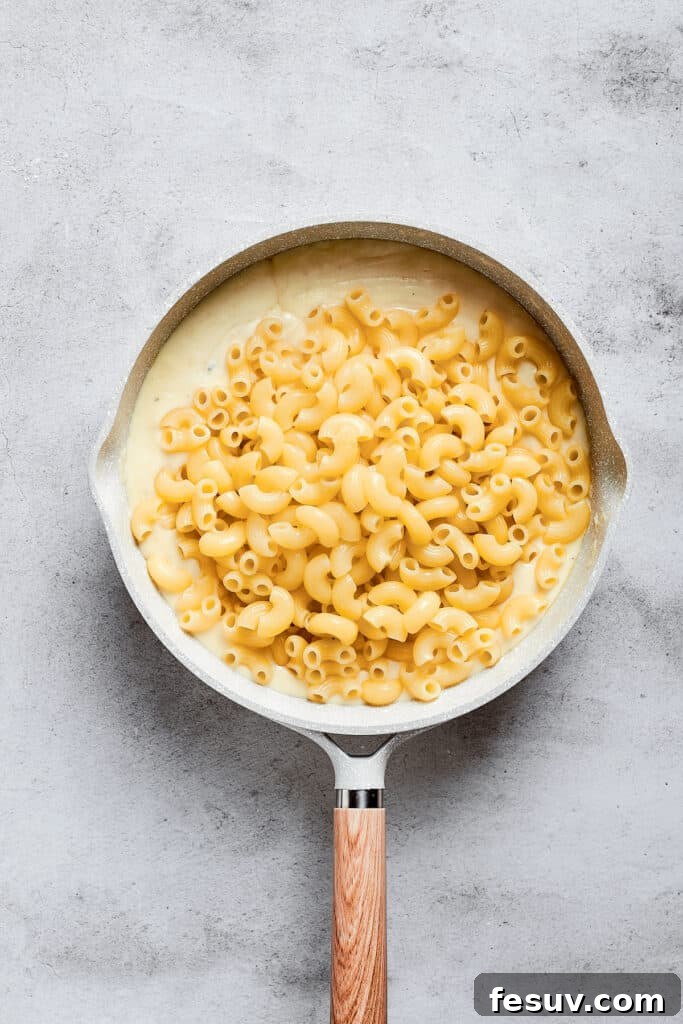
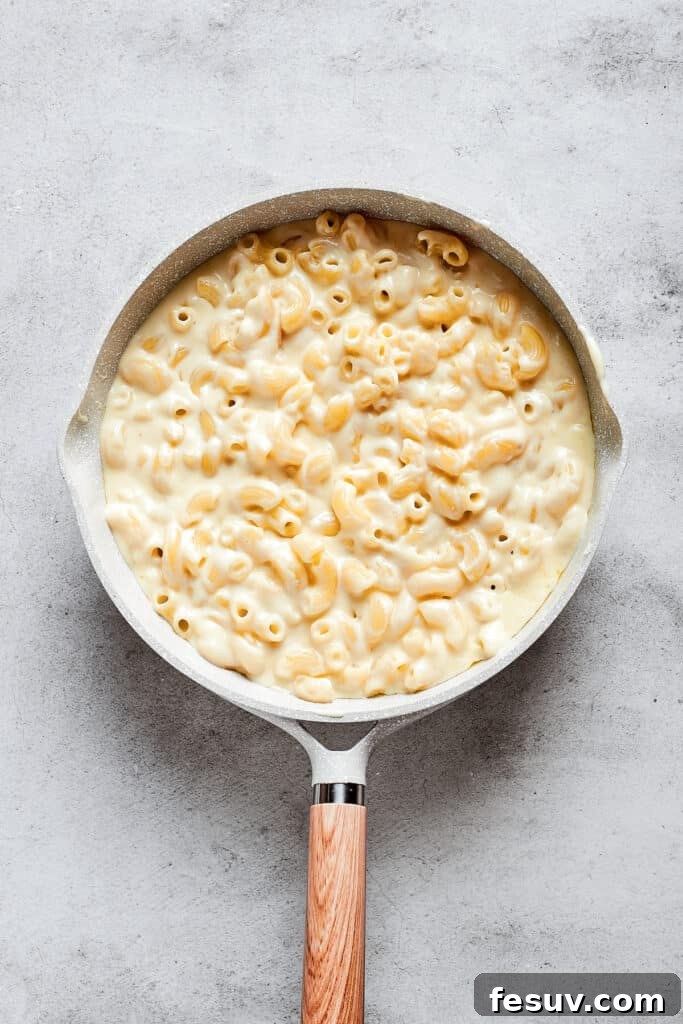
- Season and Combine: Stir in the garlic powder and onion powder into the cheese sauce. Taste the sauce and season generously with salt and fresh ground black pepper as needed. Add the cooked macaroni to the prepared cheese sauce. Stir gently but thoroughly until every piece of pasta is evenly coated in the rich, cheesy sauce.
- Chill the Mac and Cheese: Line a large baking sheet with plastic wrap or parchment paper, ensuring enough overhang to cover the mac and cheese later. Pour the warm mac and cheese onto the prepared baking sheet and spread it out evenly into a layer about 1 inch thick. Cover the mac and cheese completely with the overhanging plastic wrap or another piece of plastic wrap, pressing it gently to ensure it’s airtight. Transfer the baking sheet to the refrigerator and chill for a minimum of 2 hours, or ideally overnight, until the mac and cheese is very firm and easy to handle. This chilling step is crucial for shaping the bites without them falling apart.
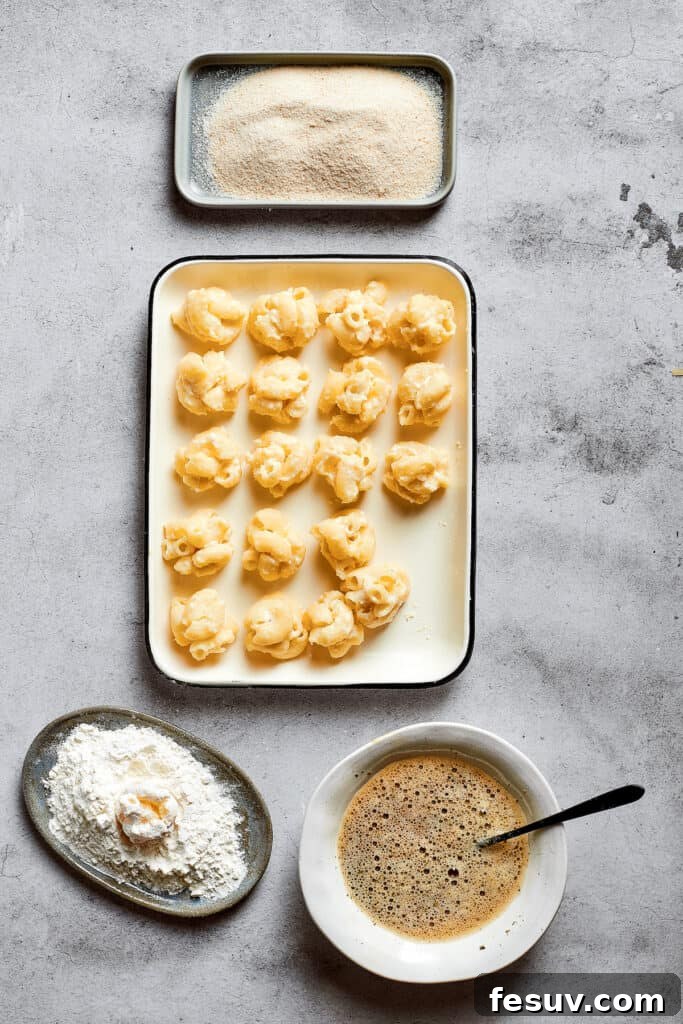
- Set Up the Breading Station: While the mac and cheese is chilling, prepare your breading station. Place 1 cup of all-purpose flour in a shallow bowl. In a second shallow bowl, whisk the eggs with 1 teaspoon of Italian seasoning and 1 teaspoon of salt until well combined. In a third shallow bowl, combine the Panko breadcrumbs with an additional pinch of salt. Arrange these bowls in a line: flour, then egg, then breadcrumbs.
- Shape and Bread the Bites: Once the mac and cheese is thoroughly chilled and firm, use a small scoop or your hands to take portions and roll them into uniform, bite-sized balls, approximately 1 to 1.5 inches in diameter. Work quickly to keep them cold. Roll each mac and cheese ball first in the flour, ensuring it’s fully coated. Gently shake off any excess flour. Next, dip the flour-dusted ball into the beaten egg mixture, letting any excess egg drip off. Finally, place the egg-coated ball into the Panko breadcrumbs, pressing gently to ensure an even and complete coating. Set the breaded bites on a clean plate or baking sheet.
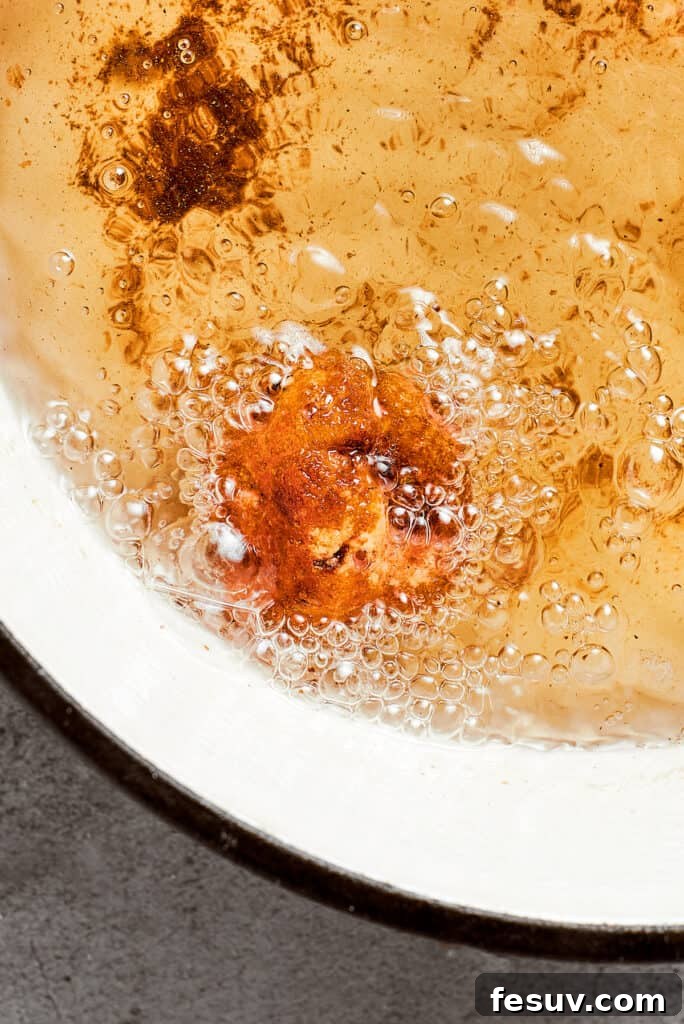
- Heat the Frying Oil: Pour enough vegetable oil into a deep, heavy-bottomed skillet or Dutch oven to reach a depth of about 2-3 inches. Heat the oil over medium-high heat until it reaches 350°F (175°C). Using a kitchen thermometer is highly recommended for accurate oil temperature, as consistent temperature is key to crispy, non-greasy bites.
- Fry to Golden Perfection: Carefully place a few mac and cheese bites into the hot oil, ensuring not to overcrowd the skillet. Fry the bites for approximately 2-3 minutes per side, or until they are beautifully golden brown and crispy all over. Use tongs or a slotted spoon to turn them gently as they cook.
- Drain and Serve: Once fried, use a slotted spoon or spider to remove the mac and cheese bites from the hot oil. Transfer them to a plate lined with paper towels to absorb any excess frying oil. Allow them to cool slightly for a few minutes before serving, as the interior will be very hot. Serve immediately with your favorite dipping sauce and watch them disappear!
Expert Tips for Flawless Mac and Cheese Bites
Achieving the perfect crispy exterior and gooey interior for your mac and cheese bites is easier with these expert tips:
- Master the Roux: When creating the butter and flour roux, make sure to cook the flour for at least a minute while whisking constantly. This eliminates the raw flour taste and ensures a smooth, flavorful base for your cheese sauce. The roux should be pale in color, not browned.
- Gradual Milk Addition is Key: The most crucial step for a smooth, lump-free cheese sauce is adding the milk slowly to the roux. Begin with a very slow drizzle while whisking vigorously. If you add the milk too quickly, the sauce can become lumpy or even “break,” separating into an oily mess. Once you’ve incorporated a small amount and created a thick paste, you can gradually increase the speed of your pour, always whisking to maintain emulsification.
- The “Wet Hand, Dry Hand” Breading Method: Breading can quickly become a sticky situation. To keep things clean and efficient, employ the wet hand/dry hand technique. Designate one hand as your “dry hand” for handling the flour and breadcrumbs, and the other as your “wet hand” for dipping into the egg wash. This prevents clumping and keeps your hands relatively clean, making the process much smoother.
- Ensure Adequate Chilling Time: Do not rush the chilling step! The mac and cheese mixture absolutely needs to be firm and cold for at least 2 hours, or ideally overnight. This firmness is vital for easily shaping the mixture into balls and preventing them from falling apart during the breading and frying process. A well-chilled mixture holds its shape beautifully.
- Maintain Optimal Oil Temperature: Frying at the correct oil temperature is critical for crispy, non-greasy bites. Use a deep-fry thermometer to monitor the oil, aiming for a consistent 350°F (175°C). If the oil is too cool, the bites will absorb too much oil and become greasy. If it’s too hot, the exterior will burn before the interior has a chance to heat through and become gooey.
- Don’t Overcrowd the Pan: Fry the mac and cheese bites in batches. Overcrowding the skillet will drop the oil temperature significantly, leading to soggy rather than crispy results. Give each bite enough space to fry evenly and maintain consistent oil temperature.
- Uniform Sizing: Try to make your mac and cheese balls roughly the same size. This ensures they cook evenly in the hot oil. Unevenly sized bites will result in some being overcooked and others still cold in the center.
Frequently Asked Questions (FAQs) About Mac and Cheese Bites
Can I Use Leftover Mac and Cheese for this Recipe?
Absolutely! This recipe is fantastic for transforming leftover mac and cheese into something new and exciting. If you happen to have a batch of creamy mac and cheese already made, you can certainly use it. Simply ensure it’s well-chilled and firm enough to shape into balls before proceeding with the breading and frying steps. Any type of mac and cheese will work, making this a wonderful way to reinvent leftovers.
Can Mac And Cheese Bites Be Prepared in Advance?
Yes, these bites are excellent for meal prepping or preparing ahead of time! Once you’ve assembled and breaded the mac and cheese bites, you have a couple of options:
Refrigerate: Store the breaded bites in an airtight container in the fridge for up to 24 hours. When you’re ready, simply fry them as directed.
Freeze: For longer storage, arrange the breaded bites in a single layer on a baking sheet and freeze until solid (about 1-2 hours). Once frozen, transfer them to an airtight freezer-safe container or bag. They can be stored in the freezer for up to 3 months. Fry them directly from frozen, adding a few extra minutes to the cooking time.
Can I Bake or Air Fry These Instead of Deep Frying?
While deep frying yields the crispiest, most classic result, you can certainly bake or air fry them for a slightly healthier alternative.
To Bake: Preheat your oven to 400°F (200°C). Lightly spray the breaded bites with cooking spray. Arrange them on a baking sheet and bake for 15-20 minutes, flipping halfway through, until golden brown and heated through.
To Air Fry: Preheat your air fryer to 375°F (190°C). Lightly spray the breaded bites with cooking spray. Place them in a single layer in the air fryer basket (do not overcrowd) and air fry for 8-12 minutes, shaking the basket halfway through, until golden and crispy.
What Kind of Dipping Sauces Pair Best?
Mac and cheese bites are incredibly versatile and pair well with a wide array of dipping sauces. Classic choices include marinara sauce, ranch dressing, or a spicy sriracha aioli. Other delicious options are barbecue sauce, honey mustard, a sweet chili sauce, or even a simple sour cream and chive dip. Experiment to find your favorite combination!
What to Serve with Fried Mac ‘n’ Cheese Bites
Gooey mac and cheese bites are fantastic on their own, but they truly shine when paired with the right dipping sauces and complementary main courses. Their versatility allows them to serve as a delicious appetizer, a hearty side, or even a fun main dish with a few additions. Here are some of my favorite ways to serve these crispy delights:
Dipping Sauce Essentials: I always recommend serving these with a selection of dipping sauces to enhance their flavor. Classic choices include creamy ranch, tangy marinara, or a vibrant Yum Yum Sauce. For those who enjoy a little kick, a sriracha aioli or a spicy chipotle mayo would be excellent. A simple honey mustard or even a garlicky sour cream dip can also be delightful.
Hearty Main Dish Pairings: Given that mac and cheese is an iconic side, these bites are a perfect accompaniment to a variety of meaty entrees. The rich, savory flavors complement each other beautifully. Consider serving them alongside:
- Easy Instant Pot Ribs: The tender, fall-off-the-bone ribs are a perfect match for the crispy, cheesy bites.
- Pan-Seared Cajun Butter Chicken Thighs: The bold, spicy flavors of Cajun chicken will be beautifully balanced by the comforting creaminess of the mac and cheese.
- Instant Pot Pulled Pork: A classic combination, the savory, shredded pork and the crispy mac bites make for a truly satisfying meal.
- Slow Cooker Barbecue Beef Brisket: The smoky, tender brisket and the cheesy bites offer a taste of Southern comfort.
Lighter Side Dish Pairings: To balance the richness of the mac and cheese bites, consider adding a fresh salad or some vibrant vegetable dishes. A crisp green salad with a light vinaigrette, steamed green beans, or roasted broccoli can provide a refreshing contrast.
How To Store & Reheat Leftovers
Ensuring your delicious mac and cheese bites stay fresh and crispy for later enjoyment is simple with these storage and reheating tips:
- Refrigerator Storage: Leftover mac and cheese bites should be stored in an airtight container in the refrigerator. They will remain fresh and tasty for up to 4 days. Make sure they are completely cooled before transferring them to the container to prevent condensation, which can make them soggy.
- Reheating for Crispiness: To bring them back to their golden, crispy best, avoid the microwave, which can make them soft. Reheat them in a preheated 350°F (175°C) oven for about 10-15 minutes, or until heated through and crisp. Alternatively, a 350°F (175°C) air fryer can reheat them in just 5-8 minutes, offering excellent crispness.
- Freezing Fried Mac and Cheese Bites: If you’ve fried a larger batch and want to save some for later, freezing is a great option. First, allow the fried bites to cool completely. Then, arrange them in a single layer on a baking sheet and freeze until solid. Once frozen, transfer them to an airtight freezer-safe container or a heavy-duty freezer bag. They can be stored in the freezer for up to 3 months.
- Reheating from Frozen: You can reheat frozen mac and cheese bites directly from the freezer without thawing. Place them in a preheated 350°F (175°C) oven for 15-20 minutes, or in a 350°F (175°C) air fryer for 8-12 minutes, adding a few extra minutes to the cooking time compared to refrigerated leftovers, until they are hot and crispy.
More Delicious Side Dishes To Try
Side dishes are the unsung heroes of any meal, capable of transforming a simple dinner into a memorable feast. They offer an opportunity to add flavor, texture, and nutritional balance. Here are a few more of my favorite side dish recipes that are easy, flavorful, and guaranteed to elevate your cooking:
- Garlic Butter Roasted Asparagus: A simple yet elegant side, this roasted asparagus is tender-crisp and bursting with savory garlic and butter flavor.
- Parmesan Crusted Potatoes: Crispy on the outside, fluffy on the inside, these potatoes are coated in a savory Parmesan crust that’s utterly irresistible.
- Easy Homemade Biscuits: Flaky, buttery, and incredibly tender, these biscuits are perfect for soaking up gravies or serving alongside any meal.
- Romano Beans in Garlic Butter Sauce: Fresh romano beans quickly sautéed in a rich garlic butter sauce make for a vibrant and flavorful green side.
- The Best Homemade Cornbread: A Southern classic, this cornbread is moist, tender, and slightly sweet, ideal with chili or barbecued meats.
- Roasted Brussels Sprouts: Crispy, caramelized, and savory, roasted Brussels sprouts are a fantastic way to enjoy this often-misunderstood vegetable.

Mac and Cheese Bites
by Katerina | Easy Weeknight Recipes
Easy mac and cheese bites are golden and crispy on the outside and gooey and cheesy on the inside. They’re a fun finger food that’s perfect for parties.
Prep Time: 20 minutes
Cook Time: 20 minutes
Chilling Time: 2 hours
Total Time: 2 hours 40 minutes
Servings: 40 bites
Ingredients
For the Mac and Cheese:
- 3 cups elbow macaroni
- 2 cups shredded mozzarella cheese
- ½ cup grated parmesan cheese
- ⅓ cup unsalted butter, cut into cubes
- 3 tablespoons all-purpose flour
- 2 cups whole milk
- 1 teaspoon garlic powder
- 1 teaspoon onion powder
- Salt and fresh ground black pepper, to taste
For the Breading:
- 1 cup all-purpose flour
- 3 large eggs
- 2 cups panko breadcrumbs
- 1 teaspoon Italian seasoning
- 1 teaspoon salt
For Frying:
- Vegetable oil (sufficient amount for deep frying)
Instructions
- Cook the elbow macaroni to al dente according to the instructions on the package, then drain and set aside.
- Add the butter to a large saucepan and melt over medium heat. Add in the all-purpose flour and whisk constantly for about 1 minute until a smooth roux forms. Gradually pour the milk in while whisking, making sure that no lumps form and the sauce starts to thicken.
- Reduce the heat to low and add the mozzarella and parmesan cheese. Stir until the cheese is entirely melted and the sauce is smooth. Add the garlic powder and onion powder, and season to taste with salt and pepper. Adjust the seasonings as necessary.
- Combine the cooked macaroni with the cheese sauce, and stir until the pasta is well incorporated and evenly coated.
- Line a rimmed baking sheet with parchment paper or plastic wrap. Transfer the mac and cheese to the baking sheet and spread it out evenly into about a 1-inch thick layer.
- Cover the mac and cheese with plastic wrap, pressing it gently to remove air, and refrigerate until firm, at least 2 hours and up to overnight. This chilling step is essential.
- Set up your breading station: place 1 cup of flour in one shallow bowl, the 3 eggs beaten with 1 teaspoon Italian seasoning and 1 teaspoon salt in a second bowl, and 2 cups of panko breadcrumbs with a pinch of salt in a third bowl.
- Take portions of the chilled mac and cheese and shape them into bite-sized balls (about 1 to 1.5 inches in diameter). Roll each macaroni ball first in the flour, then dip it into the beaten eggs, and finally coat it thoroughly in the seasoned breadcrumbs.
- Heat the vegetable oil in a large, deep skillet or Dutch oven to 350°F (175°C). Ensure you have enough oil to submerge the bites partially or fully.
- Carefully add the mac and cheese bites to the hot oil in batches, being careful not to overcrowd the skillet. Fry until golden brown and crispy all over, about 2-3 minutes per side.
- Use a slotted spoon to remove the mac and cheese bites from the oil, and let them rest on a paper towel-lined plate to drain any excess oil.
- Cool slightly for a few minutes before serving, then enjoy with your favorite dipping sauce.
Equipment
- Measuring Cups and Spoons
- Baking sheet
- Whisks
- Large Skillet
Notes
- You can use leftover macaroni and cheese for this recipe, ensuring it is thoroughly chilled.
- Assembled and breaded mac and cheese bites can be stored in the fridge for 24 hours or frozen for up to 3 months. Fry them directly from the freezer, adding extra cooking time.
- To avoid lumps and achieve a smooth sauce, cook the flour thoroughly in the roux and add the milk very slowly while whisking continuously.
- For frying, use neutral oils with a high smoke point like vegetable, canola, or peanut oil. Avoid olive oil.
- Store fried leftovers in an airtight container in the fridge for up to 4 days or in the freezer for up to 3 months. Reheat in a 350˚F oven for 10-15 minutes or in a 350˚F air fryer for 5-8 minutes until crispy and heated through.
Nutrition
Nutritional information is an estimate, provided as a courtesy. Values may vary based on ingredients and preparation methods. Please use your preferred nutritional calculator for more detailed info.
- Calories: 112 kcal
- Carbohydrates: 14g
- Protein: 5g
- Fat: 4g
- Saturated Fat: 2g
- Polyunsaturated Fat: 0.3g
- Monounsaturated Fat: 1g
- Trans Fat: 0.1g
- Cholesterol: 25mg
- Sodium: 146mg
- Potassium: 65mg
- Fiber: 1g
- Sugar: 1g
- Vitamin A: 136IU
- Vitamin C: 0.01mg
- Calcium: 70mg
- Iron: 1mg