
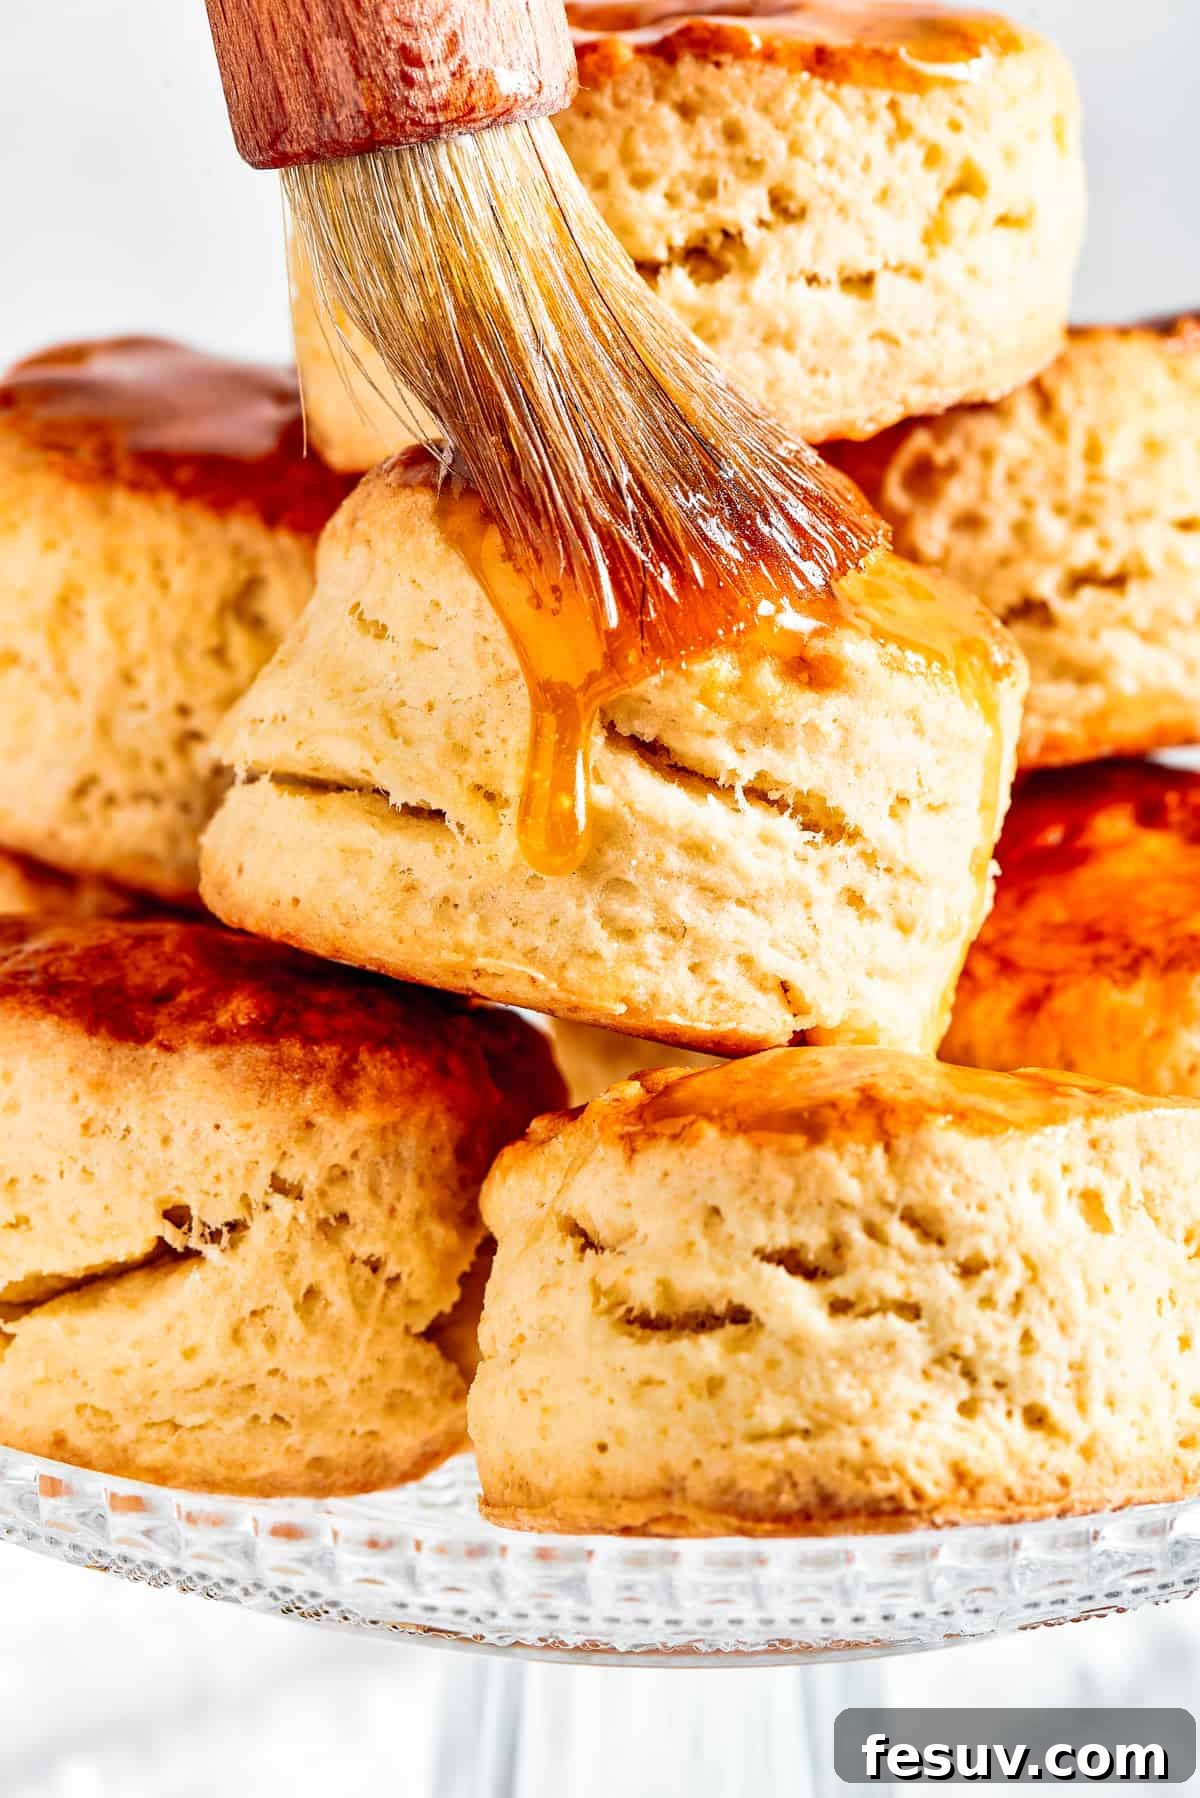
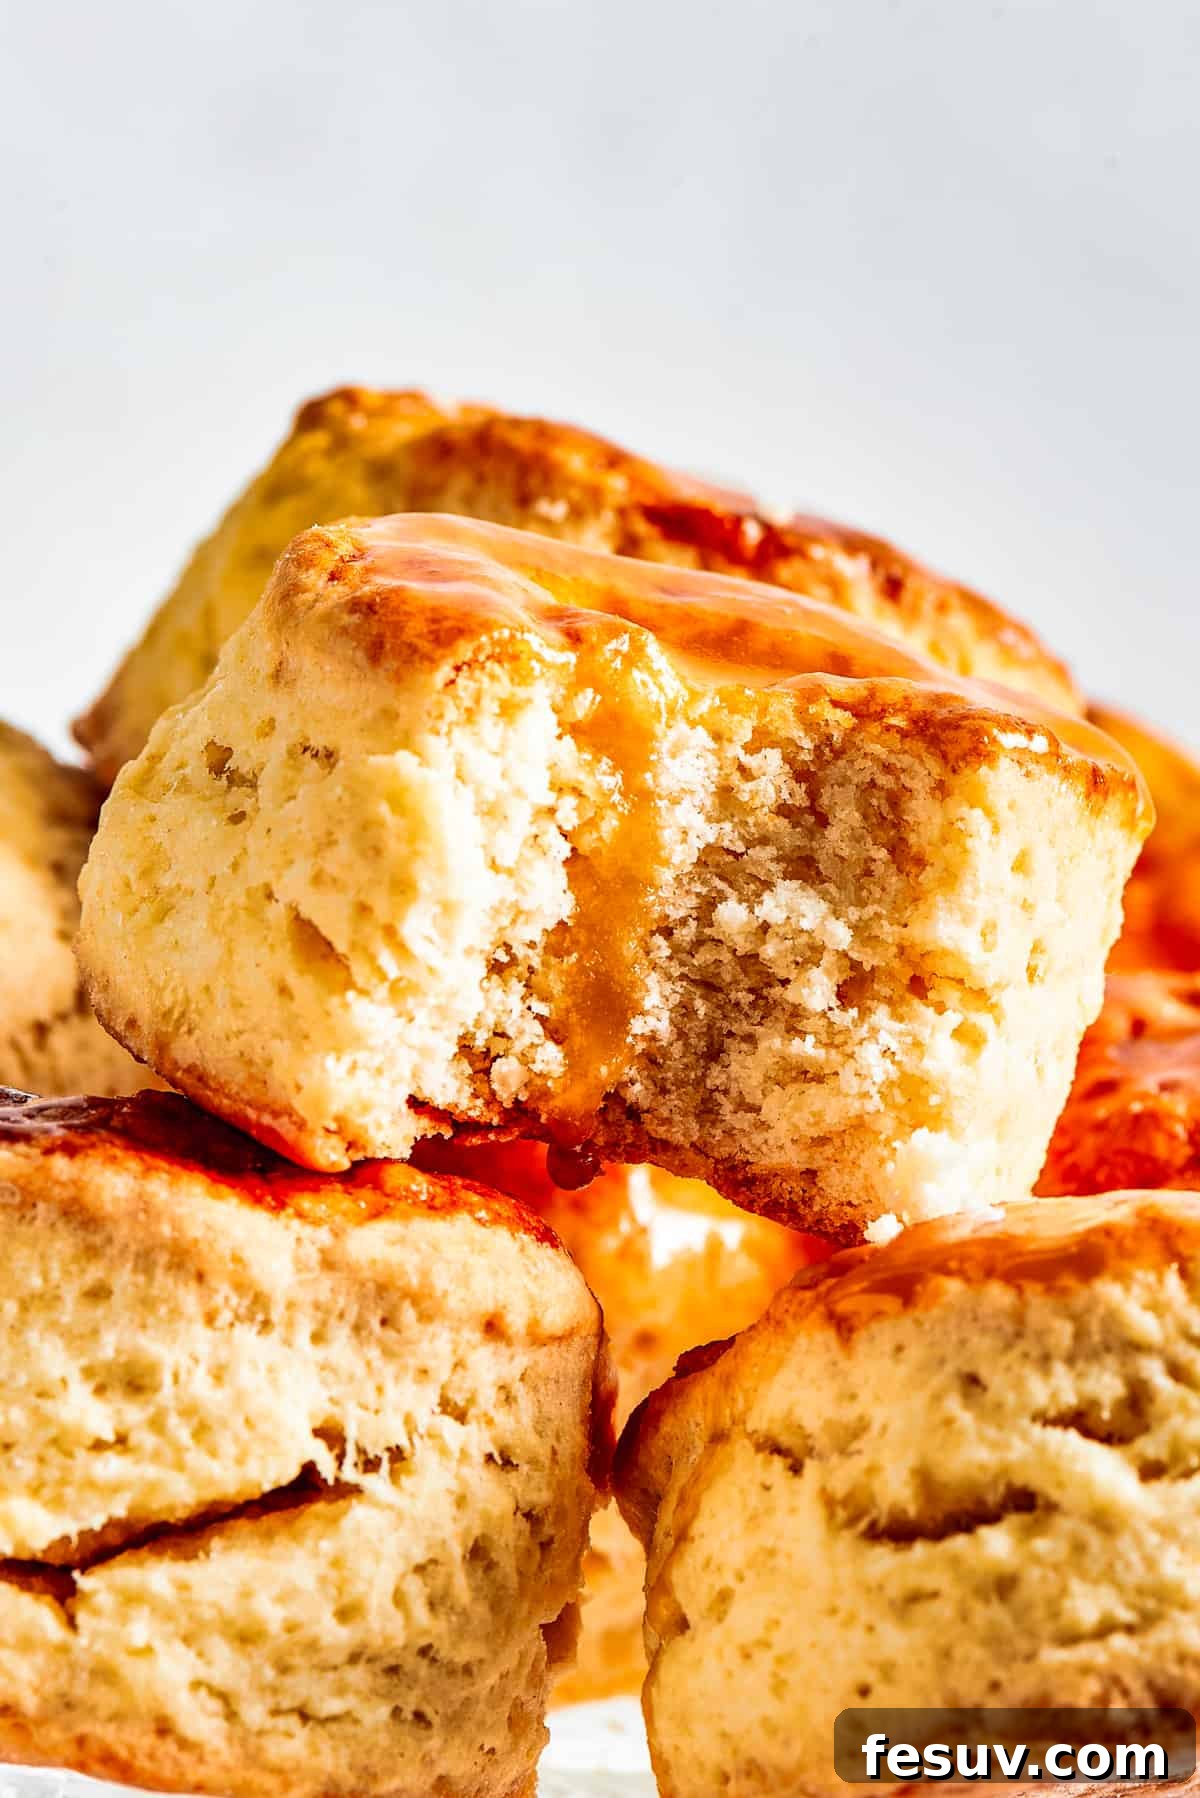
Easy Homemade Biscuits are not just a side dish; they are a culinary cornerstone, transforming any meal into a special occasion. Forget about complicated baking – these tender, flaky delights are surprisingly simple to whip up right in your own kitchen. Imagine warm, golden-brown biscuits, boasting impressive height and an irresistibly soft, melt-in-your-mouth texture that makes every bite pure comfort. This comprehensive guide will walk you through crafting the perfect batch, ensuring light, buttery goodness that will have everyone reaching for more.
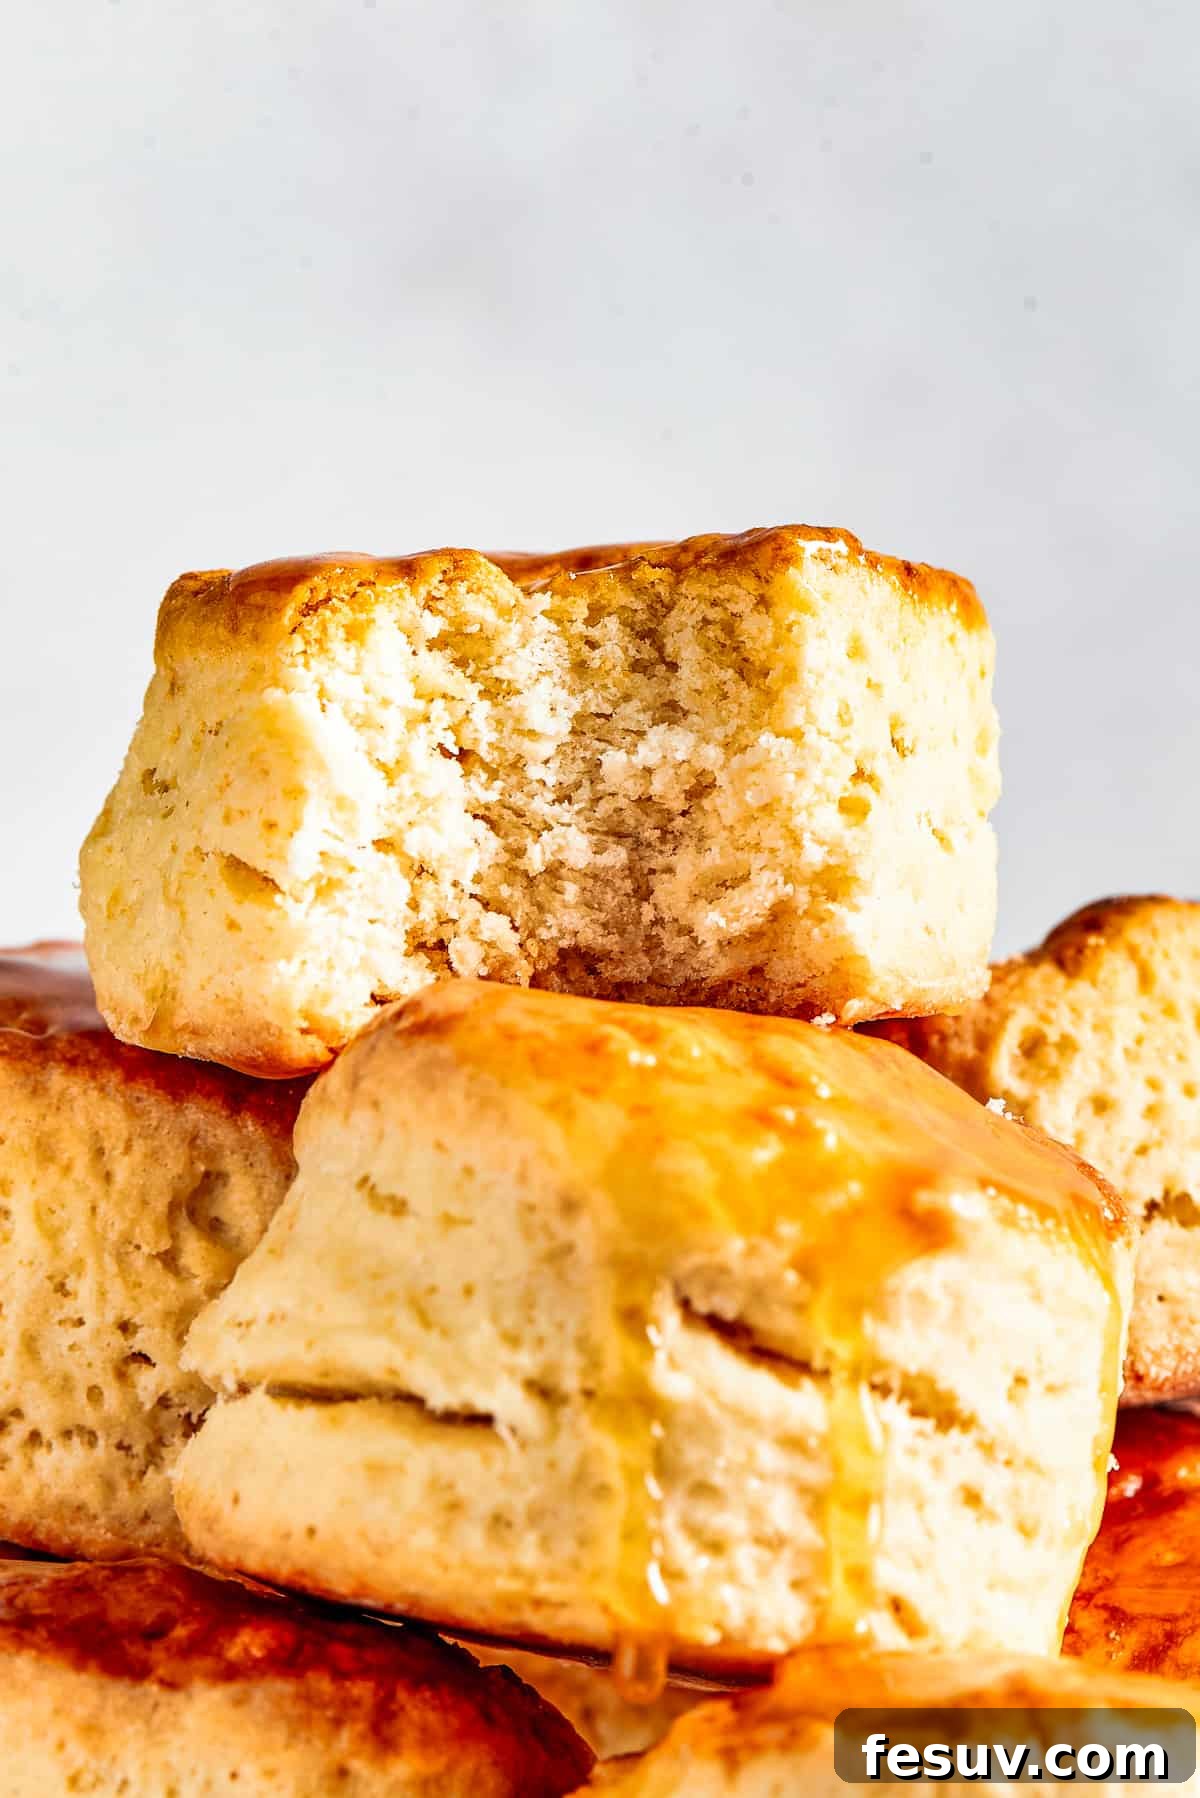
Experience the Joy of Tender, Flaky, Homemade Biscuits
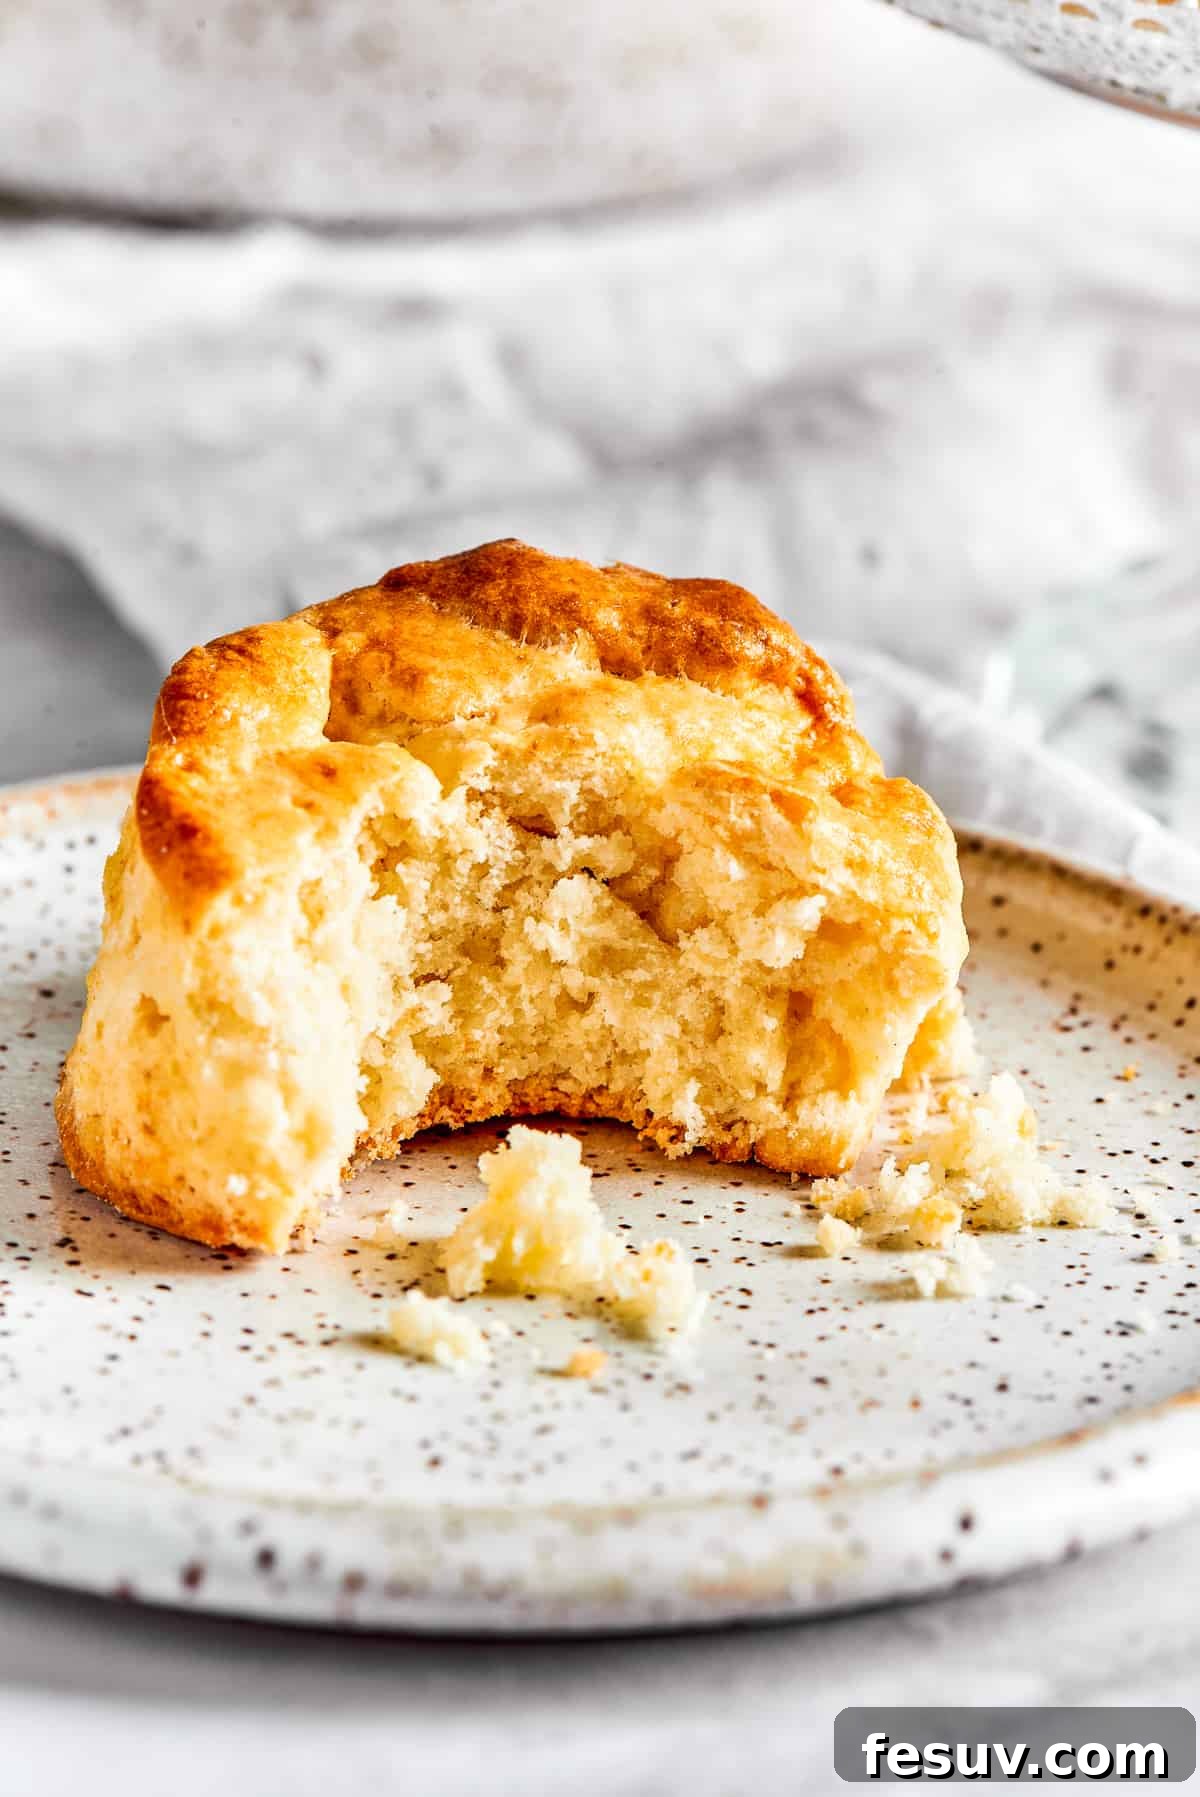
The moment the aroma of freshly baked biscuits fills the air, you know it’s going to be a good day. My family’s excitement is palpable whenever these light-as-air, buttery, perfectly balanced sweet and salty treats emerge from the oven. Whether served alongside a hearty breakfast spread, nestled atop a comforting chicken pot pie casserole, enjoyed as a simple snack with a generous dollop of butter and jam, or as a sophisticated accompaniment to a rich dinner, these biscuits are an undeniable crowd-pleaser.
One of the many reasons I adore baking biscuits is their incredible ease. Dispelling the myth that biscuit-making is daunting, this recipe proves that anyone can achieve bakery-quality results. With just a few essential ingredients and some straightforward techniques, which I’m eager to share, you’ll gain the confidence to roll and cut picture-perfect homemade biscuits every single time.
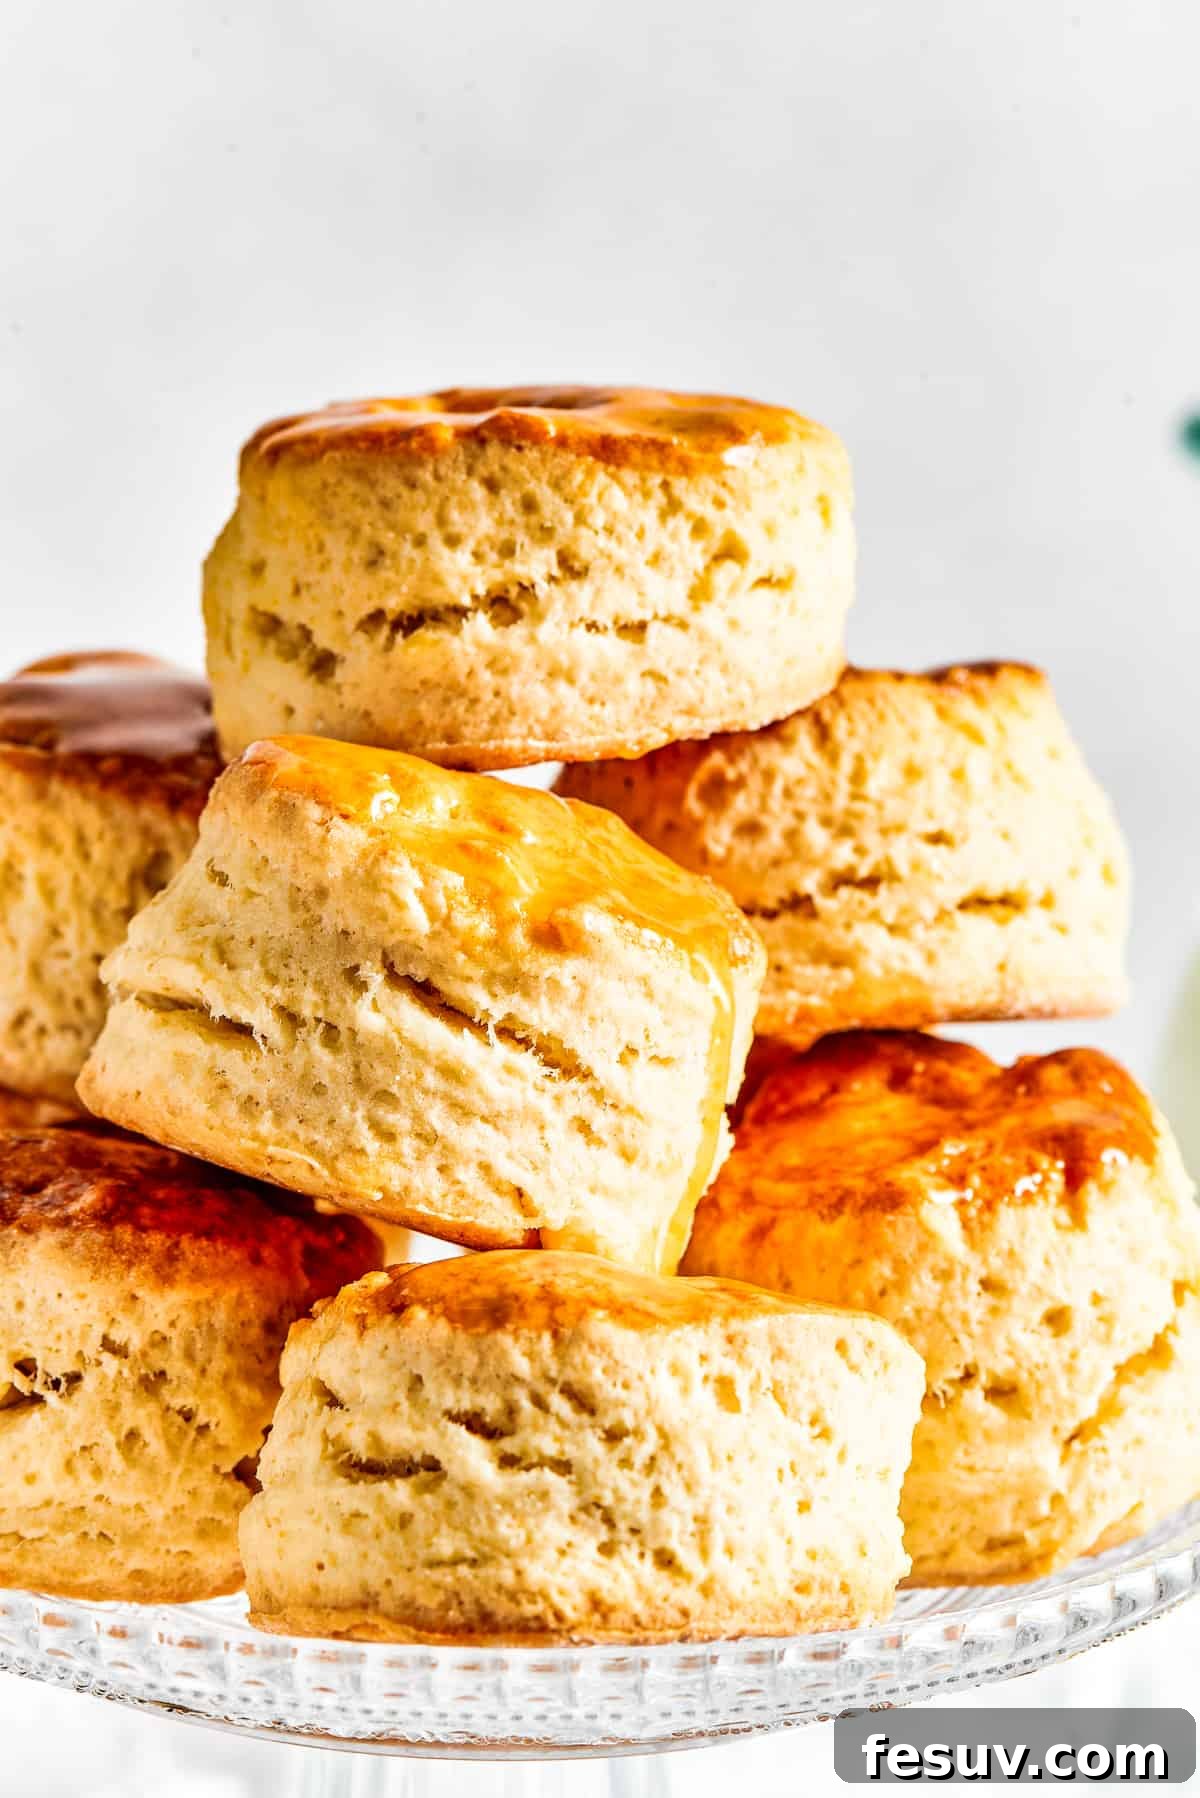
These biscuits aren’t just food; they’re an experience. They embody comfort, tradition, and the simple pleasure of a home-cooked meal. Their airy layers and rich flavor make them incredibly versatile, suitable for savory dishes like fried chicken and gravy, or sweet applications with fruit preserves and honey. The secret lies in a few key principles, which we’ll explore in detail, ensuring your biscuits are consistently tall, soft, and exquisitely flaky.
Essential Ingredients for Your Perfect Biscuits
Crafting these delectable biscuits requires a handful of basic ingredients, most of which you likely already have on hand. This classic, old-fashioned recipe prioritizes convenience without compromising on flavor or texture. Here’s a detailed look at what you’ll need to create your batch of irresistible homemade biscuits:
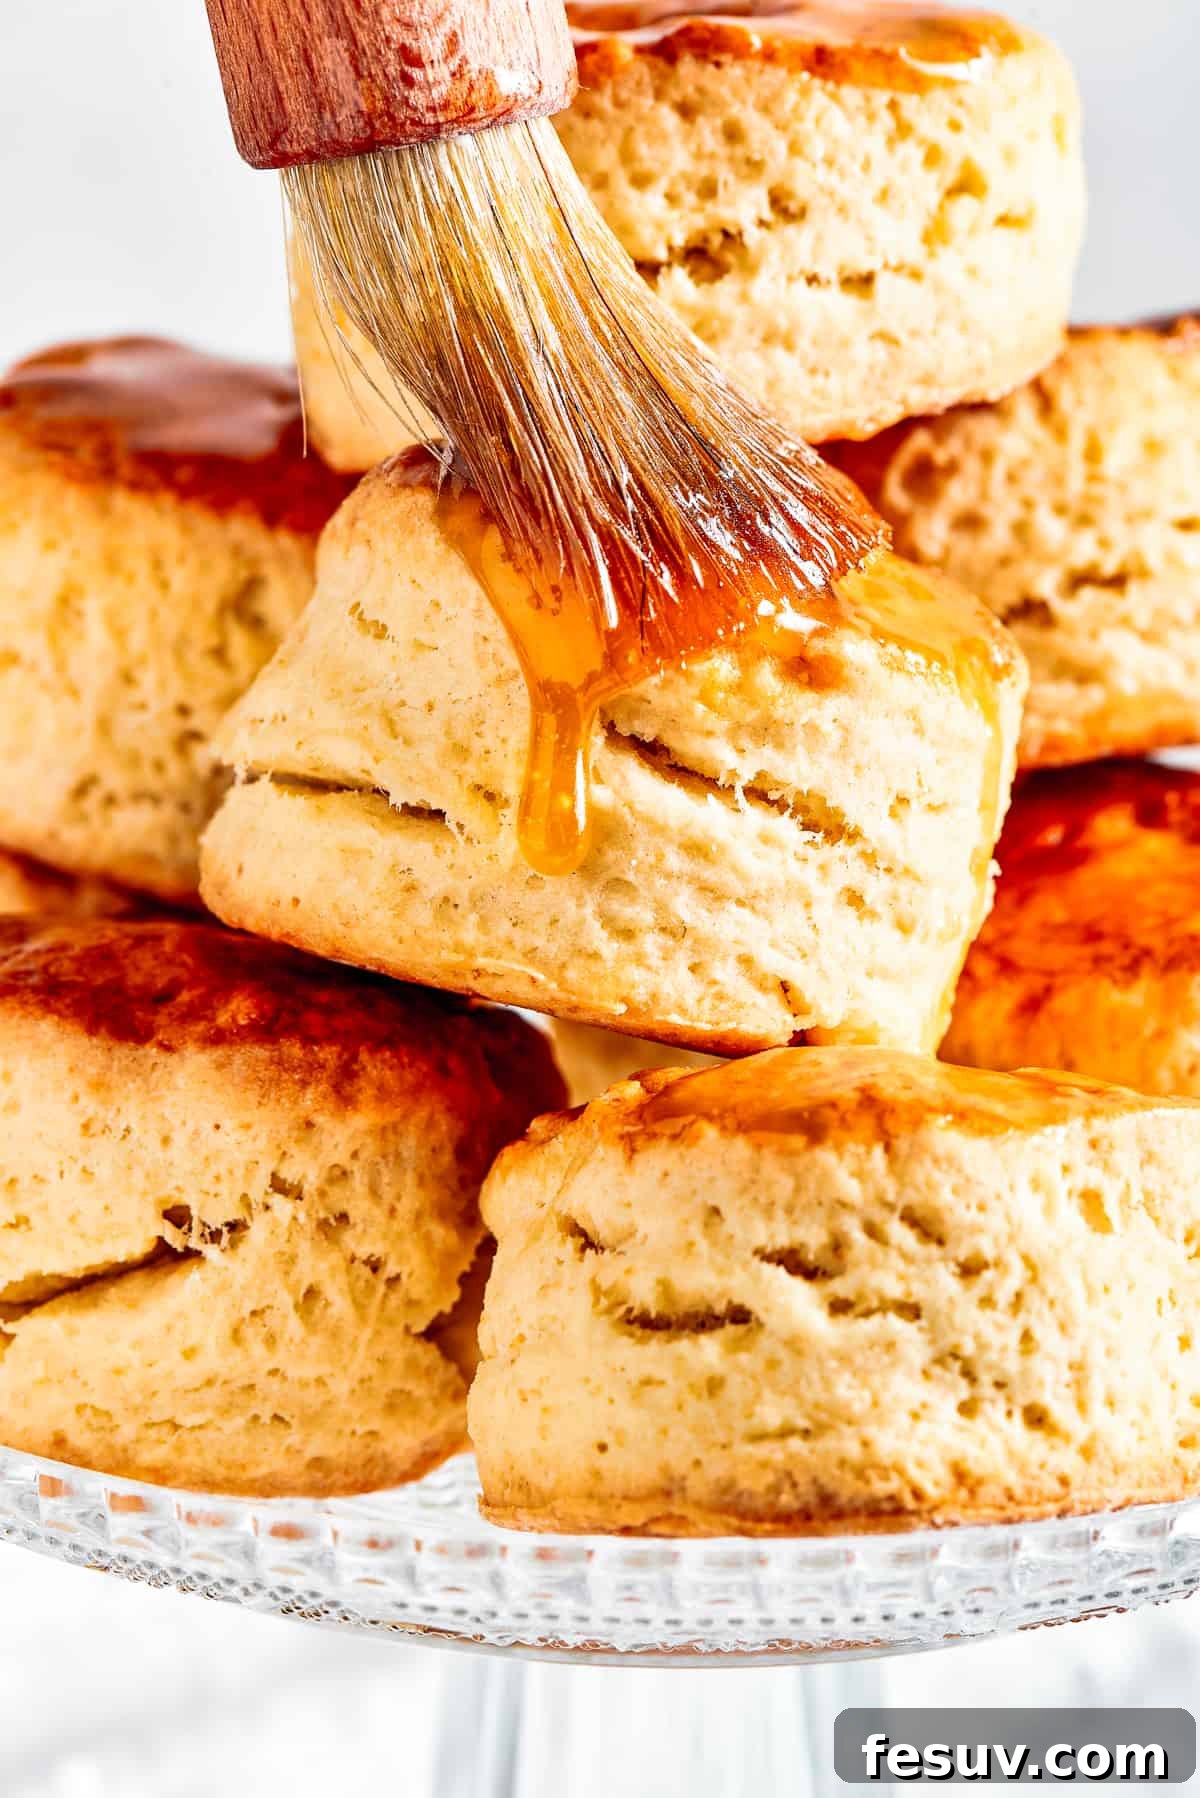
For the Fluffy Homemade Biscuits
- All-Purpose Flour: The foundation of our biscuits. You’ll need the specified amount for the dough, plus a little extra for dusting your work surface and biscuit cutter to prevent sticking during rolling and cutting.
- Granulated Sugar: A subtle touch of sugar enhances the overall flavor profile, balancing the savory notes and contributing to that delightful golden-brown crust. While optional, it’s highly recommended for a truly classic biscuit experience.
- Salt: Essential for bringing out the flavors of the other ingredients and adding depth. Adjust the quantity to your personal preference, especially if using salted butter.
- Cold Unsalted Butter: This is arguably the most crucial ingredient for achieving those coveted flaky layers. Using well-chilled, unsalted butter allows you to control the salt content precisely. The cold butter creates steam pockets as it melts in the hot oven, resulting in tender, airy pockets within the biscuit structure.
- Cold Buttermilk: Buttermilk is a biscuit baker’s best friend. Its acidity reacts with the baking powder to create a significant rise, while also tenderizing the dough for an incredibly soft crumb. Ensure your buttermilk is kept cold until just before use to maintain the ideal dough temperature. (See “What Is the Secret to an Excellent Biscuit?” for a simple homemade substitute).
- Egg (for Glaze): A single lightly beaten egg, or a splash of milk, brushed over the tops of the biscuits before baking, gives them a beautiful golden sheen and a slightly crisp finish. This optional step adds to their irresistible appeal.
For the Optional Maple Sauce
- Butter: Whether you prefer salted or unsalted, butter forms the rich base of this simple yet decadent glaze.
- Maple Syrup: Pure maple syrup is key for its distinct, warm sweetness. As an alternative, high-quality honey can also be used for a slightly different, but equally delicious, flavor.
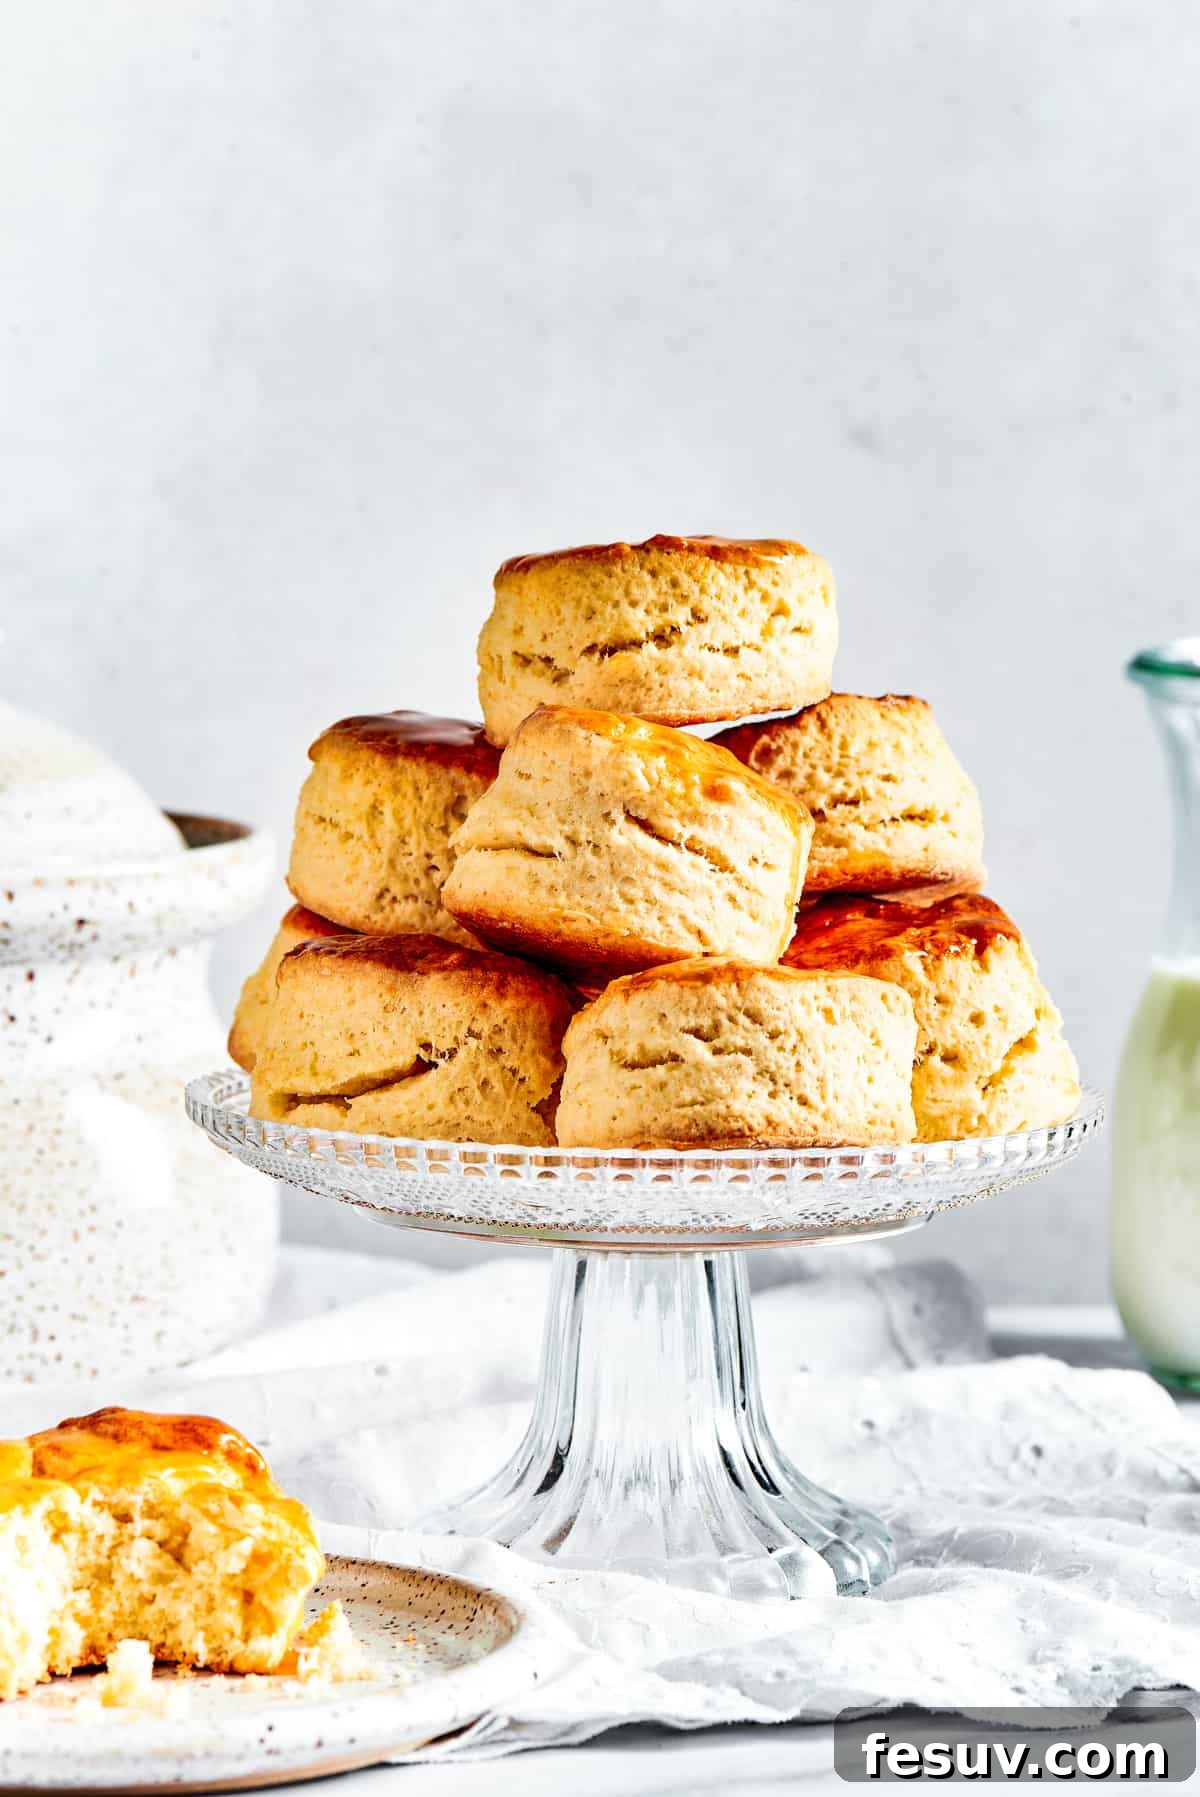
Step-by-Step: Crafting Your Fluffy Homemade Biscuits
Now that we’ve gathered our ingredients, let’s dive into the exciting process of baking these delightful, fluffy, and flaky biscuits. Don’t be intimidated – the method is straightforward and designed for success!
- Prepare Your Workspace and Dry Ingredients: Begin by preheating your oven to a blazing 450°F (230°C). This high temperature is crucial for a rapid rise, creating those coveted fluffy interiors. Line a large baking sheet with parchment paper to prevent sticking and ensure even baking, then set it aside. In a spacious mixing bowl, whisk together the all-purpose flour, baking powder, granulated sugar, and salt until they are thoroughly combined. This ensures even distribution of the leavening agent and seasoning throughout the dough.
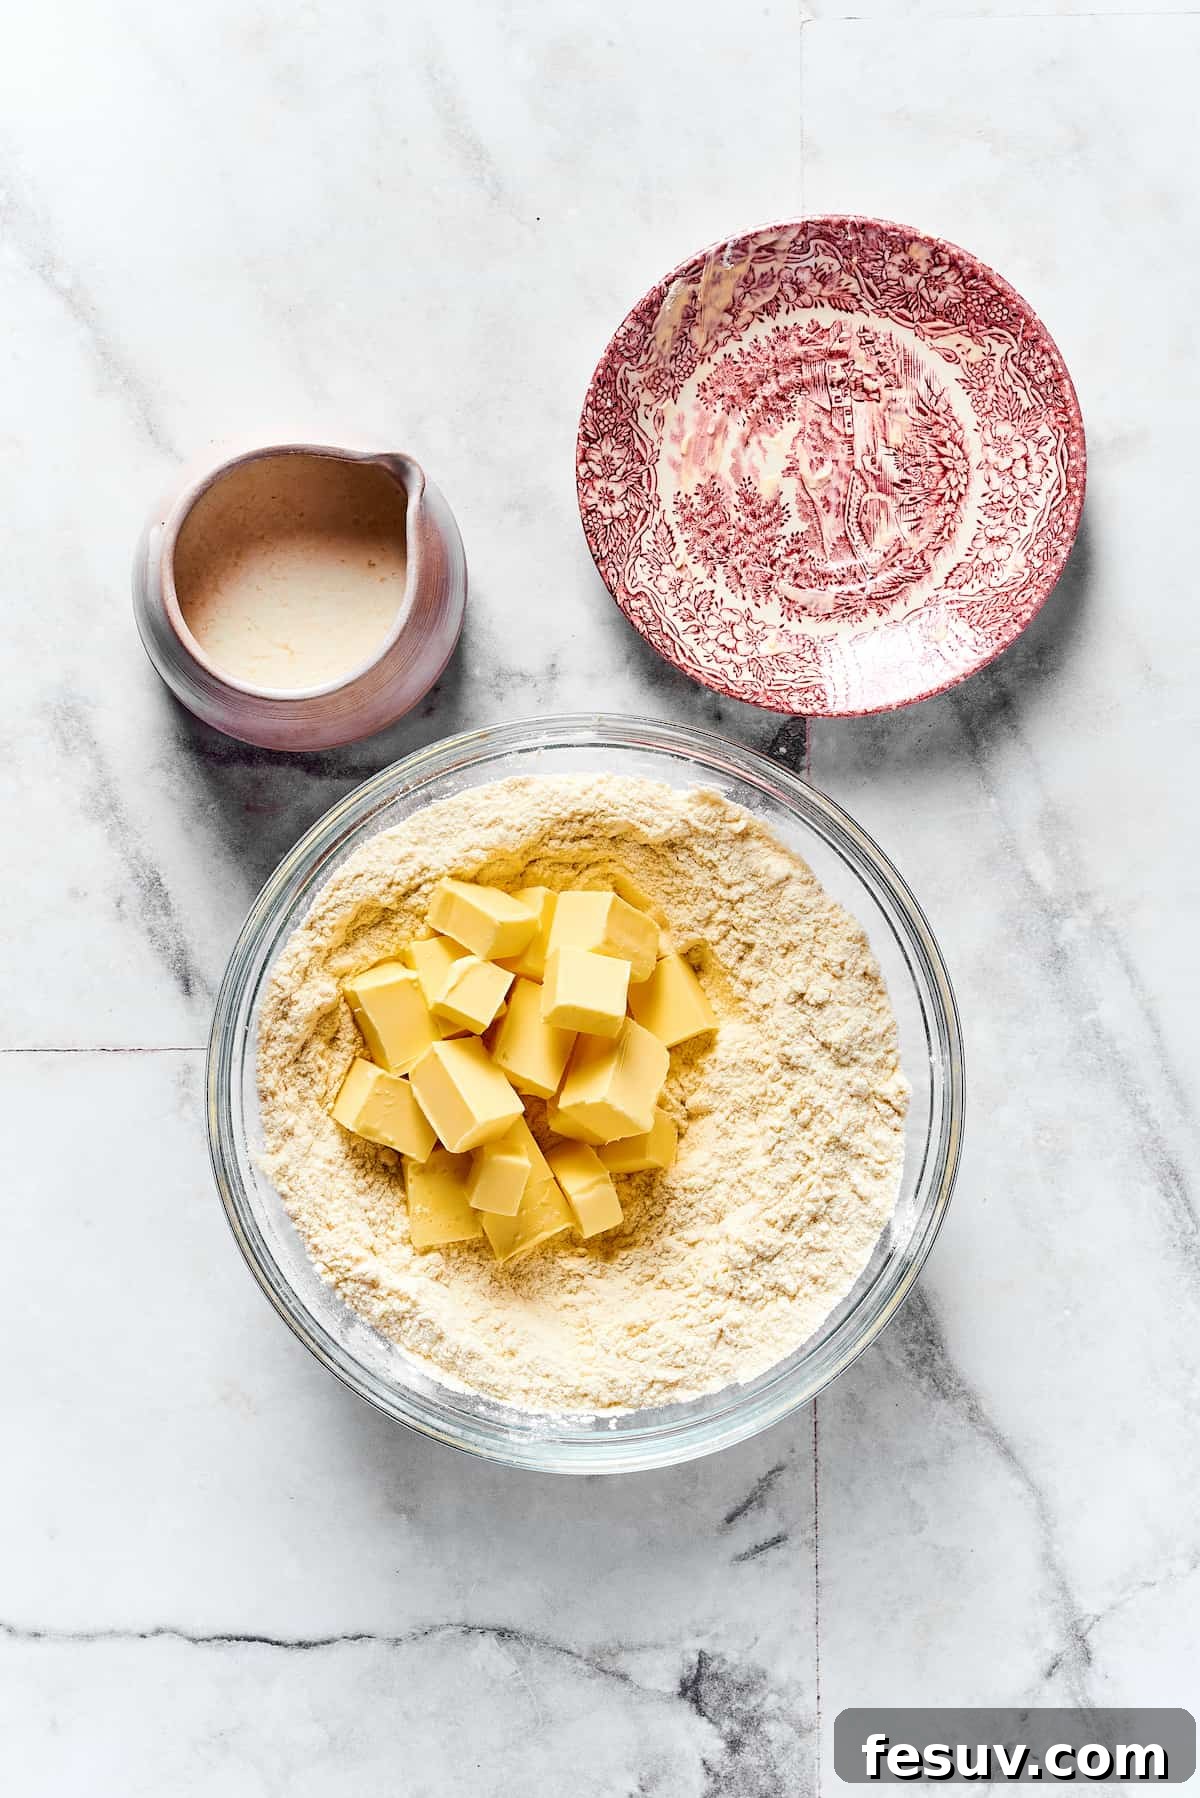
- Incorporate the Cold Butter: The secret to flaky biscuits lies in cold butter. Add the small, cold butter cubes to your dry ingredients. You can rub the butter into the flour mixture using your fingertips, a pastry cutter, or even a food processor. Work quickly until the mixture resembles coarse breadcrumbs, with some pea-sized pieces of butter still visible. The goal is to keep the butter as cold as possible; avoid overworking it with your hands, as their warmth can soften the butter prematurely, impacting the final texture.
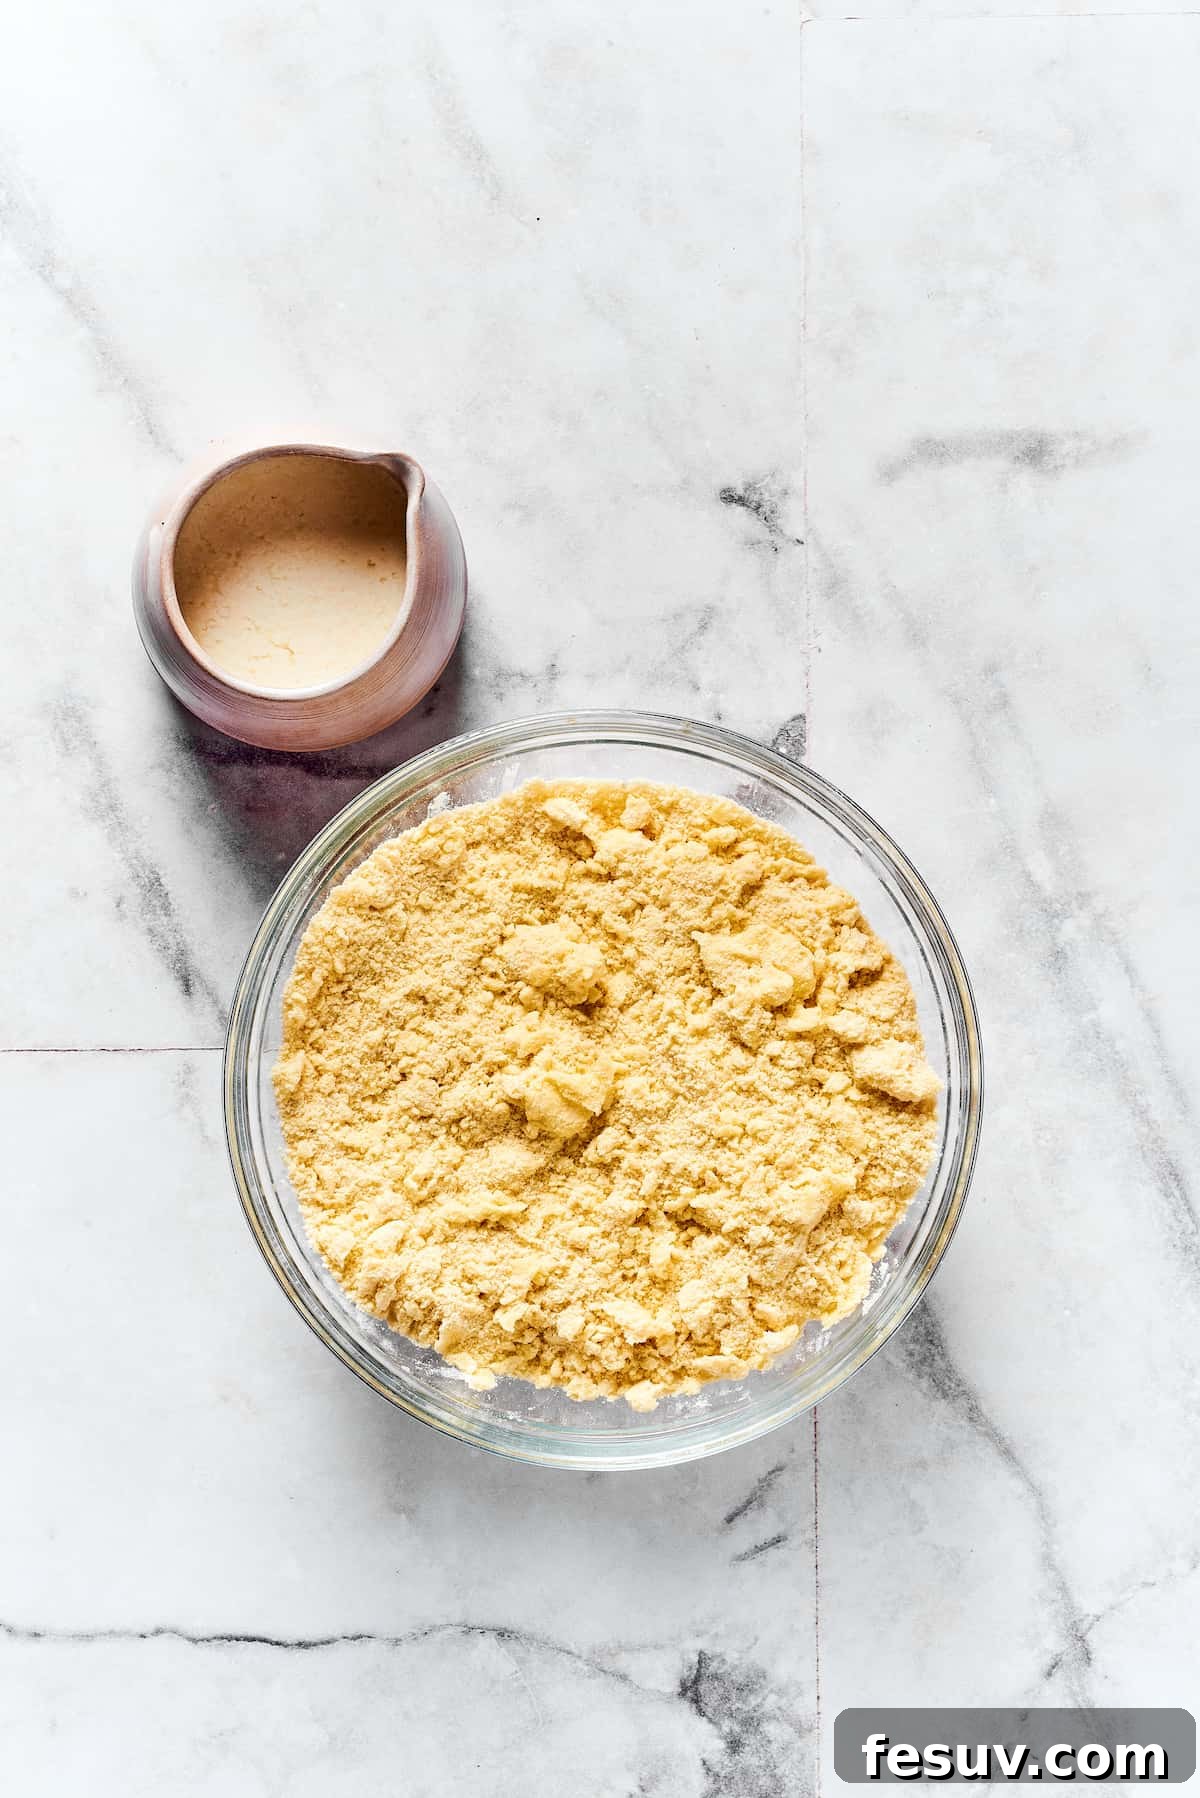
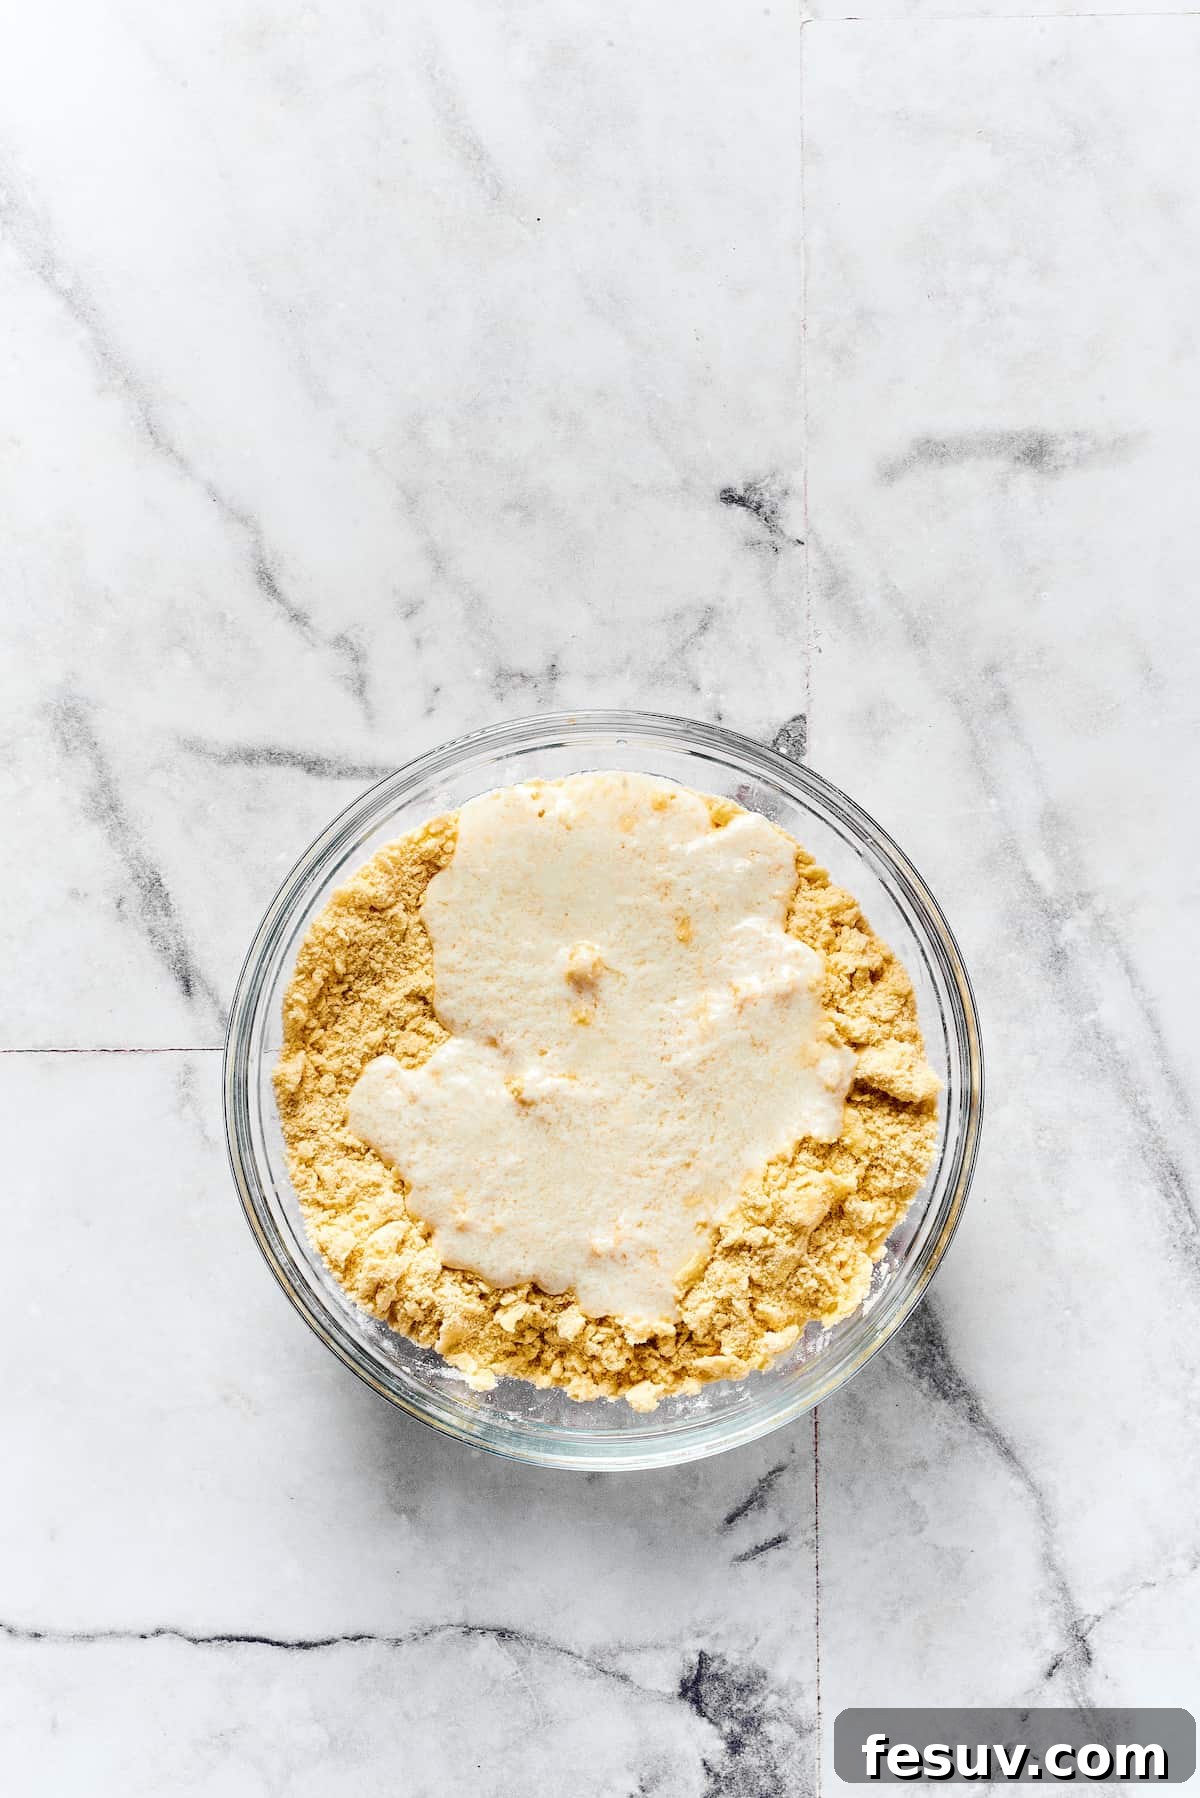
- Add the Cold Buttermilk: Create a deep well in the center of your flour and butter mixture. Pour the cold buttermilk into this well. Using a spoon or your hands, gently mix the ingredients just until a soft, shaggy dough comes together. The key here is to mix minimally – do not overwork the dough. Overworking develops the gluten, which will result in tough, chewy biscuits instead of the tender, flaky ones we’re aiming for. A slightly sticky, slightly lumpy dough is exactly what you want.
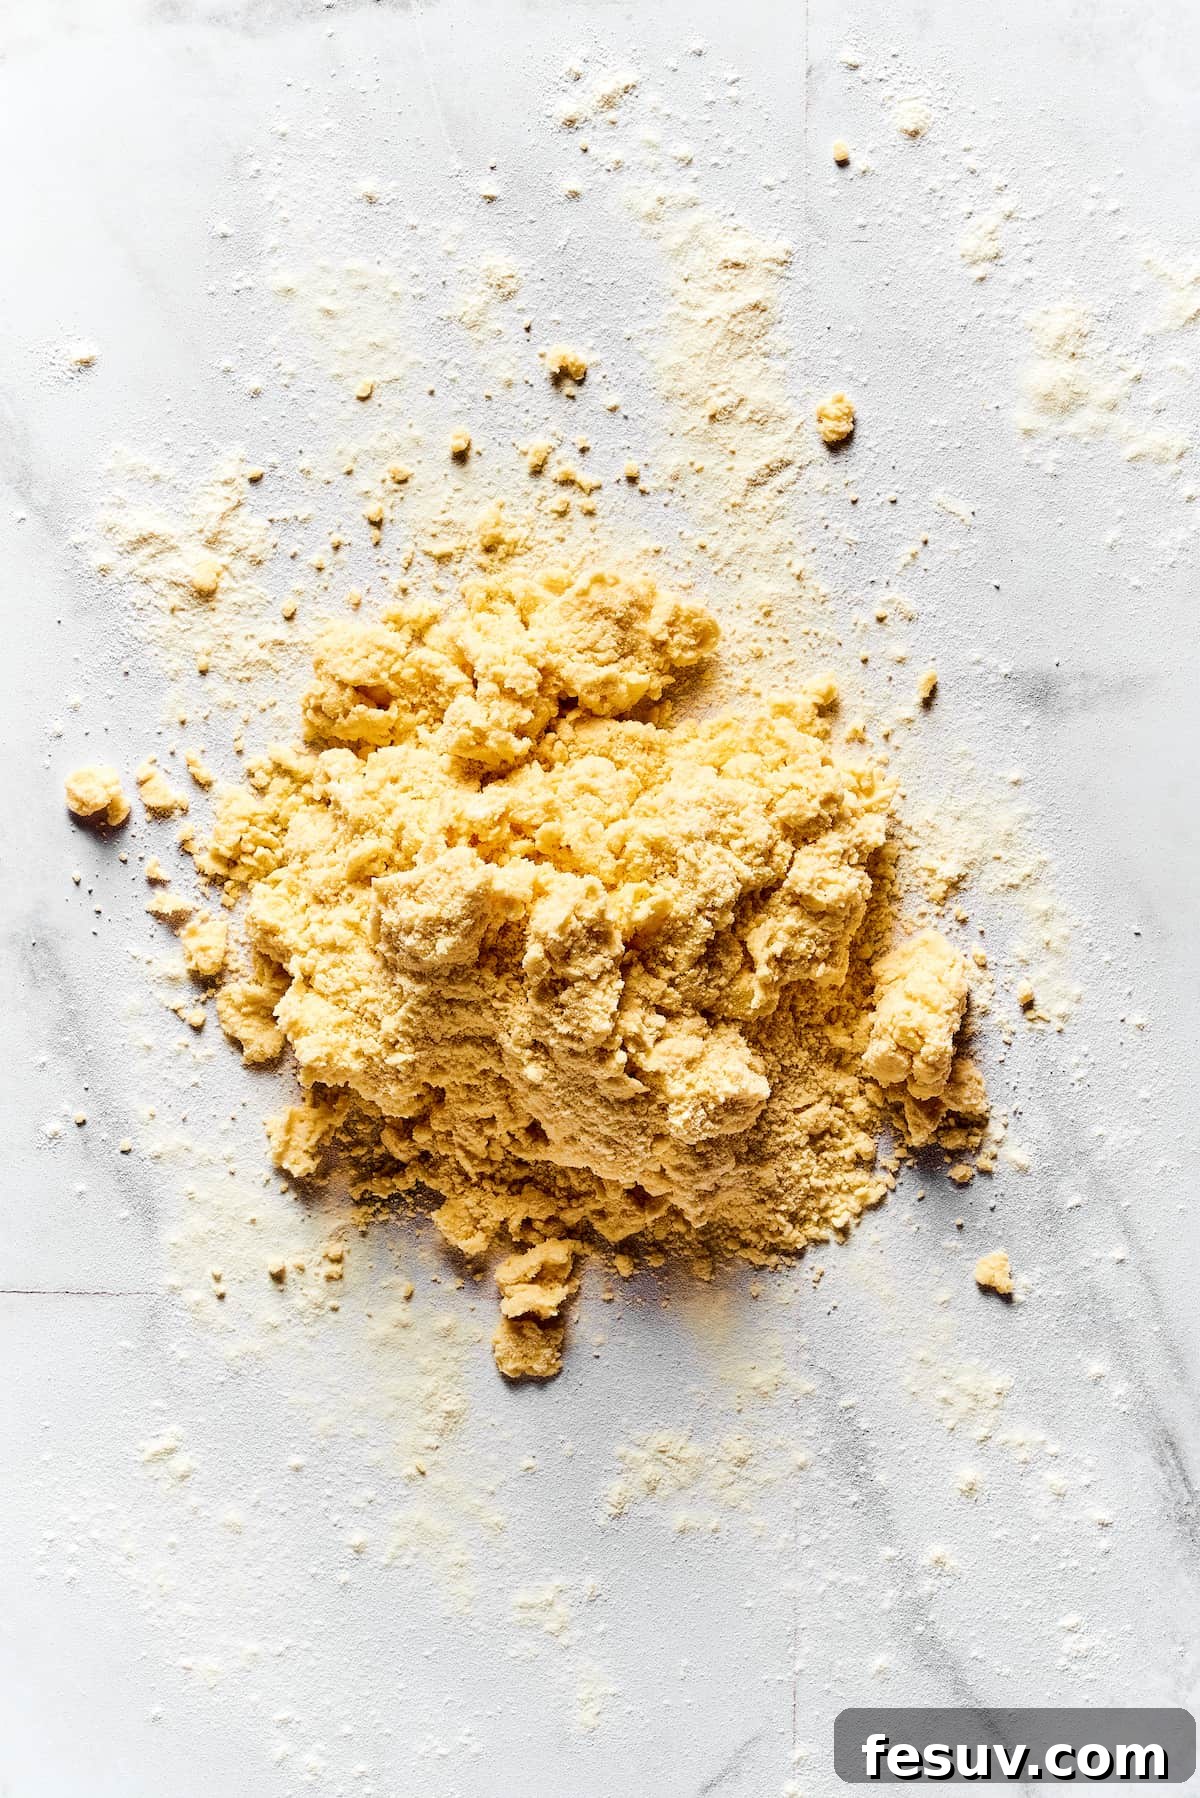
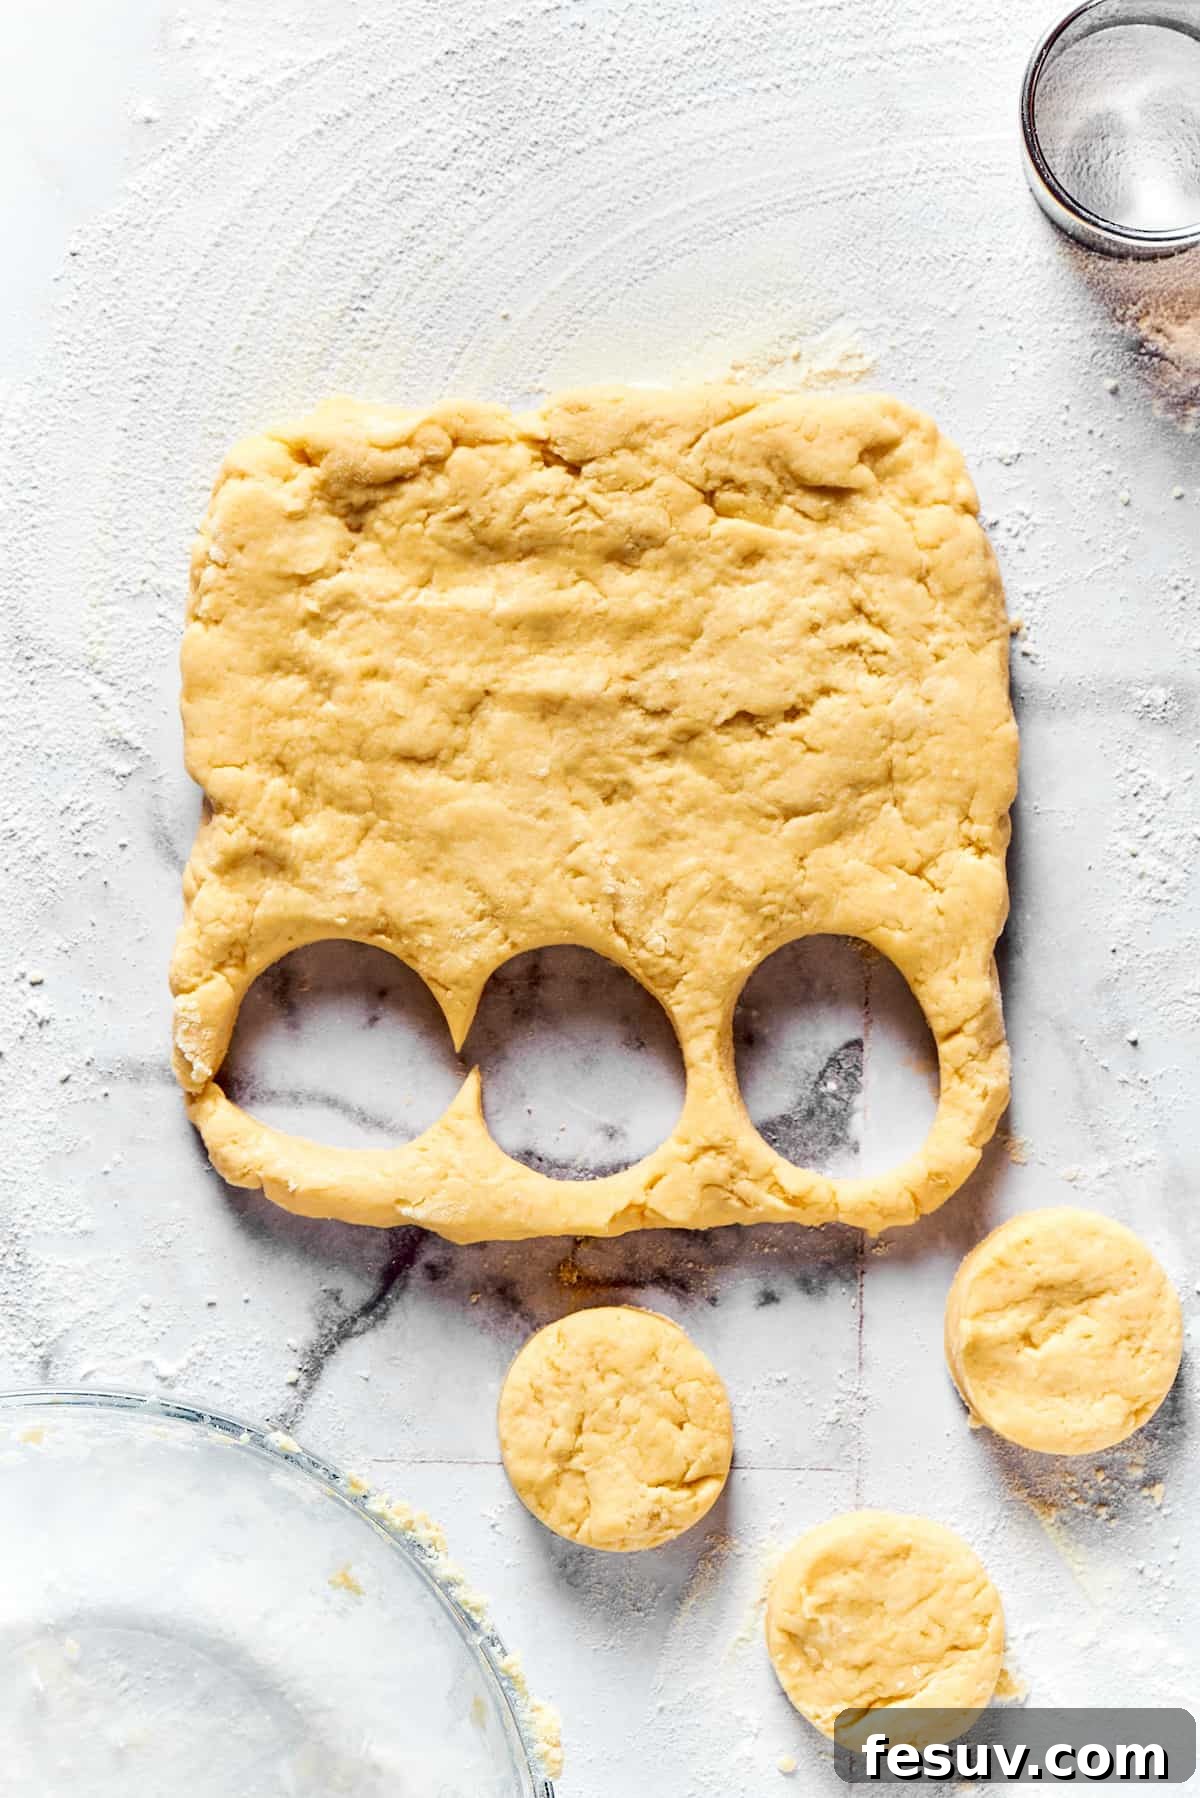
- Shape and Cut Your Biscuits: Turn the dough out onto a lightly floured work surface. Gently knead or pat the dough just enough to bring it fully together – resist the urge to over-knead. Flatten the dough evenly until it’s about one inch thick. Using a sharp biscuit cutter, press straight down to cut out nine perfect rounds. Avoid twisting the cutter, as this can seal the edges and inhibit the biscuits from rising high and evenly. Gather the scraps, gently press them together without overworking, and cut out an additional three rounds, yielding a total of 12 biscuits.
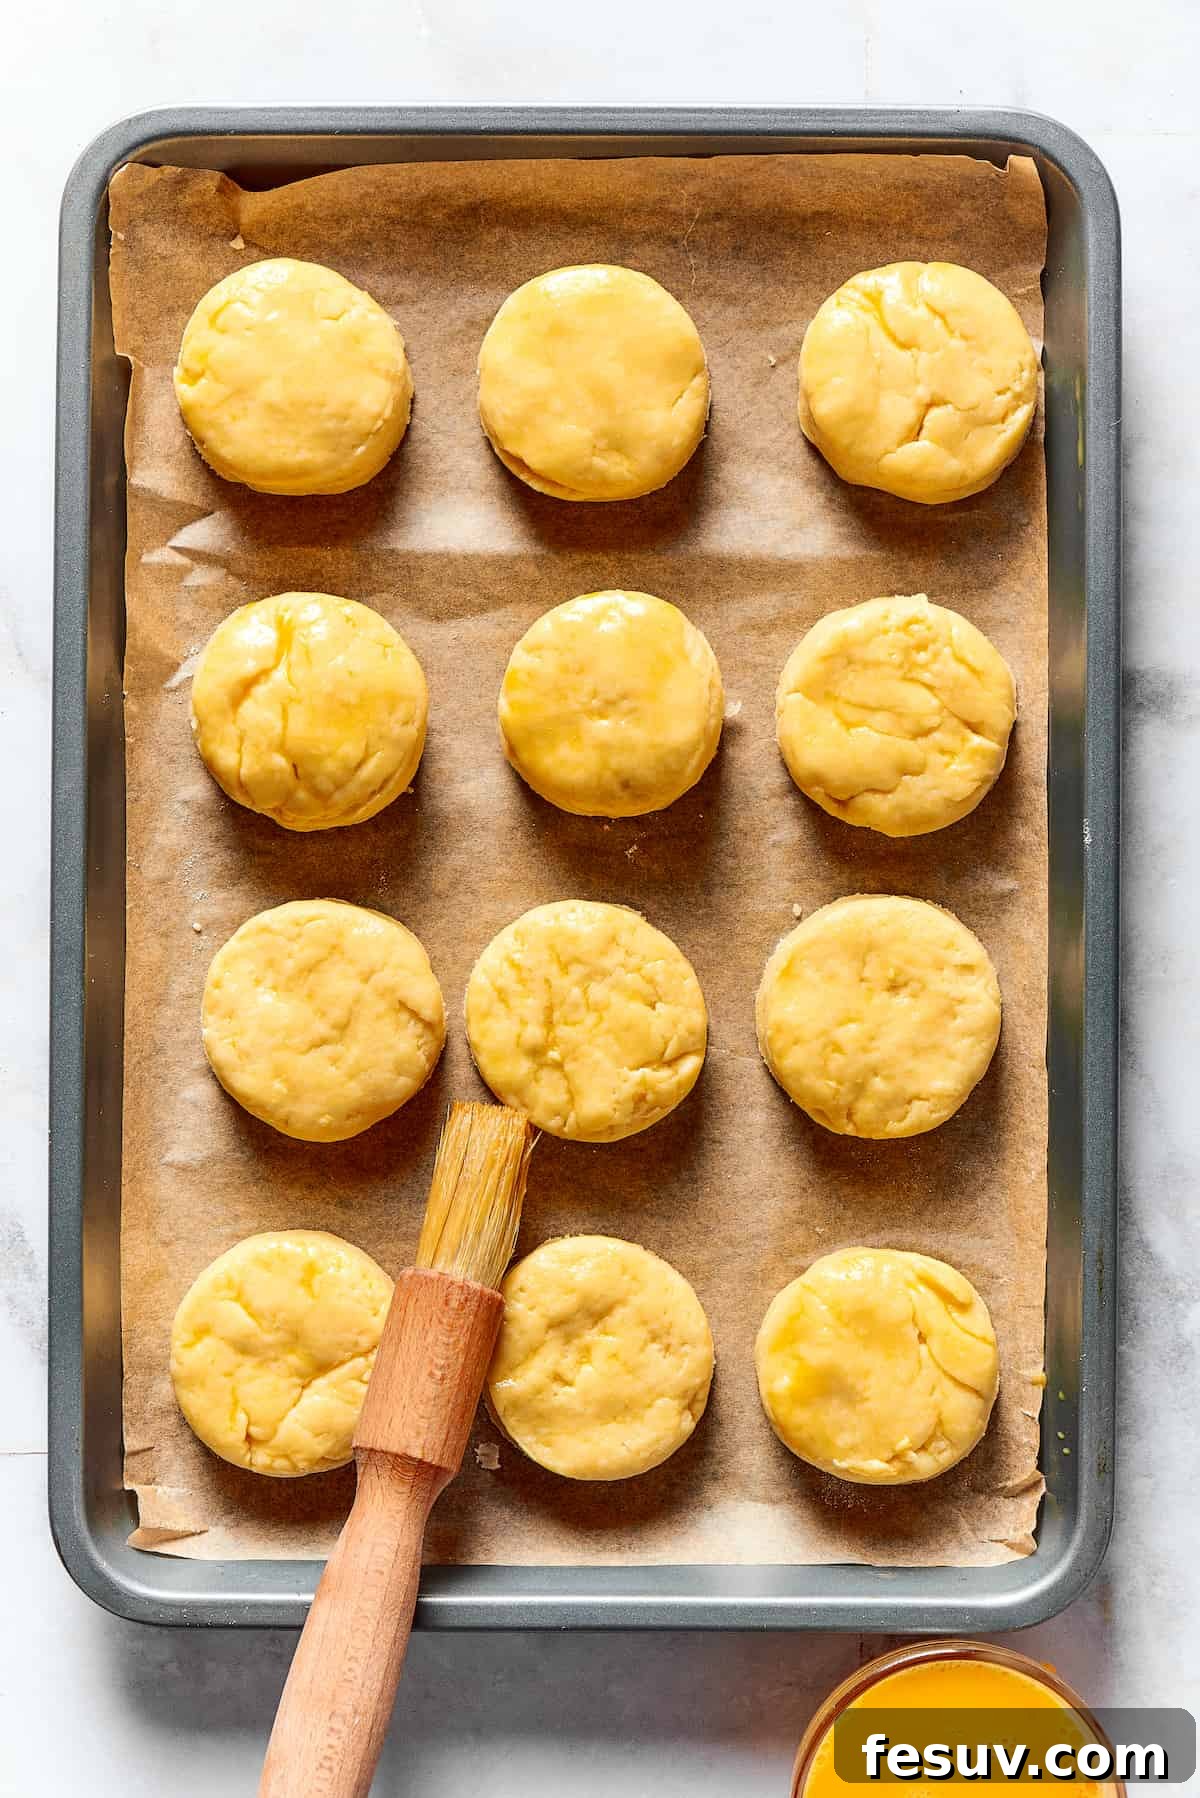
- Glaze and Bake to Golden Perfection: Carefully transfer the cut-out biscuits to your prepared baking sheet. For that beautiful golden finish, lightly brush the tops of each biscuit with a beaten egg or a splash of milk. Place the baking sheet into the preheated 450°F (230°C) oven and bake for approximately 10 to 12 minutes. Watch them closely until they are gloriously well-risen and have achieved a rich, golden-brown color on top.
- Serve and Savor: Once baked, remove the biscuits from the oven and allow them to cool slightly on the baking sheet for a few minutes. This helps them set. Serve them warm, as they are truly at their best straight from the oven.
- Optional Maple Topping: To prepare the divine maple glaze, combine the butter and maple syrup in a small saucepan. Heat the mixture over medium-high heat until it reaches a gentle simmer. Allow it to reduce for 3 to 4 minutes, thickening slightly. Brush this warm, luscious maple glaze generously over your warm buttermilk biscuits for an extra layer of sweetness and flavor.
Unlock the Secrets to Consistently Excellent Biscuits
While the basic steps are simple, a few expert tips can elevate your homemade biscuits from good to absolutely phenomenal. Every baker has their go-to techniques, and I’m thrilled to share my tried-and-true secrets for achieving dependably light, delicious, and beautifully flaky biscuits:
- Handle with Care (Minimal Mixing is Key): This is perhaps the golden rule of biscuit making. Biscuit dough is extremely sensitive to overmixing. The more you work the dough, the more gluten develops. Activated gluten leads to a tough, chewy texture rather than the desired tender, flaky crumb. Aim for a dough that is just barely combined, appearing somewhat shaggy and lumpy. A few visible dry spots are far better than a smooth, overworked dough.
- Embrace Cold Ingredients: The temperature of your butter and buttermilk is paramount. Cold butter, cut into small pieces, remains suspended in the dough. As the biscuits bake in a hot oven, these tiny pockets of cold butter melt, releasing steam and creating airy layers and pockets – the hallmark of a truly flaky biscuit. If your kitchen is warm or you feel the dough getting sticky, don’t hesitate to pop it into the refrigerator or even the freezer for 10-15 minutes to chill before proceeding.
- The Power of Buttermilk (and Its Clever Substitute): Buttermilk isn’t just for flavor; its acidity is a crucial player in the rise and tenderness of biscuits. It reacts with the baking powder, producing carbon dioxide gas that helps the biscuits puff up beautifully. If you find yourself without buttermilk, a simple DIY solution works wonders: combine two teaspoons of white vinegar or lemon juice with regular milk until it reaches the ¾ cup mark. Let it sit for 5-10 minutes until it slightly curdles and thickens. This homemade “buttermilk” will provide the necessary acidity.
- Consider Shortening for Extra Lift: While butter provides unparalleled flavor, some seasoned bakers swear by using a combination of half butter and half vegetable shortening. Shortening has a higher melting point than butter, which can contribute to an even higher rise and a slightly more tender interior. If you’re looking to experiment with texture, this can be a fantastic option.
- Freshness of Leavening Agents: Baking powder loses its potency over time. Always ensure your baking powder is fresh for maximum lift. You can test its freshness by mixing a teaspoon with a quarter cup of hot water; if it fizzes vigorously, it’s good to go.
- The Right Cutter and Technique: A sharp metal biscuit cutter is ideal. When cutting, press straight down firmly and avoid twisting the cutter. Twisting can seal the edges of the biscuit dough, preventing it from rising properly and resulting in lopsided biscuits.
Do Biscuits Need to Rise Before Baking? Understanding Leavening
For most quick breads, including our classic homemade biscuits, you generally do not need to let the dough rise before baking. Unlike yeast breads, which rely on yeast fermentation for their rise and require proofing time, biscuits primarily depend on chemical leavening agents like baking powder (and the reaction with buttermilk’s acidity) for their lift. These leavening agents react quickly when exposed to heat, causing the biscuits to rise rapidly in the hot oven.
The beauty of this recipe is its speed: mix, cut, and bake! Allowing biscuits to sit for too long before baking can actually diminish their potential rise, as the leavening agents may lose some of their effectiveness. The exception to this rule would be “angel biscuits,” which incorporate both baking powder and yeast, and therefore do require a dedicated rise time to activate the yeast. However, for a traditional, quick homemade biscuit, immediate baking is the key to that spectacular oven spring and fluffy texture.
Delightful Serving Suggestions for Your Homemade Biscuits
The versatility of homemade biscuits is one of their most appealing qualities. They truly complement almost any meal, from a simple scrambled egg breakfast to a hearty bowl of stew. Here are some traditional and creative ideas to inspire your next biscuit-serving adventure:
- Classic Breakfast Companion: Serve them warm with butter, jam, honey, or a drizzle of the optional maple glaze. They are also phenomenal with sausage gravy, fried eggs, or a side of crispy bacon for an ultimate comfort breakfast.
- Alongside Hearty Chicken Dishes: What could be more satisfying than tender biscuits paired with succulent chicken? Whip up a batch of these mouthwatering Oven Baked Chicken Tenders for a meal the entire family will adore, complemented perfectly by the soft texture of the biscuits.
- With a Perfect Pot Roast: A Perfect Pot Roast makes for an incredible Sunday dinner, and it becomes even more special with fluffy, flaky biscuits on the side to soak up all the rich, savory gravy.
- Paired with Glazed Ham: Slow Cooker Ham with Brown Sugar Glaze is a natural partner for buttery homemade biscuits. Add a simple steamed green vegetable, and you have a complete, mouthwatering menu that’s perfect for holidays or family gatherings.
- Soup and Chili Dippers: There’s nothing quite like dipping a warm, tender biscuit into a steaming bowl of chili or a creamy soup on a cold day. Their absorbent nature makes them ideal for soaking up every last drop of flavorful broth.
- Dessert Transformation: Split open a warm biscuit, add fresh berries and a dollop of whipped cream, and you’ve got a quick and easy take on strawberry shortcake.
Storing and Reheating Your Delicious Homemade Biscuits
Even though freshly baked biscuits are always best, these homemade delights store and reheat beautifully, allowing you to enjoy them for days after baking. Proper storage ensures they retain their tenderness and flavor:
- Room Temperature Storage: Once cooled completely, store your homemade biscuits in an airtight container at room temperature for up to two days. This helps to prevent them from drying out.
- Refrigerator Storage: For extended freshness, transfer the biscuits to an airtight container and store them in the refrigerator for up to a week.
- Reheating for Optimal Enjoyment: To bring biscuits back to their warm, tender glory, the oven is your best friend. Warm them in a preheated oven at 350°F (175°C) for about 5-7 minutes, or until heated through. Alternatively, a quick zap in the microwave for a few seconds can work in a pinch, though the texture might be slightly softer.
Can I Freeze Homemade Biscuits? Absolutely!
Freezing is an excellent way to prepare ahead or preserve any leftover biscuits, ensuring you always have a batch of homemade goodness ready when a craving strikes. Both baked and unbaked biscuits freeze wonderfully:
- Freezing Baked Biscuits: Allow baked biscuits to cool completely. Arrange them in a single layer on a baking sheet and flash freeze for about an hour until solid. Then transfer them to an airtight freezer bag or container, removing as much air as possible to prevent freezer burn. They will keep well for up to three months. Reheat directly from frozen in a 350°F (175°C) oven for about 10-15 minutes, or until warmed through.
- Freezing Unbaked Biscuits: Cut out your biscuit rounds as usual. Place them on a parchment-lined baking sheet and flash freeze until firm. Once solid, transfer the unbaked biscuits to an airtight freezer bag or container, using wax paper or parchment paper between layers to prevent them from sticking together. Freeze for up to three months. When ready to bake, place frozen biscuits on a baking sheet and bake at 450°F (230°C) for 15-20 minutes, adding a few extra minutes to the baking time compared to fresh dough.
Discover More Easy Bread Recipes
If you’ve enjoyed making these delightful biscuits, you’ll love exploring other simple and satisfying bread recipes:
- The Best Homemade Cornbread Recipe: A classic, moist, and flavorful cornbread perfect for any meal.
- Homemade Crescent Rolls (Butterhorn Rolls): Fluffy, tender, and buttery rolls that are always a hit.
- Easy Homemade Flatbread Recipe: Versatile and quick flatbread, ideal for dips, wraps, or as a side.
Easy Homemade Biscuits
by Katerina | Easy Weeknight Recipes
Easy Homemade Biscuits are a must-have for special meals, and they are so simple to make! These warm and tender biscuits rise high and practically melt in your mouth.
Prep Time: 20 minutes
Cook Time: 10 minutes
Total Time: 30 minutes
Servings: 12 biscuits
Rating: 5 out of 5 stars (based on 5 votes)
Ingredients
For the Homemade Biscuits:
- 2½ cups all-purpose flour, plus extra for dusting
- 1½ teaspoons baking powder
- 2 tablespoons granulated sugar
- ½ to 1 teaspoon sea salt
- ½ cup cold unsalted butter, cut into small cubes
- ¾ cup cold buttermilk
- 1 lightly beaten egg, or milk for glaze
For the Maple Glaze (Optional):
- 3 tablespoons maple syrup
- 1 tablespoon butter
Instructions
- Preheat your oven to 450°F (230°C). Line a large baking sheet with parchment paper and set it aside.
- In a large mixing bowl, whisk together the flour, sugar, baking powder, and salt until they are well combined.
- Add the cubed cold butter to the dry ingredients. Using your fingers or a pastry cutter, cut in the butter until the mixture resembles coarse breadcrumbs, with some pea-sized pieces of butter still visible.
- Make a deep well in the center of the flour mixture and pour in the cold buttermilk. Mix gently with a spoon or your hands until a soft, shaggy dough comes together. Be careful not to overwork the dough.
- Transfer the dough to a lightly floured work surface. Gently knead or pat the dough just enough to bring it cohesively together.
- Lightly press the dough to an even thickness of approximately 1 inch. Use a biscuit cutter to cut out 9 rounds, pressing straight down without twisting. Gently gather the dough scraps, press them together (again, without overworking), and cut out an additional 3 rounds.
- Place the cut biscuit rounds on the prepared baking sheet. Brush the tops of each biscuit with the lightly beaten egg (or milk) for a golden glaze.
- Bake for about 10 minutes, or until the biscuits are well-risen and golden brown on top.
- Remove the biscuits from the oven and allow them to cool slightly on the baking sheet; serve warm for the best taste and texture.
- For the optional maple glaze: In a small saucepan, combine the maple syrup and butter. Heat to a simmer and cook over medium-high heat for about 3 to 4 minutes, or until the sauce has slightly reduced and thickened.
- While the buttermilk biscuits are still warm, generously brush them with the prepared maple glaze.
Equipment
- Mixing Bowls
- Pastry Cutter
- Biscuit Cutter
- Baking sheet
Notes
- Butter: Always use very cold butter for flaky layers.
- Fresh Ingredients: Ensure your baking powder and flour are fresh by checking their expiration dates. Potent leavening agents are crucial for a good rise.
- Buttermilk: Cold buttermilk adds tenderness and a tangy flavor. If you don’t have it, a homemade substitute (milk + vinegar/lemon juice) works well.
- Do not overwork the dough: Handle the dough as little as possible. Excessive mixing develops gluten, leading to tough biscuits.
- Biscuit Cutters: Use a sharp, sturdy metal biscuit cutter and press straight down. Avoid twisting, which can seal the edges and inhibit rising.
Nutrition
Calories: 207kcal | Carbohydrates: 26g | Protein: 4g | Fat: 10g | Saturated Fat: 6g | Polyunsaturated Fat: 1g | Monounsaturated Fat: 3g | Trans Fat: 0.4g | Cholesterol: 38mg | Sodium: 180mg | Potassium: 67mg | Fiber: 1g | Sugar: 6g | Vitamin A: 310IU | Calcium: 61mg | Iron: 1mg
Nutritional info is an estimate and provided as courtesy. Values may vary according to the ingredients and tools used. Please use your preferred nutritional calculator for more detailed info.
Did you make a recipe? Leave a rating