
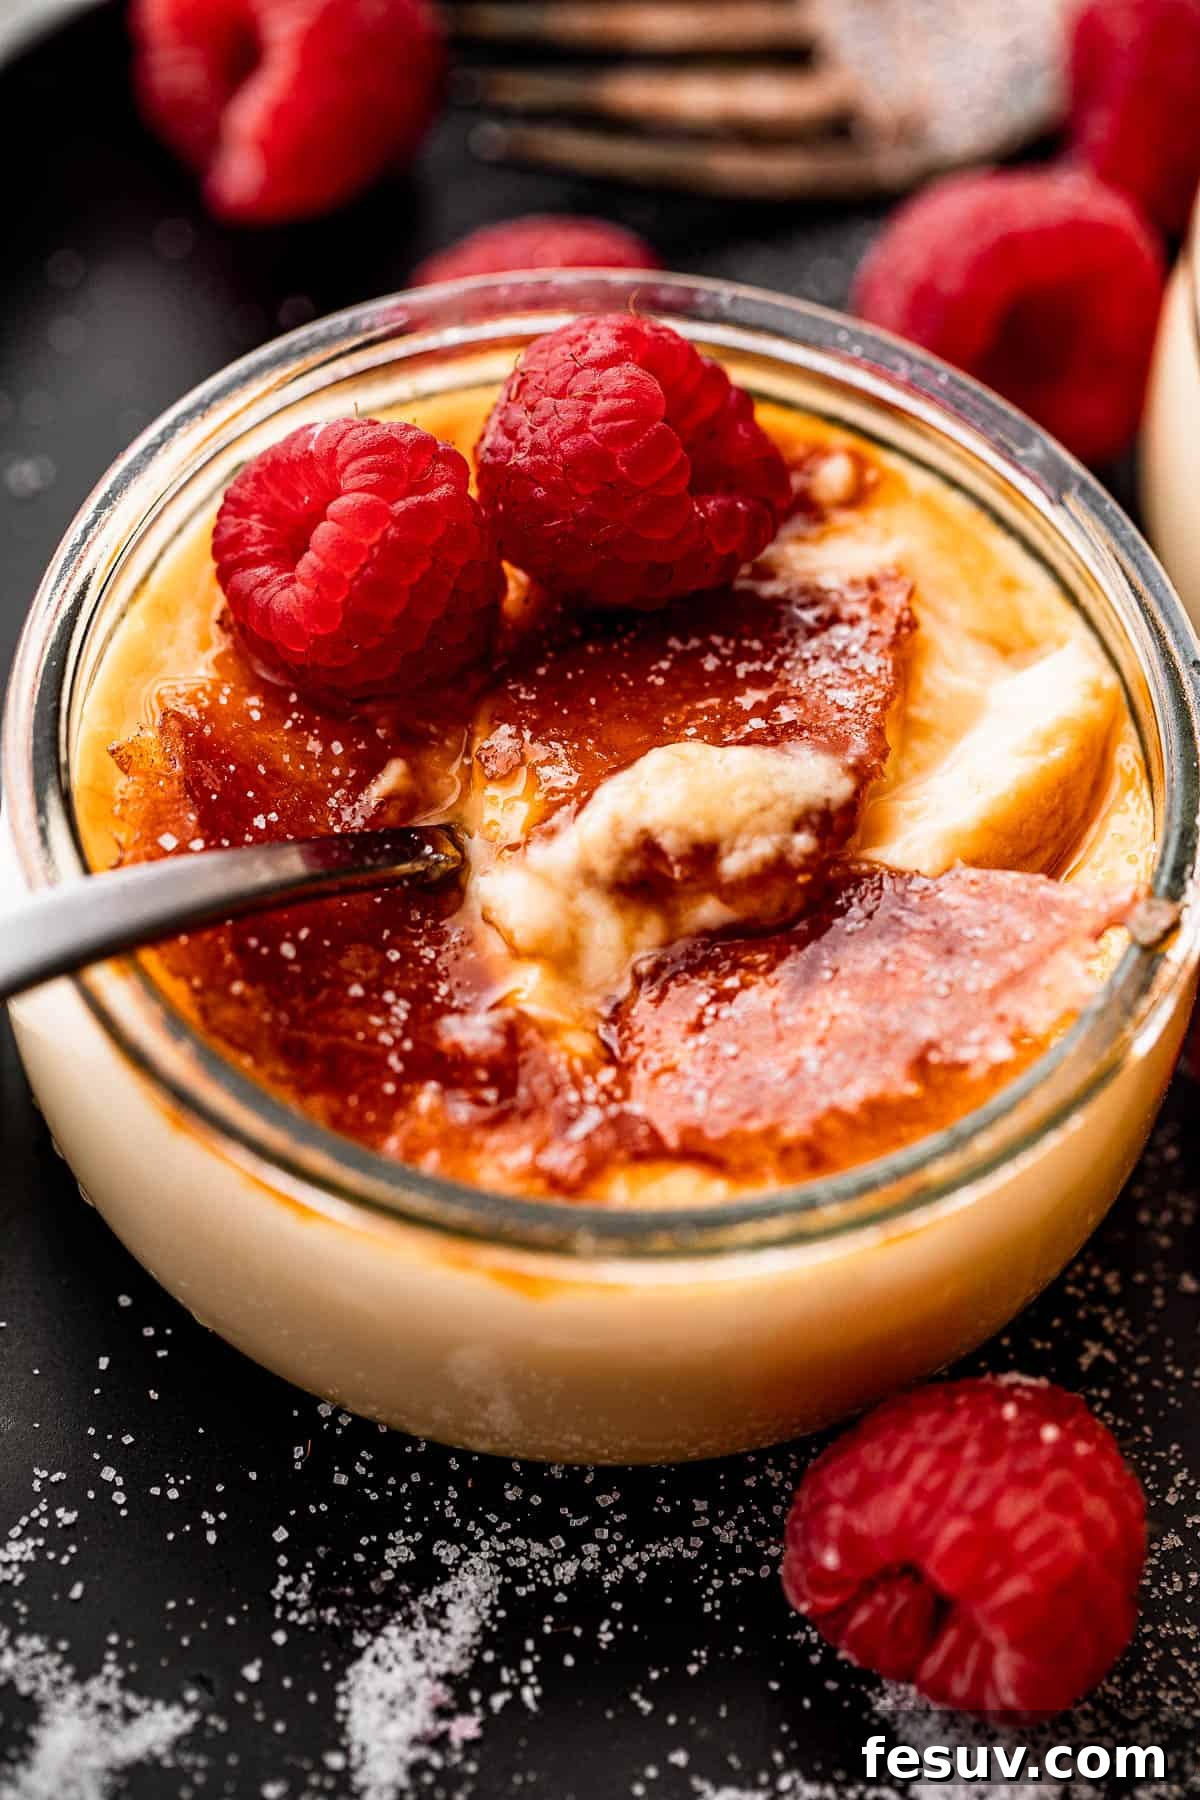
The Ultimate Guide to Classic Creme Brulee: Easy Recipe, Expert Tips & History
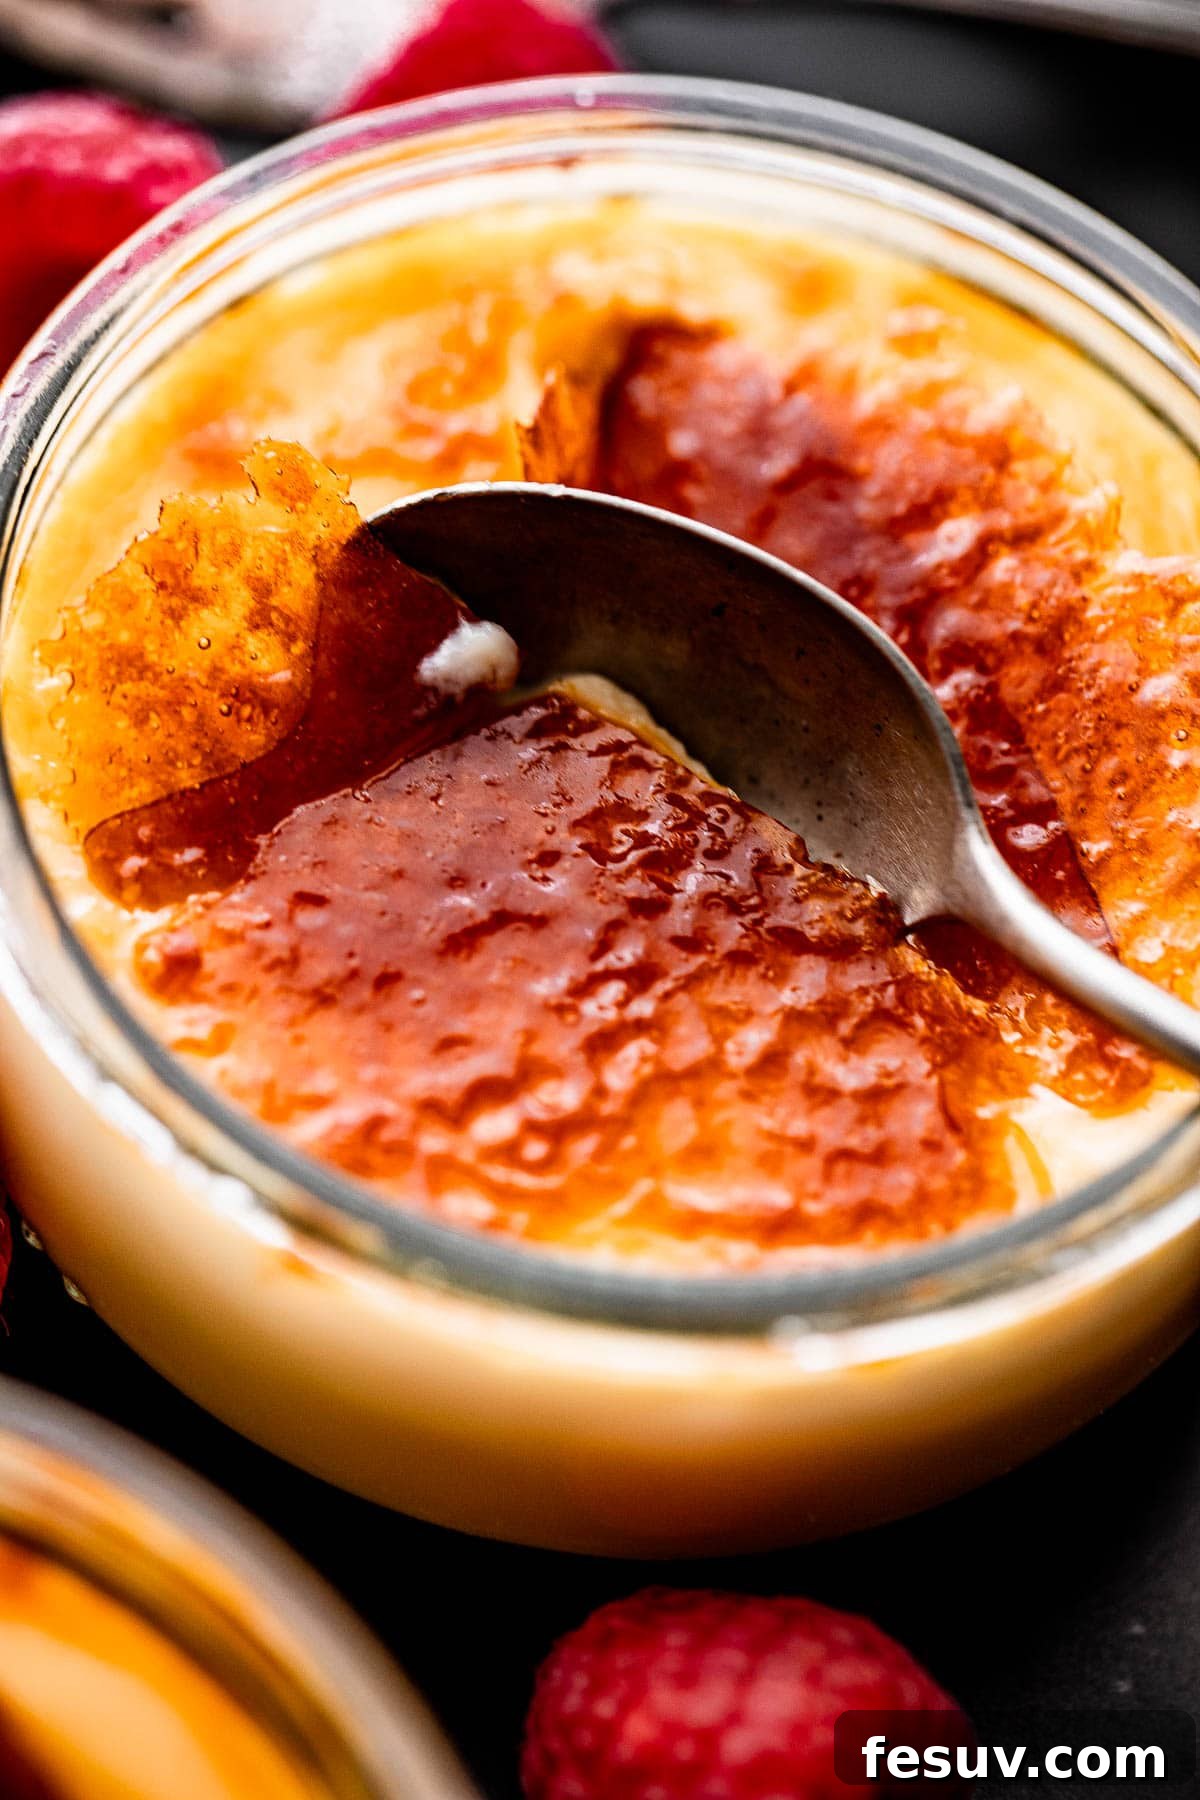
Creme Brulee stands as a testament to simple elegance in the world of desserts. This luxurious and indulgent treat features a perfectly smooth, rich custard base, crowned with a shimmering, brittle layer of caramelized sugar. The magic lies in the delightful contrast: the crisp crack of the burnt sugar yielding to the silky, cool creaminess beneath. Despite its sophisticated restaurant appeal, mastering Creme Brulee at home is surprisingly accessible and incredibly rewarding.
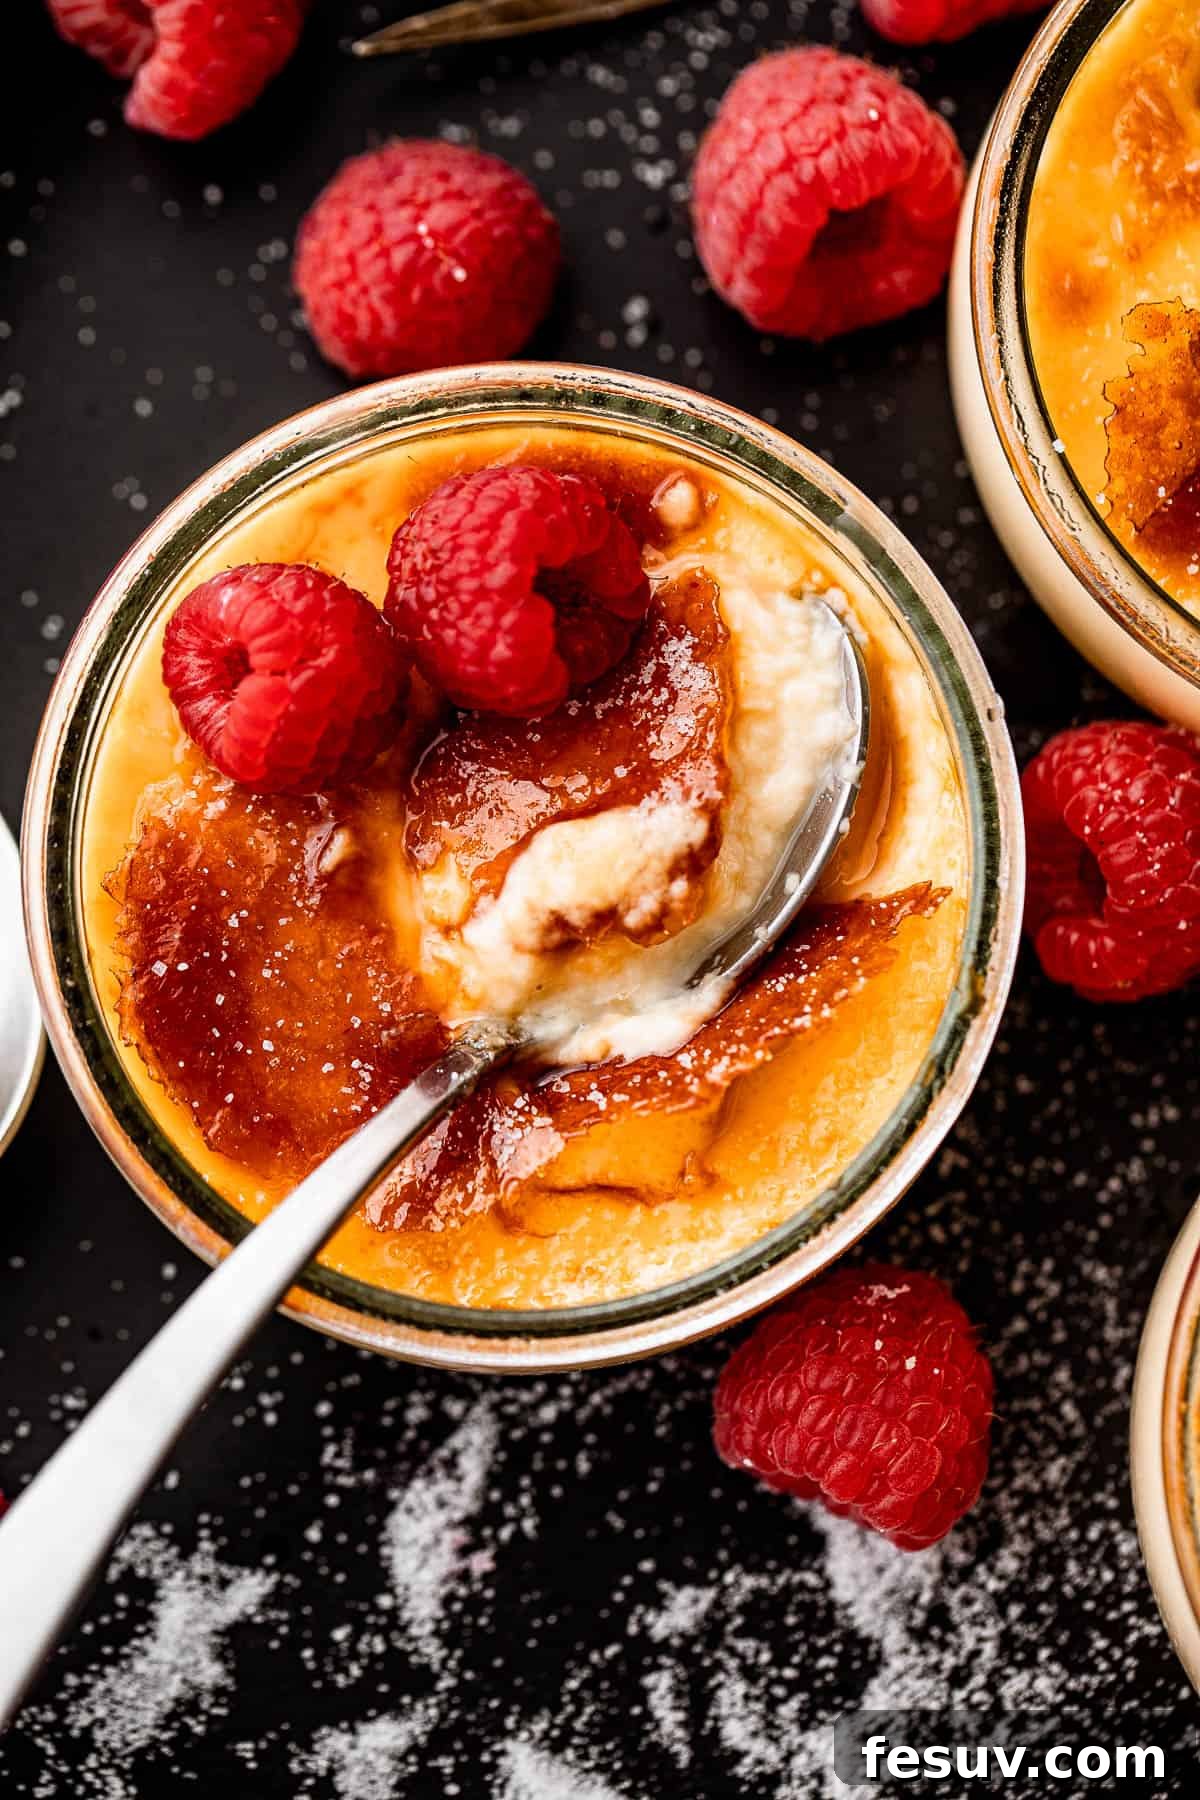
Originating from France (though similar desserts exist across Europe with slightly different names like ‘Crema Catalana’ or ‘Trinity Cream’), Creme Brulee has captivated palates for centuries. Its enduring popularity is no accident. The secret to its ultra-smooth texture lies in the generous use of heavy cream and egg yolks, creating a custard far richer and more decadent than typical varieties. The brittle, caramelized sugar topping, often referred to as the “burnt sugar” crust, provides an exquisite textural counterpoint that makes each spoonful an adventure. It’s truly a perfect, elegant finish to any dinner, whether a casual family meal or a sophisticated dinner party.
The earliest known printed recipe for a dish similar to modern Creme Brulee dates back to a 1691 French cookbook. However, its classic rendition, complete with the iconic caramelized sugar crust, truly flourished in French haute cuisine. Today, this dessert can be found on menus worldwide, a testament to its timeless appeal and universal deliciousness.
Why Homemade Creme Brulee is the Best
While many restaurants offer Creme Brulee, there’s an undeniable satisfaction in crafting this masterpiece in your own kitchen. Homemade Creme Brulee allows you to control the quality of ingredients, ensuring the freshest cream and vanilla for an unparalleled flavor. Furthermore, the process, though seemingly intricate, is a calming and enjoyable culinary endeavor. The moment you crack that perfectly caramelized sugar crust with your spoon is a small victory, making the effort entirely worthwhile. Plus, you can customize it with different flavorings, making each batch uniquely yours.
Key Ingredients for the Perfect Creme Brulee
Creating an exceptional Creme Brulee starts with understanding the role each ingredient plays. Here’s what you’ll need to achieve that sublime texture and flavor:
- Heavy Cream: This is the foundation of your creamy custard. Using heavy cream (also known as double cream) ensures a rich, velvety smooth texture that sets beautifully. While you *can* use half-and-half for a slightly lighter version, heavy cream delivers the authentic, luxurious experience Creme Brulee is famous for. The higher fat content prevents the custard from curdling easily and contributes to its decadent mouthfeel.
- Vanilla: Vanilla is the quintessential flavor for classic Creme Brulee. Pure vanilla extract is an excellent choice for convenience and robust flavor. For an even more aromatic and gourmet touch, consider using one whole vanilla bean. Simply split it lengthwise, scrape out the tiny seeds, and add both the pod and seeds to the cream mixture as it heats. Remember to remove the pod before baking to avoid any bitterness.
- Salt: Just a pinch or two of salt acts as a crucial flavor enhancer. It balances the sweetness of the sugar and brings out the deeper, more complex notes of the vanilla and cream, preventing the dessert from tasting flat.
- Egg Yolks: Egg yolks are the primary thickening agent for Creme Brulee custard. They provide structure, richness, and that beautiful pale yellow hue. For this recipe, we focus solely on the yolks to ensure maximum creaminess and a smooth set, differentiating it from whole-egg custards which can be firmer.
- Sugar: You’ll need granulated sugar for two distinct purposes: sweetening the custard base and creating that iconic crunchy topping. For the custard, it dissolves into the cream and egg yolks, providing essential sweetness. For the topping, its fine crystals melt and caramelize evenly under heat.
- Boiling Water (for Bain-Marie): This is a non-edible but absolutely essential “ingredient” for successful custard baking. We’ll be setting our ramekins in a pan of hot water, known as a bain-marie or hot water bath. This humid environment creates a gentle, even heat distribution, preventing the custard from cooking too quickly, cracking, or becoming rubbery. It’s the secret to that perfectly smooth, jiggly center.
Mastering Creme Brulee: A Step-by-Step Guide
Don’t be intimidated by its fancy name; making Creme Brulee is a straightforward process that anyone can master with a few key techniques. Follow these steps for a perfect batch every time.
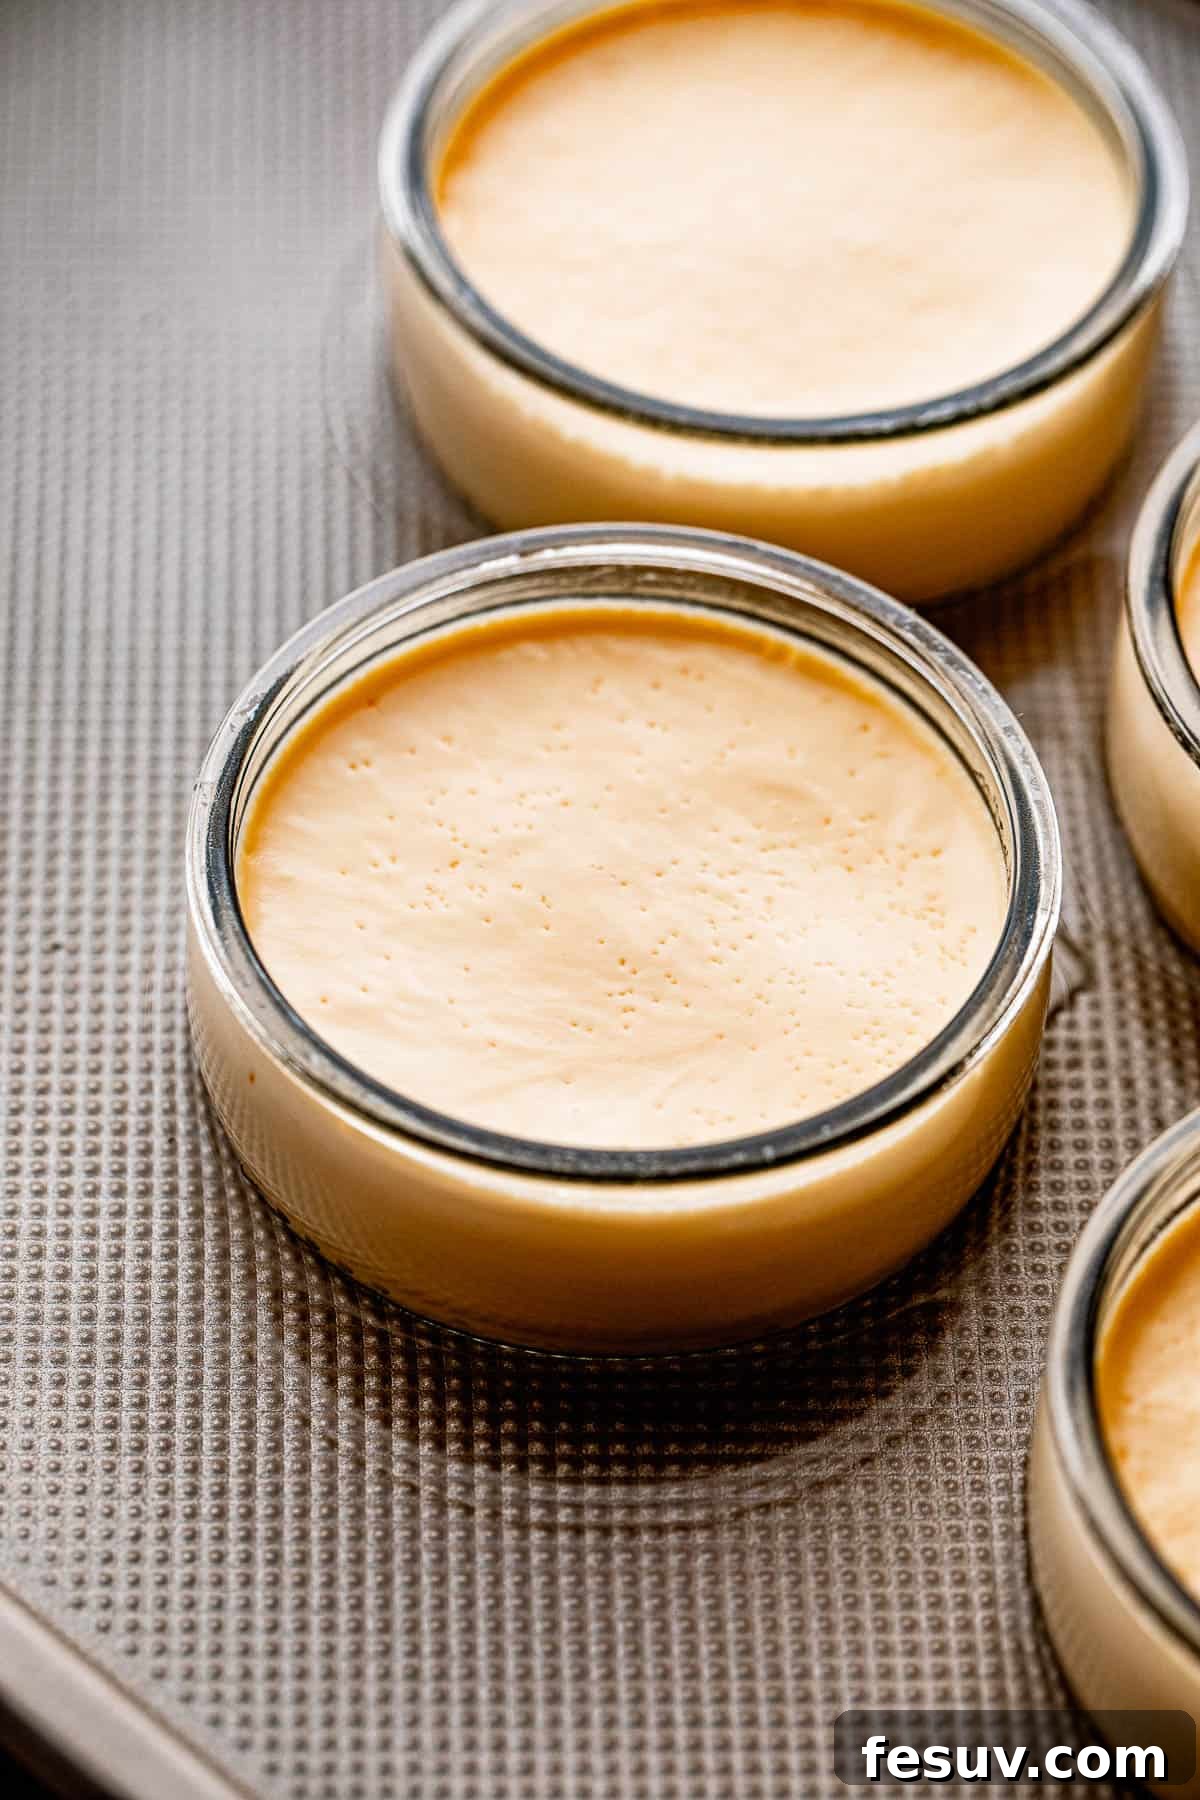
- Preparation is Key: Begin by preheating your oven to 325˚F (160°C). This ensures the oven is at the correct temperature for gentle baking. Arrange four to six six-ounce ramekins (depending on size and desired serving portion) inside a larger 13×9 inch baking dish. This setup is for your crucial bain-marie, or water bath, which will regulate the cooking temperature and prevent cracking.
- Scald the Cream Mixture: In a medium saucepan, combine the heavy cream, vanilla extract (or vanilla bean and seeds), and salt. Place the saucepan over low heat. Heat the mixture gently until you see small bubbles forming around the edges and it’s almost steaming, but crucially, do not let it come to a rolling boil. Scalding helps infuse the vanilla flavor and warms the cream, preparing it for tempering. Remove from heat and let it cool for about three minutes; this prevents the eggs from scrambling too quickly.
- Whisk Eggs and Sugar: While the cream is slightly cooling, in a separate medium bowl, whisk the egg yolks and ½ cup granulated sugar together vigorously until the mixture becomes pale yellow, light, and creamy. This incorporates air and ensures the sugar is well dissolved before combining with the cream.
- Temper the Egg Mixture: This is a critical step to prevent your eggs from scrambling. To temper, slowly drizzle about ¼ cup of the warm cream mixture into the egg yolk mixture, whisking constantly and rapidly. The goal is to gradually raise the temperature of the egg yolks. Once tempered, you can then whisk the entire warmed egg mixture into the remaining hot cream in the saucepan. Continue to stir until everything is thoroughly combined and smooth.
- Bake in a Water Bath (Bain-Marie): Carefully pour the creme brulee custard mixture evenly into your prepared ramekins. Place the baking dish with the ramekins on the oven rack. Then, carefully pour boiling water into the larger baking pan so that it comes approximately halfway up the sides of the ramekins. This water bath creates a moist, consistent heat environment, allowing the custard to cook slowly and evenly, resulting in a silky texture. Bake for about 30 to 40 minutes, or until the edges are set but the center still has a slight, delicate jiggle, like gelatin. Overbaking will result in a rubbery texture.
- Cool and Chill for Perfection: Once baked, carefully remove the baking dish from the oven and lift the ramekins out of the hot water bath (use tongs or an oven mitt). Let the creme brulee cool completely to room temperature on a wire rack. This gradual cooling is important for the custard to fully set. Once cooled, cover each ramekin individually with plastic wrap and refrigerate for at least 4 hours, or ideally overnight. Chilling is essential for the custard to firm up and for the flavors to meld beautifully. Creme Brulee is best served cold.
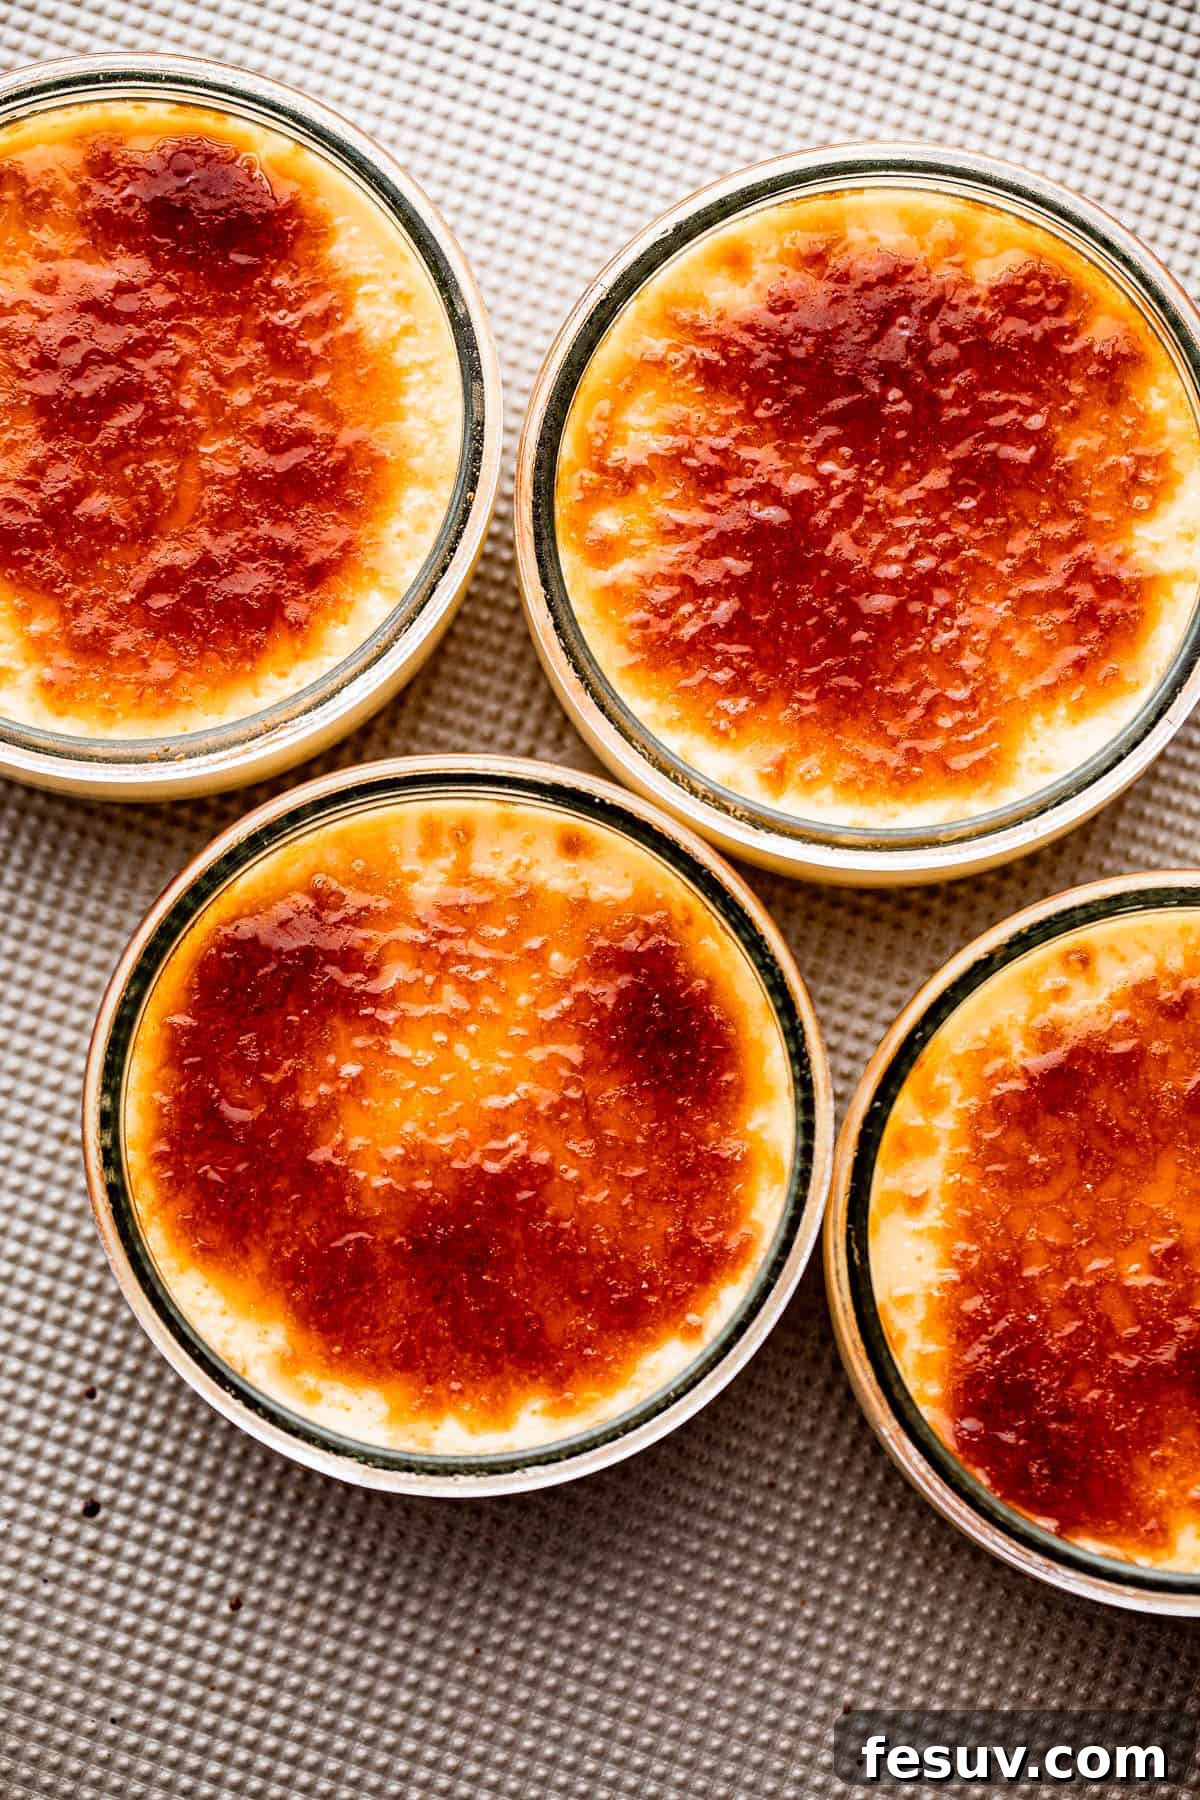
- Make the Iconic Sugar Topping: This is the dramatic finale! Just before serving, sprinkle about 1 teaspoon of granulated sugar evenly over the surface of each chilled creme brulee. Ensure the layer is thin and covers the entire custard surface. Then, caramelize the sugar. You can do this by placing the ramekins under a preheated broiler (watch *very* carefully, as sugar browns quickly, usually within 1-3 minutes) until the sugar melts and turns a deep amber-brown, forming a hard, brittle crust. Alternatively, and often preferred for more control, use a kitchen torch, moving the flame evenly over the sugar until it caramelizes to your desired color. Serve immediately to enjoy the warm, crunchy topping against the cold, creamy custard.
Expert Tips for Flawless Creme Brulee Every Time
Achieving Creme Brulee perfection is all about attention to detail. These expert tips will help you avoid common pitfalls and elevate your dessert from good to absolutely outstanding.
- Tempering Eggs with Ease: Tempering egg yolks can feel daunting, but it’s crucial to prevent scrambling. The key is a slow, steady drizzle of hot liquid while whisking constantly. My preferred method is to hold a small ladle or measuring cup in one hand, allowing a barely-there stream of hot cream to fall into the eggs, while vigorously whisking with your dominant hand. This methodical approach ensures the eggs warm up gradually and incorporate smoothly.
- Strain for Silkiness: Even with careful tempering, sometimes tiny bits of cooked egg or undissolved sugar can remain. If your custard appears slightly lumpy, don’t despair! Simply pour the entire mixture through a fine-mesh strainer (a chinois is ideal, but a regular fine-mesh sieve works too) before pouring it into the ramekins. This step will catch any imperfections, ensuring an incredibly smooth and silky custard.
- Pour Evenly for Consistent Baking: For even baking and consistent results, it’s important that each ramekin contains the same amount of custard. I find that placing each ramekin on a small kitchen scale while filling, or simply using a measuring cup for each, helps ensure they are all filled to the exact same level. This prevents some custards from being under or overcooked.
- Adding Espresso for a Café Au Lait Twist: For a delightful variation, infuse your Creme Brulee with a subtle coffee flavor. Replace a small amount (about ¼ cup) of the heavy cream with a shot of cooled espresso. This creates a gentle café au lait flavor profile that pairs beautifully with the vanilla and caramelized sugar.
- Elegant Garnish with Gold Leaf: For a truly show-stopping dessert, consider decorating the finished Creme Brulee with a few tiny flakes of edible gold leaf. This simple addition instantly transforms the dessert into a gourmet masterpiece, perfect for special occasions. Fresh berries (like raspberries or blueberries) or a sprig of mint also add a lovely touch of color and freshness.
- The Importance of Chilling: While it’s tempting to rush, don’t skip or shorten the chilling time. A minimum of 4 hours, or preferably overnight, allows the custard to fully set, firm up, and for the flavors to deepen and meld. This patience is rewarded with the perfect creamy texture.
Common Creme Brulee Mistakes and How to Fix Them
Even experienced bakers can encounter issues. Here are some common problems and how to troubleshoot them:
- Runny Custard: If your Creme Brulee is still too liquid after chilling, it likely wasn’t baked long enough. Next time, ensure the edges are set and the center has a gentle wobble. Under-baking is usually preferable to over-baking, as you can often bake it a little longer if needed, but a completely raw center won’t firm up.
- Curdled or Scrambled Custard: This usually happens during the tempering process if the hot cream is added too quickly to the egg yolks without constant whisking, or if the cream was too hot initially. Ensure the cream cools slightly, and always drizzle slowly while whisking vigorously. Straining the mixture can sometimes save it if there are only small curds.
- Burnt Sugar Topping: If the sugar burns instead of caramelizing, it means the heat source was too high or applied for too long. When using a broiler, place the ramekins on a high rack but watch them *constantly*. When using a torch, keep the flame moving to prevent localized burning. A slightly darker caramel is good, but black indicates burnt sugar and a bitter taste. If this happens, you can often gently scrape off the burnt layer and apply fresh sugar for another attempt.
- Cracked Custard Surface: Cracks on the surface of your custard are often a sign of overbaking or cooking at too high a temperature. This is where the bain-marie becomes essential, providing gentle, even heat. Ensure your oven temperature is accurate and the water bath is properly filled.
Storing and Serving Your Delicious Creme Brulee
Storing Leftovers
Creme Brulee is best enjoyed fresh, especially with its crisp topping. However, if you have leftovers, they can be stored. For best results, cover the ramekins tightly with plastic wrap and store them in the refrigerator for 2 to 3 days. It’s crucial to store the custard without the caramelized topping. The topping will soften and lose its crunch in the refrigerator due to moisture. If you anticipate leftovers, only caramelize the sugar on the portions you plan to serve immediately.
For longer storage, Creme Brulee can be frozen for up to 3 months. To freeze, ensure the custard is thoroughly chilled and completely set. Cover each ramekin tightly with plastic wrap, then an additional layer of aluminum foil to prevent freezer burn. Thaw overnight in the refrigerator before caramelizing the topping and serving.
Serving Suggestions
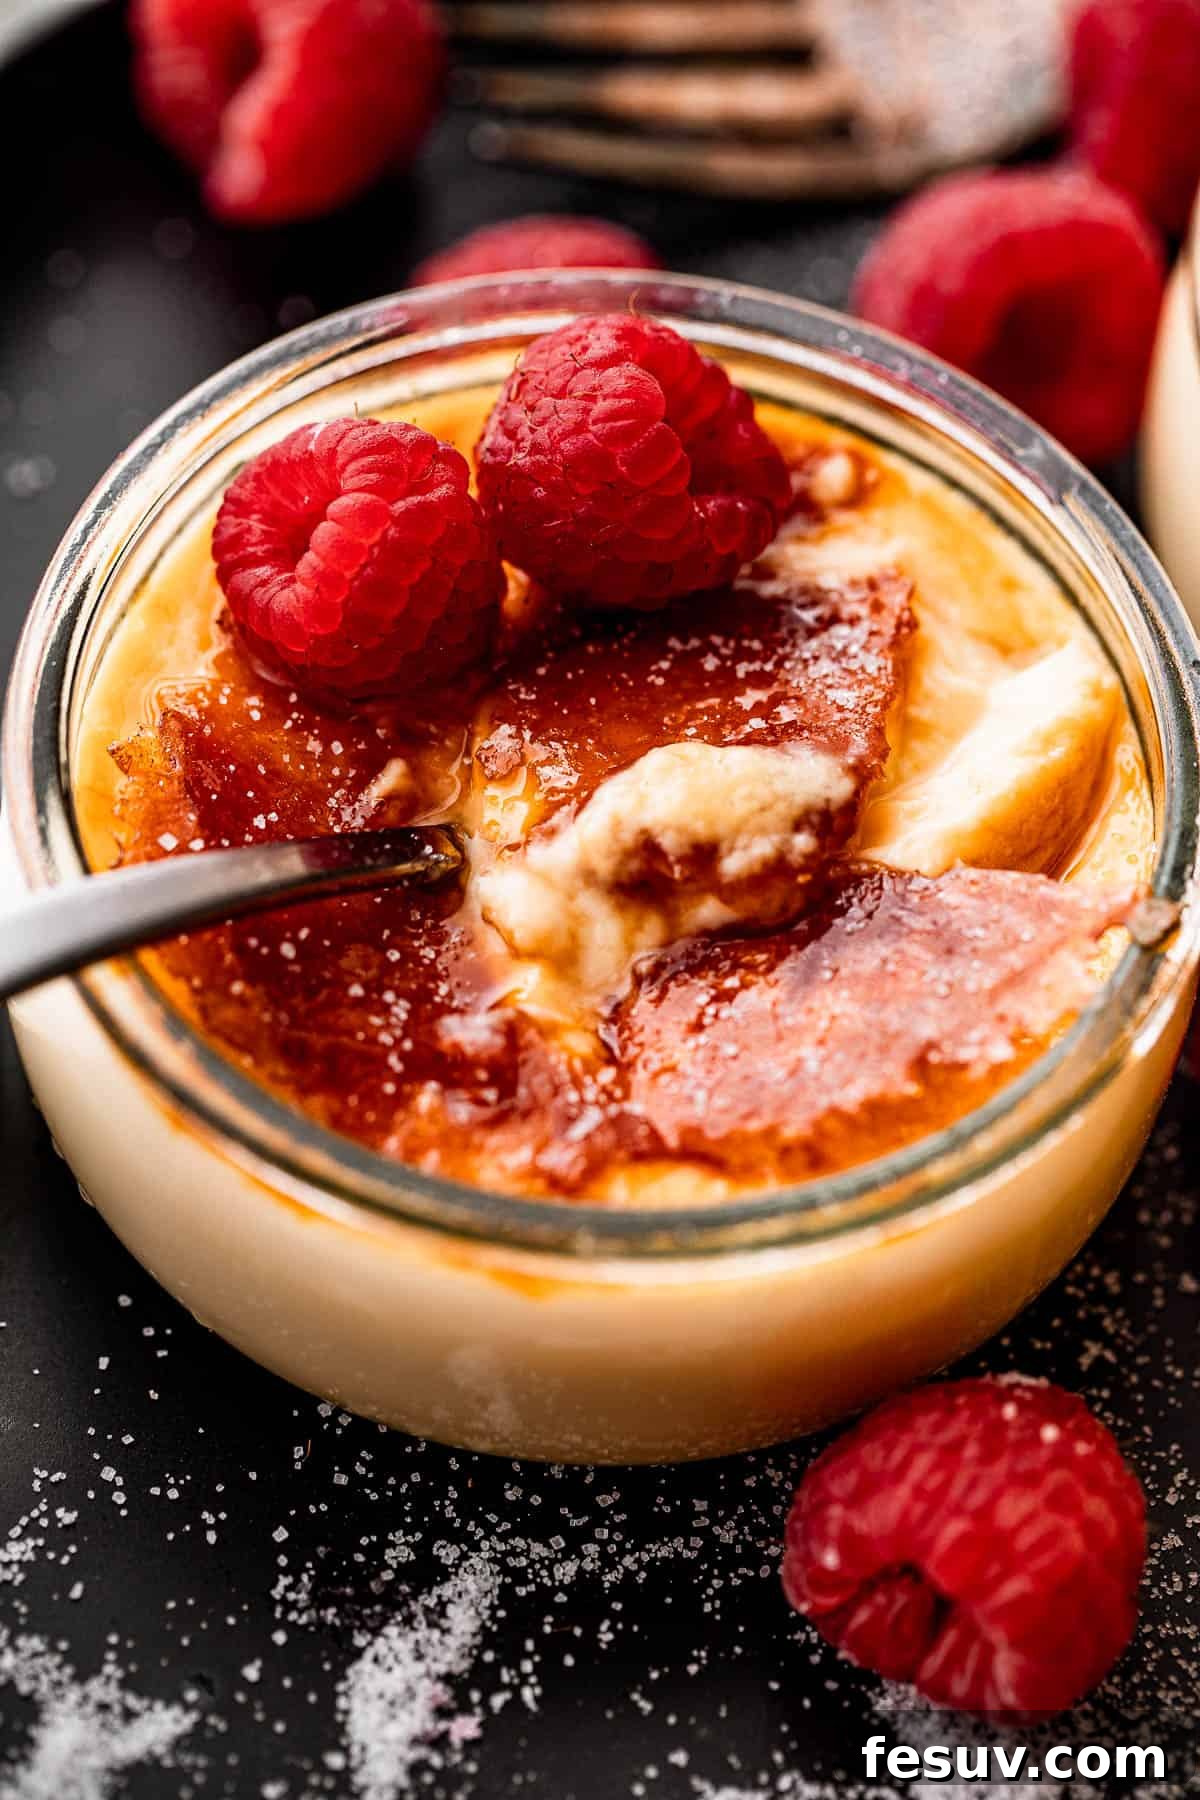
Creme Brulee is ideally served cold, with the freshly torched, warm, crunchy sugar topping. The contrast in temperature and texture is what makes it so appealing. Garnish with fresh berries, a mint leaf, or a light dusting of cocoa powder for an extra touch of elegance. A light espresso or a dessert wine makes a wonderful pairing.
Creme Brulee Frequently Asked Questions (FAQ)
- What is Creme Brulee?
- Creme Brulee is a classic French dessert consisting of a rich custard base (typically vanilla-flavored) topped with a contrasting layer of hardened caramelized sugar. The name translates to “burnt cream.”
- How long does Creme Brulee last?
- The custard base, without the caramelized topping, can be stored in the refrigerator for 2-3 days. If you’ve already caramelized the sugar, it’s best eaten immediately as the topping will soften over time.
- Can I make Creme Brulee ahead of time?
- Absolutely! Creme Brulee is an excellent make-ahead dessert. You can prepare and bake the custard up to 2-3 days in advance and store it covered in the refrigerator. Just before serving, add the sugar and caramelize it.
- What can I use if I don’t have a kitchen torch?
- A broiler in your oven is a perfectly good alternative. Place the sugared ramekins on a high rack under a preheated broiler. Watch them very closely, as the sugar can caramelize and burn within 1-3 minutes. Rotate the ramekins if necessary for even browning.
- Why did my Creme Brulee curdle?
- Curdling usually occurs if the egg yolks are heated too quickly or unevenly, causing them to scramble. This is why tempering (gradually adding warm liquid to the eggs while whisking) and baking in a bain-marie (water bath) are crucial steps for smooth custard.
The Classic Creme Brulee Recipe
Easy Creme Brulee
Lush and luxurious, this classic recipe for Creme Brulee is the ultimate sweet indulgence. The burnt-sugar topping is a gorgeous contrast to the creamiest custard ever.
Author: Katerina | Easy Weeknight Recipes
Prep Time: 10 minutes
Cook Time: 55 minutes
Chill Time: 4 hours
Total Time: 5 hours
Servings: 6
Ingredients
- 2 cups heavy cream (you can also use Half & Half for a slightly lighter custard)
- 1 teaspoon pure vanilla extract (or 1 vanilla bean, split and scraped, with the pod removed before baking)
- ⅛ teaspoon salt
- 5 large egg yolks
- ½ cup granulated sugar (plus approximately 1 teaspoon per ramekin for topping)
- Boiling water (for the bain-marie)
Instructions
- Preheat your oven to 325˚F (160°C).
- Prepare four 6-ounce ramekins (or six 4-ounce ramekins) by placing them in a 13×9 inch baking dish. Set aside.
- In a medium saucepan, combine the heavy cream, pure vanilla extract, and salt.
- Heat the mixture over low heat until it’s hot and small bubbles just begin to form around the edges. Do not let it boil.
- Remove the cream mixture from the heat and let it cool for 3 minutes.
- In the meantime, in a separate medium bowl, whisk together the egg yolks and ½ cup granulated sugar until the mixture is light in color and creamy.
- To temper the egg mixture, slowly drizzle about ¼ cup of the warm cream mixture into the egg yolk mixture, whisking continuously and vigorously.
- Once tempered, pour the entire egg yolk mixture into the remaining warm cream in the saucepan. Stir gently until thoroughly combined.
- Carefully pour the custard mixture evenly into your prepared ramekins.
- Place the baking dish with the filled ramekins onto the oven rack. Carefully pour boiling water into the baking dish until it reaches halfway up the sides of the ramekins. This creates the essential water bath (bain-marie).
- Bake for 30 to 40 minutes, or until the edges are set but the center still has a slight, delicate jiggle.
- Remove the ramekins from the water bath and let them cool completely on a wire rack to room temperature.
- Once cooled, cover each ramekin with plastic wrap and refrigerate for at least 4 hours, or preferably overnight, until thoroughly chilled.
- Just before serving, sprinkle about 1 teaspoon of granulated sugar evenly over the surface of each chilled creme brulee.
- Caramelize the sugar either by placing the ramekins under a preheated broiler (watching constantly, as it browns quickly) or by using a kitchen torch until the sugar melts and turns a deep amber-brown.
- Serve immediately to enjoy the crunchy topping.
Nutrition Information (Estimated Per Serving)
- Calories: 388kcal
- Carbohydrates: 20g
- Protein: 4g
- Fat: 33g
- Saturated Fat: 20g
- Polyunsaturated Fat: 2g
- Monounsaturated Fat: 10g
- Cholesterol: 271mg
- Sodium: 86mg
- Potassium: 77mg
- Sugar: 17g
- Vitamin A: 1383IU
- Vitamin C: 1mg
- Calcium: 71mg
- Iron: 1mg
Nutritional information is an estimate and provided as courtesy. Values may vary according to the ingredients and tools used. Please use your preferred nutritional calculator for more detailed information.
More Indulgent Dessert Recipes You’ll Love
If you’ve enjoyed making this classic Creme Brulee, here are more delightful dessert recipes to satisfy your sweet tooth and impress your guests:
- Easy Chocolate Cake
- Red Velvet Cheesecake with Oreo Crust
- Chocolate Eclair Cake
- Easy Tres Leches Cake
- Sopapilla Cheesecake