
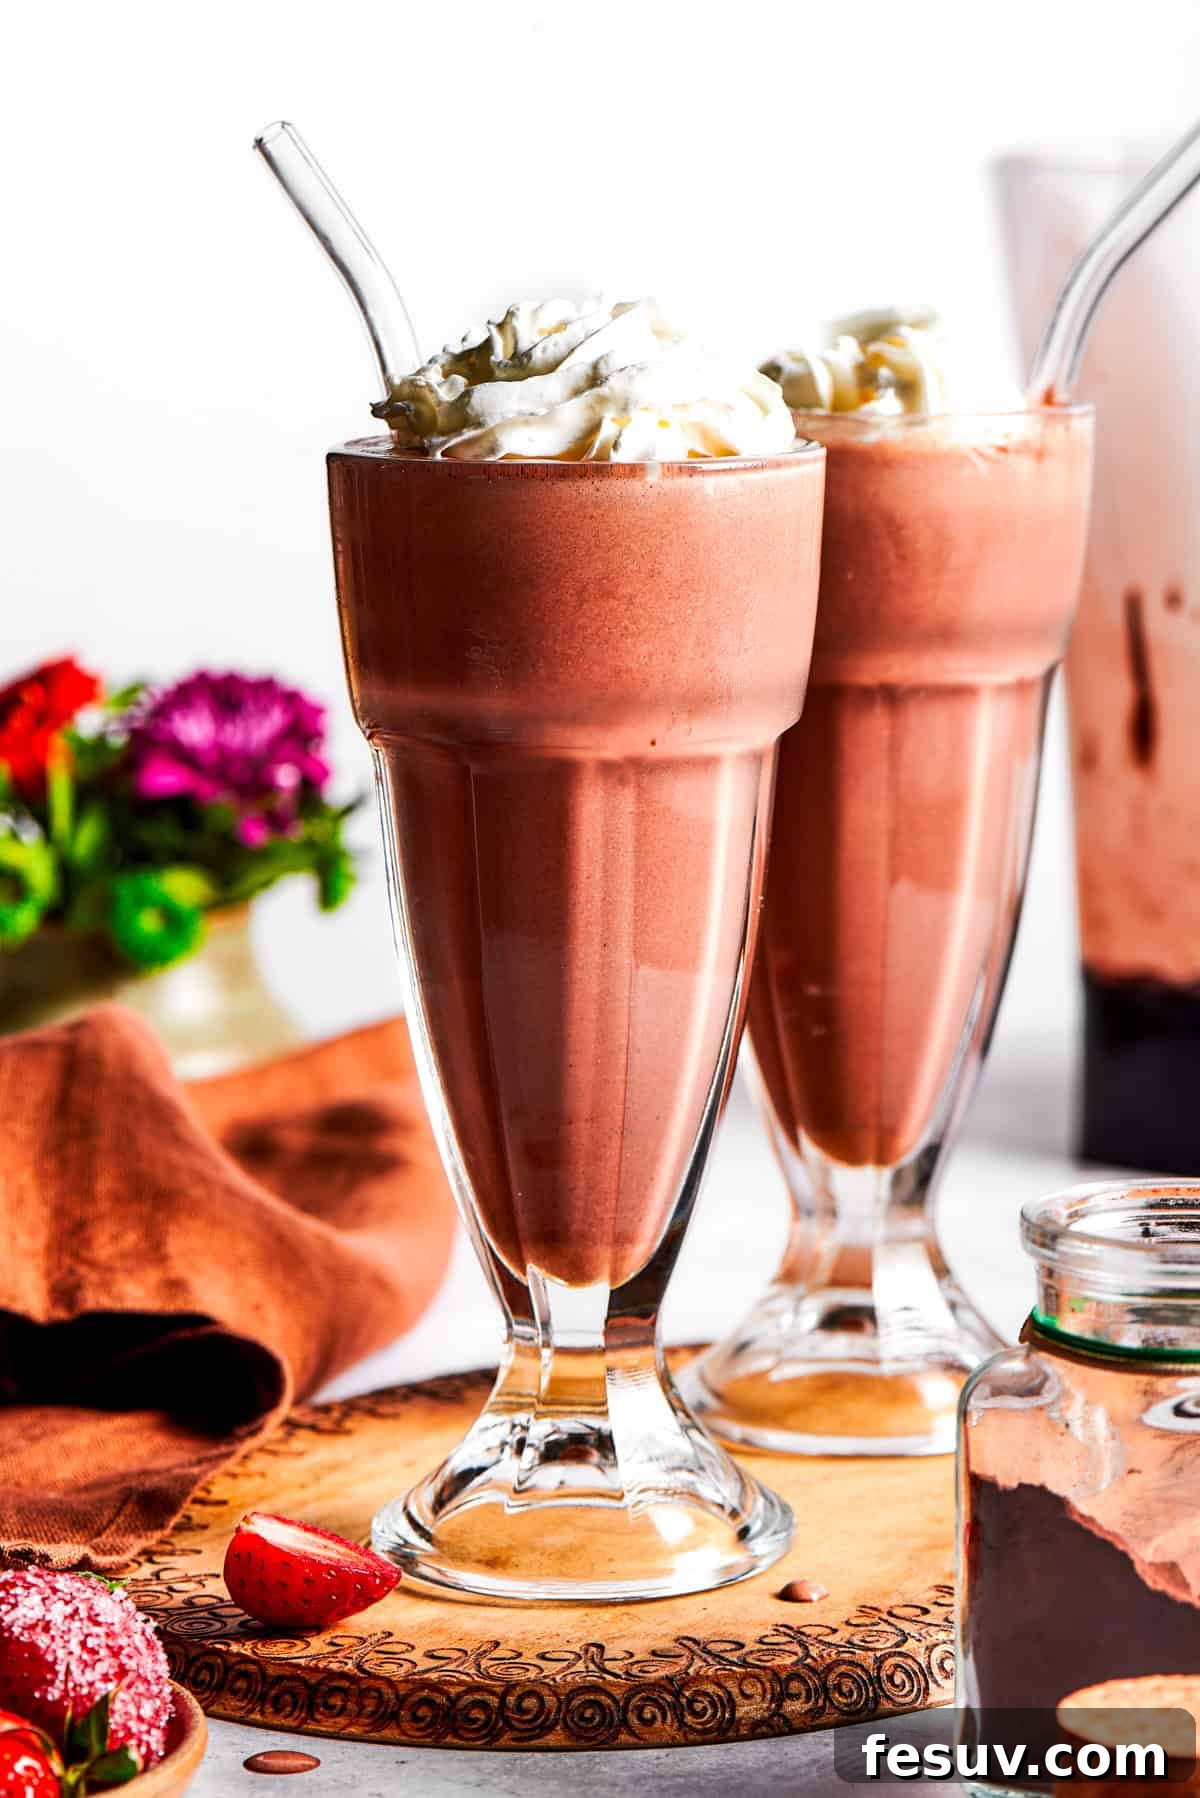
The Ultimate Homemade Chocolate Milkshake Recipe: Thick, Creamy, and Irresistibly Decadent
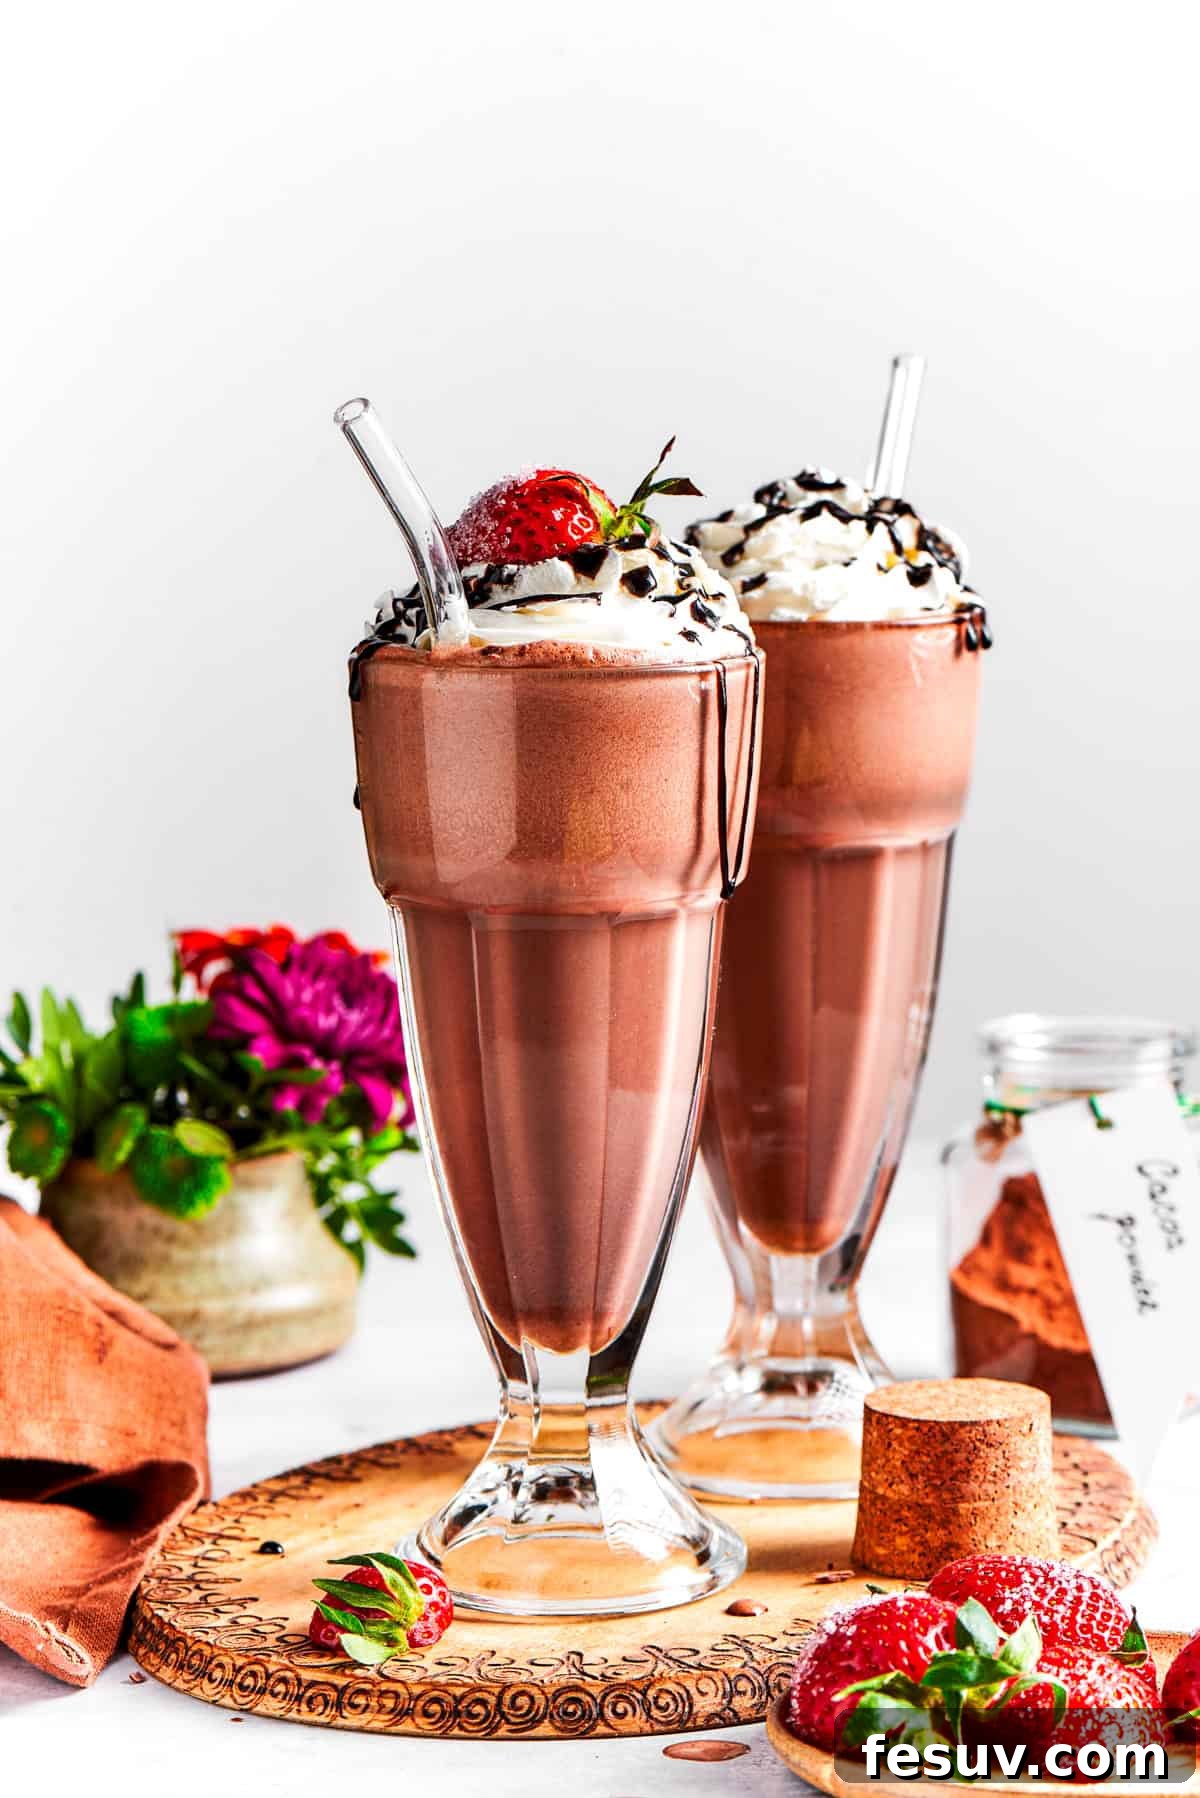
There’s nothing quite like a perfectly crafted chocolate milkshake – thick, creamy, and bursting with rich cocoa flavor. My perfected chocolate milkshake recipe guarantees a decadent treat every single time, transforming your kitchen into a classic diner experience. Forget bland, watery shakes; with my expert tips and simple ingredients, you’ll learn how to whip up a truly indulgent, diner-worthy milkshake right at home. It’s more than just a drink; it’s a nostalgic journey in a glass, a liquid form of pure bliss, much like a sumptuous chocolate cake that you can sip.
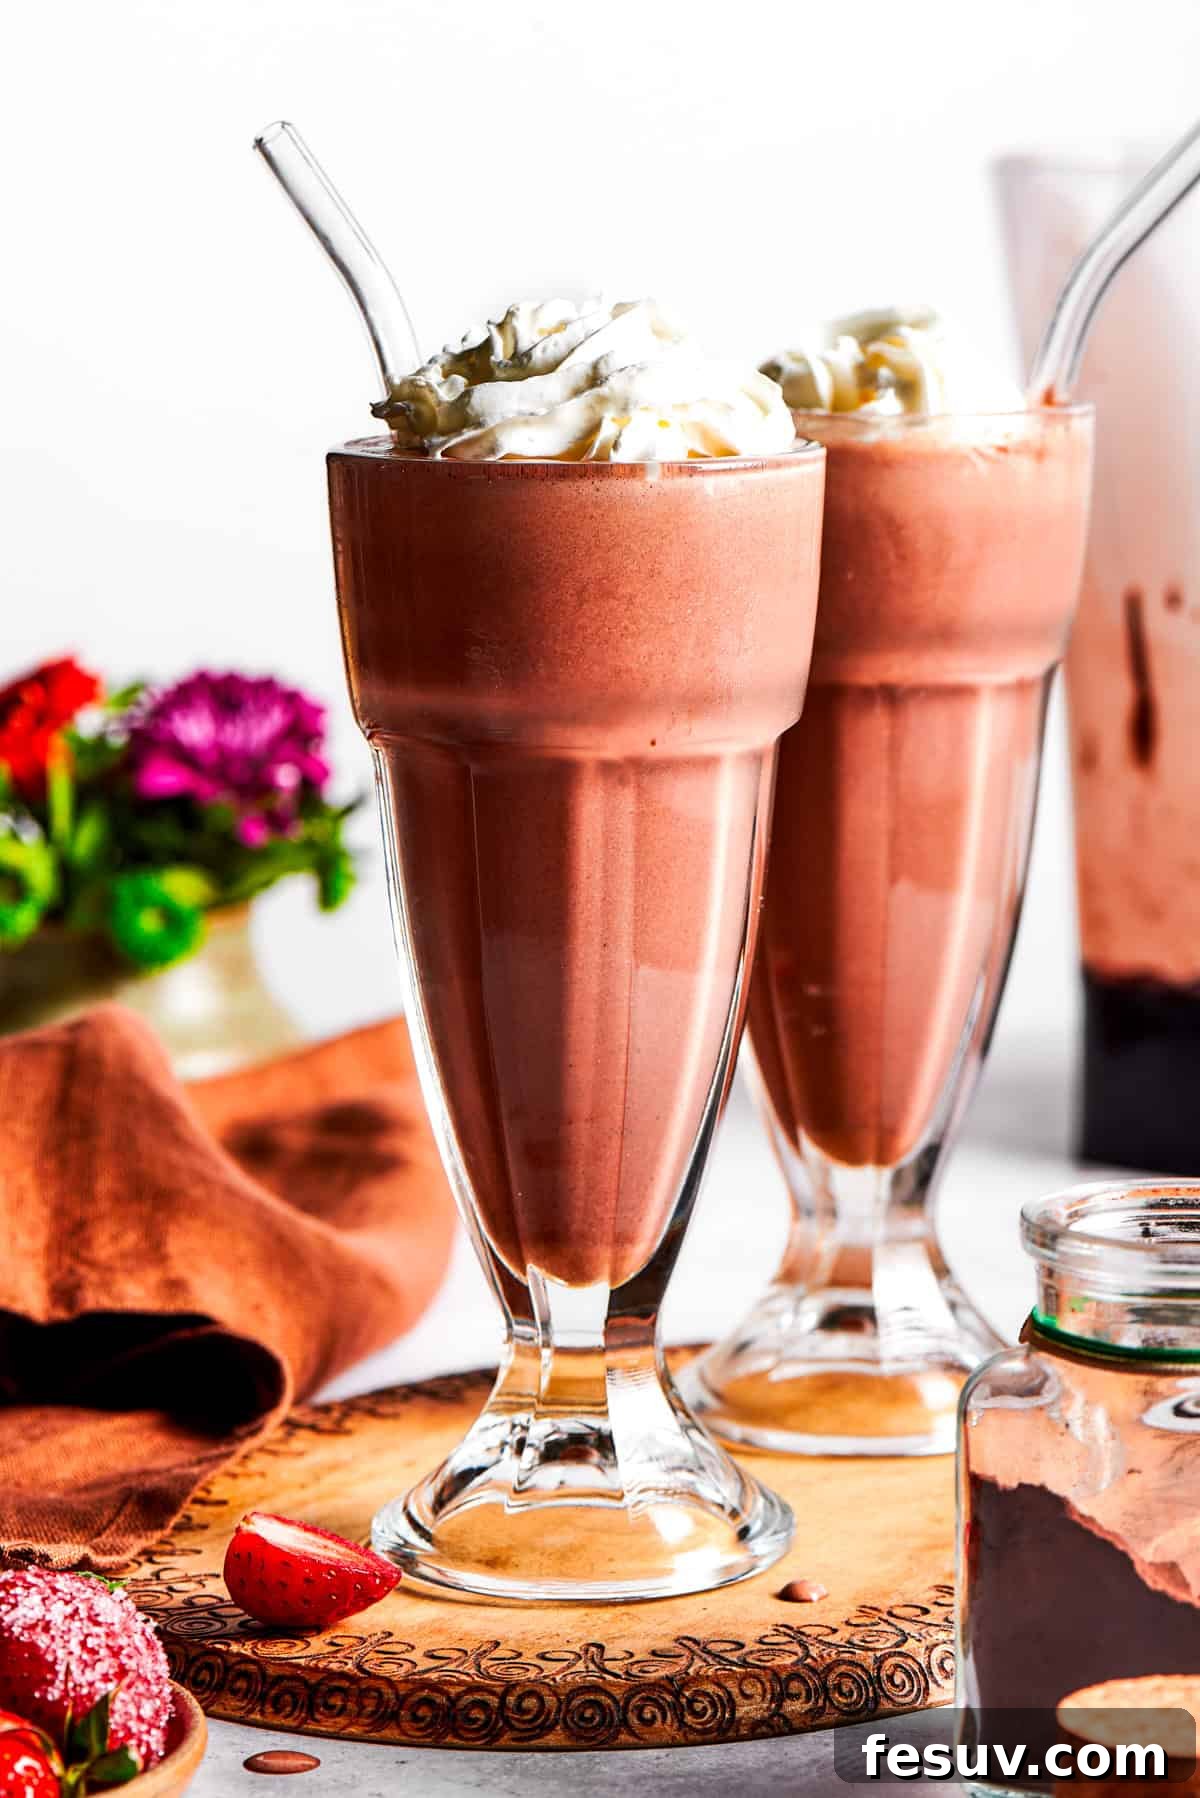
It’s no secret that a classic chocolate milkshake holds a special place in everyone’s heart, from the youngest family members to the adults who secretly crave that comforting sweetness. This recipe is a family favorite for a reason! It delivers that iconic rich, velvety smooth, cool, and satisfying experience you expect from a premium milkshake. What elevates this recipe from good to extraordinary is the thoughtful combination of high-quality cocoa powder and luscious hot fudge sauce. While a simple dollop of whipped cream makes for a fantastic finish, feel free to unleash your creativity with additional toppings like fresh berries, delicate chocolate shavings, or a swirl of golden caramel sauce.
Why This Classic Chocolate Milkshake Will Become Your Go-To Recipe
- Effortless and Lightning-Fast: Ready in Just 5 Minutes! You read that correctly! From gathering your ingredients to taking your first delightful sip, this luxurious chocolate milkshake comes together in a mere five minutes. Perfect for those spontaneous cravings or when you need a quick, impressive dessert.
- Unbeatable Homemade Quality and Convenience: Why trek to a crowded diner when you can create a superior milkshake experience in the comfort of your own kitchen? Making it yourself means complete control over the ingredients, ensuring the freshest taste and allowing for endless customization. Imagine drizzling it with the same decadent chocolate sauce from our Homemade Churros with Chocolate Sauce – the possibilities are truly limitless.
- Achieve Your Desired Thickness and Unrivaled Creaminess: This isn’t just any chocolate milkshake; it’s a serious contender for the best you’ve ever had. It’s designed to be sumptuously creamy and as thick as you prefer. The beauty of homemade lies in the ability to precisely adjust the amount of added milk or cream, allowing you to tailor the consistency to your exact liking – whether you prefer it spoon-thick or easily sippable.
- Premium Flavor Profile: By selecting quality cocoa and hot fudge, we elevate the chocolate notes beyond what you’d find in most commercial options. This thoughtful ingredient choice ensures a deeply satisfying, authentic chocolate taste that resonates with true indulgence.
- Perfect for Any Occasion: Whether it’s a hot summer day, a cozy movie night, or simply a treat to brighten your afternoon, this milkshake is always a welcome delight. Its quick preparation makes it ideal for impromptu gatherings or a personal moment of indulgence.
Essential Recipe Ingredients for Your Perfect Milkshake
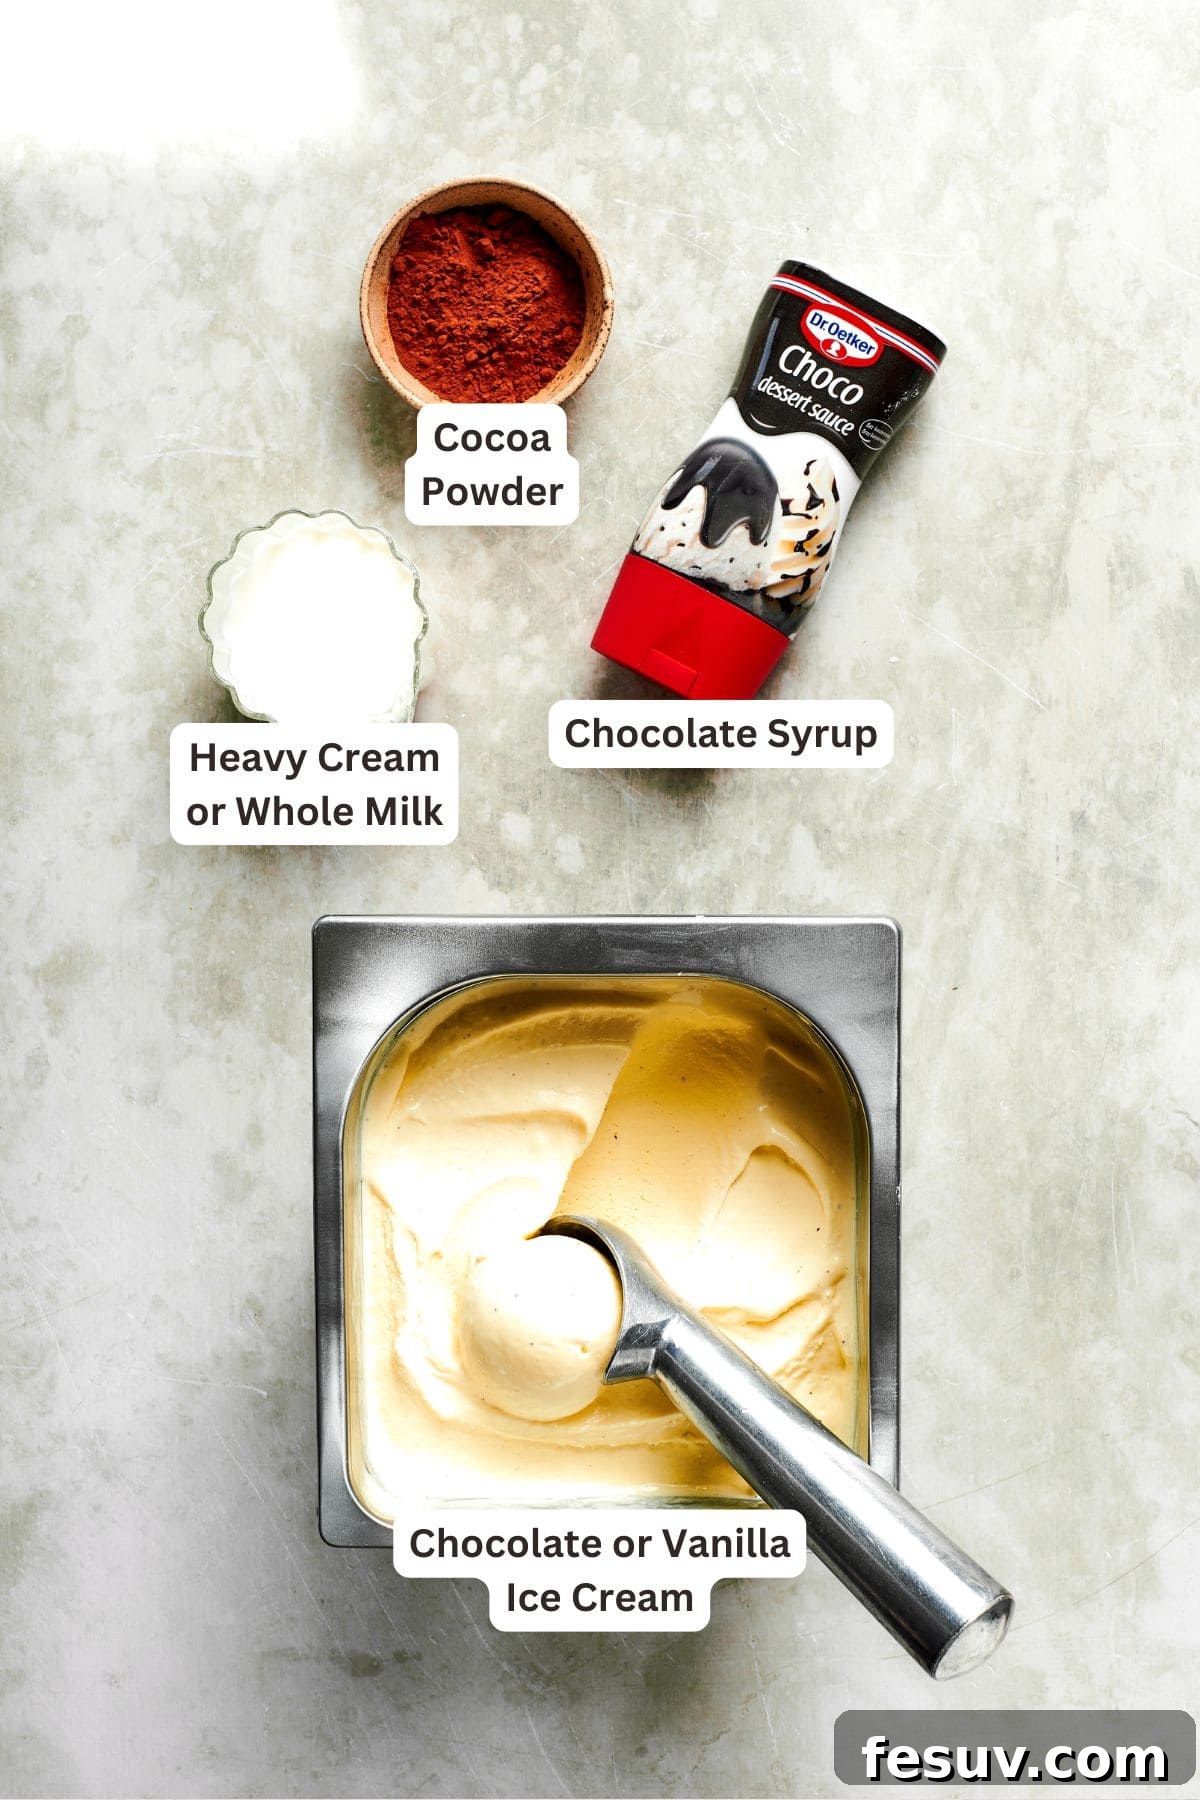
Crafting a truly exceptional homemade milkshake starts with a few simple, yet carefully chosen, ingredients. For the most luxurious and rich results, I highly recommend opting for a high-quality ice cream brand. The foundational flavor and texture of your shake will largely depend on the quality of your base ingredients. You’ll find the precise measurements for each component in the dedicated recipe section further down this page.
- Ice Cream: The heart of any great milkshake. For this recipe, either plain vanilla or chocolate ice cream works beautifully. Choose a premium brand for the richest flavor and creamiest texture. It’s best to avoid ice creams with added mix-ins like cookie pieces or candy chunks, as these can hinder smooth blending and result in a less uniform shake.
- Heavy Cream: This is the secret to a super-rich, incredibly luxurious milkshake. Heavy cream adds unparalleled body and silkiness. If you prefer a slightly lighter shake without sacrificing too much richness, whole milk is an excellent alternative that still contributes to a wonderfully creamy consistency.
- Cocoa Powder: To intensify that deep, authentic chocolate flavor, unsweetened Dutch-processed cocoa powder is my top recommendation. Dutch-processed cocoa has a milder, less bitter taste and a darker color, resulting in a more profound chocolate experience. However, regular unsweetened cocoa powder will also work splendidly, offering a slightly sharper, more traditional chocolate note.
- Chocolate Sauce: Choose between a classic hot fudge sauce or a smooth chocolate syrup. Hot fudge will generally provide a richer, more intense chocolate flavor and a thicker texture, making your milkshake even more decadent. Chocolate syrup offers a lighter, sweeter chocolate touch. Feel free to use your favorite or combine both for complex layers of flavor.
- Optional Toppings: Elevate your milkshake into a dessert masterpiece with a variety of toppings. Some fantastic options include freshly whipped cream (sweetened for extra indulgence), delicate chocolate shavings, vibrant fresh strawberries for a touch of fruitiness, or an additional drizzle of that lovely chocolate sauce. Don’t be shy about experimenting with what you love!
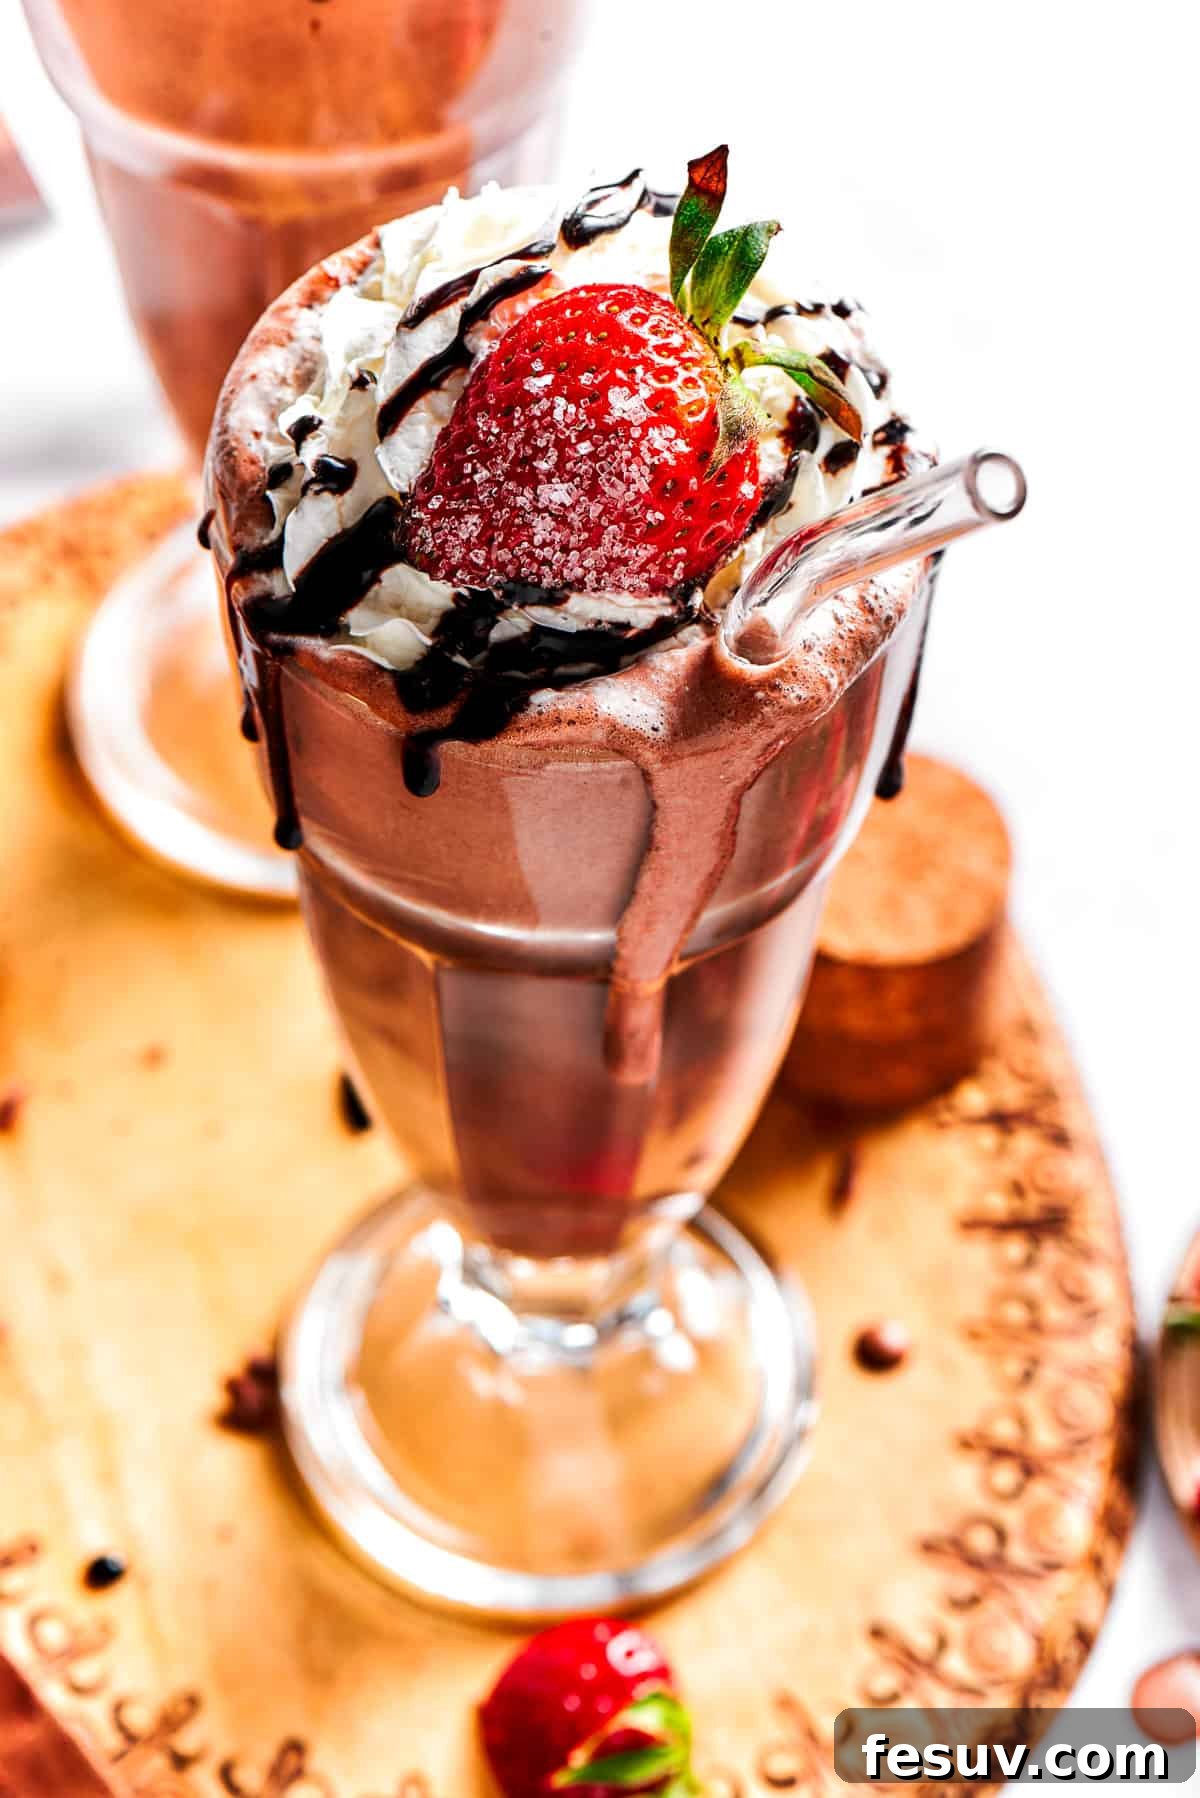
Expert Tips for Crafting a Truly Perfect Milkshake
Achieving that iconic, diner-quality milkshake at home is easier than you think with these clever tips and tricks. Follow these guidelines to ensure your shake is always smooth, thick, and utterly delightful:
- Pre-Soften Your Ice Cream: This is a game-changer for ultimate creaminess! Allow your ice cream to sit on the counter at room temperature for about 10-15 minutes before you begin blending. This slight softening makes it easier for the blender to break down the ice cream, resulting in a significantly smoother, airier, and more velvety texture with fewer icy bits.
- Strategic Layering for Optimal Blending: When adding ingredients to your blender, start with the liquid first. Pour the heavy cream or milk into the blender pitcher, then scoop the softened ice cream on top. The liquid base helps the blender blades get a head start, making it much easier to process the denser ice cream smoothly and efficiently.
- Begin Blending Slowly, Then Increase Speed: Don’t just hit high speed immediately. Start your blender on a low setting to gently combine the ingredients. As they begin to break down and merge, gradually increase the speed to medium. This controlled approach prevents air pockets and ensures an evenly blended, lump-free milkshake. If necessary, occasionally stop the blender and use a spatula to scrape down the sides, ensuring all ingredients are incorporated. Blend for approximately one minute, or until thoroughly smooth.
- No Blender? No Problem! Hand-Whisk Your Way to Milkshake Bliss: If you don’t own a blender, you can still enjoy a fantastic homemade milkshake! Simply let your ice cream soften a bit more, then combine all the ingredients in a large mixing bowl. Use a sturdy whisk or an electric hand mixer to vigorously combine everything until the mixture is smooth and the desired consistency is achieved. It requires a bit more elbow grease but yields delicious results.
- Chill Your Glasses for a Frosty Experience: Recreate that authentic diner feel by serving your milkshakes in frosty glasses. Place your serving glasses in the freezer for at least 15-20 minutes (or longer!) while you prepare your milkshake. A chilled glass helps keep your milkshake colder for longer, enhancing the refreshing experience and preventing it from melting too quickly.
- Can You Prepare Milkshakes Ahead of Time? While milkshakes are undeniably best enjoyed immediately after blending for peak freshness and texture, you can store any leftover milkshake in the freezer for a few hours. When you’re ready to enjoy it again, simply let it sit at room temperature for 10-15 minutes, or until it softens to a drinkable consistency. You might need to give it a quick stir.
- Adjusting Consistency: If your milkshake is too thick, add a tablespoon of milk or cream at a time and blend until it reaches your preferred consistency. If it’s too thin, a scoop of extra ice cream can quickly remedy this.
Creative Topping and Flavor Variation Ideas
This classic chocolate milkshake recipe provides a perfect base for endless customization. Don’t hesitate to get creative with flavors and toppings to make each shake uniquely yours! This foundational method can be adapted to create virtually any milkshake flavor you can dream of. Here are some delightful suggestions to inspire your next blend:
- Strawberry Chocolate Swirl: For a delightful fruity-chocolate fusion, simply swap out the vanilla or chocolate ice cream for luscious strawberry ice cream. Crucially, still include the cocoa powder and chocolate sauce to achieve a harmonious blend of rich chocolate and sweet, tangy strawberry. The result is a vibrant, irresistible shake that’s both refreshing and indulgent.
- Elevate to a Mocha Masterpiece: Coffee lovers, rejoice! Transform your chocolate milkshake into a sophisticated mocha treat by adding a shot of cooled espresso or strongly brewed coffee directly into the blender. The bitterness of the coffee beautifully complements the sweetness of the chocolate. Alternatively, for a more pronounced coffee flavor, use coffee ice cream as your base instead of vanilla or chocolate.
- Peanut Butter and Chocolate Dream: A classic pairing for a reason! Blend in a generous 1/4 cup of creamy peanut butter (or chunky, if you like texture) for a rich, nutty, and utterly satisfying peanut butter and chocolate milkshake. The saltiness of the peanut butter enhances the chocolate, creating a crave-worthy combination.
- Go Dairy-Free: For a vegan or dairy-intolerant option, this recipe is incredibly adaptable. Simply substitute traditional ice cream with your favorite dairy-free ice cream alternative (such as almond, soy, or coconut-based ice cream) and use a plant-based milk alternative (like almond milk, oat milk, or soy milk) in place of heavy cream or whole milk. Ensure your chocolate sauce is also dairy-free.
- More Topping Extravaganza Ideas: Beyond the classic whipped cream, the topping possibilities are endless!
- Mini Chocolate Chips: For a delightful textural contrast.
- Raspberries or Blackberries: Fresh berries add a burst of tartness and beautiful color.
- Colorful Sprinkles: Perfect for birthdays or adding a playful touch.
- Mini Marshmallows: For a soft, sweet, and gooey addition.
- Caramel Drizzle: A complementary sweet addition.
- Chopped Nuts: Pecans, walnuts, or almonds for crunch and earthy flavor.
- Cookie Crumbs: Crushed Oreos, graham crackers, or shortbread for added texture.
- A Classic Cherry on Top: The iconic finishing touch!
Chocolate Milkshake Recipe
Katerina | Easy Weeknight Recipes
5 minutes
5 minutes
2
servings
Ingredients
-
4
cups
vanilla ice cream,
or chocolate ice cream (slightly softened) -
¼-½
cup
heavy cream,
or whole milk (start with less and add more for desired thickness) -
1½
tablespoons
Dutch-processed cocoa powder,
or regular unsweetened cocoa powder -
⅓
cup
hot fudge sauce,
or chocolate syrup - Optional toppings: sweetened whipped cream, chocolate shavings, fresh strawberries, extra chocolate sauce, mini chocolate chips, sprinkles, mini marshmallows, cherries
Instructions
-
Prepare Your Blender and Glasses. Ensure your blender pitcher is clean and completely dry before you begin. For an authentic diner experience, place your serving glasses in the freezer to chill while you prepare your milkshake.
-
Layer Ingredients in the Blender. Begin by pouring the heavy cream (or whole milk) into the blender. Next, scoop in the slightly softened vanilla or chocolate ice cream. Using chocolate ice cream will yield a deeper, richer chocolate flavor, while vanilla provides a versatile, milder base. Sprinkle in the cocoa powder to enhance the chocolate depth. Finally, add the hot fudge sauce or chocolate syrup; opt for hot fudge for an even more intense and luxurious flavor.
-
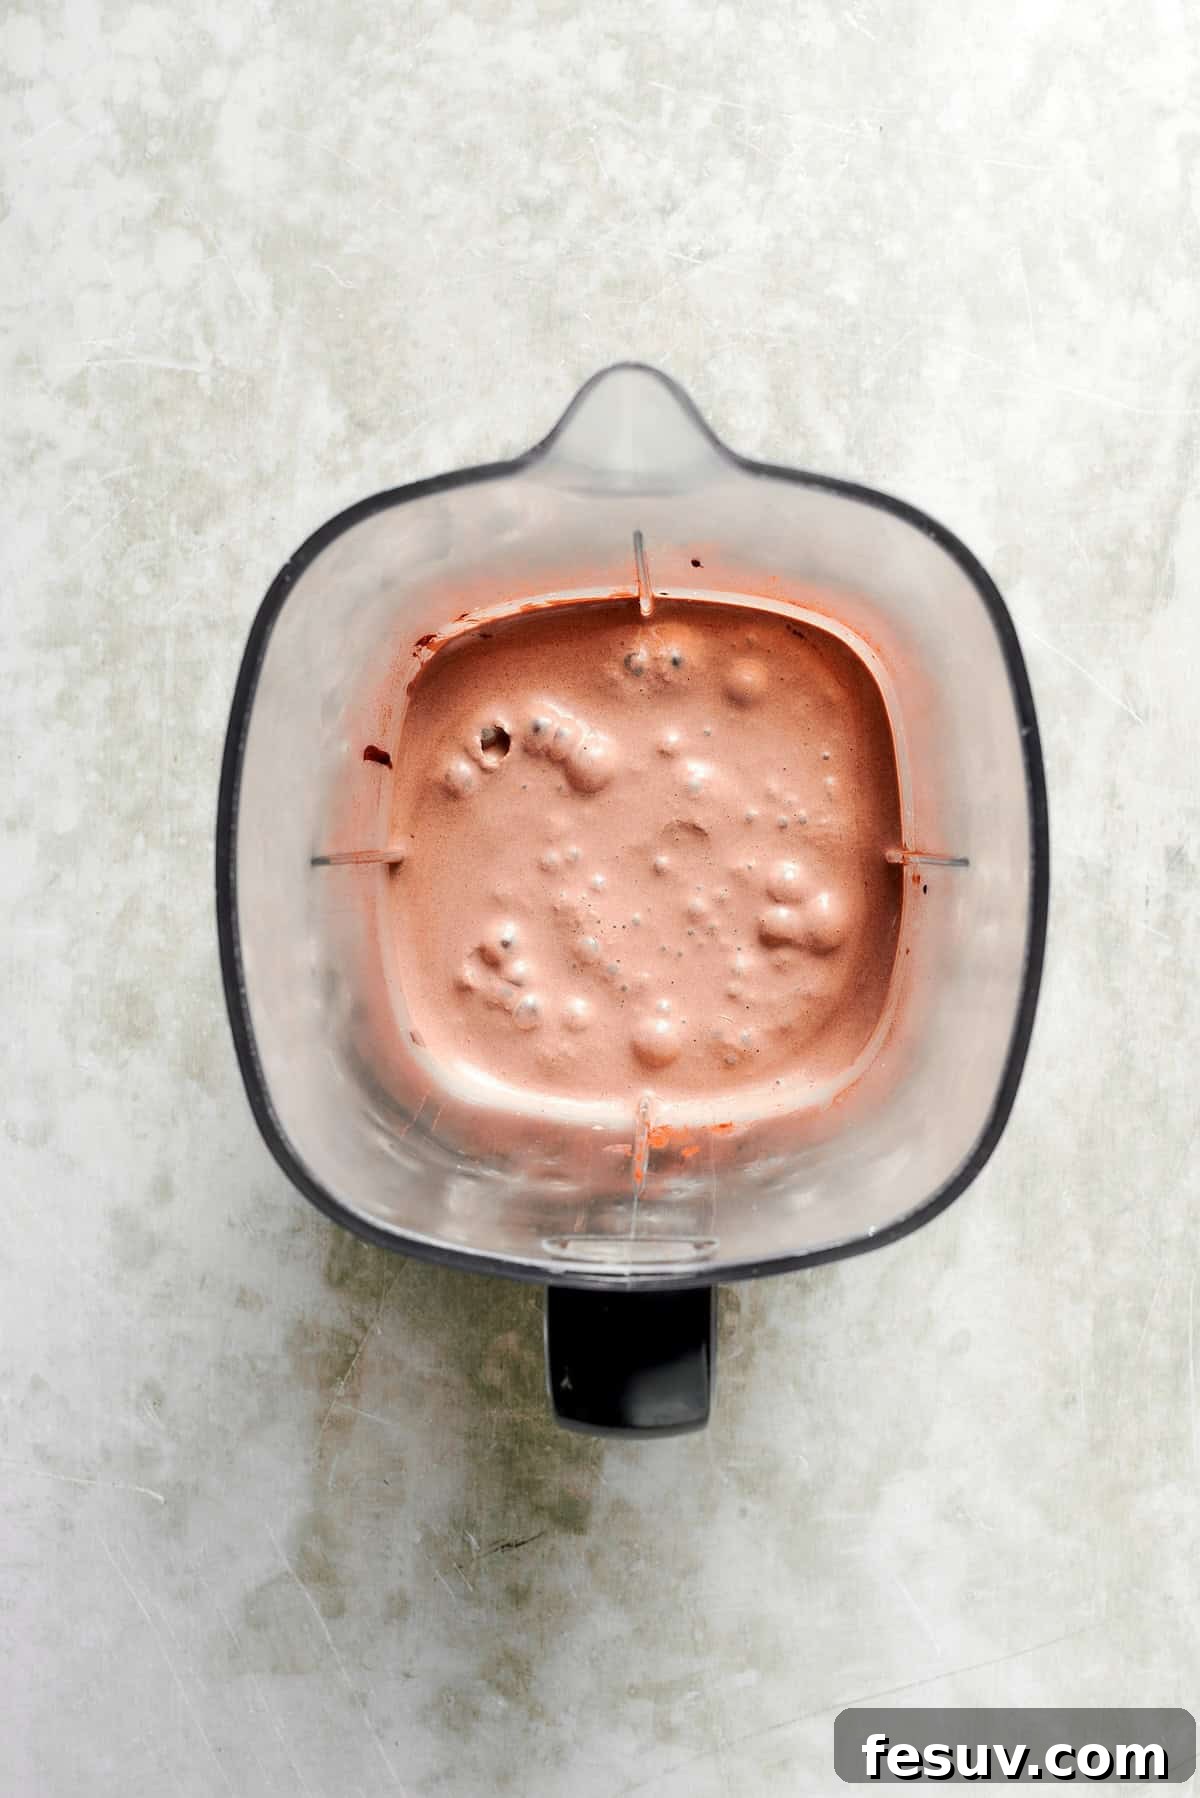
Blend Until Creamy. Secure the blender lid firmly. Start blending on a low speed to incorporate the ingredients gently, then gradually increase the speed to medium. Blend until the mixture is perfectly smooth and creamy, which usually takes about 1 minute. If you find the milkshake too thick for your preference, add more cream or milk, one tablespoon at a time, blending briefly after each addition until you reach your desired consistency.
-
Taste and Adjust Flavor. Take a small taste of your milkshake. If you desire a sweeter flavor or a more pronounced chocolate kick, feel free to add a bit more chocolate sauce or a touch more cocoa powder, then blend again for a few seconds to fully incorporate.
-
Serve and Garnish Immediately. Pour the freshly blended milkshake into your pre-chilled glasses. Now comes the fun part: topping! Generously garnish with sweetened whipped cream, chocolate shavings, fresh strawberries, or an additional drizzle of chocolate sauce. Serve immediately with a wide straw or a spoon, and savor your incredibly delicious homemade chocolate milkshake!
Equipment
-
High Powered Blender
-
Tall Glasses (chilled)
-
Measuring Cups and Spoons
-
Rubber Spatula
Nutrition
Calories:
834
kcal
|
Carbohydrates:
97
g
|
Protein:
13
g
|
Fat:
45
g
|
Saturated Fat:
27
g
|
Polyunsaturated Fat:
2
g
|
Monounsaturated Fat:
13
g
|
Cholesterol:
150
mg
|
Sodium:
395
mg
|
Potassium:
755
mg
|
Fiber:
5
g
|
Sugar:
75
g
|
Vitamin A:
1550
IU
|
Vitamin C:
2
mg
|
Calcium:
387
mg
|
Iron:
1
mg
Nutritional information is an estimate provided as a courtesy. Values may vary according to the exact ingredients, brands, and tools used. Please consult your preferred nutritional calculator for more detailed and precise information.
Did you try this recipe? We’d love to hear your thoughts! Leave a rating and review!
Simplified Step-by-Step: How to Make a Chocolate Milkshake
Making your perfect chocolate milkshake is a breeze with these straightforward steps:
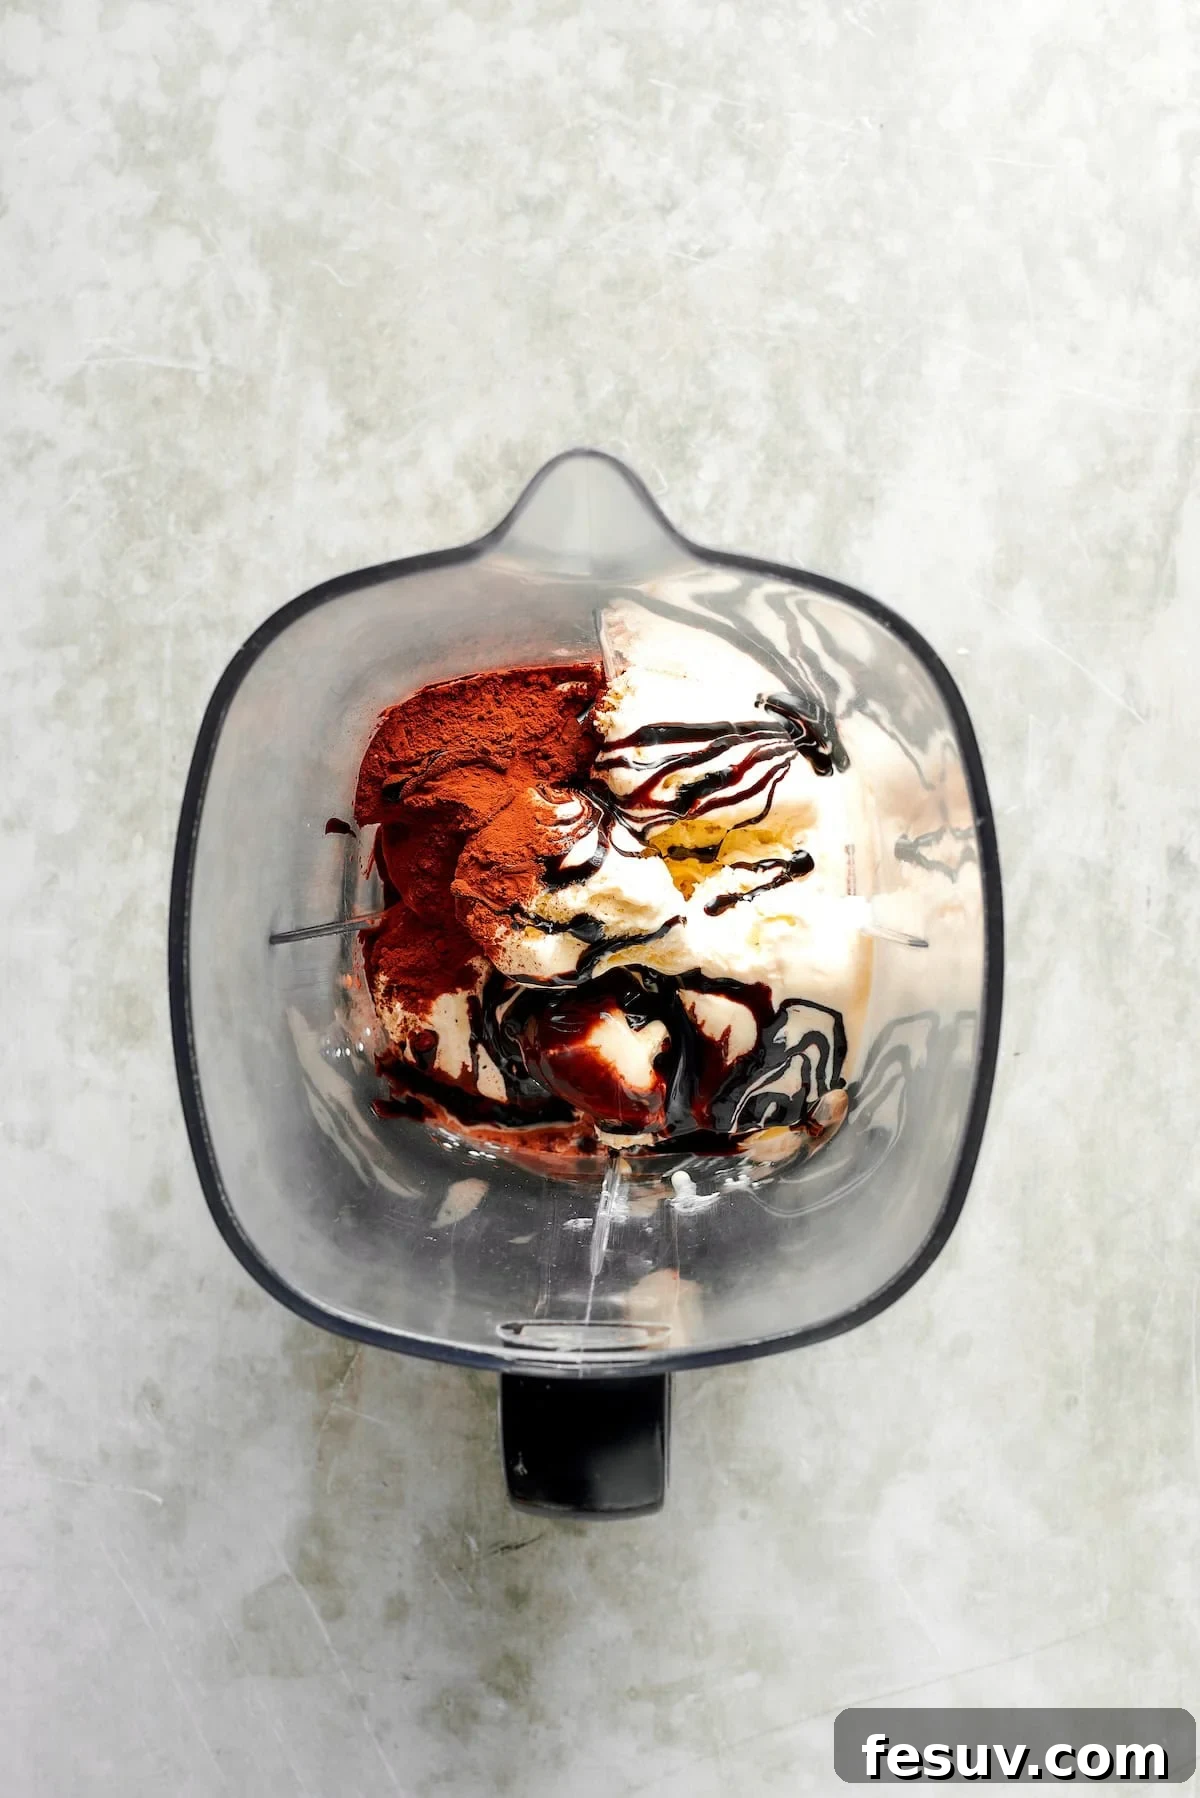
- Load the Blender: Add all of your prepared ingredients to your blender. For optimal blending, follow this order: first, pour in the heavy cream or whole milk, then scoop in the slightly softened ice cream, followed by the cocoa powder, and finally, the chocolate syrup or hot fudge sauce. This layering helps the blender process everything efficiently.
- Blend to Perfection: Secure the lid and start blending on a low speed, gradually increasing to medium. Continue to blend until the mixture is completely smooth and achieves your desired creamy, thick consistency. If it’s too thick, add a touch more milk or cream; if too thin, a small scoop of ice cream will thicken it up.
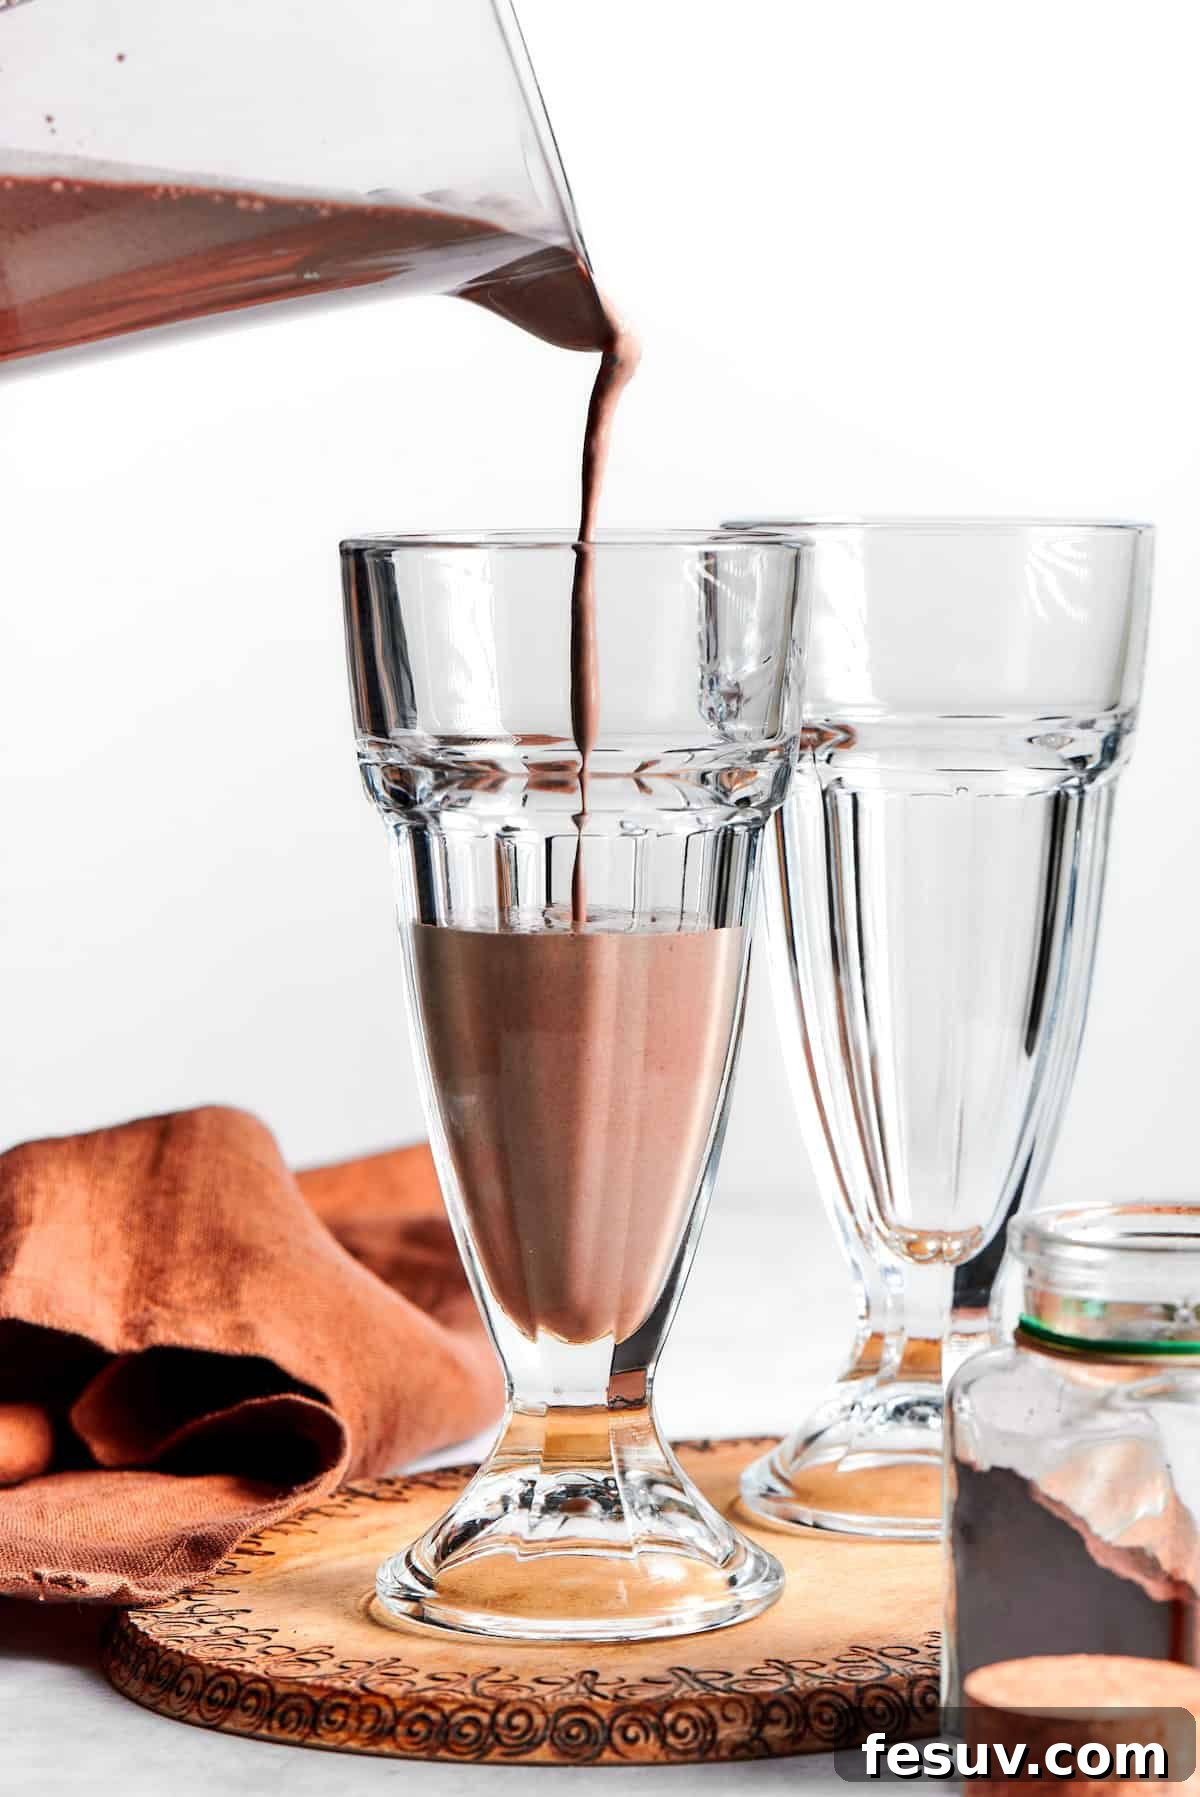
- Serve in Chilled Glasses: Carefully pour your freshly blended milkshake into your pre-chilled glasses. The cold glasses will help keep your shake frosty and delicious for longer.
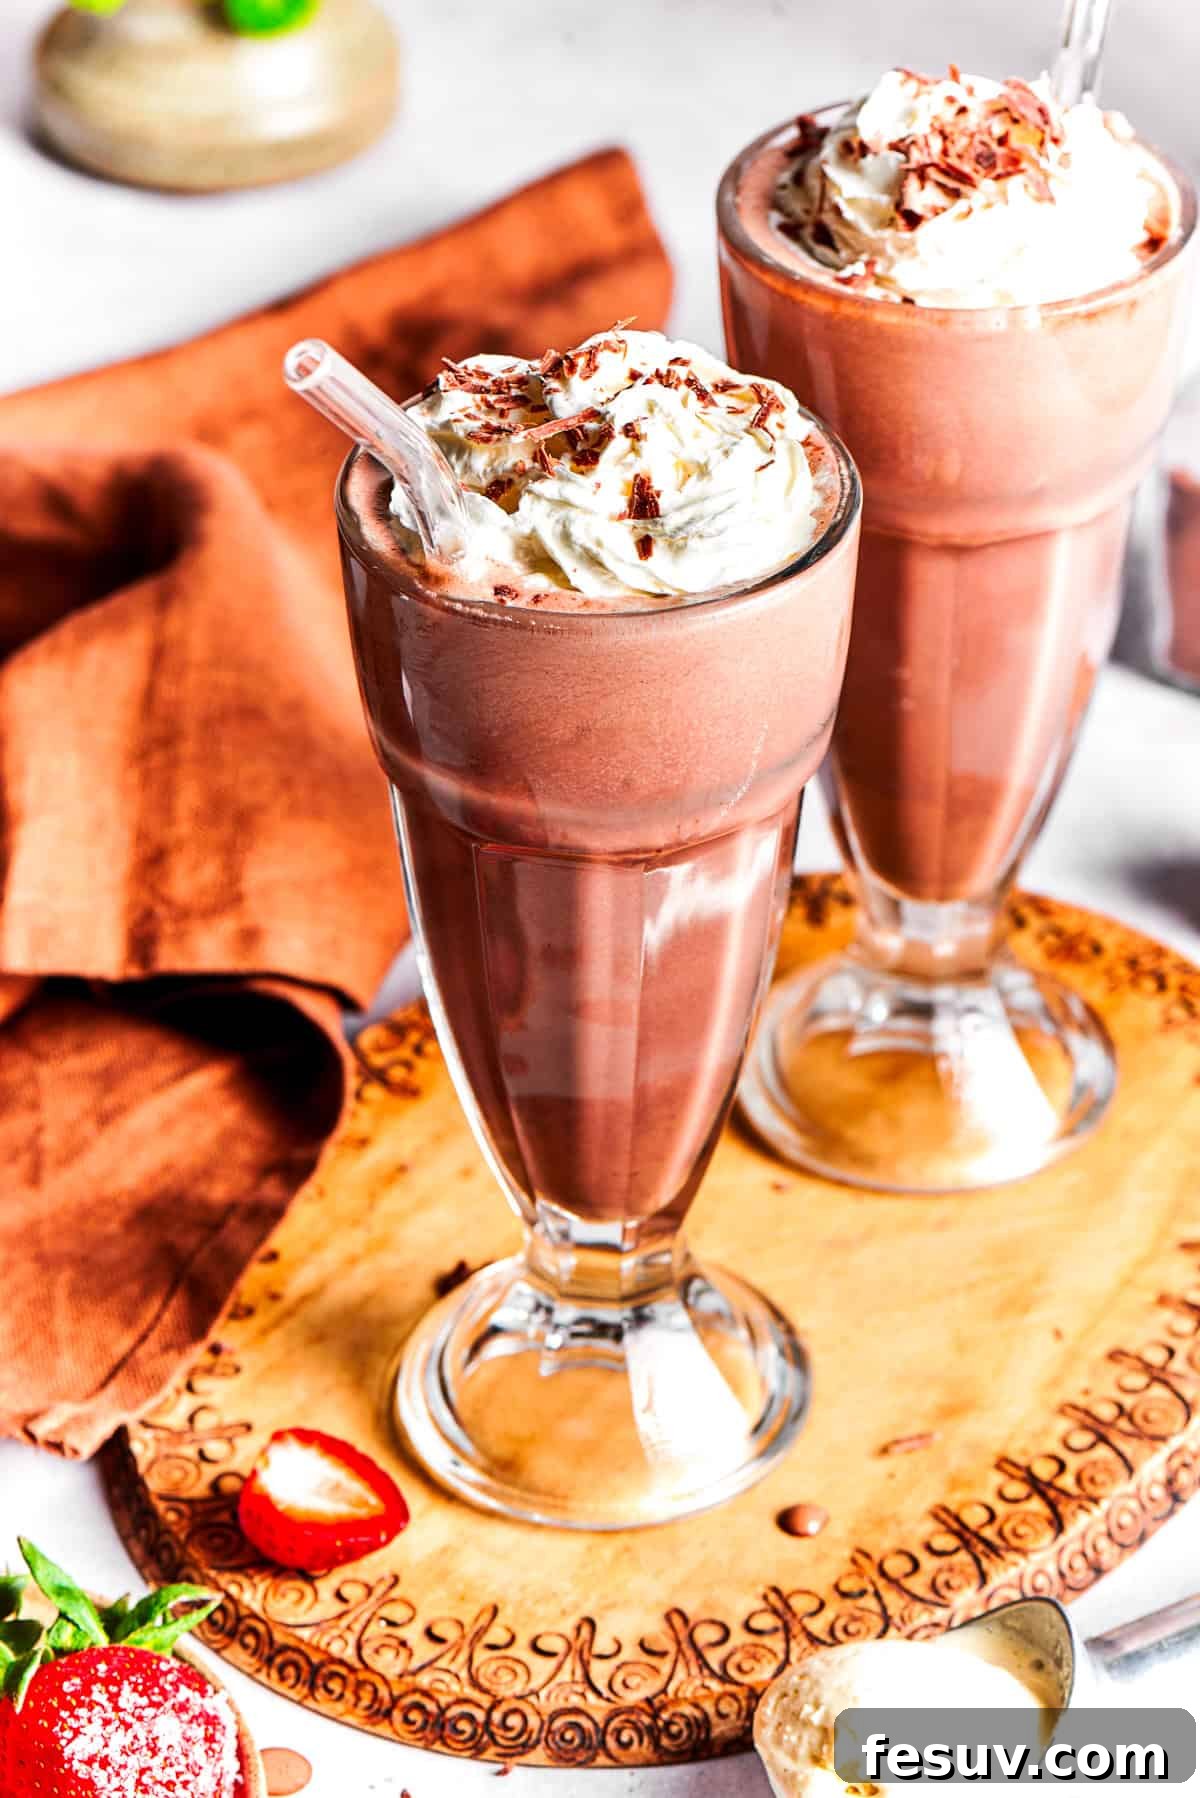
- Garnish and Enjoy: Add your favorite toppings! A dollop of whipped cream, a scattering of chocolate shavings, a few fresh strawberries, or an extra drizzle of chocolate sauce will make your milkshake look as incredible as it tastes. Serve immediately with a straw or spoon and relish every glorious sip!
More Irresistible Dessert Ideas to Sweeten Your Day
If you loved this homemade chocolate milkshake, you’ll surely enjoy these other easy and delicious dessert recipes from our kitchen. Perfect for satisfying any sweet tooth, these treats are simple to make and always a hit:
- Brown Butter Chocolate Chip Cookies: Elevate your classic chocolate chip cookie experience with the rich, nutty notes of brown butter.
- Shamrock Oreo McFlurry Copycat: Recreate this iconic minty, creamy dessert at home any time of year.
- Millionaire Bars: Layers of shortbread, luscious caramel, and rich chocolate make for an incredibly decadent indulgence.
- Peanut Butter Rice Crispy Treats: A nostalgic favorite with a delightful twist of savory peanut butter.
Happy blending and happy indulging!