
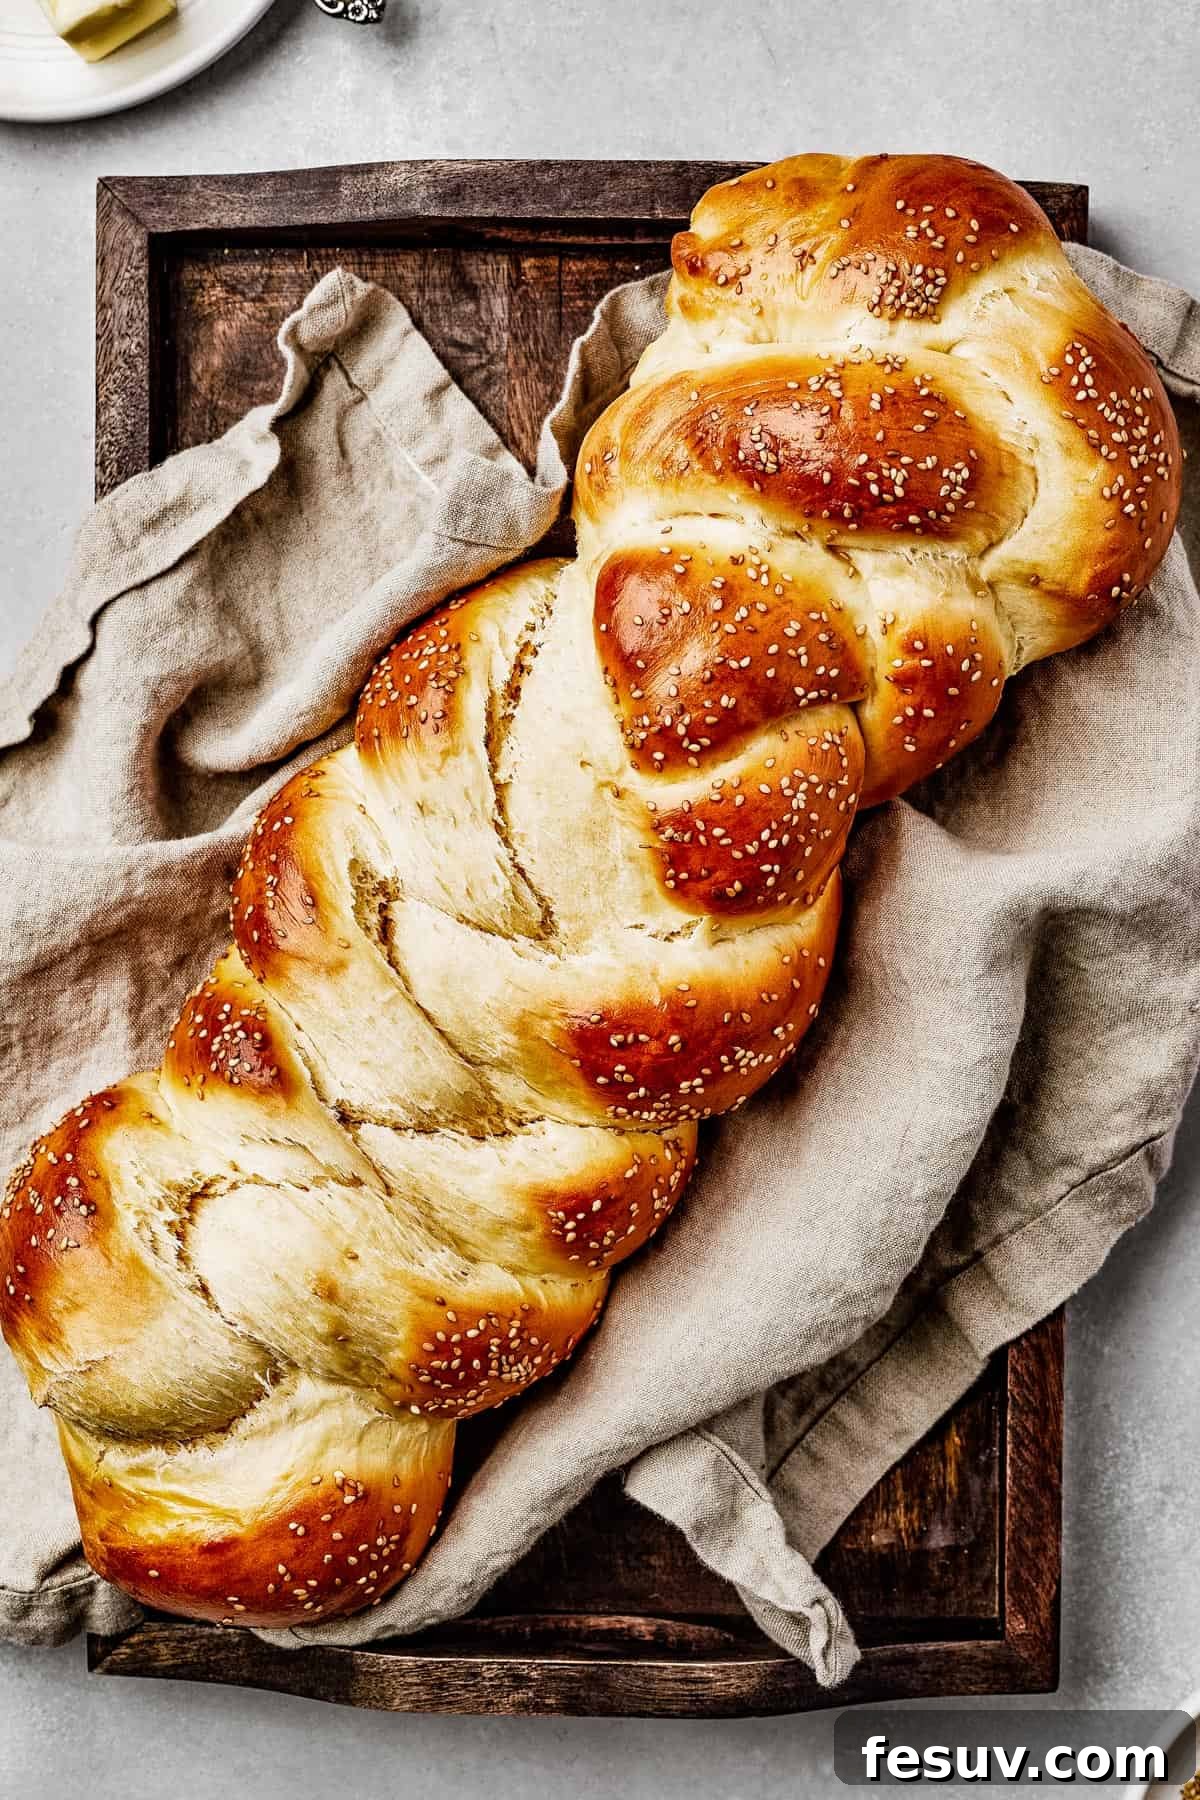
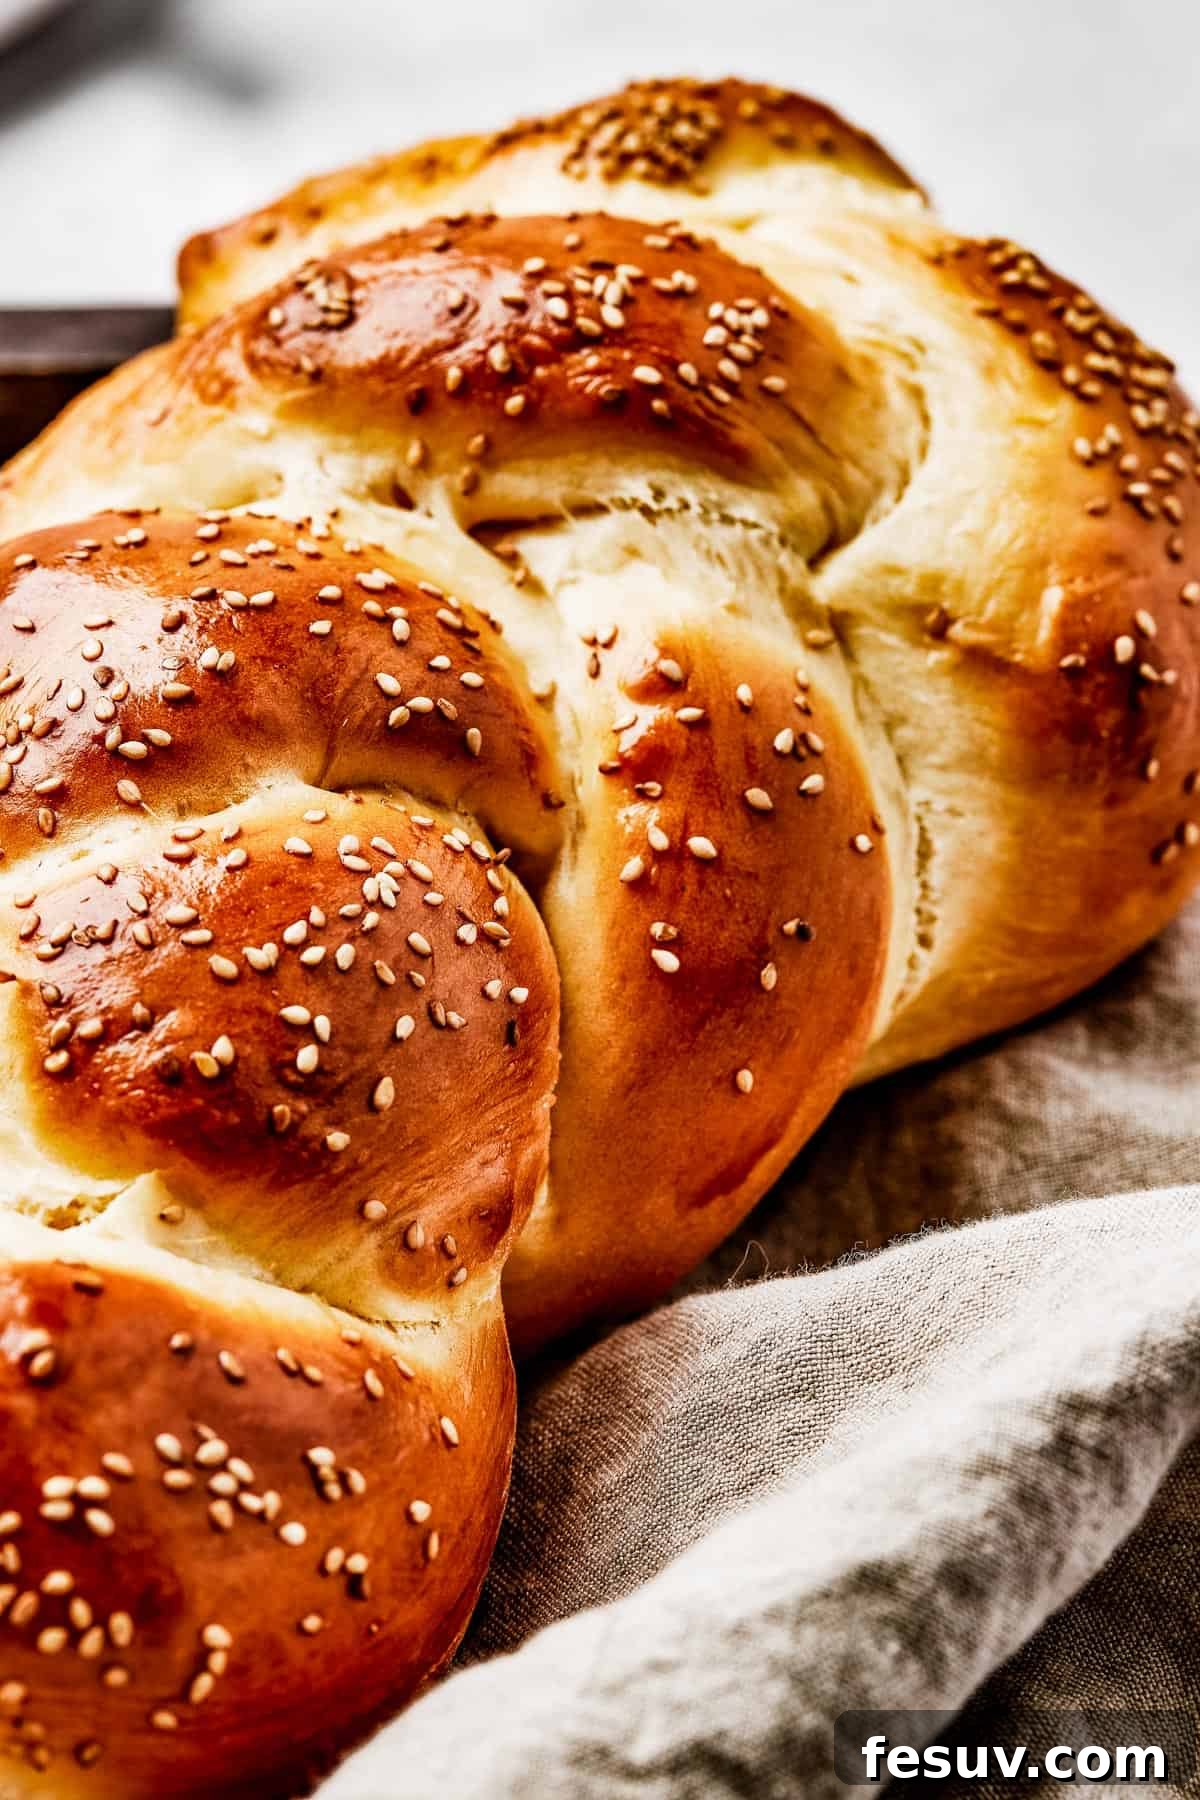
Prepare to fall in love with this incredibly easy Challah Bread recipe. It delivers a magnificent, soft, rich, and delicately sweet braided loaf that boasts a beautiful golden-brown crust and a texture as light as air. This is truly a baking experience you don’t want to miss!
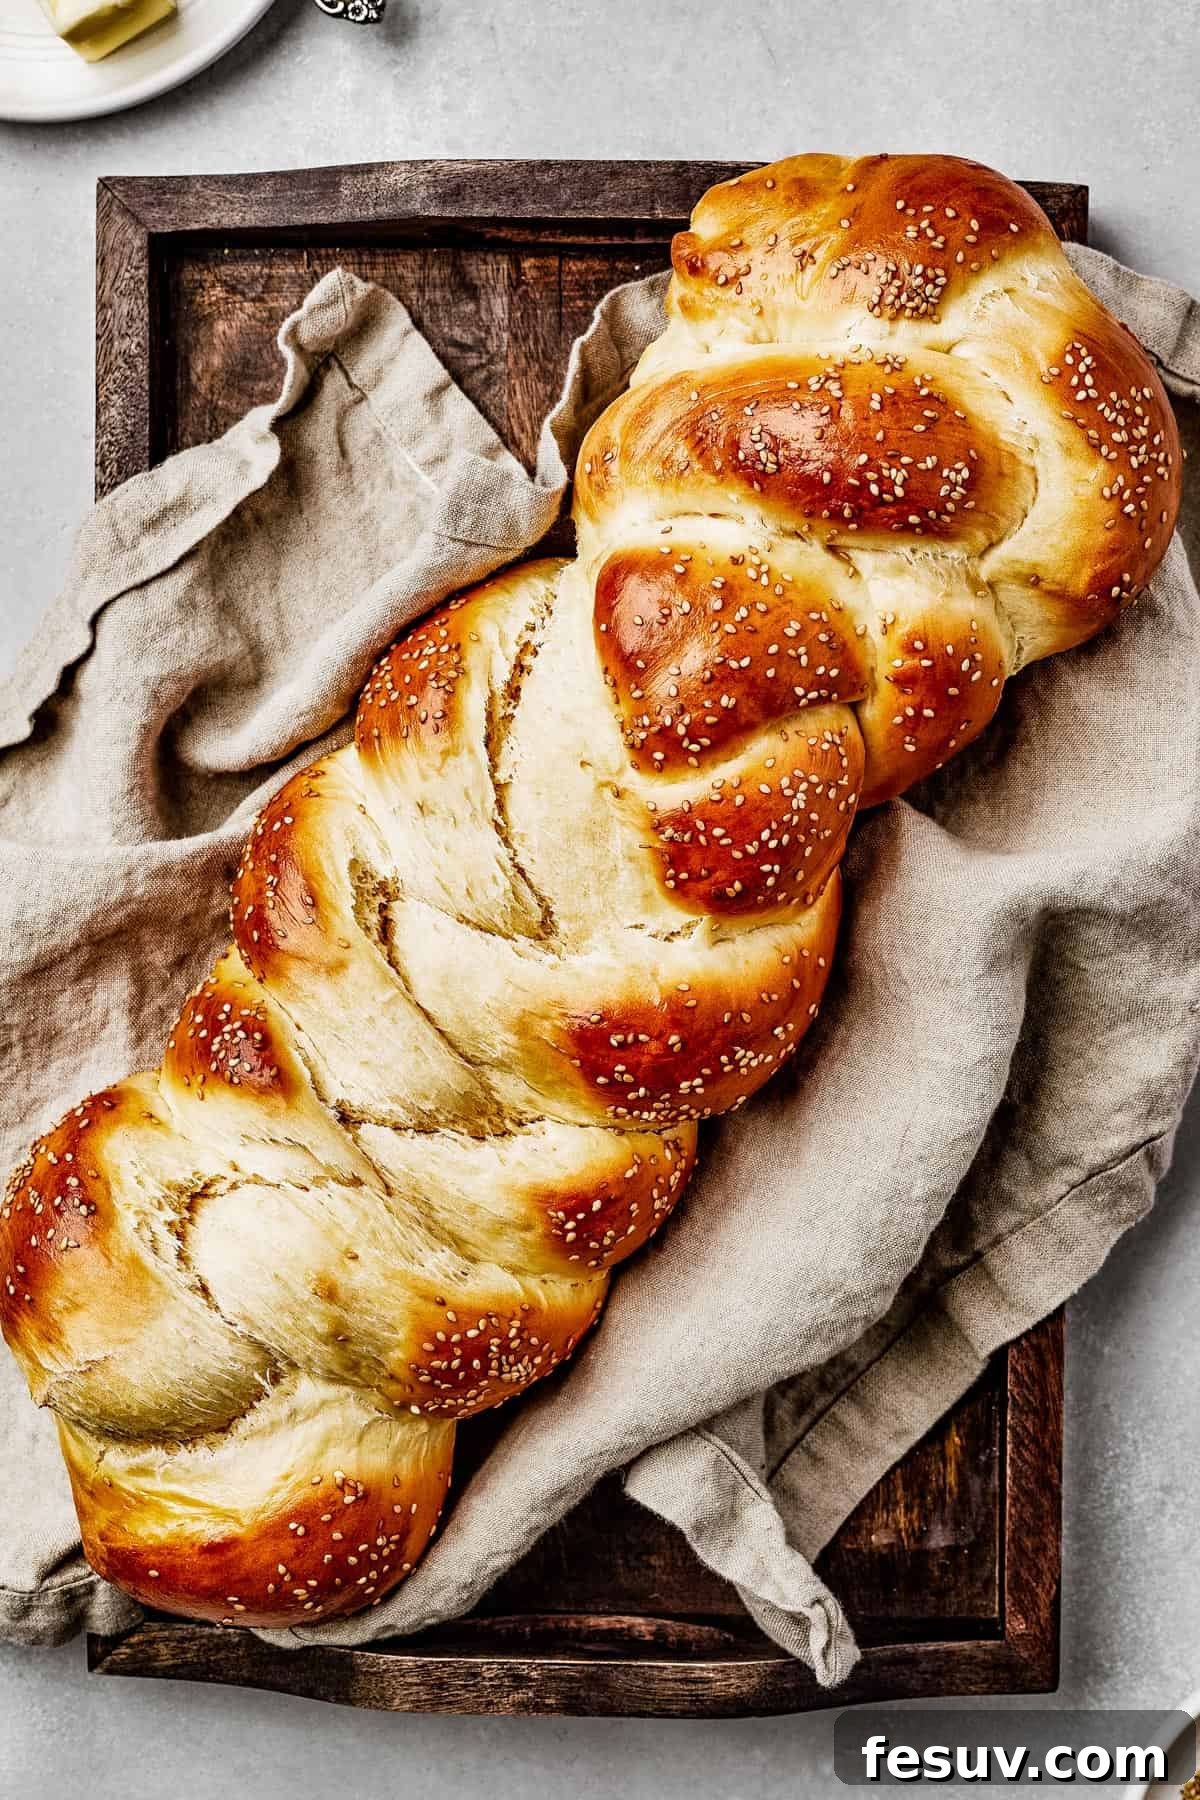
Mastering Easy Homemade Challah: A Baker’s Delight
Challah bread is more than just a loaf; it’s a fluffy, cloud-like culinary masterpiece that every home baker should experience making at least once. Fair warning: once you try this recipe, you’ll be completely captivated and find yourself baking it time and time again! Its versatility knows no bounds – whether you’re slicing it thick for hearty sandwiches, transforming day-old bread into the most decadent French toast, or simply tearing off warm, fluffy pieces straight from the loaf for an impromptu snack, homemade Challah is a truly special treat.
In fact, its inherent softness and subtle sweetness make it delightful enough to enjoy as a light dessert. Pair it with a drizzle of golden honey, a dollop of creamy Nutella, or your favorite fruit jam for an exquisite finish to any meal. The mere thought of its tender crumb and inviting aroma is enough to make mouths water.
If you’ve never ventured into Challah baking before, please don’t let the idea intimidate you. Despite its impressive appearance, the process is surprisingly straightforward and incredibly rewarding, making it a perfect project for bakers of all skill levels. This particular Challah bread recipe is designed to guide you effortlessly towards creating a beautifully springy, perfectly golden loaf in just a few hours. The best part? A significant portion of this time is hands-off, allowing you to relax while the magic of yeast works its wonders. We promise, once you taste the unparalleled freshness and flavor of homemade Challah, you’ll be adding this recipe to your regular baking rotation.

The Distinctive Qualities of Challah Bread: Beyond the Braid
What sets Challah apart from other popular white breads, such as a rustic baguette or a simple sandwich loaf, lies primarily in its unique dough composition. Challah is crafted from an enriched dough, a characteristic that elevates its flavor profile and creates its signature smooth, luscious texture. This enrichment comes from the inclusion of eggs and additional fat, which significantly enhances the bread’s richness and tender crumb.
This places Challah in a similar culinary category to brioche, another beloved enriched bread. However, while brioche is renowned for its generous butter content, Challah traditionally uses oil to achieve a comparable, yet distinct, result. This oil-based enrichment yields a beautifully rich, yeasted bread that remains delightfully fluffy and incredibly light. The absence of dairy in traditional Challah also makes it “pareve” (neutral) in kosher dietary laws, allowing it to be served alongside both meat and dairy meals, which is a significant distinction from butter-rich brioche.
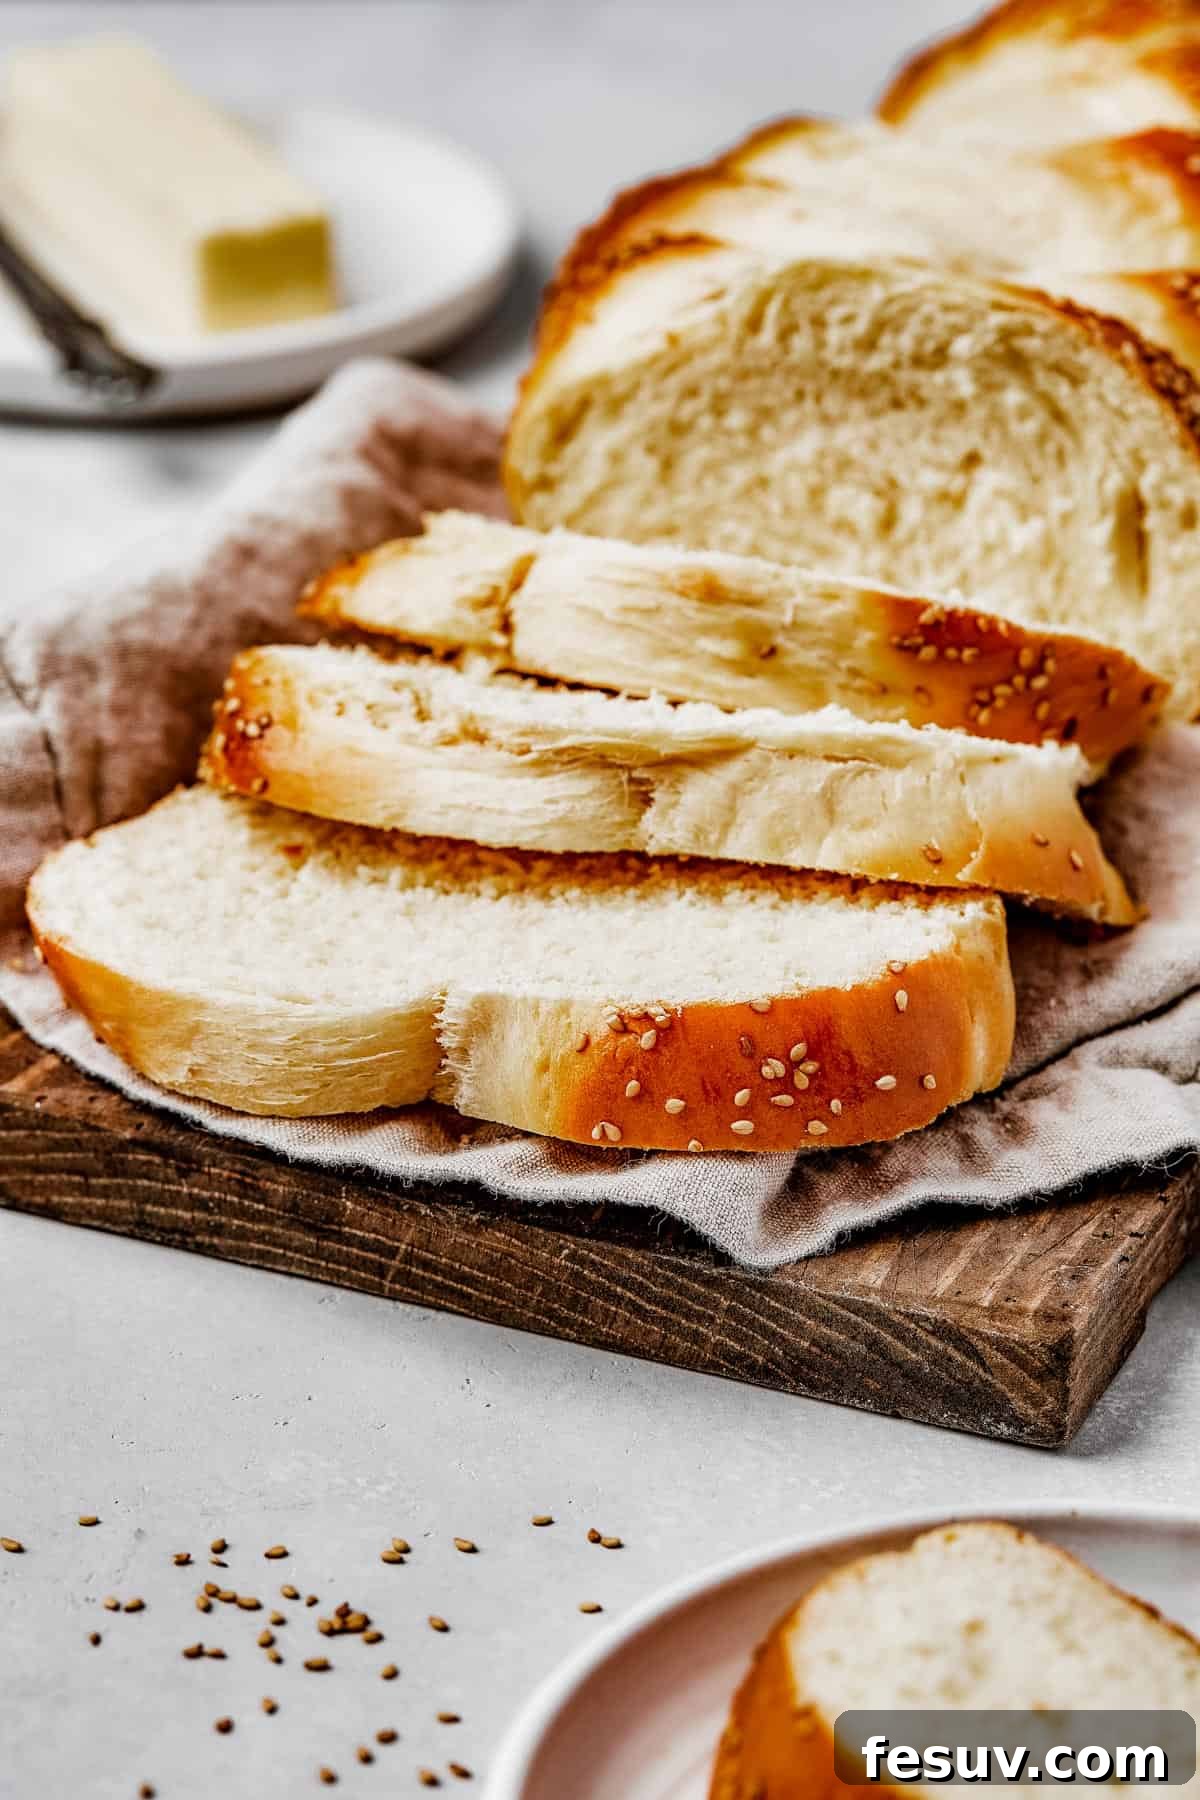
Visually, Challah is most recognizable by its iconic braided form, a hallmark of its tradition and artistry. While the three-strand braid is classic, the dough is wonderfully versatile and can be shaped in numerous creative ways, from simple rolls to more intricate five or six-strand designs. Furthermore, Challah typically boasts a subtle sweetness, contributing to its broad appeal. However, the level of sweetness can be adjusted to personal preference. It’s important to note that altering the amount of sugar in the recipe may impact the yeast’s activity and, consequently, the bread’s rise. So, if you choose to reduce the sweetness, proceed with a bit of caution and perhaps a touch more patience during the rising stages.
Gathering Your Ingredients: Essentials for the Perfect Challah
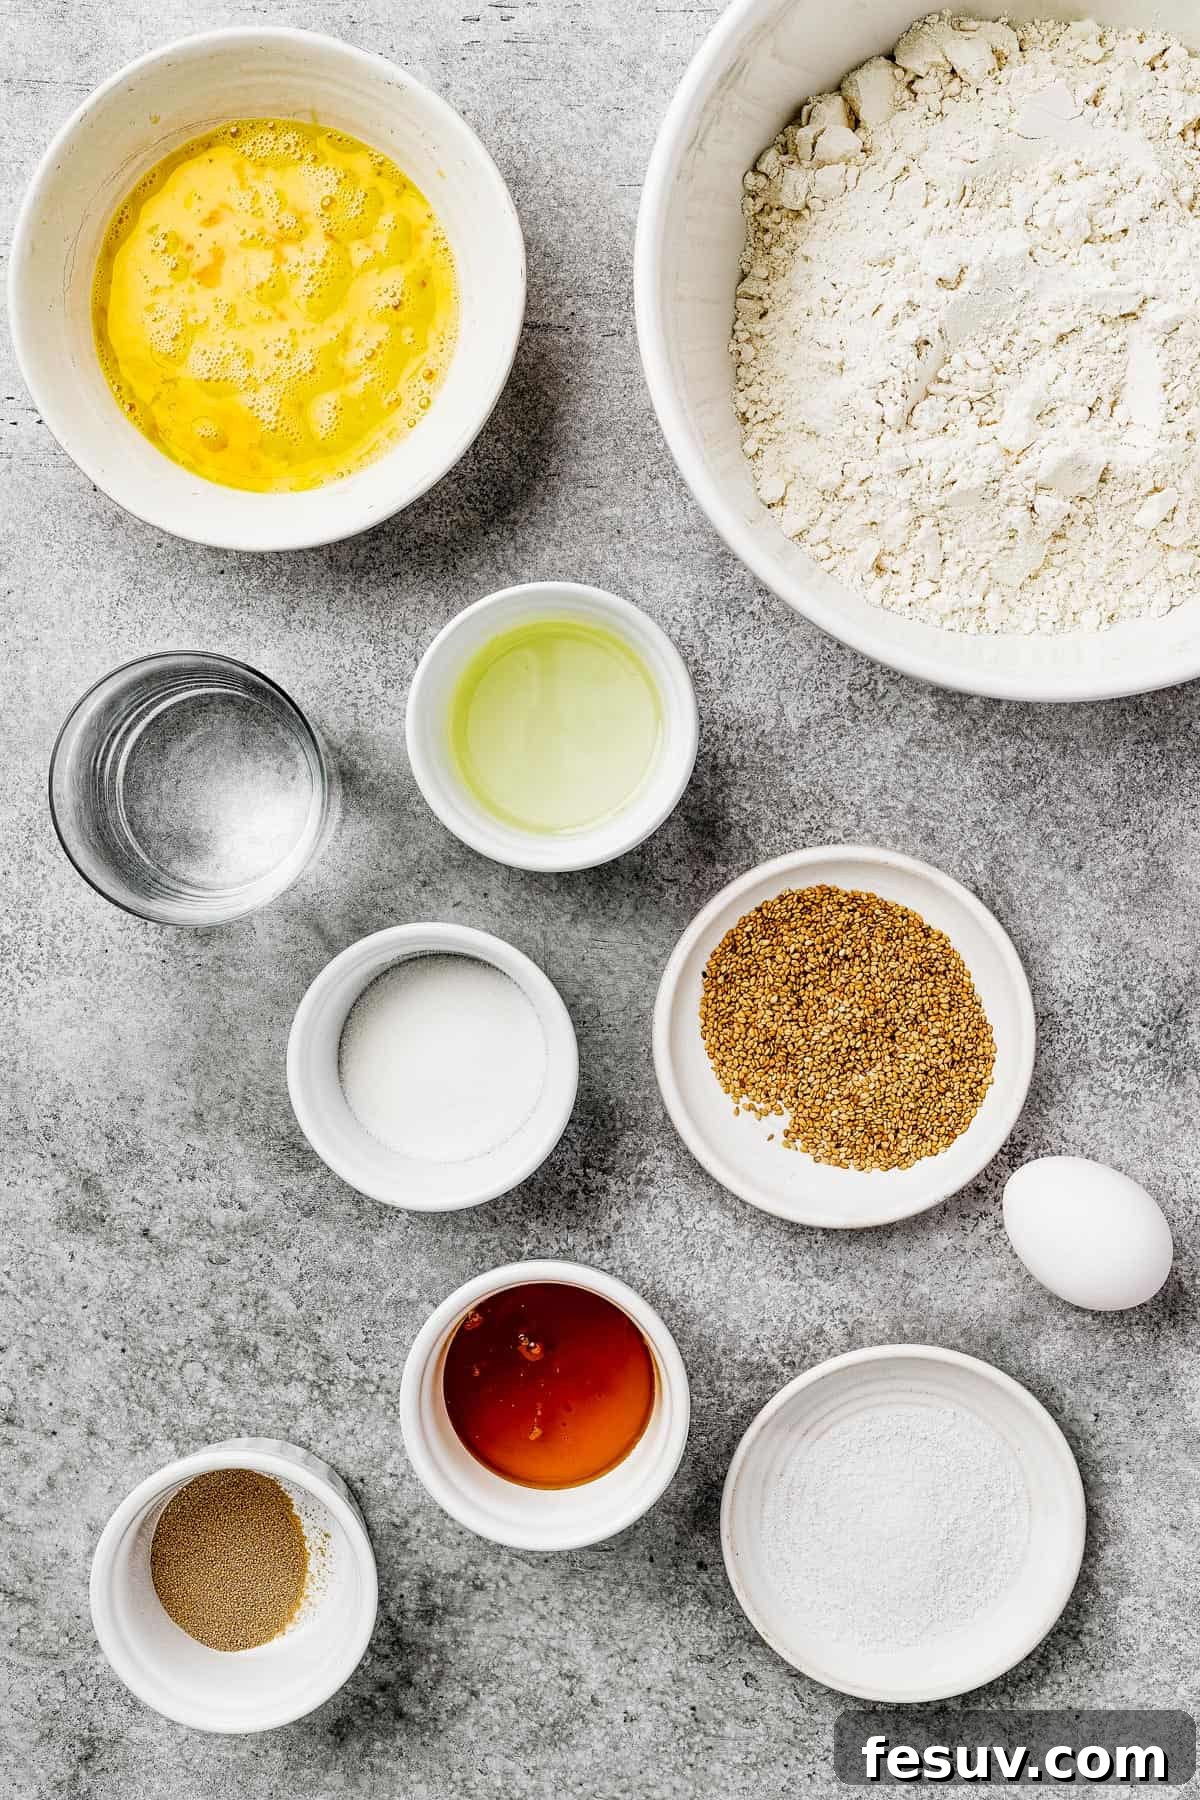
Crafting this scrumptious Challah bread is remarkably simple, and you’ll find that the ingredient list is quite modest, relying on common pantry staples. Here’s a detailed look at what you’ll need to embark on your Challah baking journey:
For the Challah Dough
- Active Dry Yeast: We recommend using one standard packet (approximately 2 ¼ teaspoons) of active dry yeast. This essential ingredient is what gives your Challah its incredible lift and airy texture.
- Warm Water: The temperature of your water is crucial for activating the yeast. Aim for a temperature that feels like a warm bath – around body temperature or slightly warmer (105-115°F or 40-46°C). Water that is too hot will kill the yeast, preventing your bread from rising, while cold water won’t allow it to activate properly.
- Granulated Sugar: Sugar serves a dual purpose in this recipe. It contributes to the Challah’s signature mild sweetness and, perhaps more importantly, acts as food for the yeast, helping it to actively ferment and produce the gases necessary for a beautiful rise.
- Honey: Beyond its role in lightly sweetening the Challah, honey introduces a wonderful, sunny richness and depth to the overall flavor profile, complementing the other ingredients perfectly.
- Large Eggs: For optimal baking results, use room temperature eggs. Eggs at room temperature emulsify more easily with other ingredients and, crucially, they don’t cool down the dough, which could otherwise slow the yeast’s activity and inhibit the rise.
- Vegetable Oil: In contrast to many enriched breads that call for butter, Challah traditionally uses oil. Vegetable oil is preferred for its neutral flavor, allowing the natural taste of the bread to shine through. However, you can substitute it with a light olive oil for a subtle fruity note, or even melted butter if you prefer (though note that using butter will mean the Challah is no longer pareve for those observing kosher dietary laws).
- All-Purpose Flour or Bread Flour: Both types of flour will work beautifully. All-purpose flour yields a slightly softer crumb, while bread flour, with its higher protein content, will give you a chewier texture. If opting for bread flour, you might need to add a touch more liquid during kneading to achieve a smooth, elastic dough consistently.
- Salt: A fundamental ingredient in all bread making, salt enhances the flavors of the other ingredients and also plays a vital role in regulating yeast activity, ensuring a controlled and flavorful rise.
For Topping Your Challah
- One Whole Egg: This egg is beaten and brushed generously over the top of your braided loaf just before baking. This egg wash is the secret to achieving that iconic, irresistible golden-brown crust and a beautiful sheen.
- Sesame Seeds (Optional): A generous sprinkling of sesame seeds is a classic and highly recommended topping. They add a delightful nutty flavor and a pleasing textural contrast, creating a professional and inviting finish to your homemade Challah. Other seed options, like poppy seeds, also work wonderfully.
Step-by-Step Guide: Crafting Your Own Challah Loaf
It’s time to bring your homemade Challah to life! If you’re an experienced bread baker, you’ll likely find this process familiar and gratifying. If you’re new to the world of bread making, don’t worry – this recipe is still very approachable. However, to ensure your success, we strongly recommend reading through all the instructions at least twice before you begin. This will help you familiarize yourself with each step and build confidence for a smooth baking experience.
- Activate Yeast and Prepare Dough: In a small bowl, combine the warm water, active dry yeast, sugar, and honey. Stir gently and let this mixture sit for 5 to 10 minutes until a noticeable frothy layer forms on the surface. This indicates your yeast is active and ready to go. While the yeast is activating, in a stand mixer fitted with a whisk attachment, mix the three room-temperature eggs and vegetable oil on low speed until they are well combined. Remove the whisk attachment and switch to a dough hook attachment. Pour the activated yeast mixture into the mixer bowl, then add the flour and salt. Begin mixing on medium speed. Continue mixing until the dough comes together, becoming smooth, elastic, and no longer sticky to the touch. If the dough appears too wet, add more flour, one tablespoon at a time, until the desired texture is achieved. Alternatively, you can mix the dough in a large bowl and then knead it by hand on a lightly floured surface for 5 to 10 minutes until it reaches the correct smooth and elastic consistency.
- First Rise: Once your dough is perfectly smooth and elastic, lightly grease a large mixing bowl with a small amount of oil. Gently gather the dough from the mixer bowl (or your work surface) and shape it into a neat, large ball. Place the dough into the greased bowl, turning it over a couple of times to ensure it’s fully coated in a thin layer of oil. This prevents it from sticking. Cover the bowl loosely with a damp cloth or plastic wrap and place it in a warm, draft-free spot. Allow the Challah dough to rise for 1 to 2 hours, or until it has visibly doubled in size.
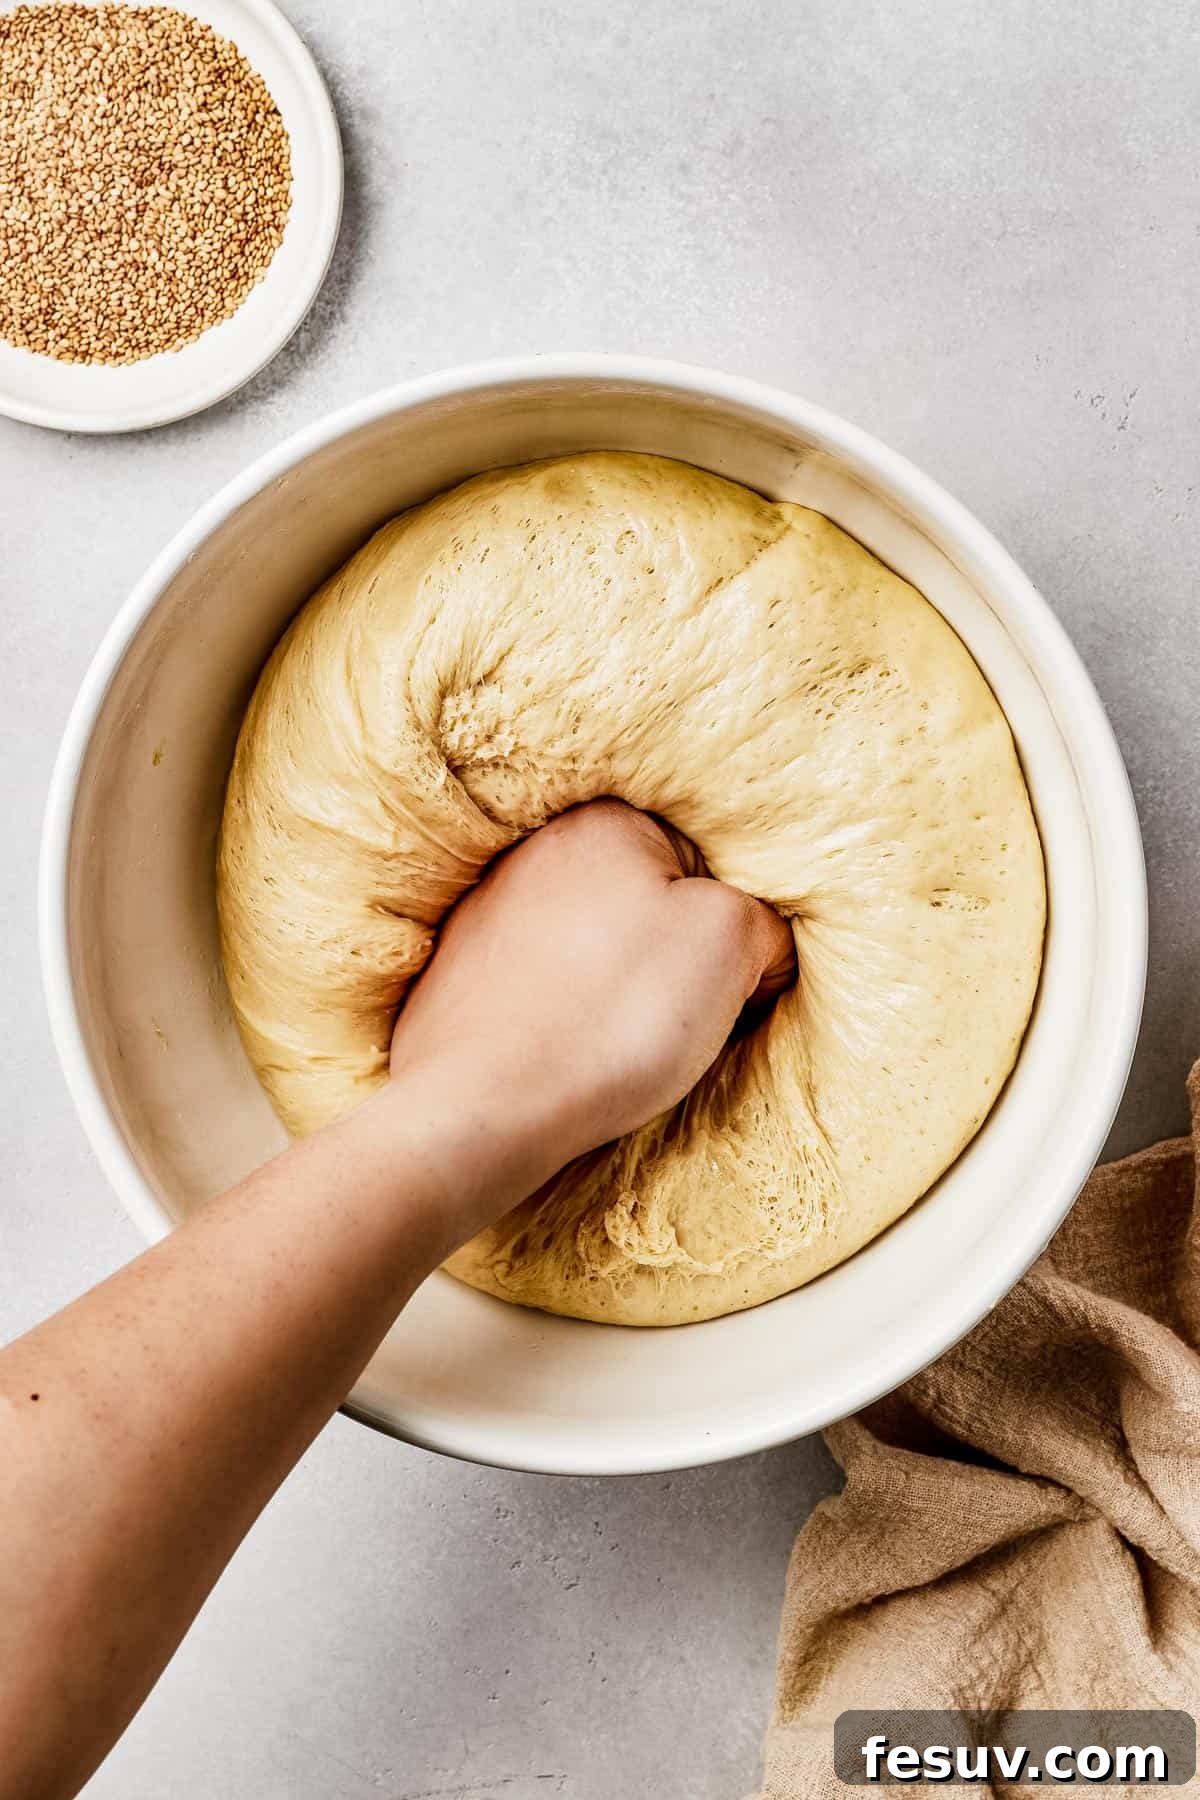
- Knead and Prepare for Braiding: When the dough has successfully completed its first rise, gently punch it down in the center to release the accumulated gases and deflate it. Turn the dough out onto a lightly floured surface. Knead the dough again for approximately 5 minutes. During this stage, add additional flour sparingly, only as needed to prevent sticking. Be mindful not to add too much flour, as this can result in a dry and less tender loaf. The dough should feel supple and pliable.
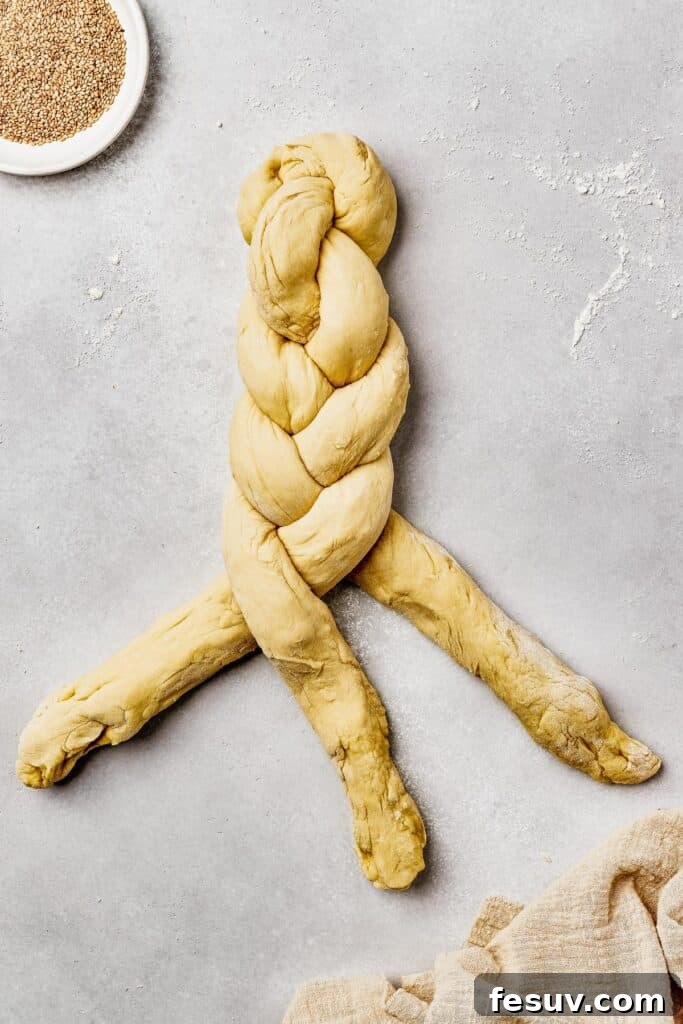
- Braid the Challah Loaf: Divide the kneaded dough into three equal portions. Take each portion and roll it out into a long, uniform “snake” shape, aiming for a diameter of about 1 to 2 inches. Lay the three long strands of dough parallel to each other on your lightly floured surface. Pinch the top ends of all three strands firmly together to join them securely. Now, begin to braid the pieces, working your way down the entire length of the dough. Once you reach the bottom, pinch the three ends together firmly to seal the braid and form a single, cohesive loaf.
- Second Rise: Lightly grease a baking sheet with a small amount of oil or line it with parchment paper. Carefully transfer your beautifully braided Challah loaf onto the prepared baking sheet. Cover the loaf loosely with a clean, damp tea towel or kitchen towel. Allow it to rise for a second time in a warm environment for 30 minutes to 1 hour, or until it looks visibly puffy and slightly larger.
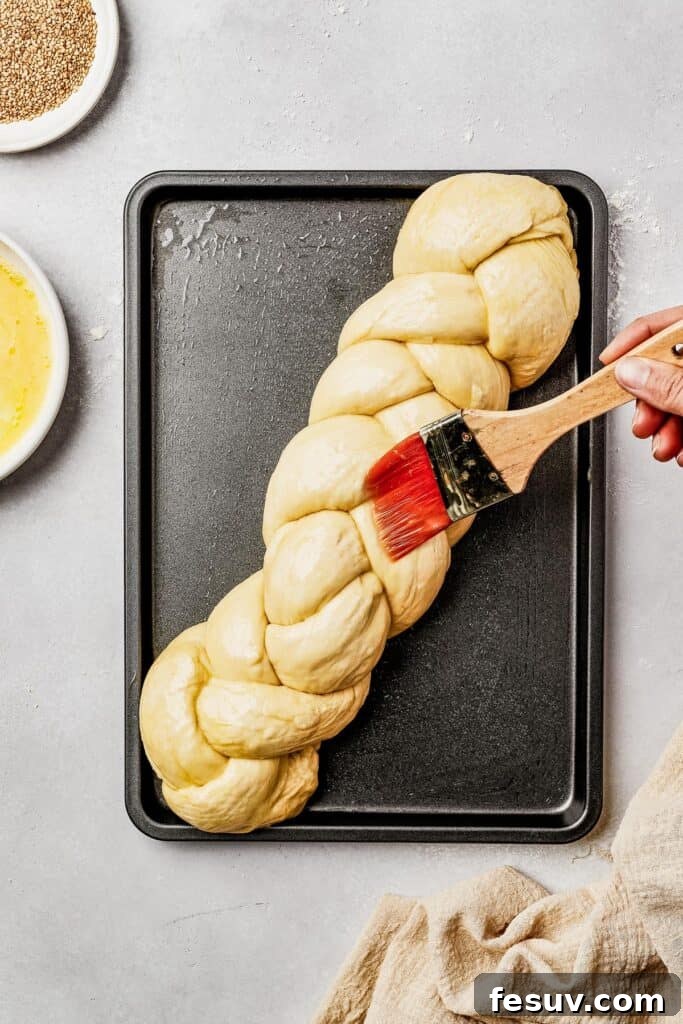
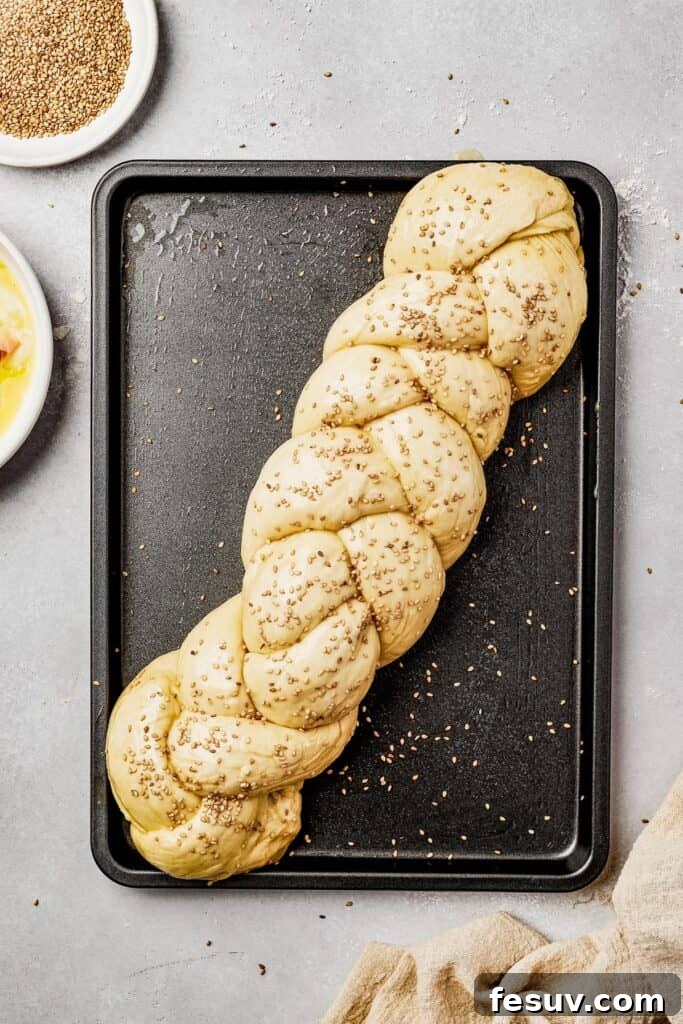
- Bake to Golden Perfection: About 15 minutes before the end of the second rise, preheat your oven to 350°F (175°C). In a small bowl, whisk the remaining whole egg until smooth to create an egg wash. Once the Challah has completed its second rise, gently brush the beaten egg evenly over the entire top surface of the loaf. If desired, sprinkle a generous amount of sesame seeds over the egg-washed bread for added flavor and visual appeal. Place the baking sheet with the Challah into the preheated oven and bake for 35 to 40 minutes, or until the loaf achieves a rich, deep golden-brown color. To confirm doneness, gently tap the bottom of the loaf; it should sound hollow. If it doesn’t, continue baking in 2 to 4 minute increments until it does. Once baked, transfer the Challah to a wire rack and allow it to cool completely before slicing and serving. This cooling step is essential for the crumb to set properly.
Baking Brilliance: Expert Tips for Perfect Challah Every Time
Baking, at its heart, is a delicate balance of art and science. To ensure your Challah bread turns out beautifully every single time, here are some invaluable tips and tricks we’ve gathered from years of experience in the kitchen:
- Yeast Vitality Check: Always test your yeast. If, after combining the yeast with warm water, sugar, and honey, it doesn’t form a slightly frothy, bubbly layer within 5 to 10 minutes, your yeast may be expired or inactive. In this case, it’s best to discard the mixture and start fresh with a new packet of yeast to guarantee a proper rise.
- Mastering the Kneading “Poke Test”: Knowing when your dough is perfectly kneaded is key. To perform the “poke test,” gently press your finger into the dough. If the indentation remains and the dough feels sticky, continue kneading. Your dough is ready when it feels smooth, elastic, and springs back slightly after being poked, without sticking to your fingers.
- Creating the Ideal Warm Rising Environment: A warm, draft-free environment is paramount for optimal dough rising. If your kitchen isn’t sufficiently warm, a great trick is to use your oven (ensure it’s turned OFF!). Place your dough in the oven, and then place a bowl or pan of boiling water on a rack below or beside it. The warm steam will create a perfect, humid environment for your dough to proof beautifully.
- Assessing the Rise “Indentation Test”: To determine if your dough has risen enough (for both the first and second rises), gently poke it with a floured finger. If the indentation remains visible and does not spring back, your dough has completed its rise. If the indentation fills back in, the dough needs more time to proof.
- Checking for Doneness: The ultimate test for a perfectly baked Challah is to tap the bottom of the loaf. If it sounds hollow, it’s done! A hollow sound indicates that enough moisture has evaporated, and the interior is airy and cooked through. If it doesn’t sound hollow, return the loaf to the oven and continue baking in short 2 to 4-minute intervals until you achieve that resonant hollow sound.
- Don’t Over-Flour: While it’s tempting to add more flour if the dough feels sticky, resist the urge to add too much during kneading. Excess flour can result in a dense, dry, and tough loaf. Instead, use just enough flour to prevent sticking, or lightly oil your hands if working by hand.
Unlock Your Creativity: Easy Challah Variations
While the classic fluffy Challah with sesame seeds is undeniably wonderful, this versatile bread serves as a fantastic canvas for culinary creativity. You can effortlessly adapt this recipe to explore a myriad of delicious and fun varieties. Here are just a few ideas to get you started on customizing your homemade Challah:
- Delightful Mix-Ins: Elevate your Challah with sweet or savory additions. For a wonderfully sweet and indulgent twist, try folding in plump raisins, dried cranberries, or rich chocolate chunks into your Challah dough after its first rise, just before you begin shaping. If you prefer savory, consider sun-dried tomatoes, finely chopped olives, or crumbled feta cheese.
- Creative Shapes and Sizes: Don’t feel limited to the traditional three-strand braid. The Challah dough is incredibly adaptable! You can divide the dough into smaller portions to create individual Challah rolls, which bake faster and are perfect for single servings. Experiment with a more elaborate 4 or 5-strand braid for an even more impressive presentation. For a festive touch, shape your loaf into a beautiful round braided design, especially popular for holidays. Or, for a simple and practical approach, bake it as a plain sandwich loaf in a standard loaf pan.
- Flavor Infusions: Infuse your Challah with exciting new flavors to match any meal or mood. A sprinkle of cinnamon sugar makes for a delightful breakfast or dessert bread. For a savory profile, incorporate a touch of garlic powder and fresh chives, or a fragrant mix of dried rosemary and cracked black pepper. Other fantastic choices include everything bagel seasoning, toasted onion flakes, or even a hint of orange zest for a bright, citrusy note.
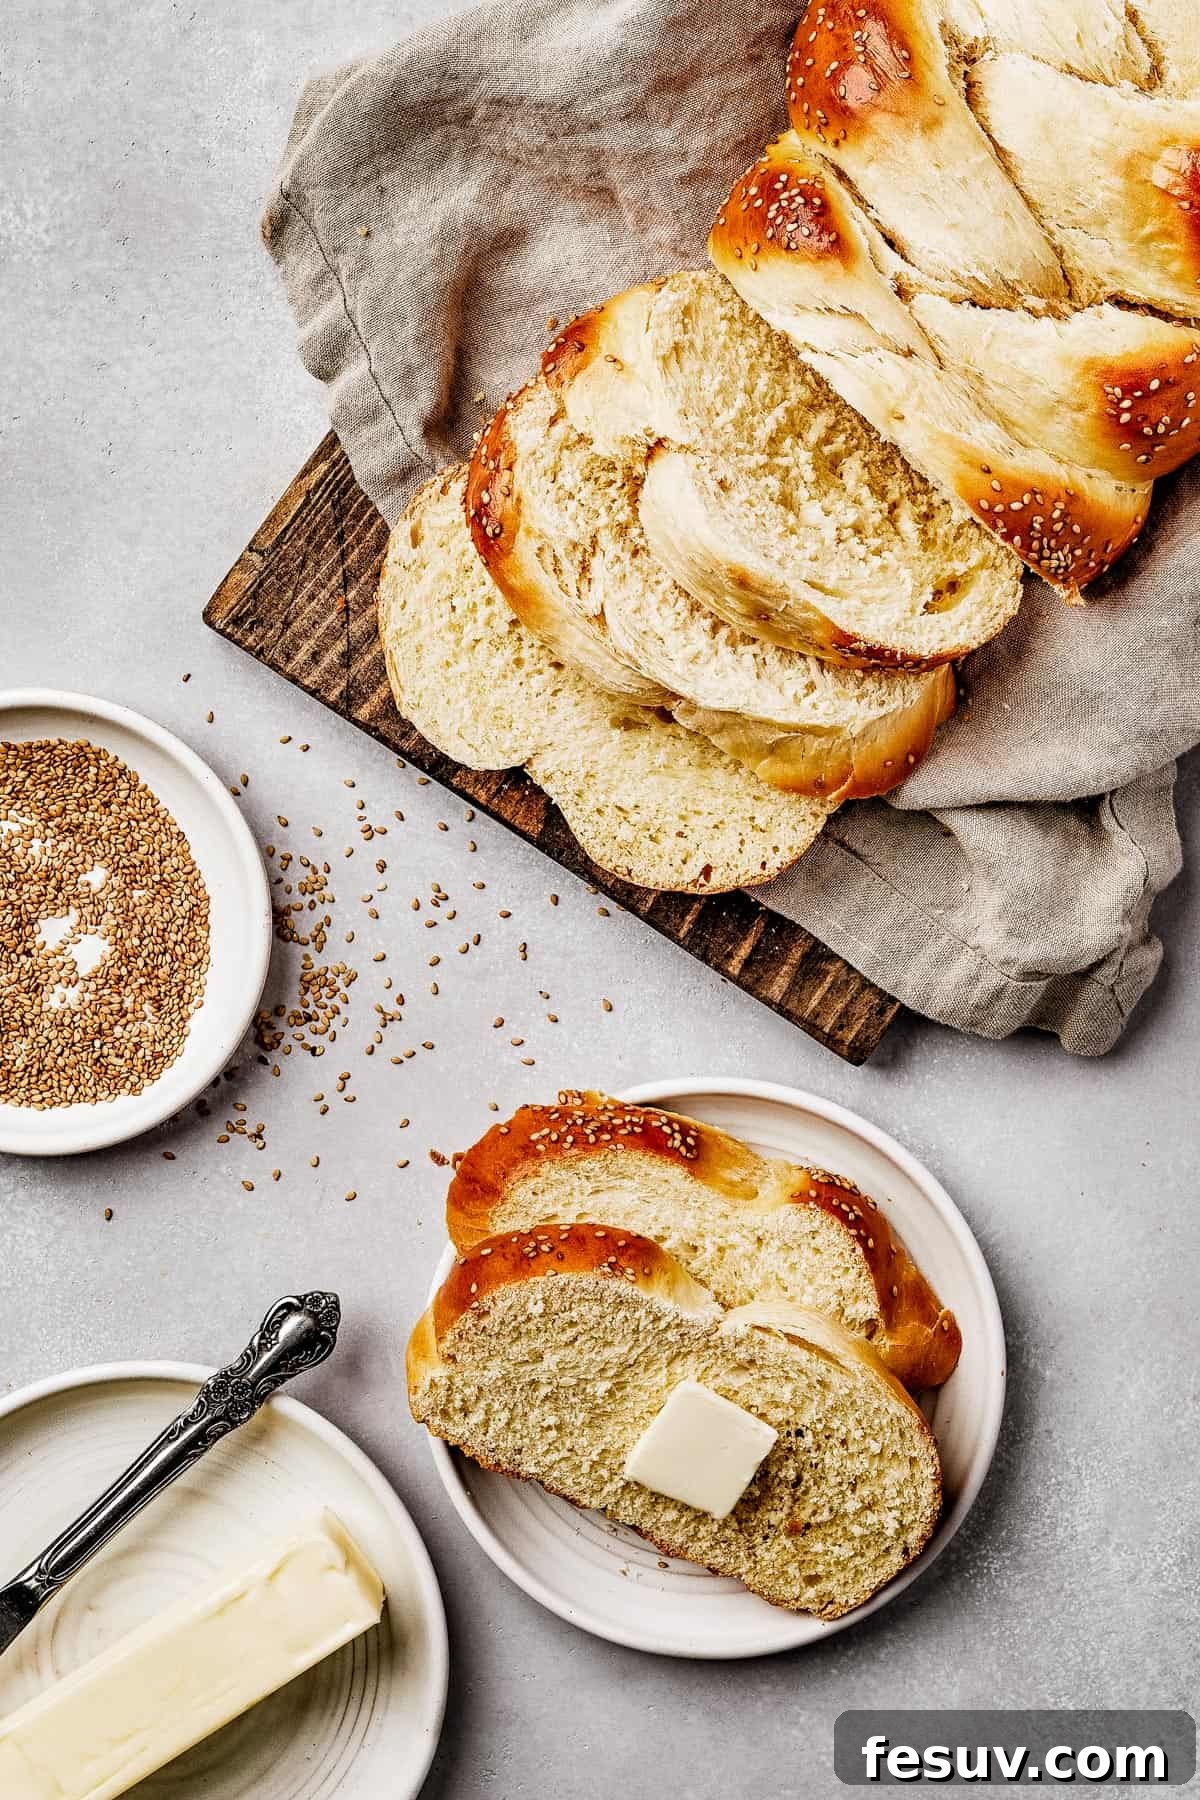
Delicious Ways to Enjoy Your Challah
Once your beautiful homemade Challah is baked and cooled, the possibilities for enjoying it are endless. Here are some of our favorite serving suggestions:
- Simple & Classic: Enjoy slices toasted or fresh with butter, jam, honey, or a creamy cheese spread.
- Sweet Treats: Drizzle with Nutella, a chocolate-hazelnut spread, or make a decadent bread pudding.
- Savory Pairings: Serve alongside soups, stews, or use it for open-faced sandwiches with your favorite deli meats and cheeses.
- The Ultimate French Toast: Day-old Challah makes the most incredible French toast due to its rich, absorbent nature. Dip thick slices in an egg and milk mixture and fry until golden brown.
- Garlic Bread: Slice the Challah, spread with garlic butter, and toast for a delightful side dish.
Keeping Your Challah Fresh: Storage and Reheating Tips
- To preserve the delightful softness and flavor of your Challah loaf, store it at room temperature in an airtight container or a tightly sealed bread bag. When properly stored, it will remain fresh and delicious for up to a week, though its peak quality and tenderness are best enjoyed within the first 3 to 4 days after baking.
Freezing Challah for Future Enjoyment
- Absolutely! Challah freezes exceptionally well, allowing you to savor your homemade creation weeks or even months later. To freeze your baked loaf, first ensure it is completely cooled. Then, wrap it thoroughly and tightly in several layers of plastic wrap, making sure no part of the bread is exposed to air. After wrapping, place the entire loaf into a freezer bag, pressing out as much air as possible before sealing. This double-layer protection helps prevent freezer burn. Stored this way, your Challah will keep beautifully in the freezer for up to three months.
- When you’re ready to enjoy it, simply remove the Challah from the freezer and allow it to thaw at room temperature. For an extra touch of freshness, you can lightly warm it in a low oven (around 300°F or 150°C) for 10-15 minutes once thawed.
The Best Homemade Challah Bread
This easy homemade Challah Bread recipe yields a soft, rich, and slightly sweet braided loaf, golden-brown and light as air. Perfect for any occasion, from everyday meals to special gatherings.
Prep Time: 2 hours
Cook Time: 35-40 minutes
Total Time: 2 hours 45 minutes
Servings: 12 Slices
Ingredients for the Dough
- 2 ¼ teaspoons active dry yeast (one packet)
- 1 cup warm water (105-115°F / 40-46°C)
- ¼ cup sugar
- 3 tablespoons honey
- 3 large whole eggs, room temperature
- ¼ cup vegetable oil
- 5 cups all-purpose flour or bread flour
- 1 teaspoon salt
Ingredients for Topping
- 1 large whole egg, room temperature (for egg wash)
- 1-2 tablespoons sesame seeds, optional
Instructions
- In a small bowl, combine the yeast, warm water, sugar, and honey. Stir gently and let sit for 5-10 minutes until a frothy layer forms on the surface.
- In a stand mixer fitted with a whisk attachment, mix the three eggs and oil on low speed until combined.
- Switch to a dough hook attachment. Pour in the yeast mixture, flour, and salt. Mix on medium speed for 5-10 minutes until the dough is smooth, elastic, and no longer sticky. Add more flour, one tablespoon at a time, if the dough is too wet. (Alternatively, knead by hand for 5-10 minutes on a floured surface).
- Lightly grease a large mixing bowl with oil. Form the dough into a ball and place it in the greased bowl, turning to coat. Cover with a damp cloth or plastic wrap and let rise in a warm place for 1-2 hours, or until doubled in size.
- Gently punch down the risen dough to deflate it. Turn the dough out onto a lightly floured surface and knead for about 3-5 minutes, adding flour sparingly if needed to prevent sticking.
- Divide the dough into three equal pieces. Roll each piece into a long “snake” shape, about 1-2 inches in diameter.
- Lay the three long pieces of dough parallel to each other. Pinch the top ends firmly together. Braid the pieces all the way to the bottom, then pinch the bottom ends together to form a single loaf.
- Lightly grease a baking sheet or line with parchment paper. Carefully place the braided loaf on the baking sheet. Cover with a damp tea towel and let rise in a warm place for 30 minutes to 1 hour, until puffy.
- Preheat your oven to 350°F (175°C). Whisk the remaining egg in a small bowl to create an egg wash. Gently brush the beaten egg over the top of the loaf. If desired, sprinkle generously with sesame seeds.
- Bake for 35 to 40 minutes, or until the Challah is golden brown and sounds hollow when you tap the bottom. If it doesn’t sound hollow, continue baking in 2-4 minute increments.
- Transfer the Challah to a wire rack and let it cool completely before slicing and serving.
Nutrition (Estimated Per Serving)
Calories: 254 kcal | Carbohydrates: 49g | Protein: 8g | Fat: 2g | Saturated Fat: 1g | Polyunsaturated Fat: 1g | Monounsaturated Fat: 1g | Trans Fat: 1g | Cholesterol: 55mg | Sodium: 218mg | Potassium: 103mg | Fiber: 2g | Sugar: 9g | Vitamin A: 79IU | Vitamin C: 1mg | Calcium: 24mg | Iron: 3mg
Nutritional information is an estimate and provided as a courtesy. Values may vary based on ingredients and specific tools used. Please use your preferred nutritional calculator for more detailed and precise information.
Explore More Scrumptious Bread Recipes
- Irresistible Cheesy Garlic Pull-Apart Bread
- Delightful Monkey Bread
- Quick & Easy Homemade Flatbread Recipe