
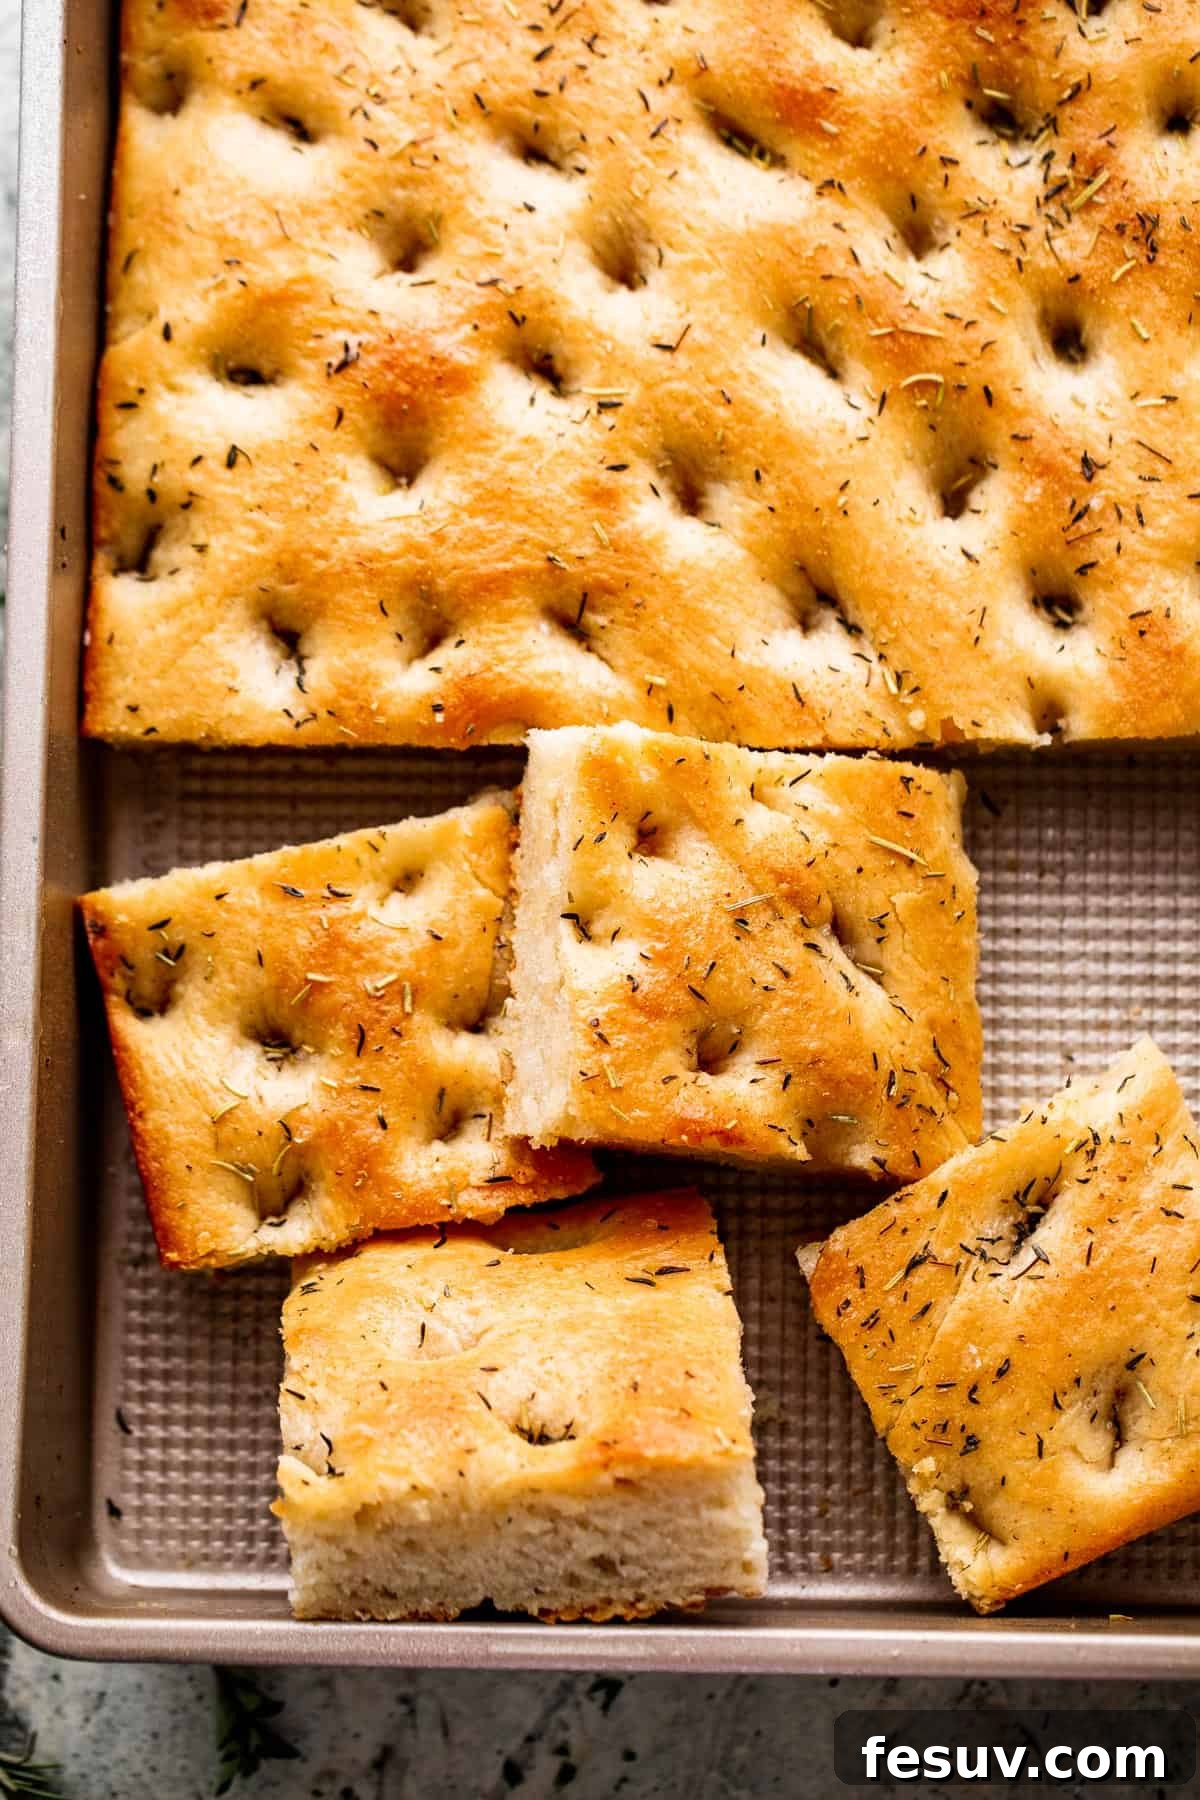
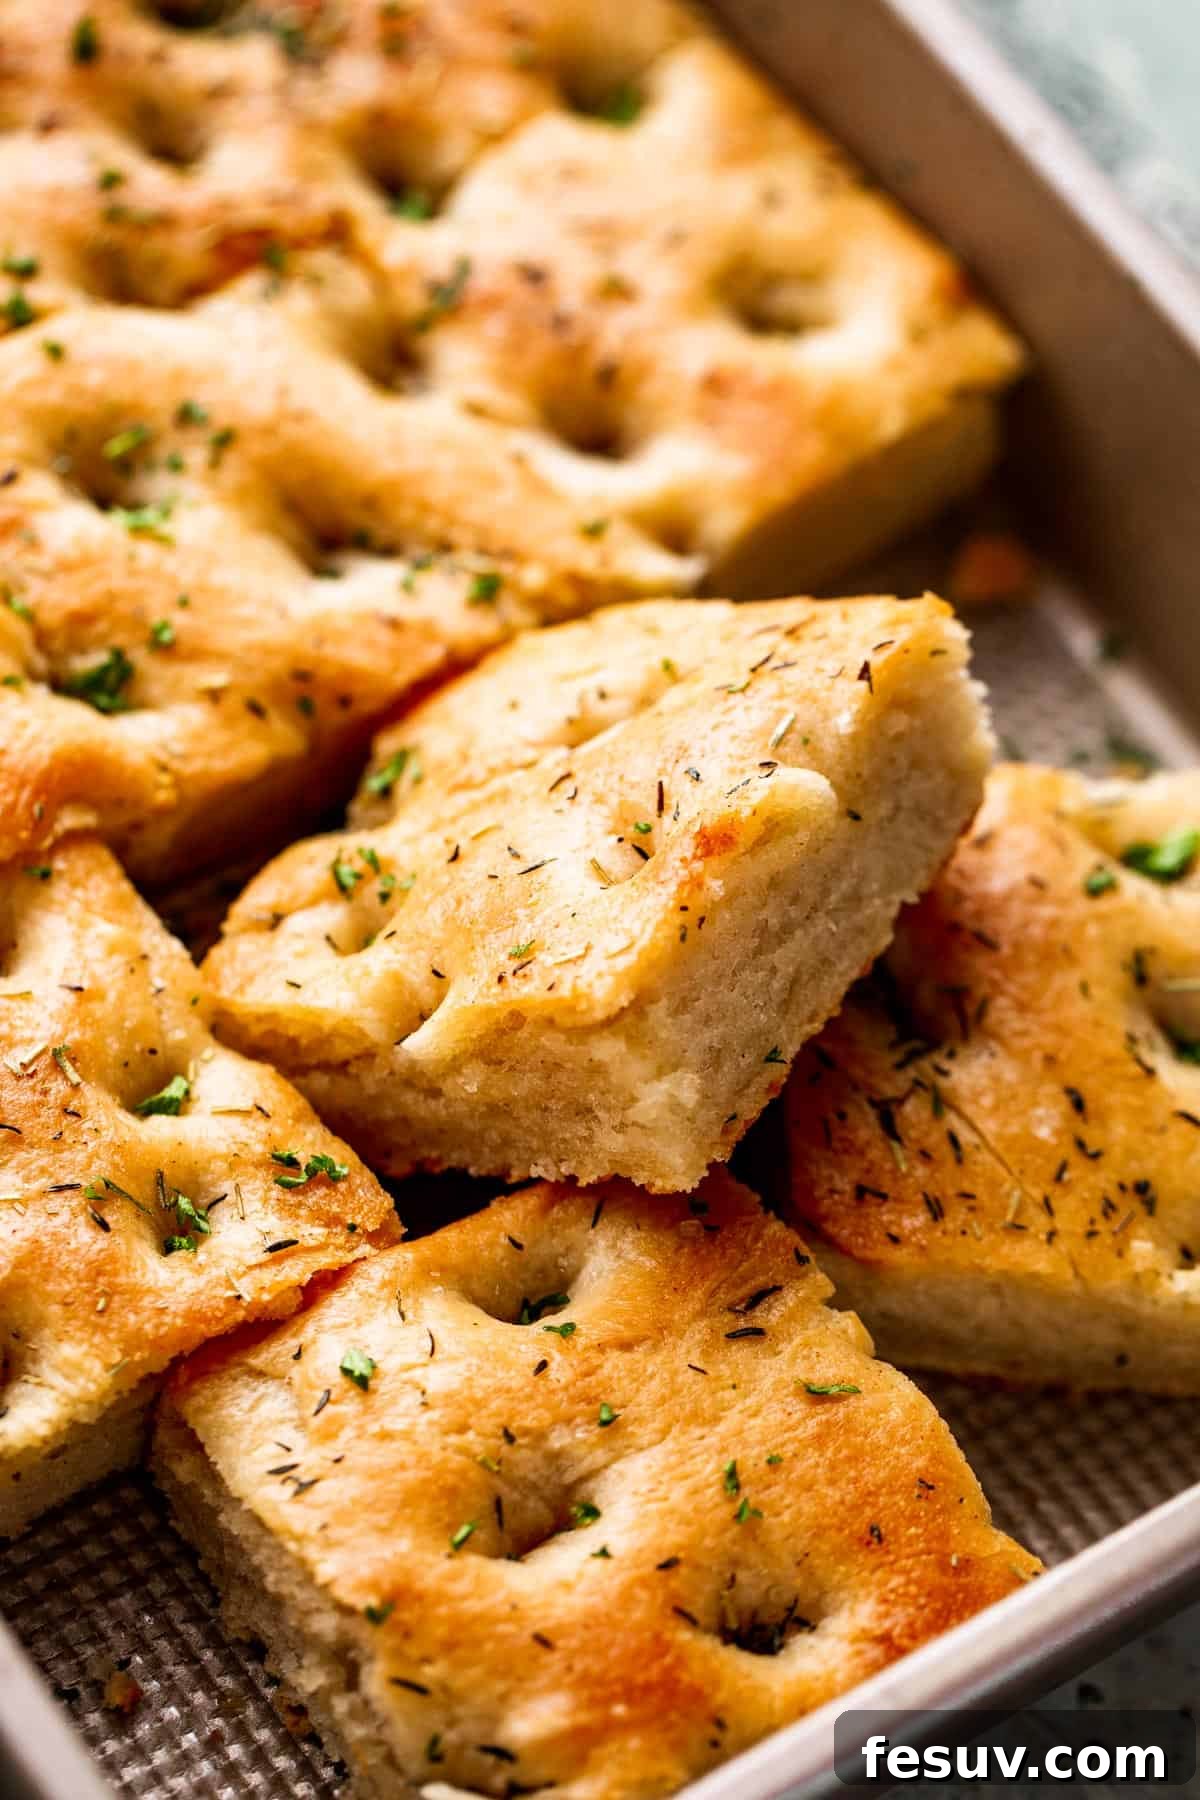
There’s nothing quite like the aroma of freshly baked bread filling your home. And when that bread is a golden-brown, generously seasoned classic like Garlic and Herb Focaccia, it’s an experience that truly delights the senses. This timeless Italian yeast bread is surprisingly simple to make, yet yields an incredibly flavorful and satisfying result that everyone will adore. Prepare to fall in love with homemade focaccia – it’s a culinary masterpiece that’s within your reach!
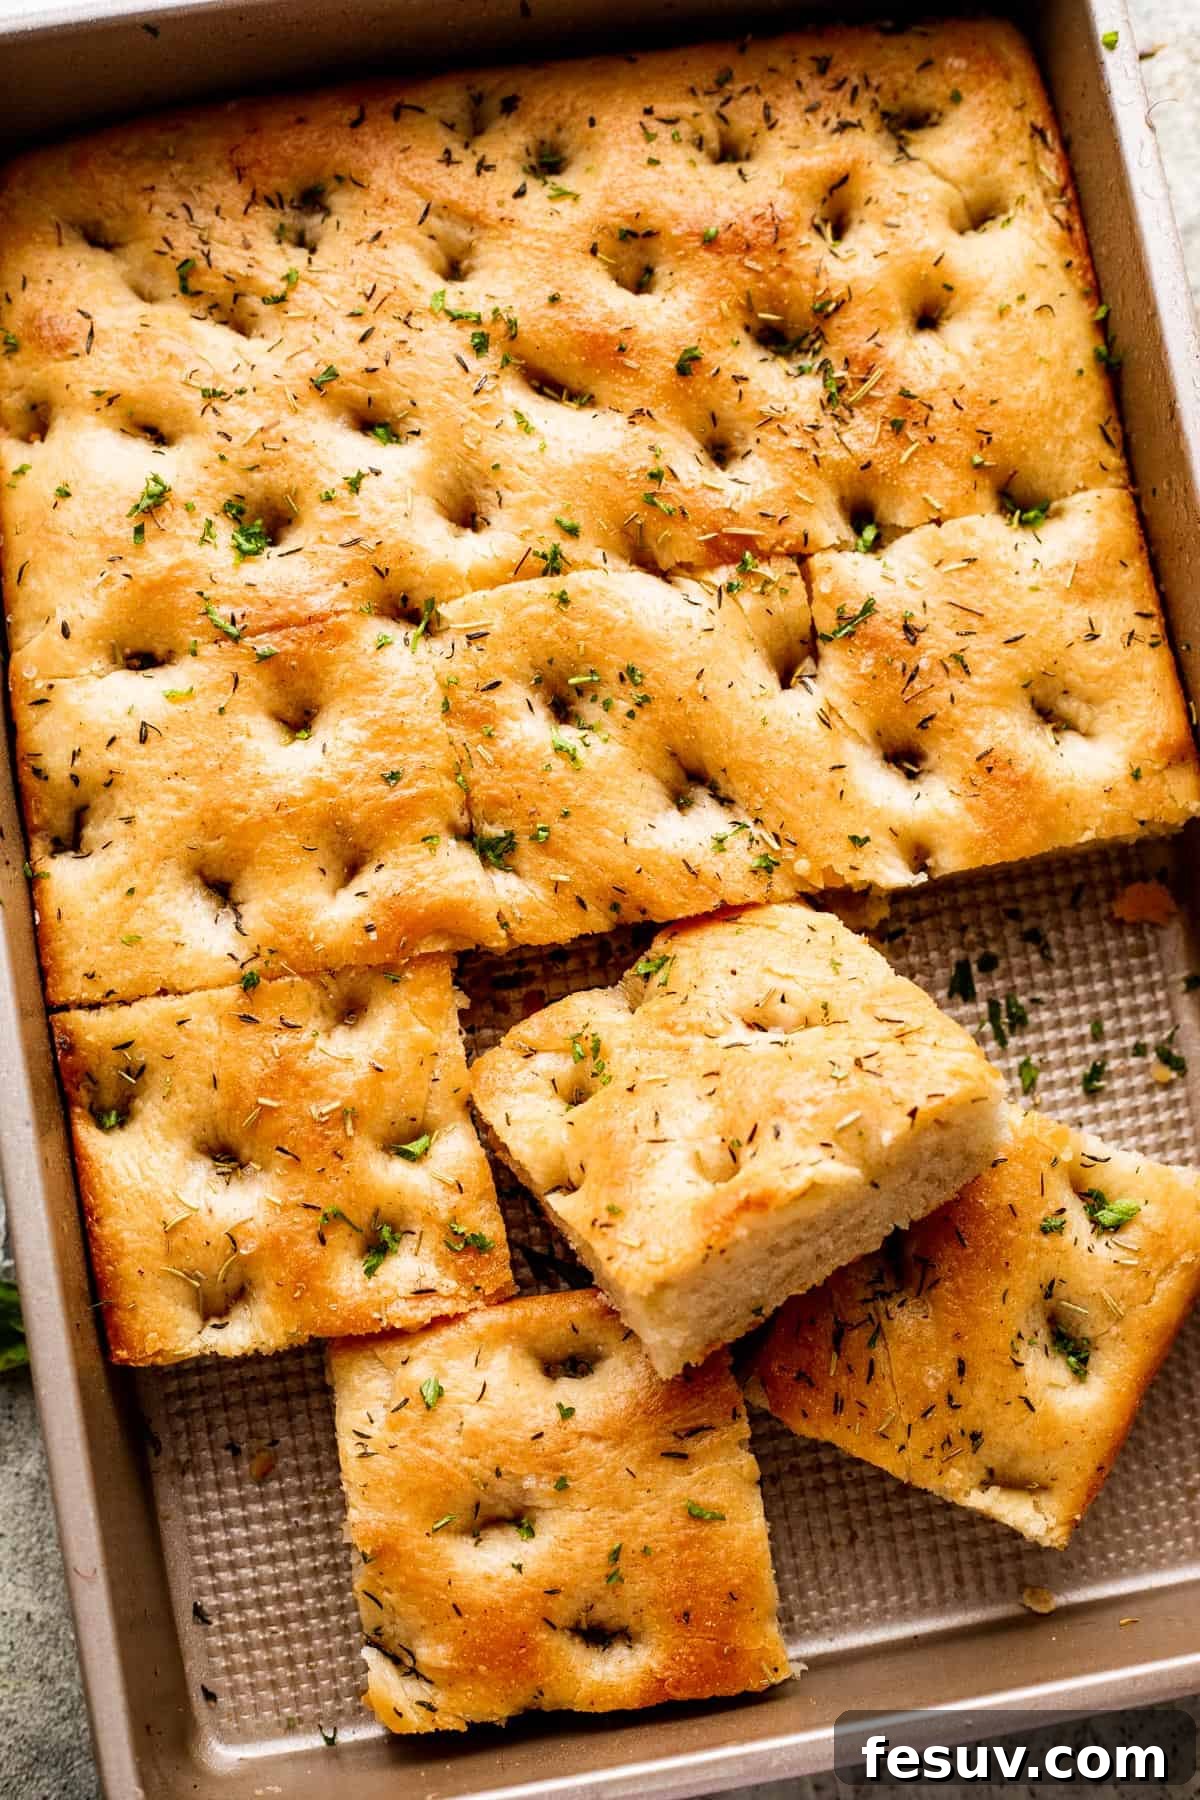
Crafting Authentic Focaccia: An Easy Homemade Recipe from Scratch
Focaccia, a beloved flatbread from Italy, boasts a rich history and an even richer flavor profile. While it’s been a staple in Italian kitchens for centuries, it truly captured global attention in the 1990s and early 2000s, gracing menus and cookbooks with its irresistible charm. And for good reason – this wholesome, airy, yet satisfyingly rich yeast bread is the kind of dish that becomes an instant craving. Its versatility is unmatched, serving beautifully as a side dish for your favorite pasta, a base for gourmet sandwiches, or simply enjoyed on its own with a drizzle of olive oil.
Many home bakers might feel intimidated by the idea of making yeast bread, but focaccia is an exception. One of its greatest advantages is its incredible ease of preparation. Unlike many other bread recipes that demand intricate shaping, braiding, or rolling, focaccia dough is simply pressed into a large baking pan. There’s no complex technique required, making it a perfect starting point for beginner bakers and a quick-and-easy win for experienced ones. This simplicity means you can achieve bakery-quality bread right in your own kitchen with minimal fuss.
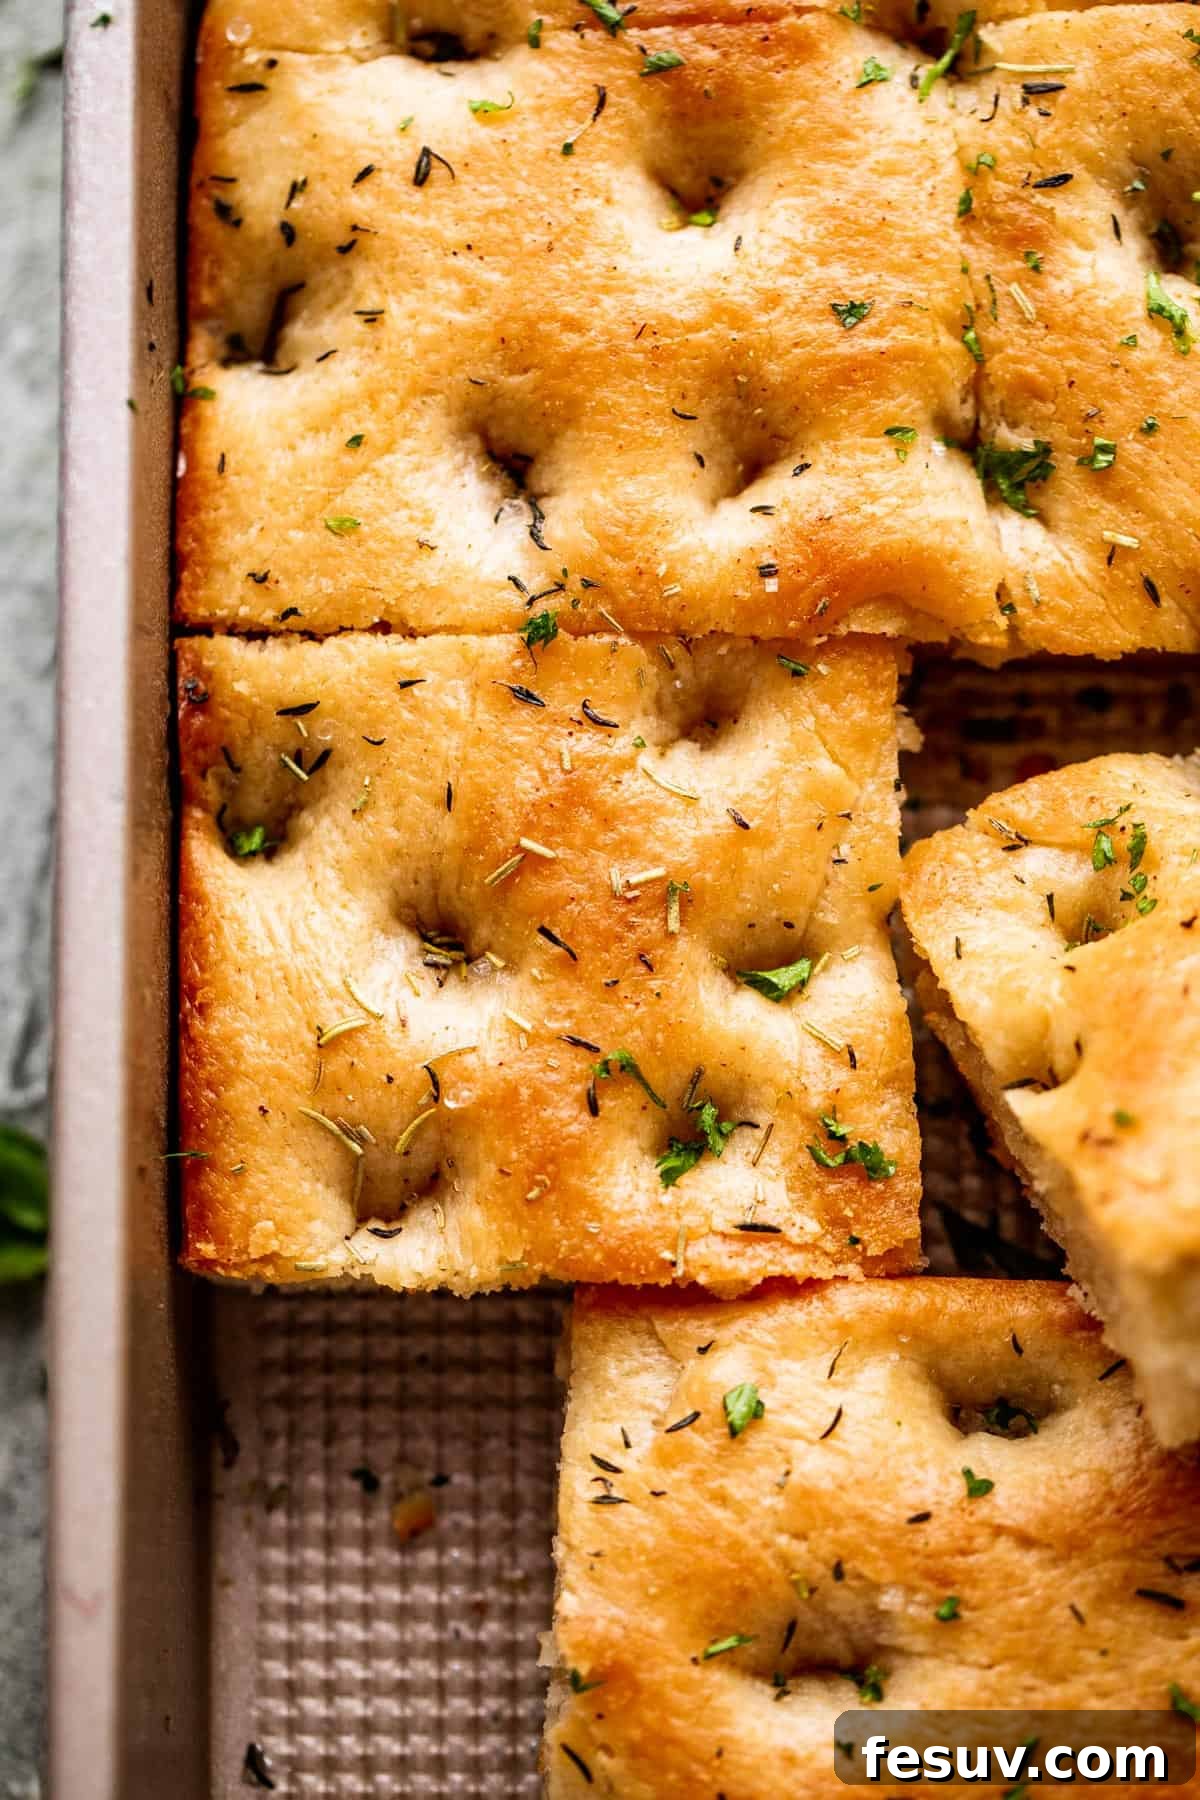
Is Focaccia a Healthy Bread Option? Unpacking its Nutritional Value
When compared to many commercially produced breads, homemade focaccia emerges as an excellent choice for those seeking a healthier lifestyle. The beauty of baking at home lies in your complete control over the ingredients. This recipe calls for simple, wholesome components, notably generous amounts of heart-healthy extra virgin olive oil, which is a cornerstone of the Mediterranean diet. You won’t find any mysterious processed ingredients, artificial flavors, or preservatives in your homemade loaf, ensuring a clean and natural product.
To maximize its health benefits, consider using high-quality flour, ideally organic, to avoid pesticides and enhance the bread’s natural goodness. While focaccia is undeniably delicious and made with good-for-you ingredients, it’s important to remember that it is still a carbohydrate-rich food. If you’re following a low-carb or ketogenic diet, you’ll want to enjoy this flavorful bread in moderation. For everyone else, it’s a wonderful addition to a balanced diet, offering sustained energy and a host of beneficial nutrients from the olive oil and fresh herbs.
Essential Ingredients for Your Perfect Garlic and Herb Focaccia
This classic focaccia recipe elevates its flavor profile with the addition of fresh garlic and aromatic herbs, transforming it into an unforgettable bread experience. You can savor it simply, perhaps with a small bowl of high-quality olive oil for dipping, or integrate it into a grander meal. Each ingredient plays a crucial role in achieving that signature focaccia texture and taste.
- Active Dry Yeast: The leavening agent that gives focaccia its characteristic airy texture. I recommend using standard active dry yeast, readily available in packets at any grocery store. Ensure your yeast is fresh for optimal rise.
- Warm Water: Critical for activating the yeast. The water should be comfortably warm to the touch, ideally between 105°F and 115°F (40°C to 46°C). Water that is too hot will kill the yeast, while water that is too cold will prevent it from activating properly, leading to a dense loaf.
- Granulated Sugar: A small amount of sugar acts as food for the yeast, helping it to activate and produce that beautiful frothy layer. It also contributes to the bread’s golden-brown crust and a subtle sweetness that balances the savory elements.
- All-Purpose Flour: Versatile and widely available, all-purpose flour works wonderfully for focaccia. For a slightly chewier texture, you can substitute bread flour, which has a higher protein content.
- Kosher Salt: Essential for flavoring the dough and enhancing the overall taste. You’ll need a tablespoon for the dough itself and a little extra for sprinkling on top before baking, which adds a delightful crunchy texture and bursts of salinity.
- Extra Virgin Olive Oil: This is a star ingredient in focaccia, contributing significantly to its rich flavor, moist crumb, and tender crust. Don’t skimp on quality here; extra-virgin olive oil offers the boldest and most authentic Mediterranean flavor. You’ll use it in the dough, for greasing the bowl and pan, and for drizzling over the top before baking.
- Fresh Garlic: Finely minced garlic cloves are infused throughout the bread, providing a fragrant and savory depth that pairs perfectly with the herbs. Fresh is always best for maximum flavor impact.
- Fresh Rosemary and Thyme: These classic Mediterranean herbs are the perfect partners for garlic in focaccia. Strip the leaves from their woody stems, discard the stems, and finely chop the leaves to distribute their aromatic essence evenly across the bread. Their earthy, slightly peppery notes elevate the entire dish.
Let’s Bake Incredible Garlic and Herb Focaccia! A Step-by-Step Guide
The process of making focaccia is a rewarding journey, especially if you have experience with yeast bread baking. The dough undergoes a meticulous mixing and kneading, followed by two crucial rises, culminating in a gloriously golden-brown loaf. Here’s a detailed breakdown to guide you:
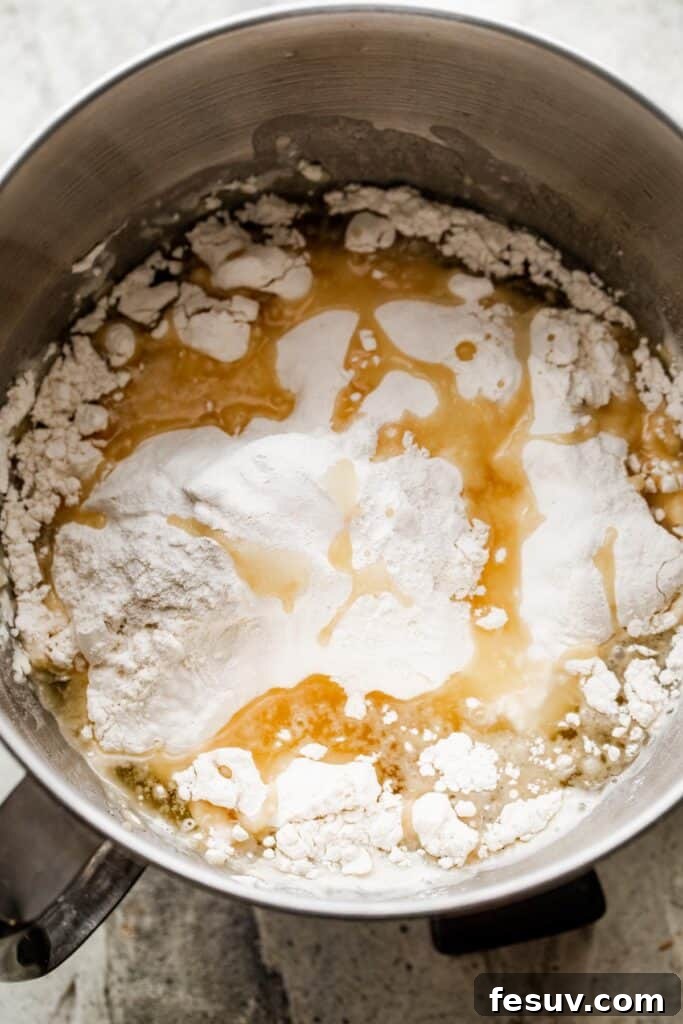
- Bloom the Yeast: Begin by activating your yeast. In the bowl of a stand mixer fitted with the whisk attachment, combine the warm water, granulated sugar, and active dry yeast. Gently whisk them together until dissolved. Allow this mixture to sit undisturbed for about 5 minutes. You’ll know the yeast is active and healthy when a frothy, foamy layer forms on the surface of the liquid, indicating that the yeast is alive and ready to work its magic.
- Mix the Dough: Once your yeast is bloomed, switch the whisk attachment for the dough hook. Add the all-purpose flour, kosher salt, and ¾ cup of olive oil to the mixer bowl. Begin mixing on low speed, allowing the ingredients to gradually come together. Continue mixing for several minutes until the dough is fully combined and starts to pull away cleanly from the sides of the bowl. If you find the dough is excessively sticky and clinging to the bowl, add an additional tablespoon or two of flour, one at a time, and continue mixing until the desired consistency is achieved.
- Knead the Dough: Turn the soft, slightly sticky dough out onto a lightly floured surface. Knead the dough by hand for approximately 5 to 7 minutes. The goal is to develop the gluten, which gives the focaccia its structure and chewiness. If the dough remains stubbornly sticky, add extra flour sparingly, a spoonful at a time, just enough to prevent sticking without making the dough too stiff. The dough is perfectly kneaded when it feels smooth and elastic. A good test is the “poke test”: gently poke the dough with your finger; if the indentation slightly bounces back, it’s ready. If it’s still too sticky or doesn’t spring back, continue kneading for a few more minutes.
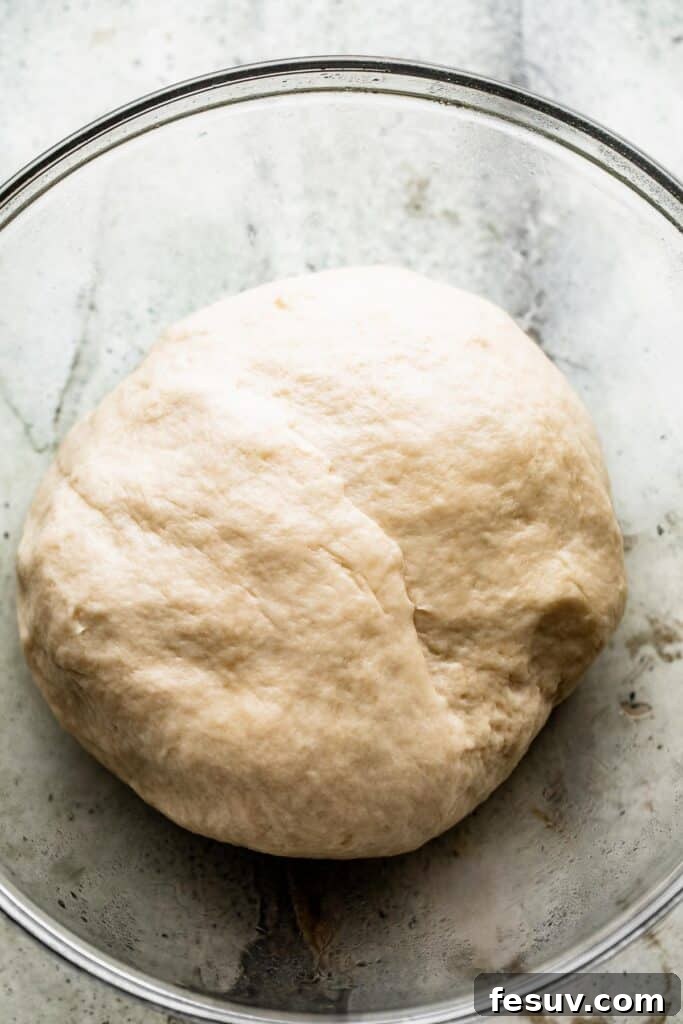
- First Rise (Bulk Fermentation): Once the dough is smooth and elastic, lightly grease a large bowl with olive oil, ensuring the entire inner surface is coated. Place the dough into the greased bowl and turn it over a couple of times to coat the dough itself evenly in oil. This prevents it from drying out during the rise. Cover the bowl snugly with a damp kitchen towel or plastic wrap, and place it in a warm, draft-free area of your kitchen. Allow the dough to rise for 1 to 2 hours, or until it has visibly doubled in size. A warm oven (turned off, with just the light on) or a sunny spot near a window can be ideal.
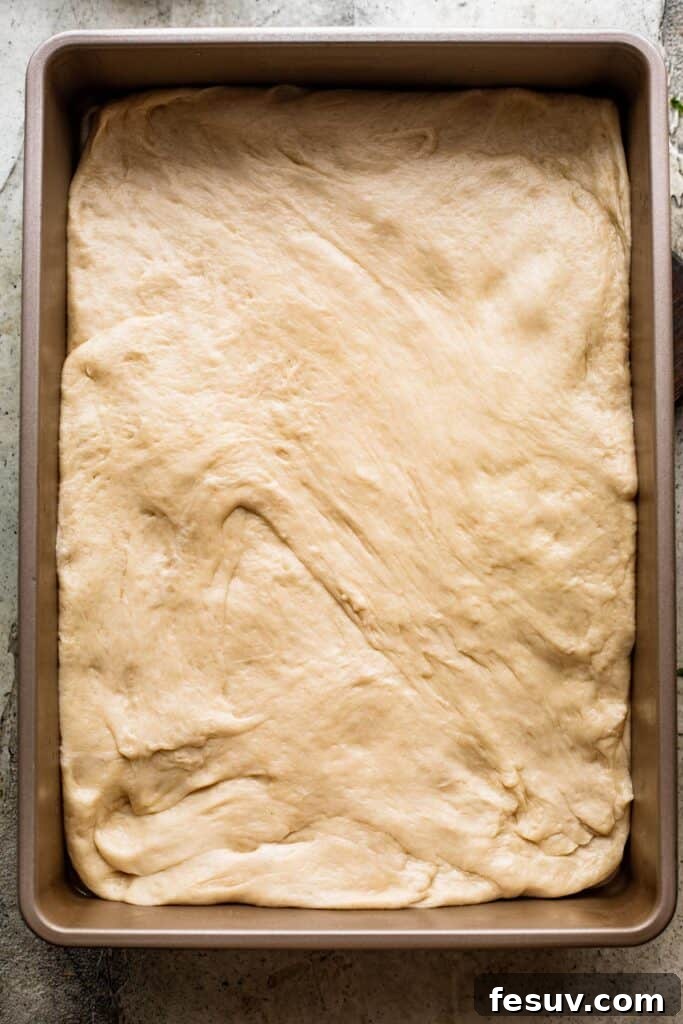
- Shape the Dough: After the first rise, your dough will be puffy and airy. Choose a 9×13 inch baking pan with sides at least 2 inches tall; the deeper sides help create a thicker, more substantial focaccia. Generously grease the entire interior of the pan with olive oil. Gently punch the risen dough down to release the excess air, then transfer it to the prepared baking pan. Using your fingertips, gently press the dough outwards, coaxing it to fill the entire pan evenly. Be careful not to tear the dough; a gentle touch is key.
- Second Rise (Proofing): Cover the baking pan containing the shaped dough with a damp towel once more. Let the dough rise for another 30 to 45 minutes in a warm place. This second rise, known as proofing, is shorter but crucial for developing a light, open crumb structure before baking. While the dough is proofing, you can start preheating your oven.
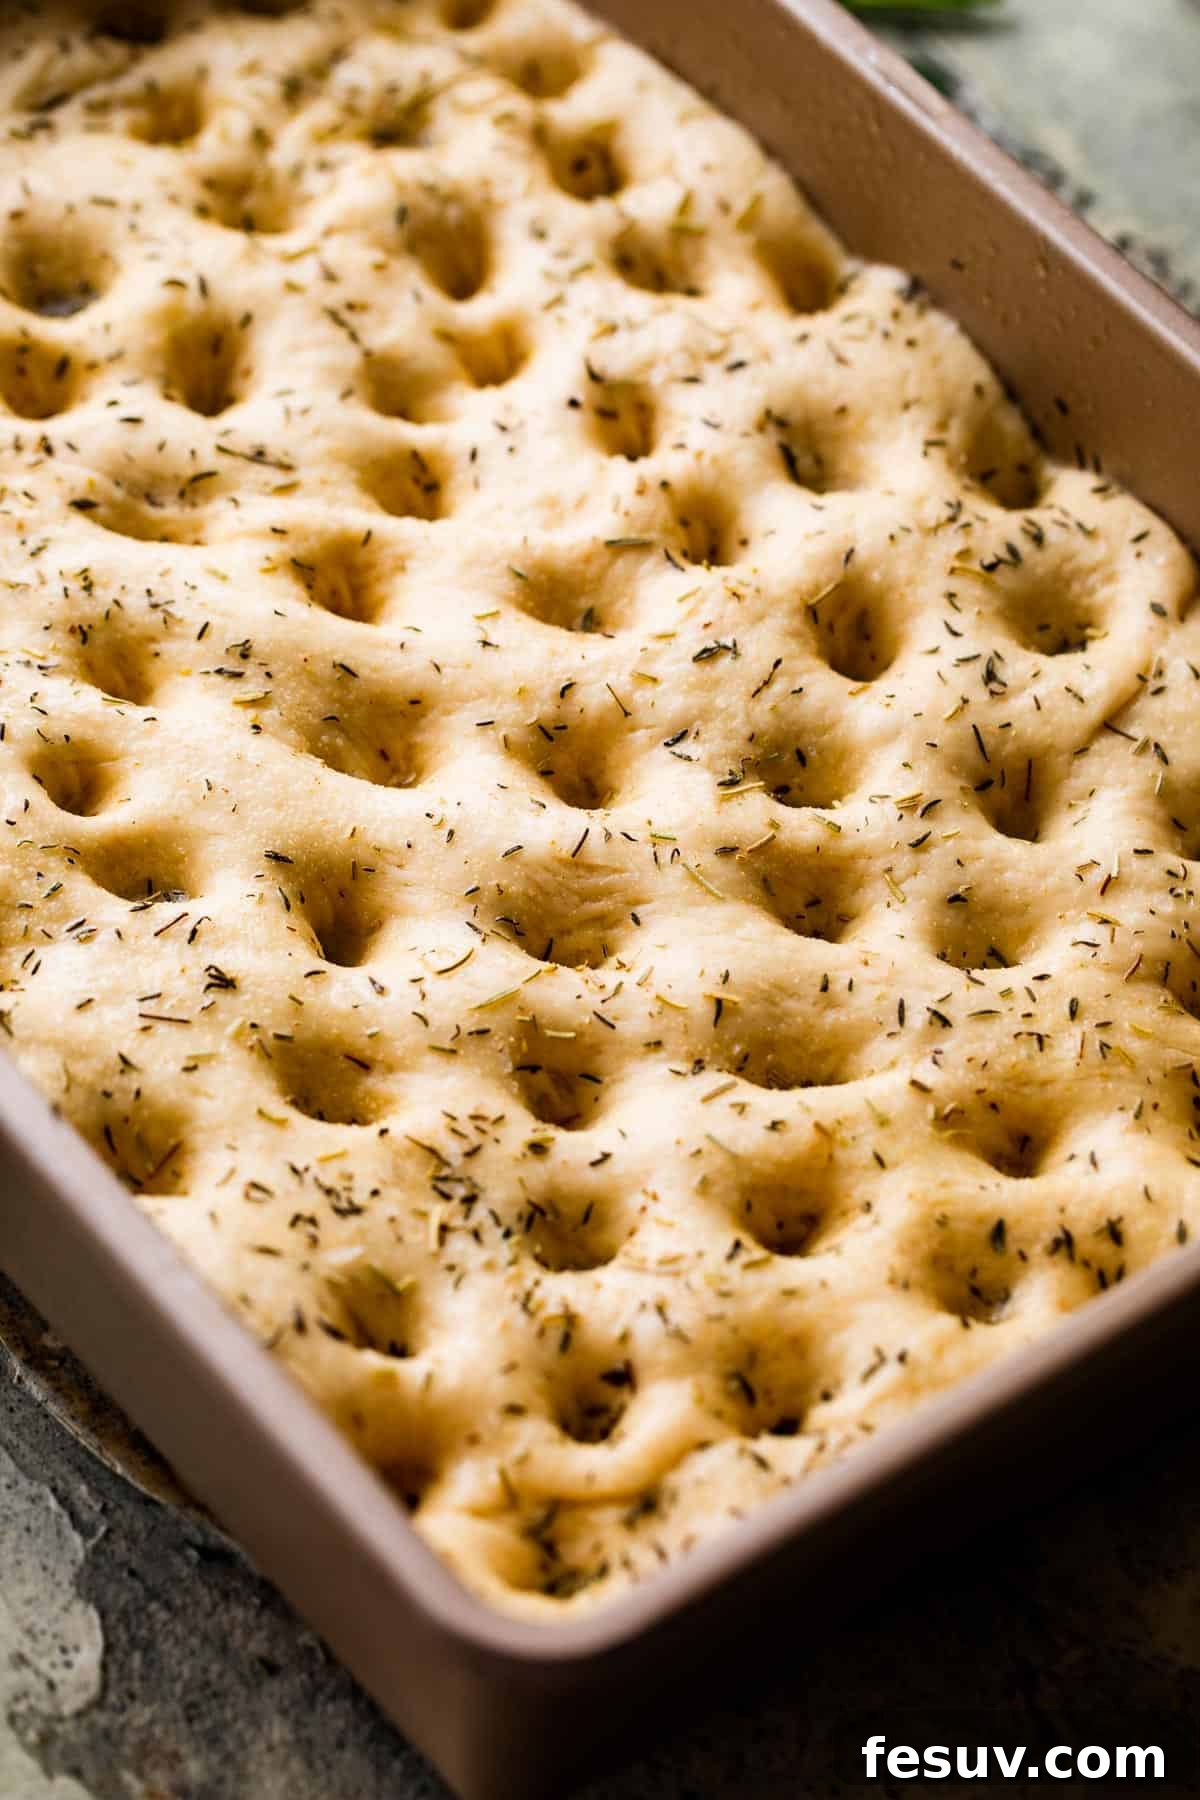
- Prepare for Baking & Bake: About 15 minutes before the second rise is complete, preheat your oven to 400°F (200°C). Once the dough has finished its second rise, use your fingers (or the handle of a wooden spoon) to poke deep indentations all over the surface of the focaccia, ensuring you press all the way down to the bottom of the pan. These dimples prevent large air pockets from forming and create those characteristic divots that hold pools of olive oil and herbs. Generously sprinkle the top of the dimpled dough with the remaining kosher salt, finely minced fresh garlic, chopped rosemary, and chopped thyme. Finally, drizzle a couple of tablespoons of high-quality olive oil evenly over the entire surface.
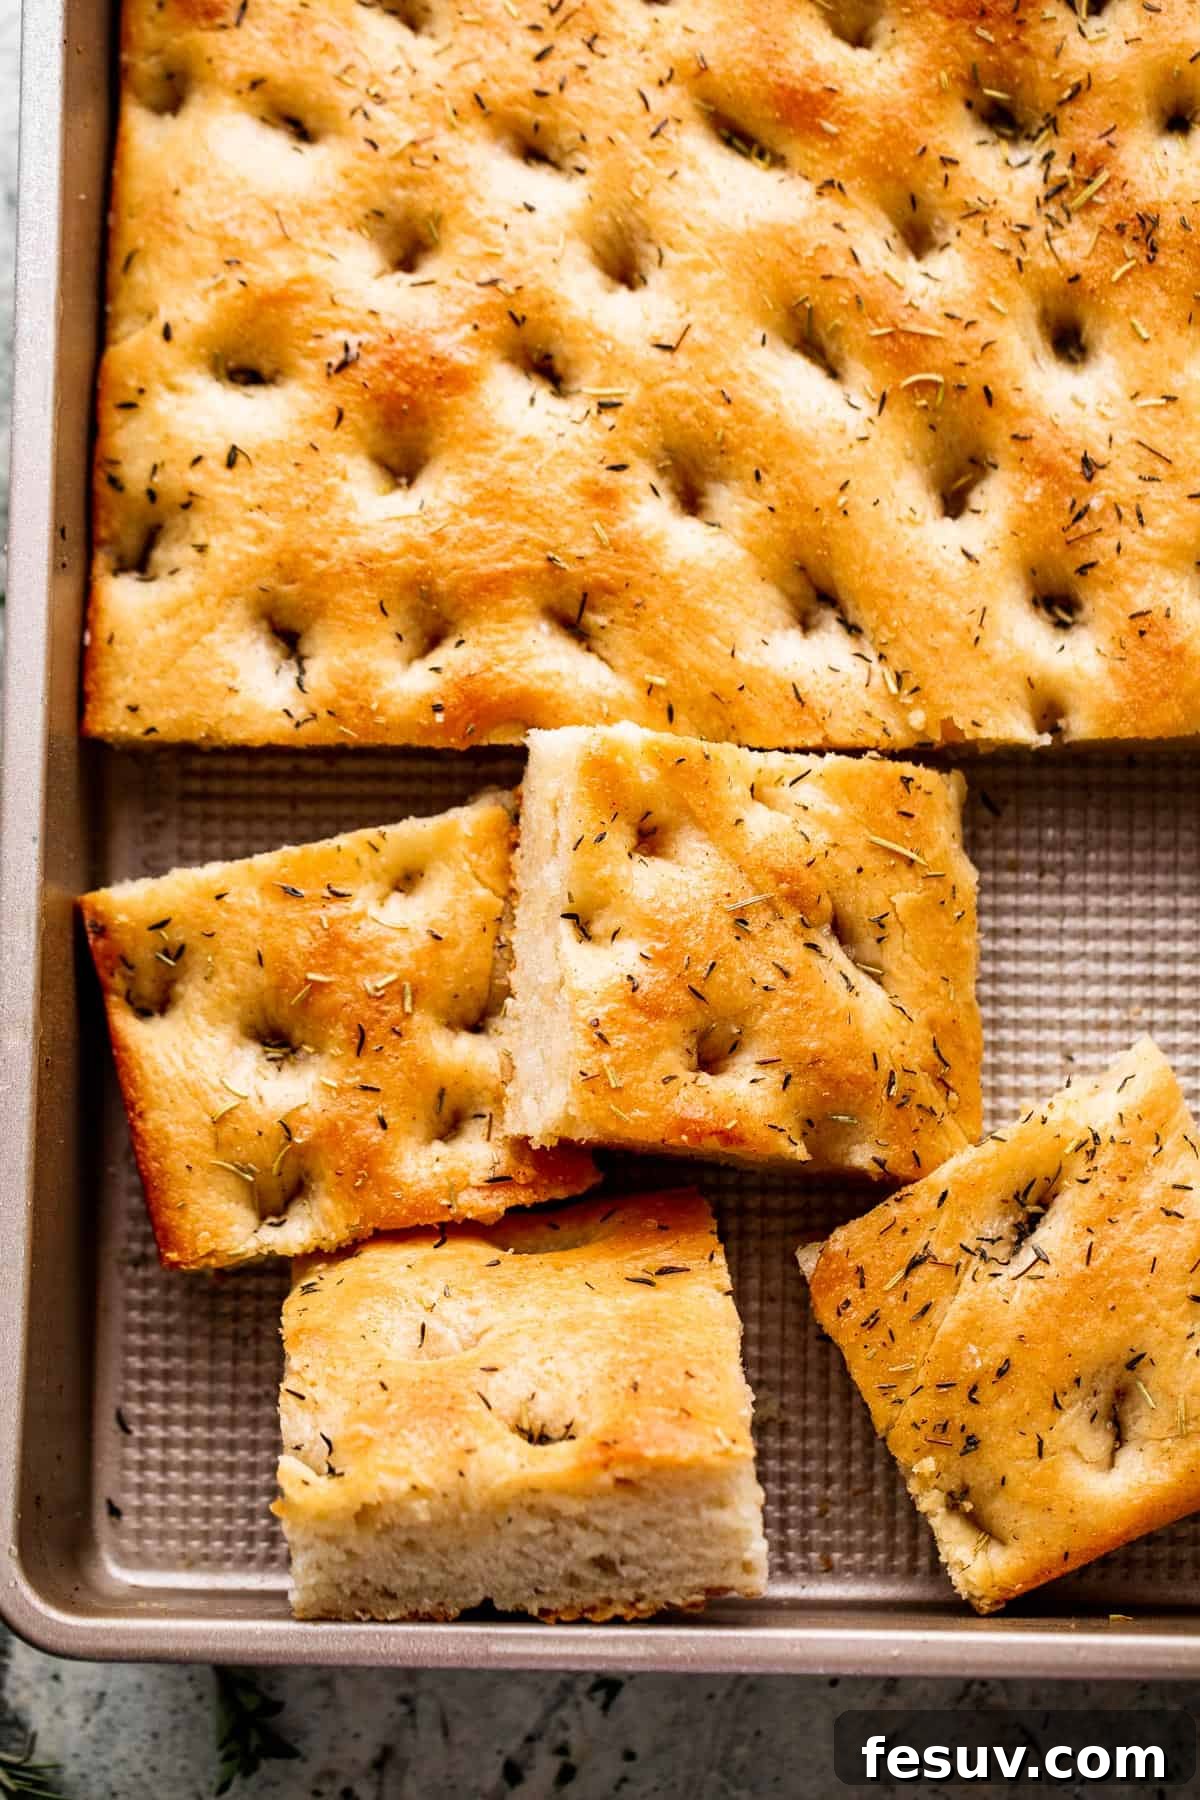
- Bake: Place the focaccia in the preheated oven and bake for approximately 20 to 25 minutes. The bread is done when the top is a beautiful golden-brown color, but not overly dark or burnt. The crust should feel firm but yield slightly when pressed.
- Cool & Enjoy! Once baked, remove the focaccia from the oven. For the best results and to prevent a soggy bottom, immediately transfer the hot focaccia from the pan to a wire cooling rack. Allow it to cool for about 10 to 15 minutes before slicing into squares or rectangles. Serving it warm is ideal. If desired, offer a small dish of additional extra virgin olive oil for dipping – it’s a delightful accompaniment!
Elevate Your Focaccia: Creative Tips and Flavorful Variations
This recipe provides a solid foundation for classic garlic and herb focaccia, but it’s also wonderfully adaptable, inviting you to personalize it with various toppings and ingredients. While I recommend sticking to the precise measurements for the dough to ensure proper texture and rise, feel free to experiment endlessly with the toppings. Here are some inspiring ideas to make your focaccia uniquely yours:
- Olive Focaccia: Infuse a briny, savory kick by folding sliced black or green olives (such as Kalamata or Castelvetrano) directly into the dough during the mixing stage, or simply sprinkle them generously over the top before the final rise and baking.
- Caramelized Onion Focaccia: For a touch of sweet and savory sophistication, prepare some caramelized onions. While the dough is undergoing its second rise, gently cook thinly sliced onions in a skillet over low heat with a knob of butter or a splash of olive oil. Allow them to slowly caramelize until golden-brown and wonderfully sweet. Sprinkle these luscious onions over the dough alongside your garlic and herbs before baking.
- Cheese Focaccia: For a rich, gooey treat, transform your focaccia into a cheesy delight. About 5-7 minutes before your focaccia is fully baked, carefully remove it from the oven and sprinkle your favorite shredded cheese – mozzarella, Parmesan, provolone, or a blend – over the top. Return it to the oven to finish baking until the cheese is melted, bubbly, and lightly golden.
- Sun-Dried Tomato & Pesto Focaccia: Spread a thin layer of pesto over the dimpled dough before sprinkling with salt and a handful of chopped sun-dried tomatoes. Drizzle with olive oil and bake as usual.
- Cherry Tomato & Basil Focaccia: Press halved cherry tomatoes into the dimples of the dough before baking. After the focaccia cools slightly, scatter fresh basil leaves over the top for a vibrant, aromatic finish.
- Rosemary and Sea Salt: Sometimes, simplicity is best. For a pure, unadulterated classic, omit the garlic and thyme, focusing solely on fresh rosemary and a generous sprinkle of flaky sea salt (like Maldon) for textural crunch.
Perfect Pairings: What to Serve with Focaccia
Focaccia’s robust flavor and satisfying texture make it an incredibly versatile bread that complements a wide array of dishes. While it naturally pairs beautifully with other Italian culinary delights, its adaptability extends far beyond, making it a fantastic accompaniment to your favorite soups, crisp salads, or even as a gourmet artisan-style sandwich bread. Here are some delightful serving inspirations:
- Classic Italian Pasta Dishes: Focaccia is the ideal partner for rich, saucy Italian pasta. It’s perfect for soaking up every last bit of delicious sauce. Try it with indulgent, cheesy, and saucy classics like The Best Cheese Manicotti or a hearty lasagna. Its slight saltiness and herb notes cut through the richness beautifully.
- Hearty Soups: There’s an undeniable comfort in pairing a warm, crusty piece of homemade bread with a steaming bowl of creamy soup. Focaccia is exceptional for dipping into velvety textures. Consider serving it with Easy Cream of Asparagus Soup, a classic Roasted Tomato Basil Soup, or even a robust minestrone.
- Fresh Salads: The substantial nature of focaccia makes it a wonderful counterpoint to crisp, refreshing salads. Imagine a robust salad topped with tender sliced steak, juicy grape tomatoes, crumbled feta, and a vibrant vinaigrette. The warm, golden focaccia provides a satisfying balance to the freshness of the greens and rich steak.
- Dipping Oils and Balsamic: For a simple yet elegant appetizer, serve focaccia alongside a small dish of high-quality extra virgin olive oil for dipping. A splash of balsamic vinegar or a sprinkle of red pepper flakes can elevate this experience even further.
- Charcuterie Boards: Cut into small squares or strips, focaccia makes an excellent addition to any charcuterie or cheese board. Its savory profile complements cured meats, various cheeses, and fruit preserves.
- Gourmet Sandwiches: Its sturdy yet soft crumb makes focaccia an ideal bread for elevated sandwiches. Layer it with grilled vegetables, fresh mozzarella, pesto, and balsamic glaze, or create a classic Italian deli-style sandwich.
- Roasted Vegetables or Grilled Meats: Focaccia offers a perfect side to any roasted vegetable medley or grilled protein. Its herbs and olive oil notes naturally enhance the flavors of grilled chicken, fish, or a medley of seasonal veggies.
Make-Ahead Focaccia: Convenience for Busy Schedules
Planning ahead can significantly simplify your baking process, and focaccia dough is remarkably forgiving in this regard. If you wish to prepare the dough in advance, you can easily make it and let it undergo its first rise slowly overnight in the refrigerator. After the initial kneading and oiling, simply cover the bowl tightly with plastic wrap to prevent a skin from forming, and chill it in the refrigerator for up to 18 hours. The cold temperature will slow down the yeast activity, allowing for a long, flavorful fermentation.
The next day, take the bowl of dough out of the refrigerator and let it sit at room temperature for about 30 to 60 minutes. This allows the dough to warm up slightly and the yeast to become active again. Then, gently punch it down to release any accumulated air, shape it into your baking pan, and proceed with the second rise and baking instructions as outlined in the recipe. This method is perfect for preparing fresh focaccia for guests or a weekend meal without the morning rush.
Storing Leftover Focaccia for Lasting Freshness
While focaccia is best enjoyed fresh from the oven, leftovers can be stored and savored later with proper care. To maintain its delicious flavor and texture:
- Countertop Storage: For short-term storage, wrap your leftover focaccia tightly in plastic wrap or aluminum foil. Alternatively, place it in a large, airtight zip-top bag, pressing out as much air as possible before sealing. Stored this way, focaccia will remain fresh and flavorful on your kitchen counter for 1 to 2 days.
- Refrigerator Storage: If you need to store focaccia for a slightly longer period, the refrigerator is your best bet. Wrap it tightly in plastic wrap or place it in an airtight container to prevent it from drying out. It will keep well in the refrigerator for 2 to 3 days.
- Reheating: To revive leftover focaccia, you can serve it at room temperature, which is perfectly fine. However, for a taste closer to freshly baked, reheat it in an oven or toaster oven preheated to 350°F (175°C) for about 5-10 minutes, or until warmed through and the crust has slightly crisped up again. Avoid microwaving, as it can make the focaccia tough and chewy.
Can I Freeze Focaccia? Yes, for Extended Enjoyment!
- Yes, focaccia freezes exceptionally well, making it a great option for meal prepping or simply ensuring you always have some on hand for a quick side or snack.
- Freezing Cooked Focaccia: Once your focaccia has completely cooled to room temperature, slice it into individual serving pieces or larger sections. Wrap each piece tightly in plastic wrap, then wrap again in aluminum foil, or place the wrapped pieces into freezer-safe zip-top bags, removing as much air as possible. Label with the date and freeze for up to one month for optimal quality.
- Thawing and Reheating: When you’re ready to enjoy, thaw the frozen focaccia at room temperature for several hours or overnight in the refrigerator. Once thawed, you can reheat it in an oven or toaster oven at 350°F (175°C) for about 10-15 minutes, or until it’s warm throughout and the crust is crisp.
Garlic Herb Focaccia
Katerina | Easy Weeknight Recipes
1 hour 45 minutes
20 minutes
2 hours 5 minutes
12
Ingredients
-
2 ¼ teaspoons active dry yeast,, (1 packet) -
1 ½ cups warm water -
1 tablespoon sugar -
4 cups all-purpose flour -
1 tablespoon kosher salt,, plus more for sprinkling -
¾ cup olive oil,, plus more for greasing and drizzling -
2 cloves garlic,, finely minced -
1 to 2 sprigs fresh rosemary,, stems removed and leaves chopped -
1 to 2 sprigs fresh thyme,, stems removed and leaves chopped
Instructions
-
Whisk together the yeast, water, and sugar in a stand mixer fitted with the whisk attachment. Allow this mixture to sit for 5 minutes, to “bloom” the yeast and ensure it’s active.
-
Switch to the dough hook attachment. Add the flour, salt, and olive oil to the bowl. Mix on low speed for 2 to 3 minutes, or until all ingredients are well combined and the dough begins to pull away from the sides of the bowl.
If the mixture is sticking excessively to the mixing bowl, add 2 to 3 tablespoons of flour, one at a time, until it forms a cohesive dough.
-
Remove the dough from the mixer and transfer it to a lightly floured surface. Knead by hand for an additional 4 to 5 minutes, adding more flour only if needed to prevent sticking.
The dough is properly kneaded when it feels smooth and elastic. You can test its readiness by poking it with your finger – the indentation should slightly bounce back. If it remains too sticky or doesn’t spring back, continue kneading for a few more minutes.
-
Grease a large, clean bowl generously with olive oil. Place the dough into the bowl, turning it over a couple of times to ensure it’s fully coated in the oil.
Cover the bowl with a damp towel or plastic wrap, and allow it to rise in a warm, draft-free environment for 1 to 2 hours, or until the dough has impressively doubled in size.
-
Generously grease a 9×13 inch baking pan with tall sides (at least 2 inches deep) with olive oil. Gently punch the risen dough down to release excess air. Transfer the dough to the prepared baking pan and, using your fingertips, gently flatten and press it out to fit the entire shape of the pan evenly.
-
Cover the shaped dough in the baking pan with a damp towel, and let it rest for another 30 to 45 minutes for its second rise, allowing it to become puffy again.
-
While the dough is completing its second rise, preheat your oven to 400°F (200°C).
-
Using your fingers, poke deep indentations all over the surface of the dough, ensuring you press all the way down to the baking sheet. These dimples will hold the delicious toppings.
-
Generously sprinkle the top of the bread with kosher salt, finely minced garlic, chopped fresh rosemary, and chopped fresh thyme. Then, drizzle 1 to 2 tablespoons of olive oil evenly over the entire surface.
-
Bake for 20 to 25 minutes, or until the top of the bread achieves a beautiful golden-brown color and the crust feels firm.
-
Remove the focaccia from the oven. Immediately and carefully transfer the hot bread out of the pan and onto a wire rack to cool. Allow it to cool for 10 to 15 minutes before cutting.
-
Serve warm, sliced into squares or rectangles. Offer additional high-quality olive oil for dipping, if desired, to enhance the flavors further.
Nutrition
Calories: 283kcal
|
Carbohydrates: 34g
|
Protein: 5g
|
Fat: 14g
|
Saturated Fat: 2g
|
Polyunsaturated Fat: 2g
|
Monounsaturated Fat: 10g
|
Sodium: 585mg
|
Potassium: 72mg
|
Fiber: 2g
|
Sugar: 1g
|
Vitamin A: 19IU
|
Vitamin C: 1mg
|
Calcium: 11mg
|
Iron: 2mg
Nutritional info is an estimate and provided as courtesy. Values may vary according to the ingredients and tools used. Please use your preferred nutritional calculator for more detailed info.
Did you make a recipe? Leave a rating
Explore More Delicious Homemade Bread Recipes
If you’ve enjoyed the delightful process and incredible taste of making your own focaccia, why not continue your baking adventure? There’s a world of satisfying homemade bread recipes waiting to be discovered. Each offers a unique flavor and texture, proving that baking bread from scratch is a deeply rewarding experience. Here are a few more recipes to inspire your next kitchen endeavor:
- No-Knead Dutch Oven Bread: Discover the magic of this incredibly easy artisan-style bread. With minimal effort and no kneading required, you can achieve a beautifully crusty loaf with a tender, airy interior, perfect for any meal.
- Spinach and Feta No-Yeast Bread: For those days when you’re short on time or yeast, this savory quick bread is a fantastic alternative. Packed with vibrant spinach and tangy feta, it’s moist, flavorful, and comes together in a flash.
- Easy Homemade Flatbread Recipe: Versatile and quick, homemade flatbread is perfect for wraps, dipping, or as a base for mini pizzas. This simple recipe yields soft, pliable flatbreads that are far superior to store-bought versions.