
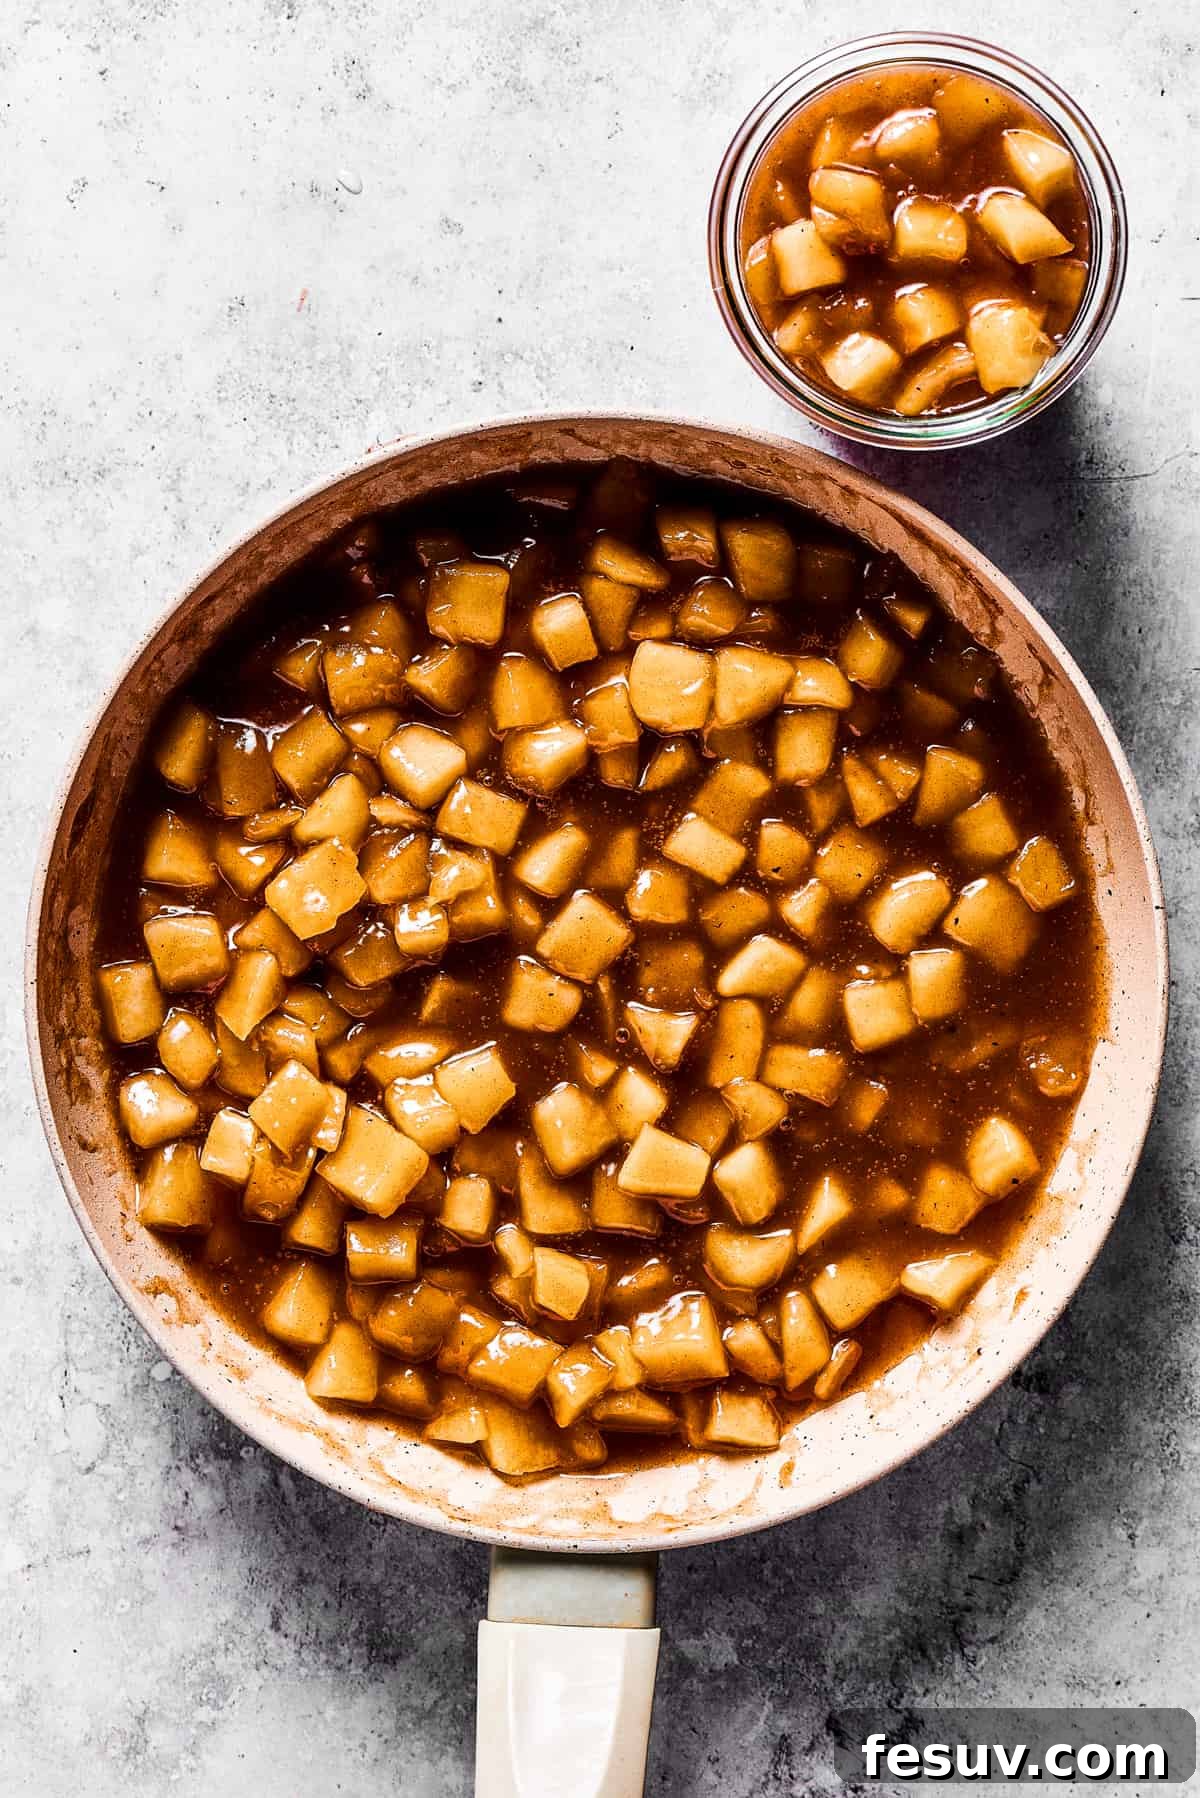
Welcome to the ultimate guide for creating the most delightful Homemade Apple Pie Filling! Forget bland, store-bought versions; this recipe delivers a tender, juicy apple filling bursting with warm spices and the perfect balance of brown and granulated sugar. It’s a truly classic recipe that promises to elevate your pies, tarts, and countless other desserts. Whether you’re a seasoned baker or just starting your culinary journey, this straightforward recipe will become a cherished staple in your kitchen. Get ready to experience the comforting aroma and irresistible taste of apples simmering with cinnamon and nutmeg, transforming into a versatile filling you’ll want to enjoy straight from the spoon!
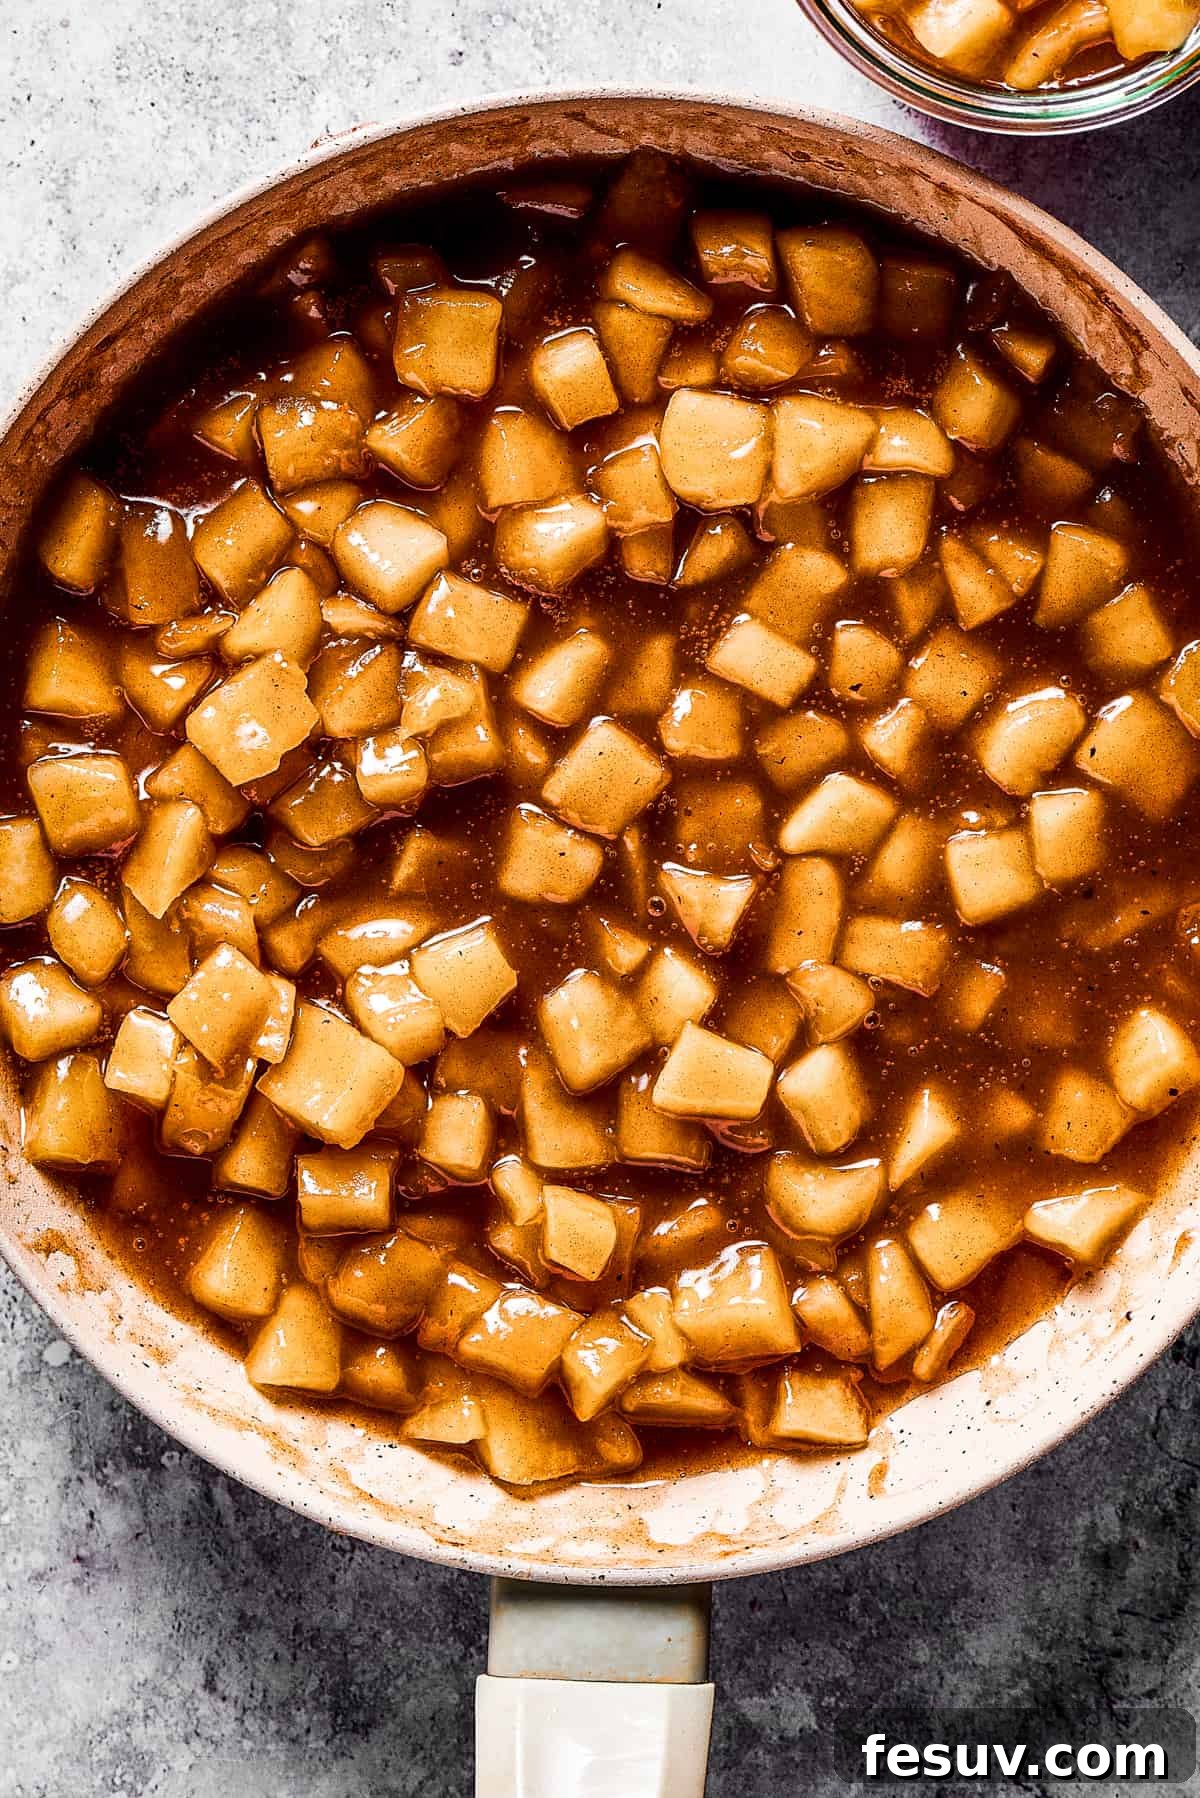
Why You’ll Adore This Homemade Apple Pie Filling
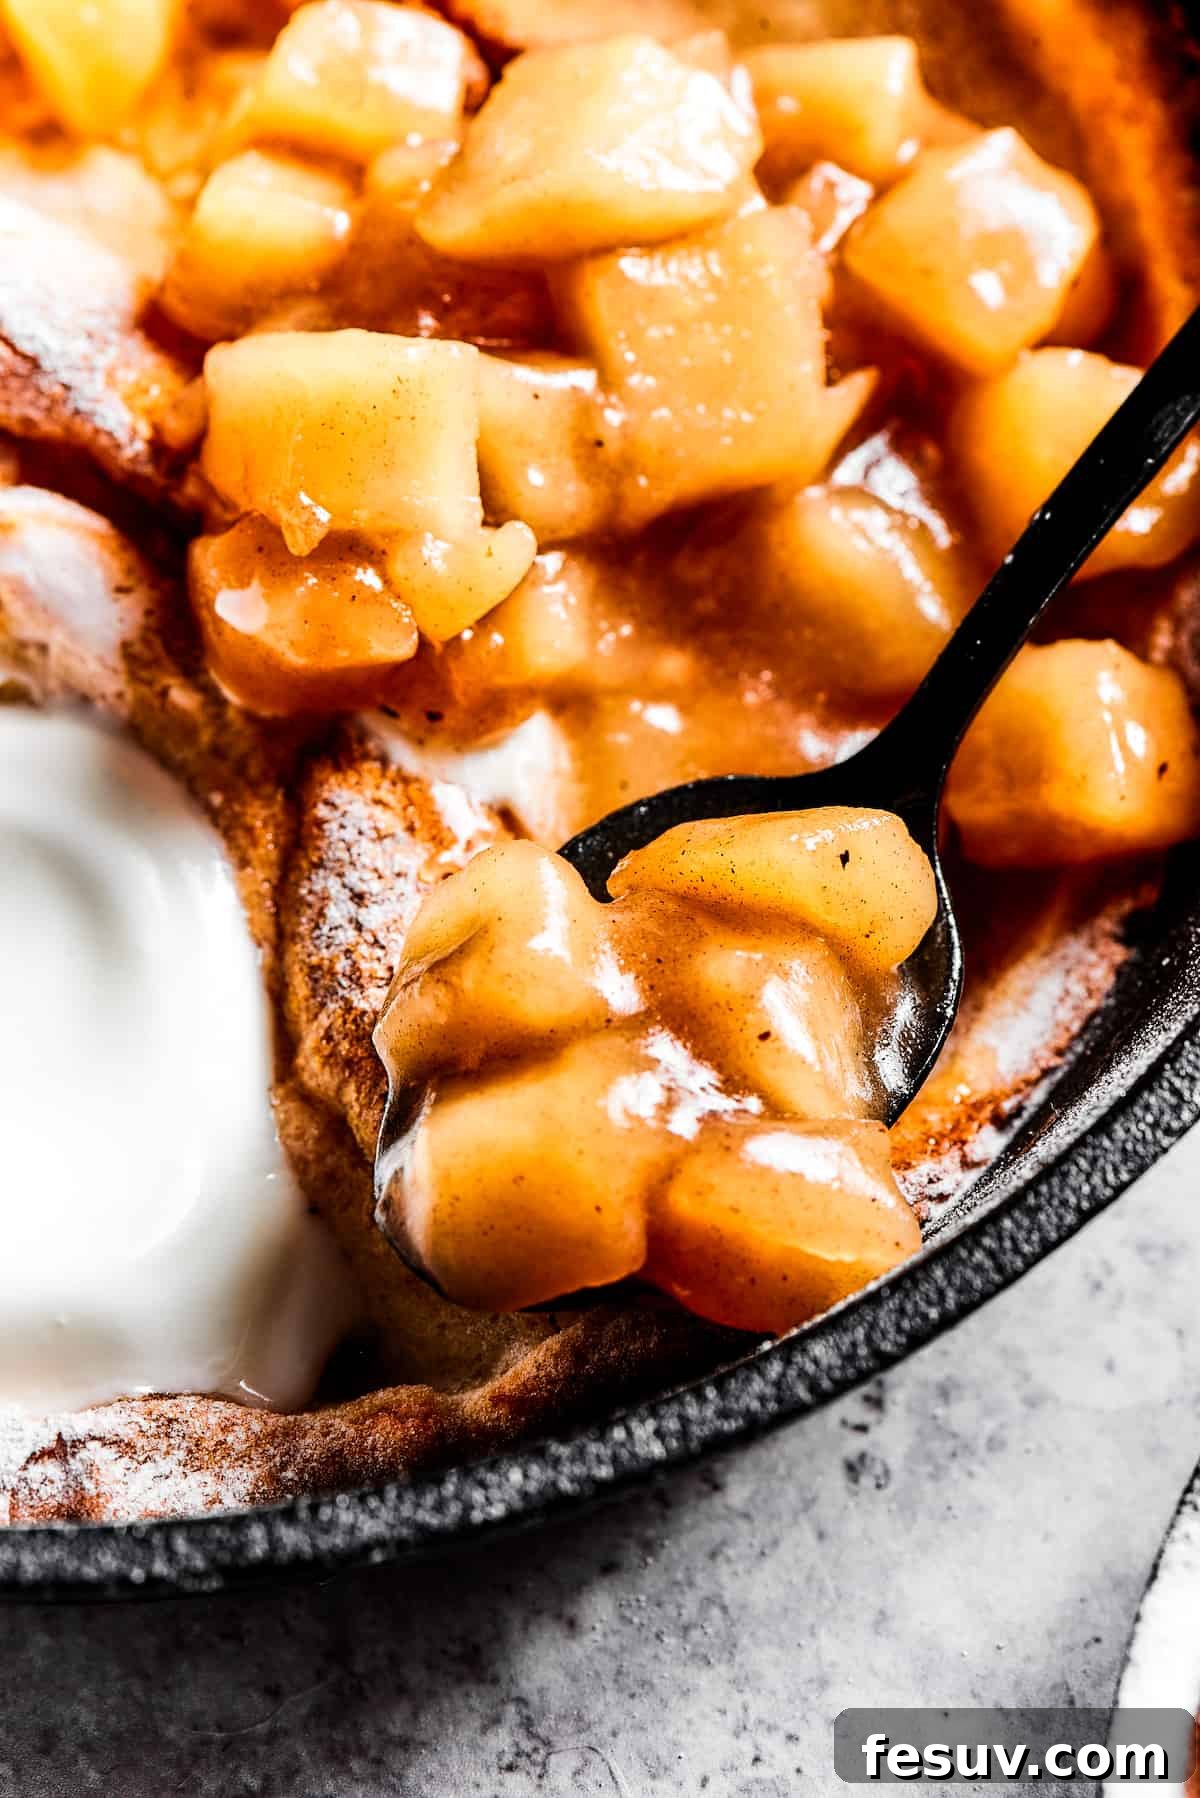
There’s something incredibly satisfying about homemade apple pie filling. While pre-made options offer convenience, nothing compares to the rich, authentic flavor and perfect texture of a filling made from scratch. This recipe is designed to be effortlessly delicious, allowing you to control the sweetness, spice level, and the quality of your apples. It’s not just for pies; this versatile filling can transform everything from breakfast dishes to simple desserts. Imagine spoonfuls of warm, spiced apples nestled in a flaky crust, or drizzled over pancakes on a cozy morning. The beauty of this recipe lies in its simplicity and the sheer joy it brings to any meal or occasion. It’s a celebration of tender, sweet-tart apples, and it’s a taste of home you’ll want to revisit again and again.
While I often enjoy the process of crafting my own pie pastry, I completely understand the appeal of store-bought options. Frozen pie crusts, in particular, are a fantastic time-saver, offering excellent quality and convenience. You can find them ready to roll and cut, perfect for customizing your pie’s size and design, or already formed in disposable tins for ultimate ease. My personal preference leans towards the roll-and-cut variety, as it allows for flexibility in creating either a deep-dish masterpiece or a more traditional pie. Paired with this homemade apple filling, any pie becomes a delightful dessert, cherished throughout the year. I’m thrilled to share this cherished recipe with you!
Cooking Apples for Pie: To Pre-Cook or Not To Pre-Cook?
A common question among bakers is whether to pre-cook apples before adding them to a pie. The truth is, it depends on the desired outcome and the type of recipe. For many pies, like The Best Apple Pie from Scratch or Dutch Apple Slab Pie, raw apples are perfectly acceptable. They cook down in the oven right alongside the crust, softening and releasing their juices to create a delicious, saucy interior.
However, when making a dedicated apple pie filling for storage or for specific uses beyond immediate pie assembly, pre-cooking is generally recommended. Cooking the apples beforehand ensures they reach the perfect tenderness and allows the flavors of the spices and sugars to meld beautifully. This pre-cooked filling is incredibly convenient because it’s ready to use straight from the jar. It guarantees a consistent texture and flavor, whether you’re spooning it into a pie crust, layering it in a crumble, or enjoying it as a quick snack. Pre-cooking also helps prevent the dreaded “gap” that can sometimes form between the cooked fruit and the top crust of a pie, as the apples have already reduced in volume.
Essential Ingredients for the Perfect Apple Pie Filling
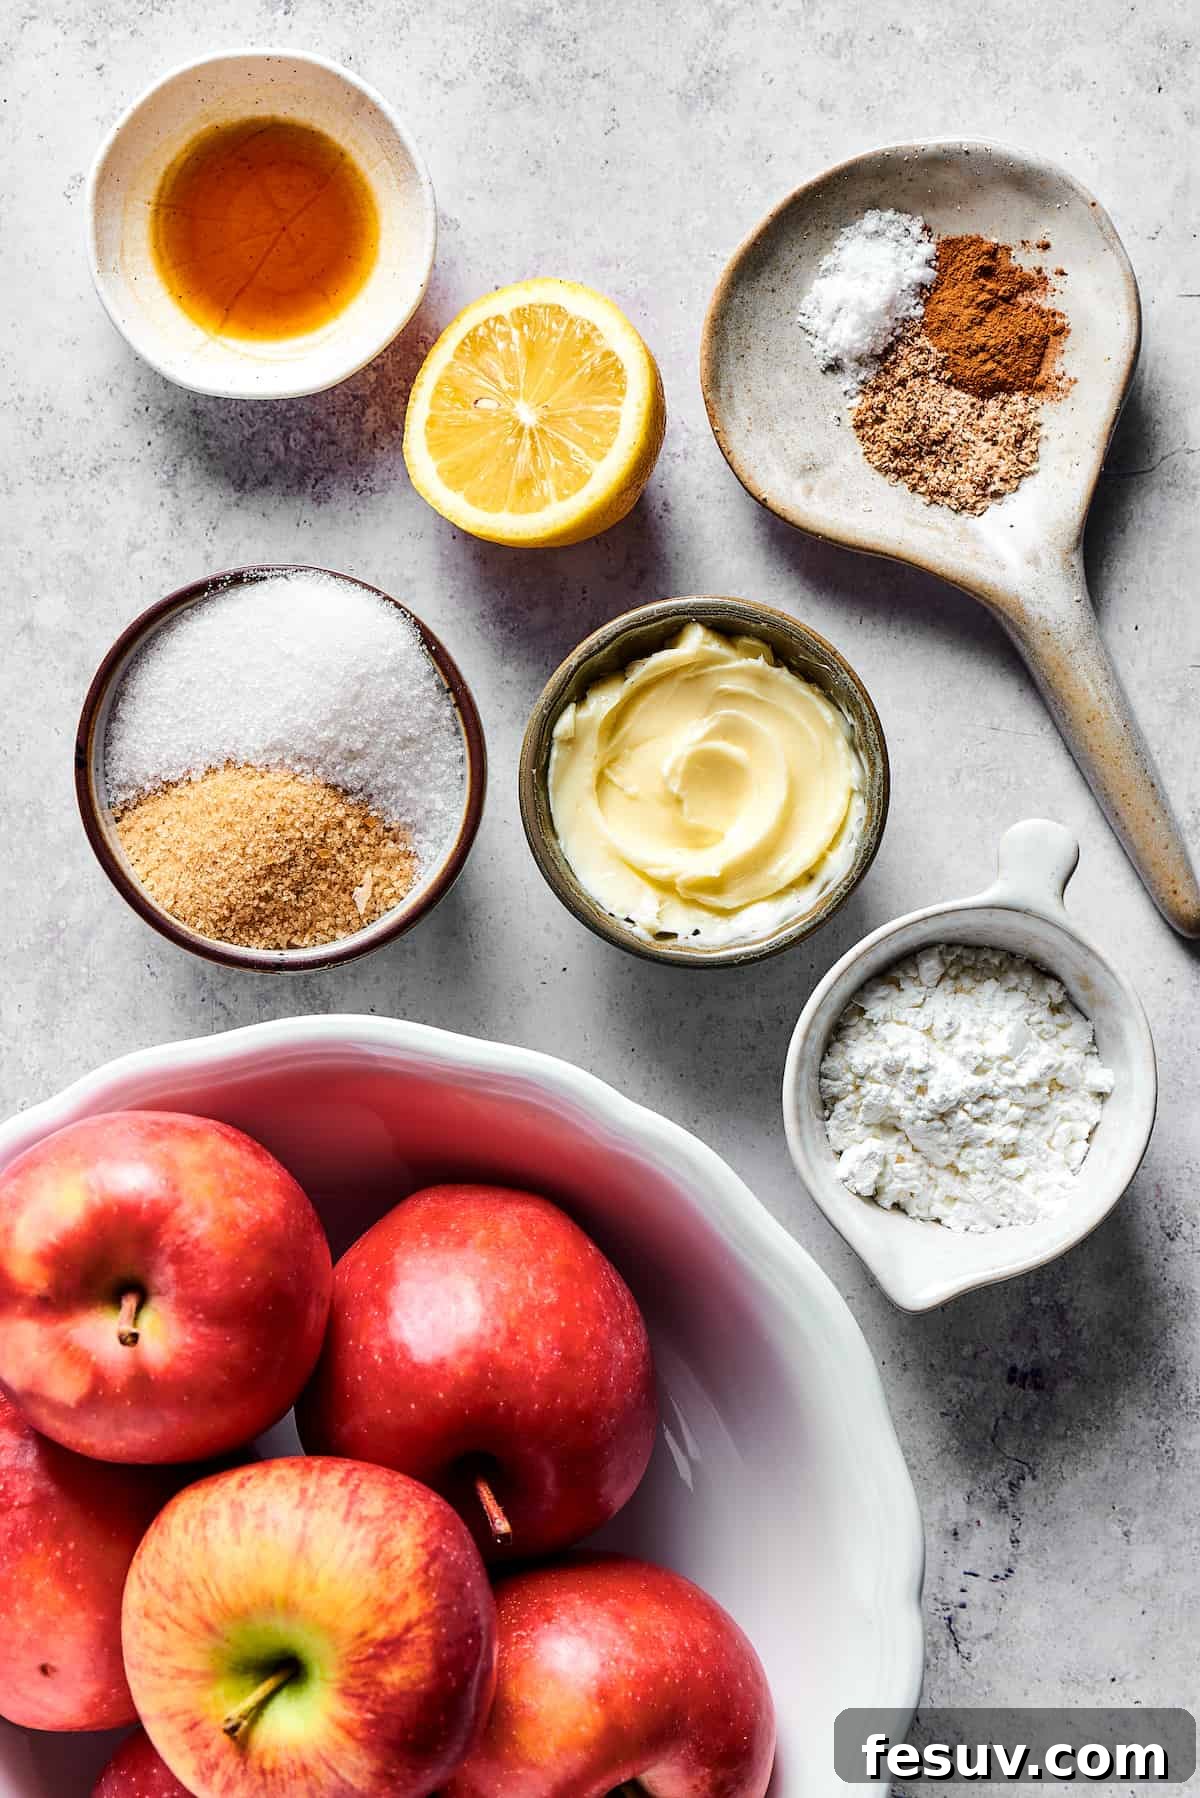
Crafting a truly exceptional apple pie filling relies on a thoughtful selection of ingredients. Each component plays a vital role in achieving that perfect balance of sweetness, spice, and texture. Here’s a detailed look at what goes into this classic filling:
- Butter: Unsalted butter is my preference, allowing me to precisely control the salt content. However, if you only have salted butter, feel free to use it and adjust any additional salt to taste. Butter adds a crucial richness and depth of flavor, creating a luxurious mouthfeel for the filling.
- Sugar: A blend of light brown sugar and granulated sugar is used to achieve a complex sweetness. Brown sugar contributes a wonderful molasses-like warmth and moisture, which is essential for that signature apple pie flavor. Granulated sugar provides pure sweetness without overwhelming the delicate apple notes. While using all brown sugar is an option for a richer flavor profile, I don’t recommend using only granulated sugar, as it lacks the nuanced depth that brown sugar brings to the table.
- Spices: Ground cinnamon and ground nutmeg are the heart of apple pie spice. Cinnamon offers warmth and a familiar comforting aroma, while nutmeg adds a subtle, earthy, and slightly sweet undertone that complements the apples beautifully. These two spices create that quintessential apple pie taste we all know and love.
- Apples: The star of the show! It’s crucial to select the right kind of apples, peeled, cored, and cut into uniform cubes. The quality and type of apple significantly impact the final texture and flavor of your filling. We’ll dive deeper into apple selection below.
- Lemon Juice: A splash of fresh lemon juice is non-negotiable. It brightens the flavors of the apples, preventing them from tasting flat, and effectively balances the sweetness of the sugars. It also helps prevent the apples from browning too quickly, maintaining their fresh appearance.
- Salt: Just a pinch of salt is incredibly important for enhancing all the other flavors in the filling. It doesn’t make the filling taste salty, but rather makes the sweet and spicy notes pop, creating a more harmonious and well-rounded taste.
- Water: Water helps create the luscious, syrupy consistency of the filling and ensures the apples cook evenly without drying out. It provides the necessary liquid base for the cornstarch to thicken properly.
- Cornstarch: This is our preferred thickening agent, crucial for achieving that glossy, pourable, yet thick filling. Cornstarch creates a clear, shiny sauce that beautifully coats the apple pieces, preventing a watery pie.
- Vanilla Extract: Pure vanilla extract adds a layer of fragrant sweetness and warmth, enhancing the overall aroma and flavor profile of the filling. For an even more intense vanilla note, you could experiment with vanilla bean paste or a scraped vanilla bean.
Selecting the Best Apples for Pie Filling
The secret to an outstanding apple pie filling starts with choosing the right apples. The best varieties are often referred to as “cooking apples” – those that are firm, tart, and juicy, and most importantly, hold their shape well during cooking rather than turning into mush. Avoid apples that are overly soft, bland, or grainy, as they won’t provide the desired texture or flavor. Here are some excellent choices for your pie filling:
- Granny Smith: A classic for a reason! Its firm texture and tartness provide a fantastic counterbalance to the sweetness of the sugar.
- Honeycrisp: Known for its crisp texture and sweet-tart flavor, it holds up beautifully in baking.
- Pink Lady: Offers a good balance of sweet and tart, with a firm flesh that maintains its integrity.
- Braeburn: A crisp apple with a rich, complex sweet-tart flavor, perfect for baking.
- Jonathan: A juicy, tart apple with a slightly spicy flavor that works wonderfully in pies.
- Northern Spy: Often considered one of the best baking apples for its balanced flavor and ability to retain shape.
For a more complex flavor profile, consider using a mix of two or three different apple varieties. Combining a tart apple (like Granny Smith) with a sweeter, firmer apple (like Honeycrisp or Braeburn) can yield a more interesting and delicious filling.
Thickening Agents: Cornstarch vs. Flour for Apple Pie
Both flour and cornstarch are effective thickeners for fruit fillings, and each has its unique characteristics that influence the final texture and appearance of your apple pie filling. Understanding these differences can help you choose the best one for your recipe:
- Cornstarch: Our preferred choice for this recipe, cornstarch creates a glossy, transparent, and vibrant filling. It has a higher thickening power than flour, meaning you need less of it to achieve the desired consistency. When cooked, cornstarch thickens quickly and results in a clean, syrupy sauce that beautifully coats the apples without making the filling cloudy. It’s also gluten-free, making it a great option for those with dietary restrictions.
- Flour: While flour also works as a thickener, it tends to produce a more opaque, cloudy, or milky-looking filling. You’ll generally need more flour than cornstarch to achieve the same level of thickness. If not cooked thoroughly, flour can sometimes leave a slightly pasty taste. However, some bakers prefer the more traditional, homestyle look and feel that flour provides.
For a clean, shiny, and perfectly thickened apple pie filling that truly lets the vibrant colors of the apples shine through, cornstarch is undoubtedly the superior choice.
Step-by-Step Guide: How to Make Homemade Apple Pie Filling
Creating your own delicious apple pie filling from scratch is a surprisingly simple and rewarding process. With just a few basic steps, you’ll have a perfectly spiced, tender, and irresistibly sweet filling ready for all your baking needs. Follow these easy instructions to achieve homemade perfection:
- Prep the Apples: Begin by thoroughly peeling, coring, and chopping your chosen cooking apples into uniform 1/2 to 3/4-inch cubes. Uniformity is key here, as it ensures all apple pieces cook evenly. Once chopped, immediately drizzle them with a small amount of lemon juice. This step not only adds a bright flavor but also prevents the apples from browning as you prepare the other ingredients.
- Infuse the Butter and Spices: Grab a large, heavy-bottomed skillet or a spacious pot. Melt the unsalted butter over medium heat. Once melted, add the ground cinnamon and ground nutmeg. Stir continuously for about 30 seconds to a minute, allowing the spices to bloom in the warm butter. This process, known as “toasting” the spices, intensifies their aromatic qualities and deepens their flavor, filling your kitchen with a wonderful fragrance.
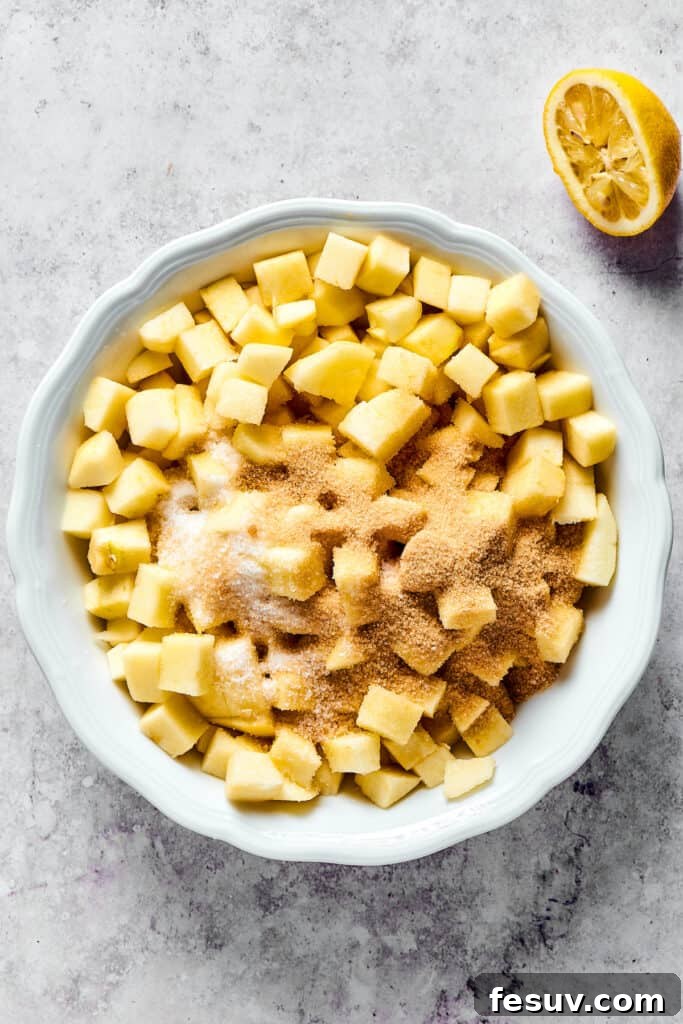
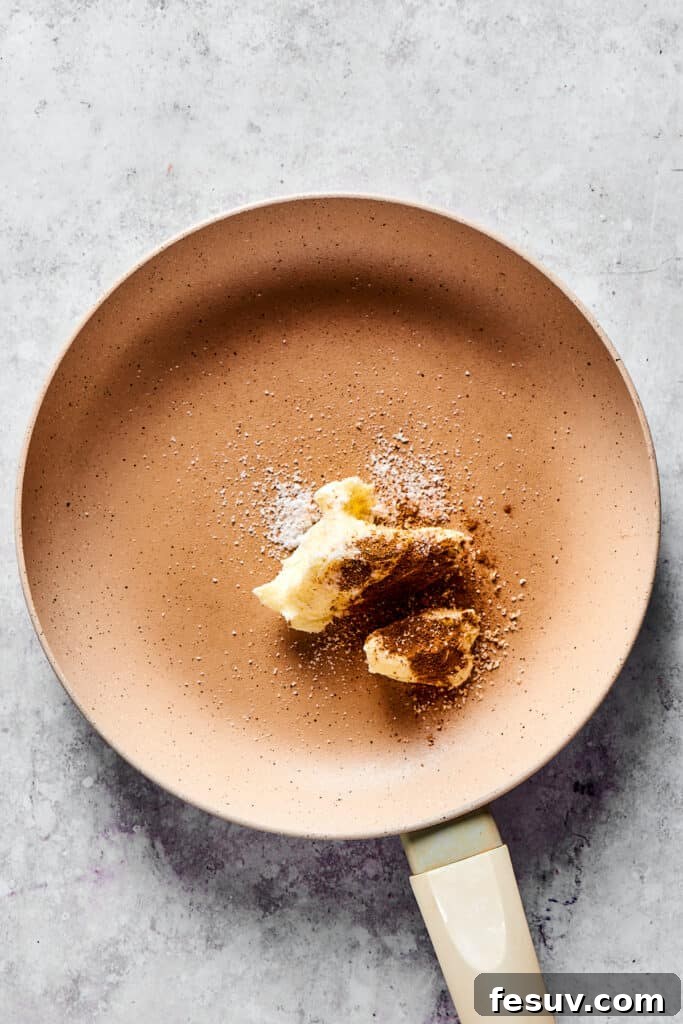
- Combine Apples, Sugar, and Water: Carefully add the prepared apples, both types of sugar (light brown and granulated), and half a cup of water into the skillet with the spiced butter. Stir everything together gently, ensuring the apples are well coated with the sugary spice mixture. Cover the pan with a lid and allow the filling to cook for approximately 6 to 7 minutes. During this time, the apples will begin to soften slightly and release their natural juices. Remember to stir the apples occasionally to prevent sticking and ensure even cooking.
- Prepare and Add the Cornstarch Slurry: While the apples are softening, create your cornstarch slurry. In a small, separate dish, combine the cornstarch with two tablespoons of cold water. Whisk vigorously until you achieve a completely smooth paste with no lumps. This slurry is essential for thickening the filling. Once the apples have cooked for the recommended time and are slightly tender, pour the cornstarch slurry directly into the pan while continuously stirring the apple mixture.
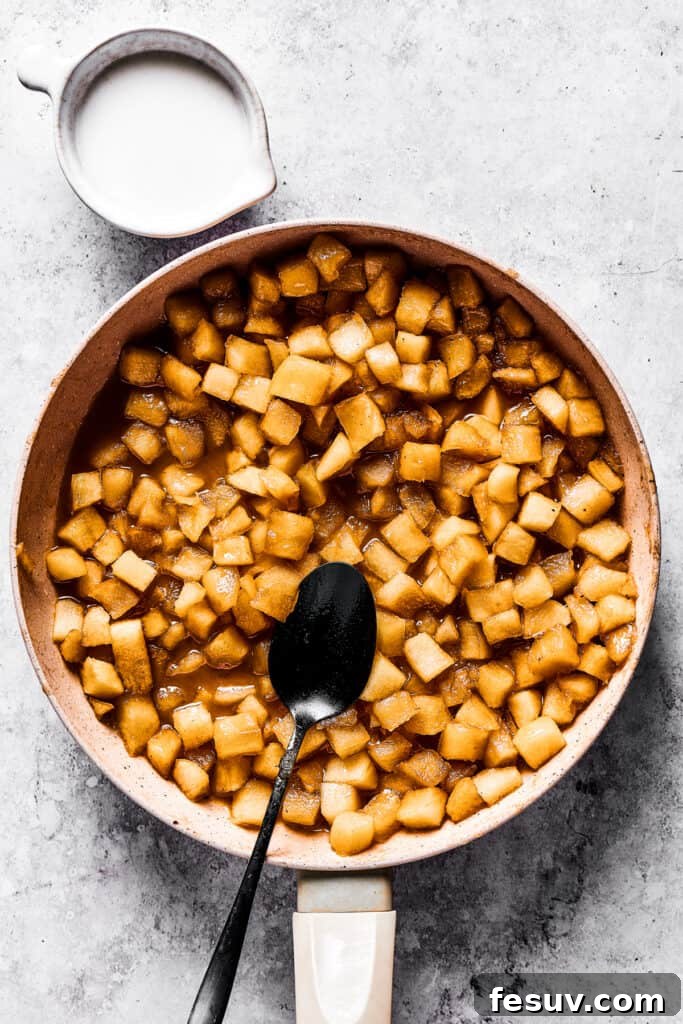
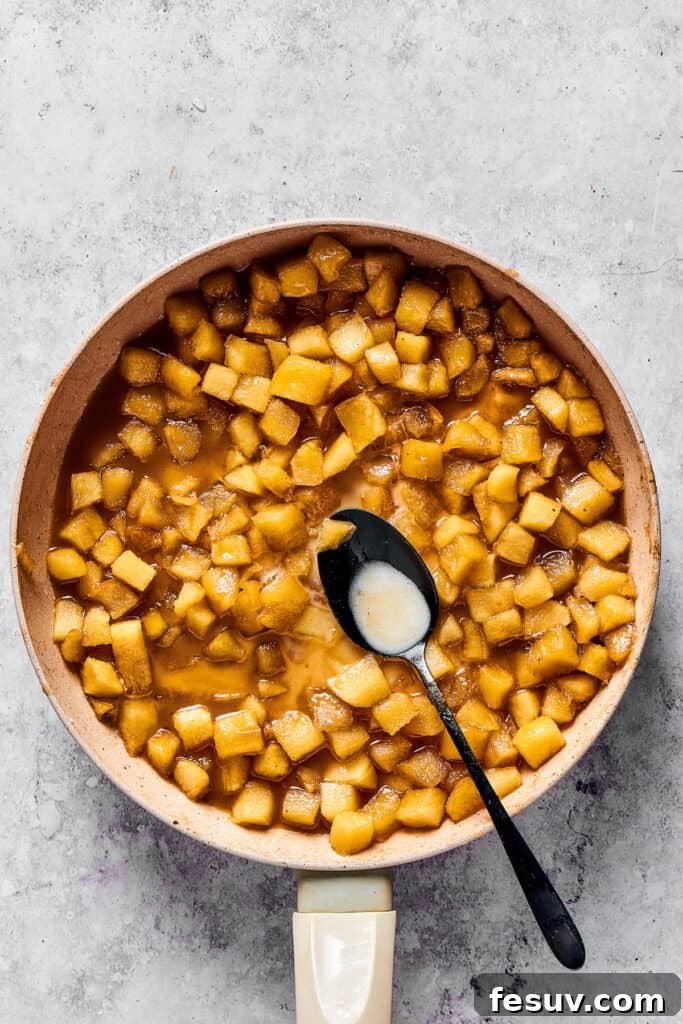
- Cook to Thicken and Cool: Continue to cook the apple mixture, stirring gently, until it begins to bubble and visibly thicken – this usually takes about 2 minutes. The cornstarch will activate with the heat, transforming the liquid into a luscious, glossy sauce. Once thickened, remove the pan from the heat. Stir in the pure vanilla extract, distributing its fragrant notes throughout the filling. Allow the filling to cool completely. As it cools, it will continue to thicken, reaching the perfect consistency for your pies and other creations. Once cooled, it’s ready to be used or stored.
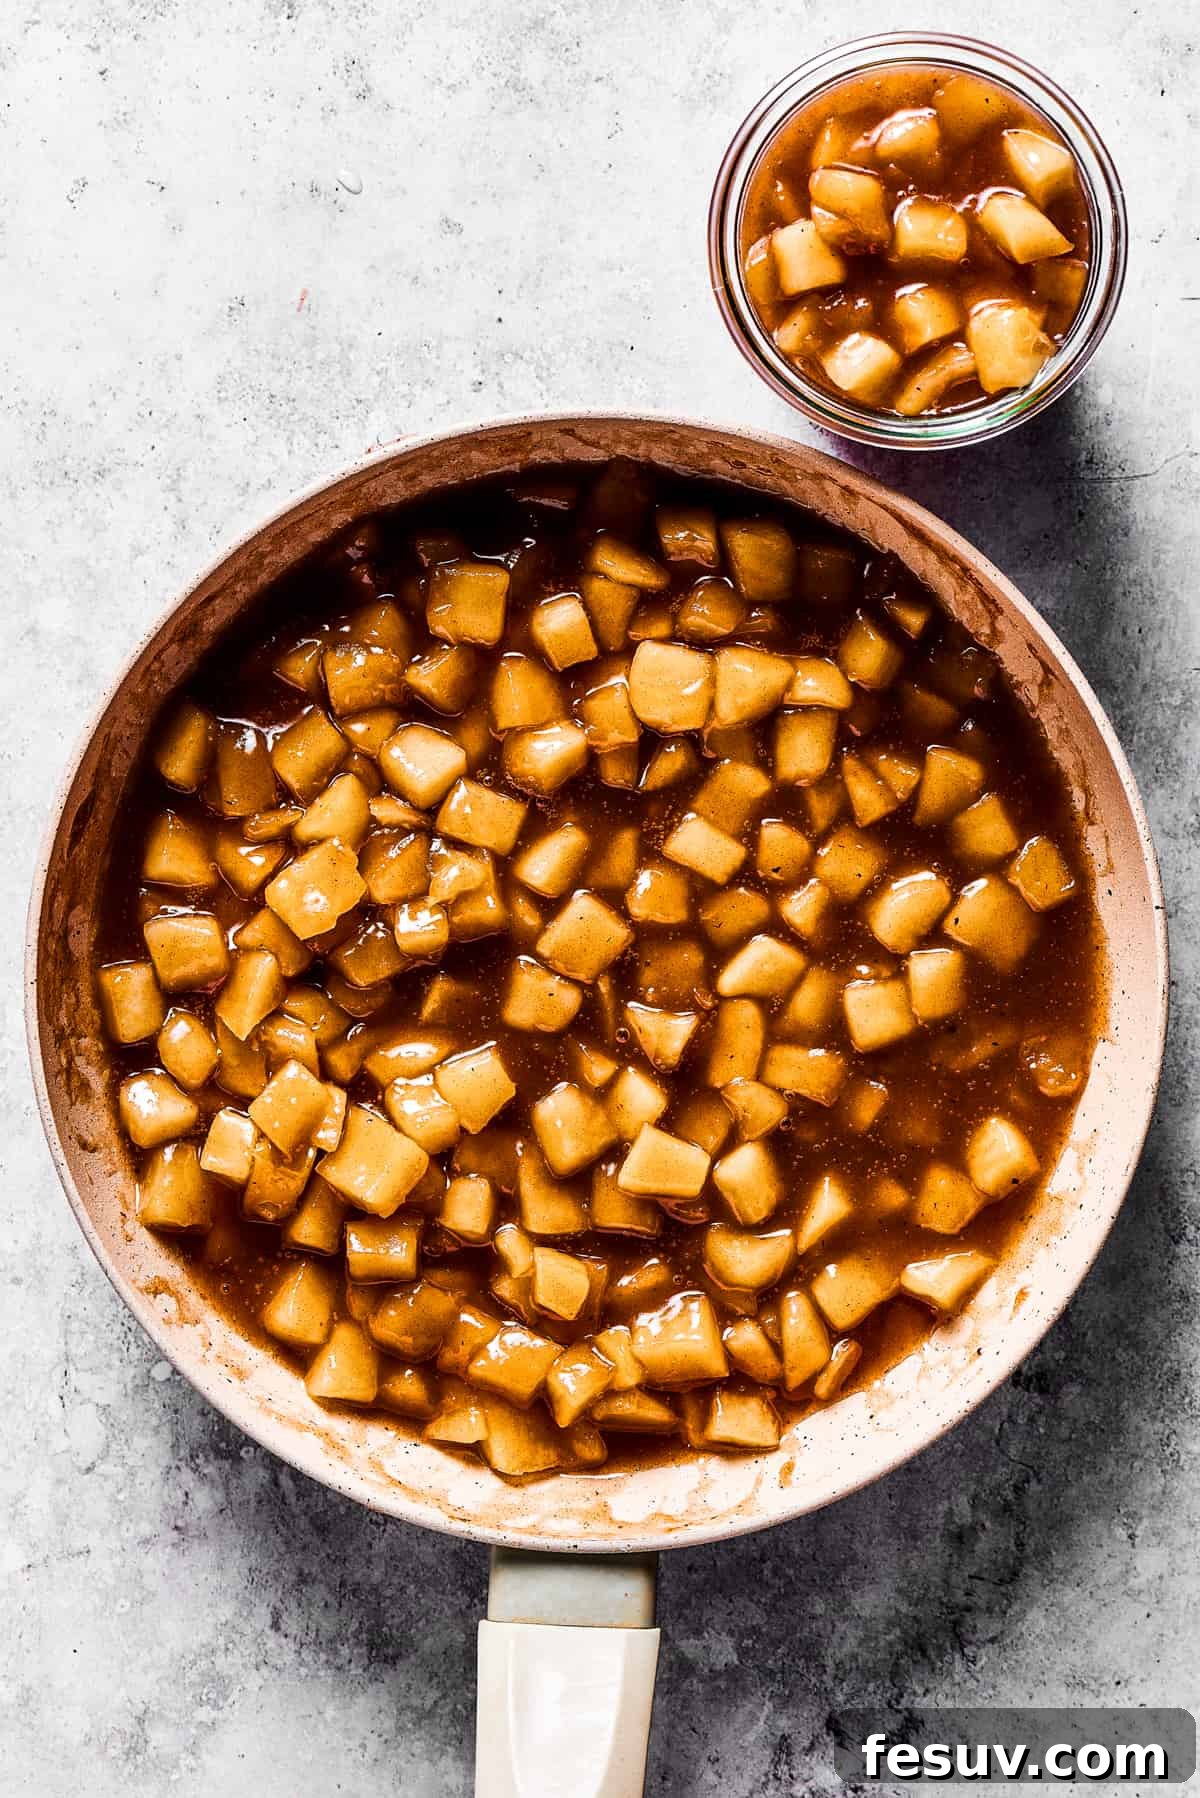
Expert Tips for Your Best Apple Pie Filling
Achieving a consistently perfect homemade apple pie filling is easy with a few insider tricks. Here are some helpful tips to ensure your filling turns out wonderfully every time:
- Consistency in Apple Cuts: Whether you choose to slice or cube your apples, aim for pieces of roughly the same size. This ensures that all the apples cook evenly and reach the desired tenderness simultaneously. If you prefer sliced apples, thinner slices will cook faster than cubes, so adjust your cooking time accordingly to prevent them from becoming too soft.
- Customize Your Spices: While cinnamon and nutmeg are the traditional stars, don’t hesitate to experiment with your spice blend. Pre-made apple pie spice can be a convenient option, or you can get creative by adding a pinch of ground ginger, allspice, or cardamom for a more complex and personalized flavor profile. A touch of ground cloves can also add a warm, festive note.
- Embrace a Mix of Apples: For a truly dynamic and interesting filling, consider combining different varieties of apples. A mix of tart (like Granny Smith) and sweet (like Honeycrisp or Fuji) apples creates a balanced flavor and adds complexity. Some apples hold their shape better, while others break down more, contributing to a varied and pleasing texture.
- Prevent a Watery Filling: The cornstarch slurry is your best friend here. Ensure it’s completely smooth before adding it and allow the filling to come to a full simmer and bubble for at least two minutes after adding the slurry. This activates the cornstarch and guarantees a thick, glossy consistency. Under-cooking after the slurry is added is a common cause of watery filling.
- Don’t Overcook the Apples: The goal is tender-crisp apples, not mush. Keep an eye on them during the initial cooking phase. They should be slightly softened but still retain some bite. They will continue to soften as the filling cools and if baked further in a pie.
- A Touch of Alcohol (Optional): For an extra layer of gourmet flavor, consider stirring in a tablespoon or two of bourbon, brandy, or rum along with the vanilla extract. The alcohol cooks off, leaving behind a subtle, sophisticated warmth that complements the apples beautifully.
- Taste and Adjust: Always taste your filling before removing it from the heat. This is your chance to adjust the sweetness or add a little more spice if desired. Remember, flavors often mellow slightly as they cool, so a little extra zest at this stage can be beneficial.
Creative Ways to Enjoy Your Apple Pie Filling
Beyond its obvious destiny in a classic apple pie (and those sneaky spoonfuls straight from the jar in the middle of the night!), homemade apple pie filling is incredibly versatile. It can elevate a wide array of dishes, from cozy breakfasts to elegant desserts and even some unexpected savory pairings. Let your culinary imagination run wild with these delicious ideas:
- Breakfast Bliss: Infuse your morning meals with a touch of warmth and sweetness. Spoon generous dollops of apple pie filling over Fluffy Pancakes, waffles, or French toast for an instant upgrade. It’s also fantastic stirred into oatmeal or yogurt parfaits, layered with granola for added crunch.
- Irresistible Desserts & Snacks:
- Ice Cream Topping: A classic pairing! Warm the filling slightly and spoon it over vanilla bean ice cream for a comforting, easy dessert. Add a sprinkle of chopped nuts for texture.
- Crumble or Crisp Base: Use it as the delicious fruit layer for a quick apple crumble or crisp. Just add your favorite oat or streusel topping and bake until golden and bubbly.
- Cheesecake Swirl: Swirl cooled apple pie filling into your cheesecake batter before baking for a festive, spiced cheesecake.
- Yogurt Parfaits: Layer with Greek yogurt and granola for a healthy yet indulgent snack.
- Monkey Bread Companion: Serve it alongside warm Monkey Bread for a delightful autumn treat, perfect for sharing.
- Crepes & Blintzes: A perfect sweet filling for delicate crepes or traditional cheese blintzes.
- Outside the Box Savory Pairings:
- Latkes Twist: Offer it as a sweet, spiced alternative to plain applesauce with crispy potato latkes. The contrast of savory and sweet is surprisingly delicious.
- Pork Chop Enhancement: A small amount of warm apple pie filling can provide a wonderful sweet and tangy complement to savory dishes like perfect Baked Pork Chops or roasted chicken.
- Granola & Yogurt Bowl: Simply enjoy it as-is, topped with a generous sprinkle of your favorite granola and a dollop of plain or vanilla yogurt for a wholesome and satisfying snack or light meal.
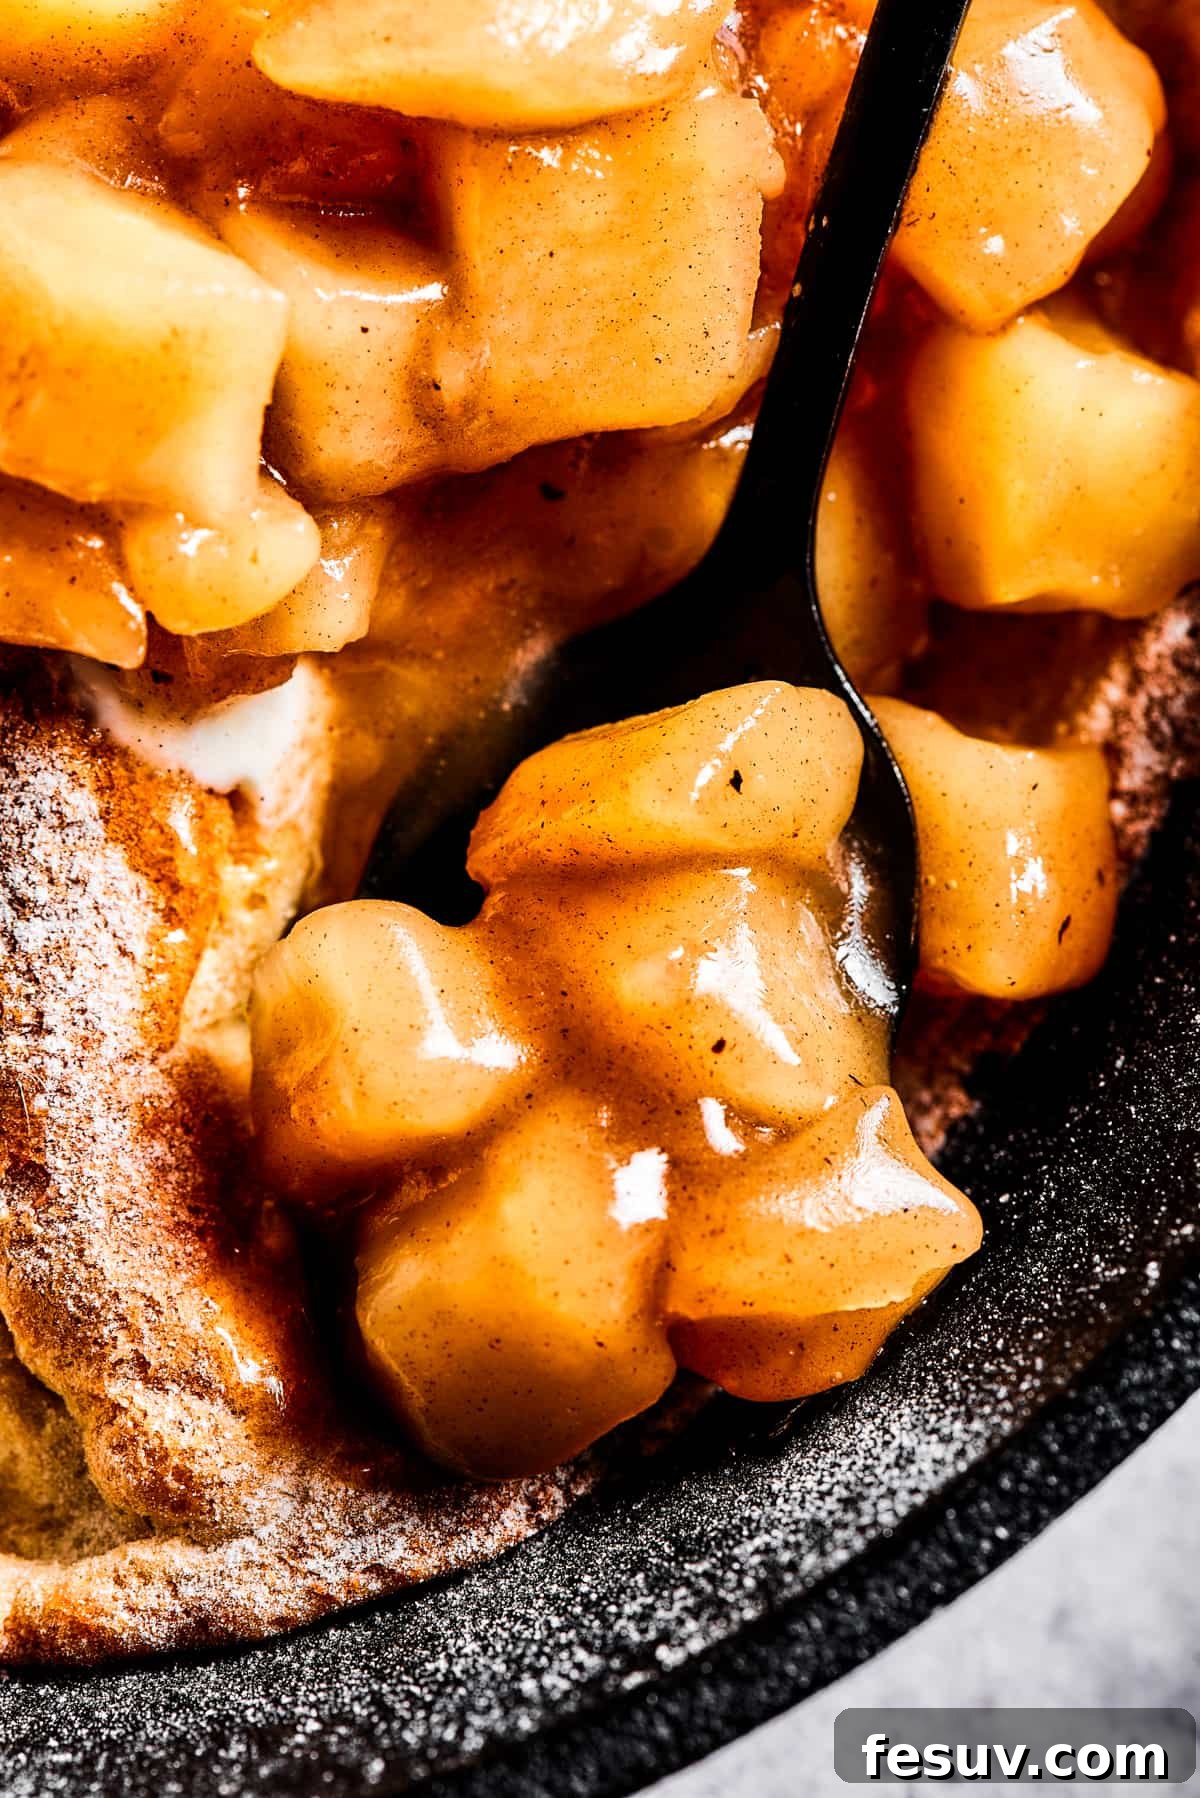
Storing and Freezing Homemade Apple Pie Filling
One of the many advantages of making your own apple pie filling is the ability to prepare it in advance and store it for later use. Proper storage ensures your delicious creation remains fresh and ready whenever a craving strikes.
- Refrigeration: Once the filling has completely cooled, transfer it to an airtight container. A large, clean glass jar with a tight-fitting lid is ideal. Stored in the refrigerator, homemade apple pie filling will remain fresh for up to four days. Before serving or using in a recipe, it’s often best to reheat it gently on the stovetop or in the microwave and give it a good stir to restore its optimal texture.
- Freezing: For longer-term storage, freezing is an excellent option. Ensure the apple pie filling is cooled completely before freezing. Portion it into freezer-safe bags (removing as much air as possible to prevent freezer burn) or airtight containers, leaving a little headspace for expansion. Label with the date. Frozen apple pie filling can be stored for up to three months without significant loss of quality.
- Thawing: When you’re ready to use your frozen filling, simply transfer it from the freezer to the refrigerator and allow it to thaw overnight. Once thawed, you can use it just as you would freshly made filling.
Apple Pie Filling
by Katerina | Easy Weeknight Recipes
This easy Apple Pie Filling is made with tender, juicy apples, warm spices, and brown sugar. It’s a classic recipe you’ll love.
Prep Time: 10 minutes | Cook Time: 10 minutes | Total Time: 20 minutes | Servings: 8
Ingredients
- 3 tablespoons unsalted butter
- ½ cup light brown sugar
- ¼ cup granulated sugar
- 2 teaspoons ground cinnamon
- ⅛ teaspoon ground nutmeg
- 5 cooking apples, peeled, cored, and cut into cubes
- 1 tablespoon lemon juice
- pinch salt
- ½ cup + 2 tablespoons water, divided
- 2 teaspoons pure vanilla extract
- 1 tablespoon cornstarch
Instructions
- Peel, core, and chop the apples into cubes. Drizzle with lemon juice.
- In a large skillet or pan, add the butter, cinnamon, and nutmeg, and melt over medium heat.
- Add the apples, sugar, 1/2-cup water, and vanilla extract to the pan. Stir to combine.
- Cover the pan and cook, stirring occasionally, for 6 to 7 minutes or until the apples are slightly softened.
- In a small dish, combine the cornstarch and 2 tablespoons of water. Stir until smooth.
- Add the cornstarch mixture to the pan while stirring.
- Continue to cook until the mixture bubbles about 2 minutes. Remove from heat and let cool.
- Store or serve.
Equipment
- Skillet
- Wooden Spoons
- Measuring Cups and Spoons
Notes
- Cooking Apples include Granny Smiths, Honey Crisp, Pink Lady, Jonathan, and Braeburn, to name a few.
- This Apple Pie Filling makes enough filling for one standard, 9-inch diameter pie.
- Spices: You can tweak the spice blend to your taste, adding whatever you like.
- Aside from filling pies, there are other ways to use homemade apple pie filling. Stir it into a smoothie bowl, make other desserts, use it as a pancake topping, etc…
Nutrition
Calories: 182kcal | Carbohydrates: 37g | Protein: 0.4g | Fat: 4g | Saturated Fat: 3g | Polyunsaturated Fat: 0.2g | Monounsaturated Fat: 1g | Trans Fat: 0.2g | Cholesterol: 11mg | Sodium: 7mg | Potassium: 147mg | Fiber: 3g | Sugar: 32g | Vitamin A: 194IU | Vitamin C: 6mg | Calcium: 25mg | Iron: 0.3mg
Nutritional info is an estimate and provided as courtesy. Values may vary according to the ingredients and tools used. Please use your preferred nutritional calculator for more detailed info.
Did you make a recipe? Leave a rating
Frequently Asked Questions (FAQ) About Apple Pie Filling
Got more questions about perfecting your homemade apple pie filling? Here are answers to some common queries to help you become an apple pie filling pro!
- Can I make apple pie filling ahead of time?
Absolutely! This recipe is perfect for meal prepping. You can make the filling up to 4 days in advance and store it in an airtight container in the refrigerator. This allows the flavors to meld even further, potentially making it even more delicious. When you’re ready to use it, simply warm it gently on the stovetop before adding it to your pie or other dishes.
- What if my apple pie filling is too runny?
If your filling seems too thin after cooling, it’s likely the cornstarch didn’t fully activate. You can gently reheat the filling in a skillet over medium heat. In a small bowl, mix an additional teaspoon of cornstarch with two tablespoons of cold water to create another slurry. Slowly whisk this into the simmering filling and continue to cook, stirring constantly, until it thickens to your desired consistency. Be careful not to add too much at once, as it can thicken very quickly.
- Can I use frozen apples for this recipe?
Yes, you can! If using frozen apples, make sure to thaw them completely and drain any excess liquid before adding them to the skillet. Frozen apples tend to release more water than fresh ones, so you might need to slightly reduce the initial amount of water added to the recipe, or allow the filling to simmer a bit longer to achieve the right thickness. Taste and adjust spices as needed.
- How can I prevent my apples from becoming mushy?
The key to preventing mushy apples is choosing the right varieties (firm cooking apples like Granny Smith or Honeycrisp) and not overcooking them. Cook them just until they are slightly softened, but still have a bit of a bite. Remember, they will continue to soften as the filling cools and if baked again inside a pie. Cutting apples into uniform pieces also helps ensure even cooking.
- What’s the best way to serve leftover apple pie filling?
Leftover apple pie filling is a true gem! Serve it warm with a scoop of vanilla ice cream, stir it into your morning oatmeal, spoon it over Greek yogurt, use it as a topping for pancakes or waffles, or even spread it on toast or biscuits. It’s also fantastic in parfaits or as a quick dessert with whipped cream.
More Irresistible Apple Dessert Recipes
If you’ve fallen in love with the comforting flavors of apple, you’re in luck! There’s a whole world of delicious apple-infused desserts waiting to be explored. From comforting crisps to delightful doughnuts, these recipes are perfect for satisfying any sweet tooth:
- Easy Apple Crisp: A timeless classic featuring tender baked apples beneath a buttery, crumbly oat topping. Simple, quick, and utterly delicious.
- Baked Apple Cider Doughnuts with Maple Glaze: Capture the essence of autumn in a delightful, cake-like doughnut, finished with a sweet maple glaze. Perfect for a cozy morning treat.
- Homemade Candy Apples Recipe: A fun and festive treat, these vibrant candy apples are a showstopper at any gathering, offering a satisfying crunch with every bite.