
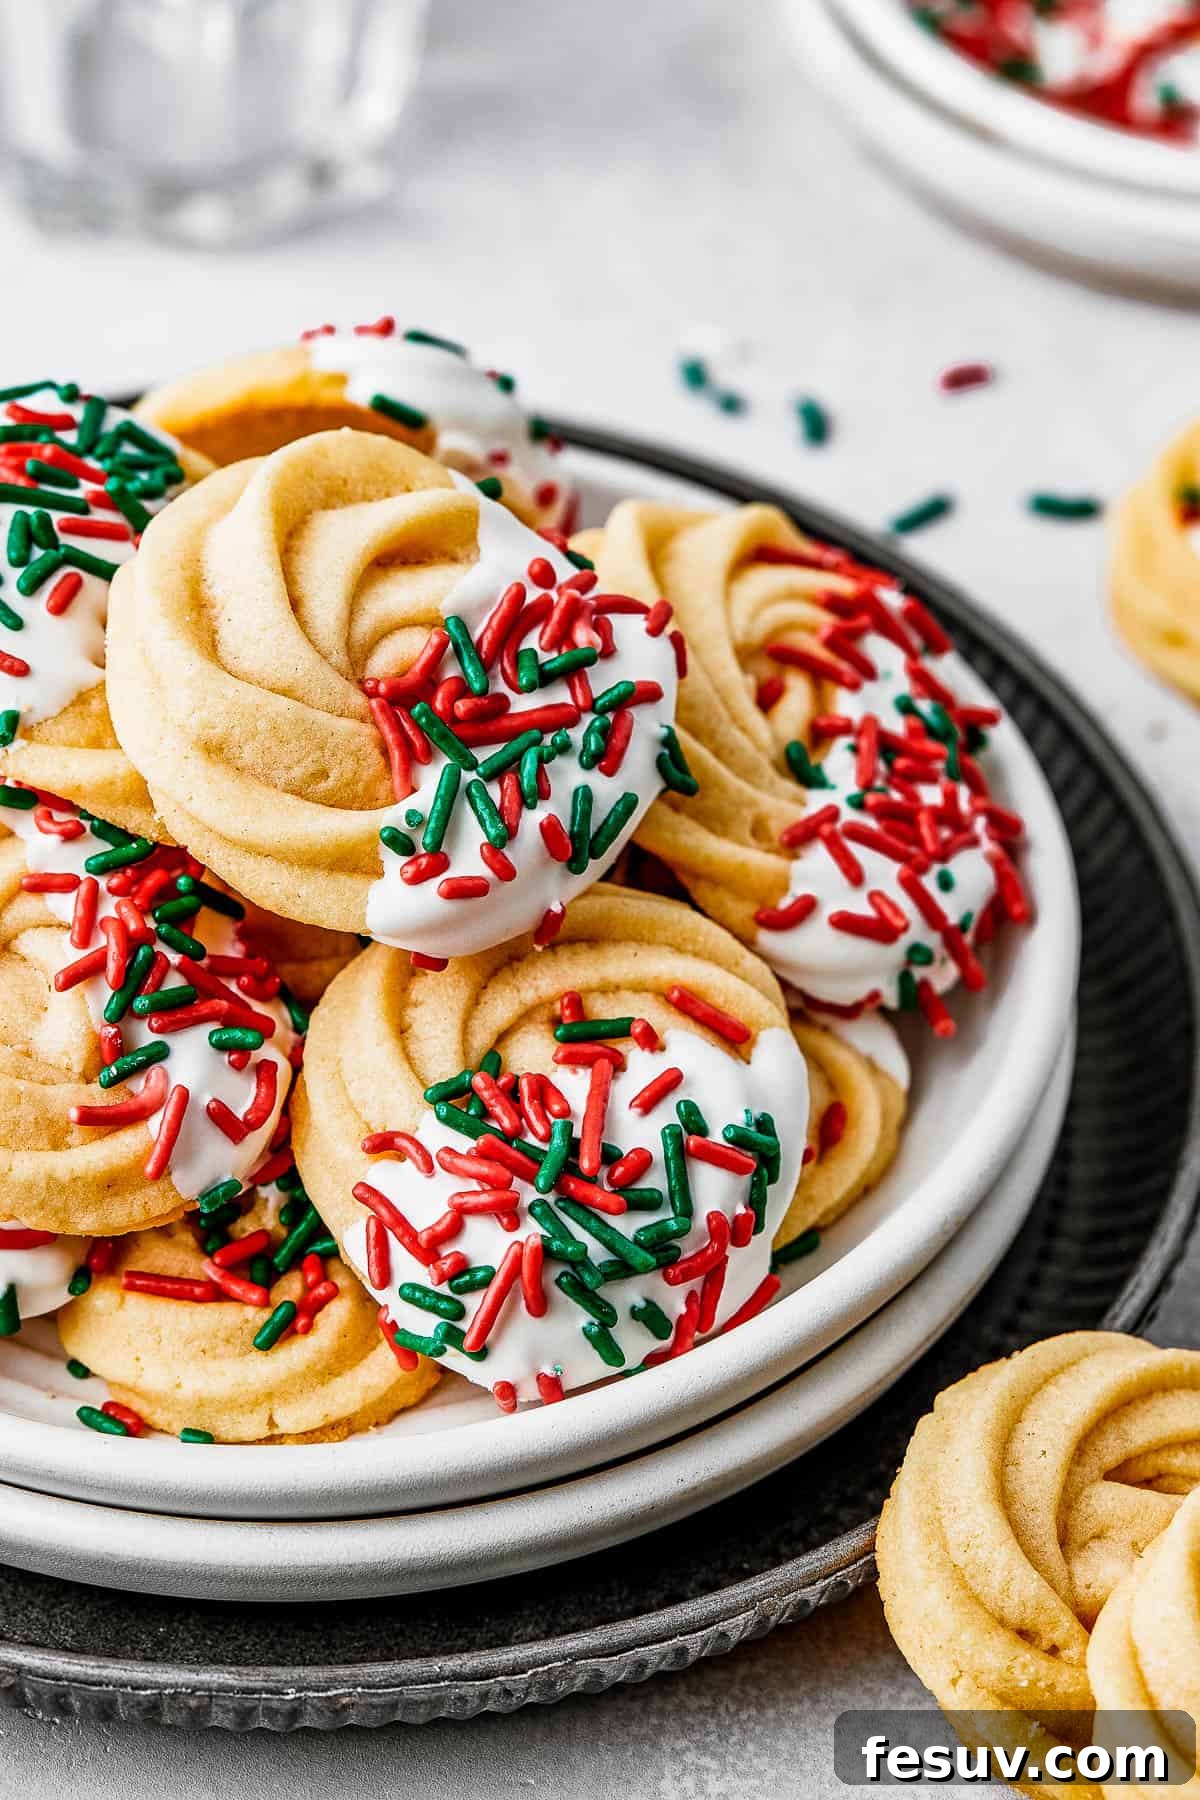
There’s something inherently comforting and utterly irresistible about a classic butter cookie. A true winter classic, these Homemade Butter Cookies are the quintessential treat for any chilly afternoon or festive gathering. Imagine a cookie that practically melts in your mouth, leaving behind a rich, buttery sweetness balanced with delicate hints of vanilla and almond. This recipe promises exactly that: a luxurious texture and an unforgettable flavor that will have everyone asking for more. Plus, they’re surprisingly simple to make at home, making them a perfect baking project for beginners and seasoned bakers alike. Don’t forget to make extra – they freeze beautifully for later indulgence!
If you’re looking to expand your holiday cookie repertoire, consider whipping up some Christmas cake mix cookies for a wonderfully quick and vibrant option, or dive into the delightful minty twist of candy cane cookies. Each recipe is designed to impress, making them ideal for holiday cookie swaps, elegant dessert platters, or simply enjoying a moment of pure bliss with a steaming cup of hot chocolate.
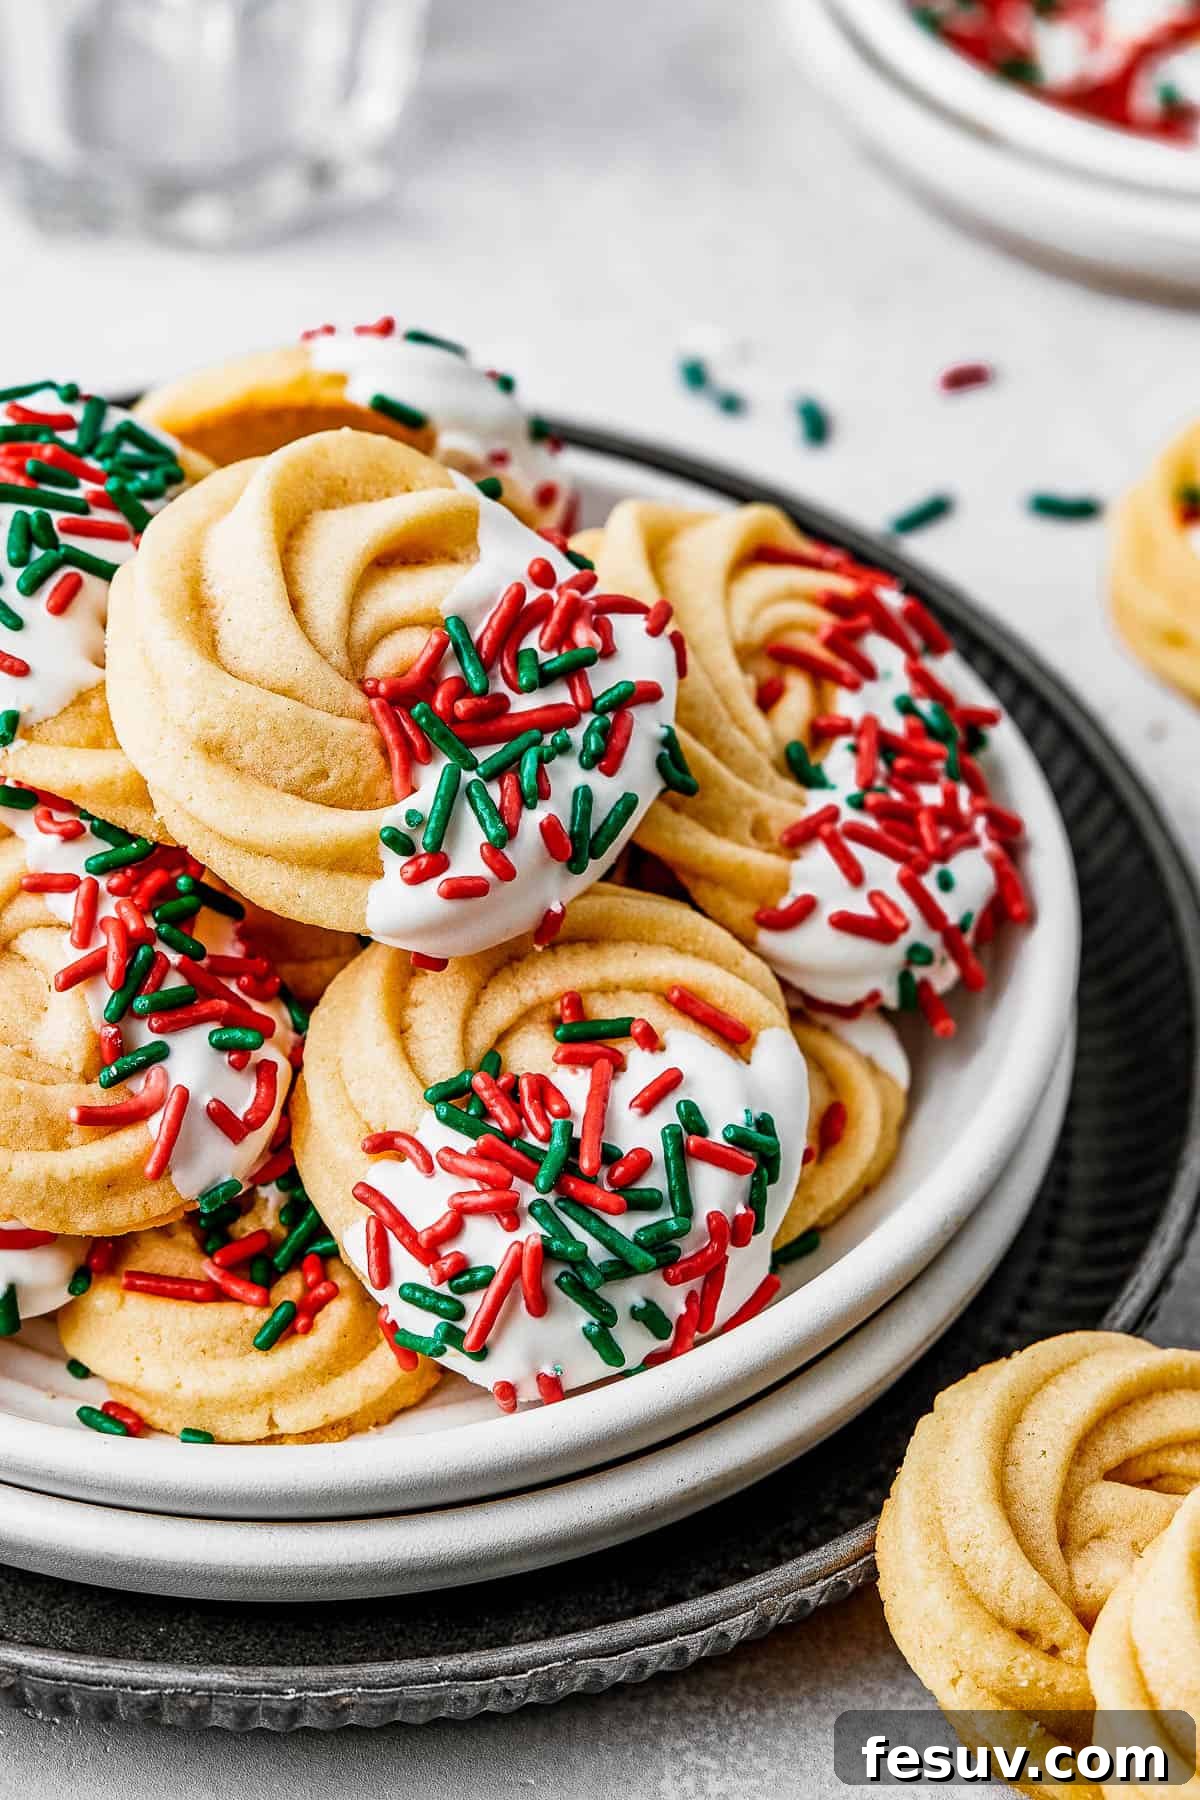
Unlock the Secret to Easy, Traditional Danish Butter Cookies at Home
The delicate swirls and rich, sweet aroma of butter cookies are a beloved staple, especially during the colder winter months. These iconic cookies, lightly infused with vanilla and almond extract, are a match made in heaven for an icy cold glass of milk, a robust cup of coffee, or a comforting mug of tea. You’ve likely encountered these delightful treats in their distinctive blue tins, gracing supermarket aisles or gift baskets. But what if we told you that achieving that same enchanting taste and delicate texture at home is not only possible but incredibly easy?
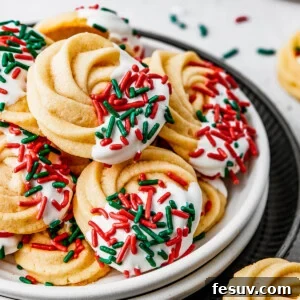
Preparing a batch of freshly-baked Danish butter cookies in your own kitchen elevates the experience to an entirely new level. The aroma alone is enough to transport you to a cozy, happy place, and the taste is truly out of this world! Our simplified recipe guides you through the process of creating a basic yet exquisite sugar cookie dough, rich with softened butter and fine confectioner’s sugar. The magic happens as you pipe the dough into elegant swirls, a step that’s far simpler than it looks. A brief chill in the refrigerator, followed by a quick bake, and you’ll have a tray of golden, tender cookies ready to impress. It’s a snap to make these bakery-quality treats, offering a homemade advantage that no store-bought version can replicate.
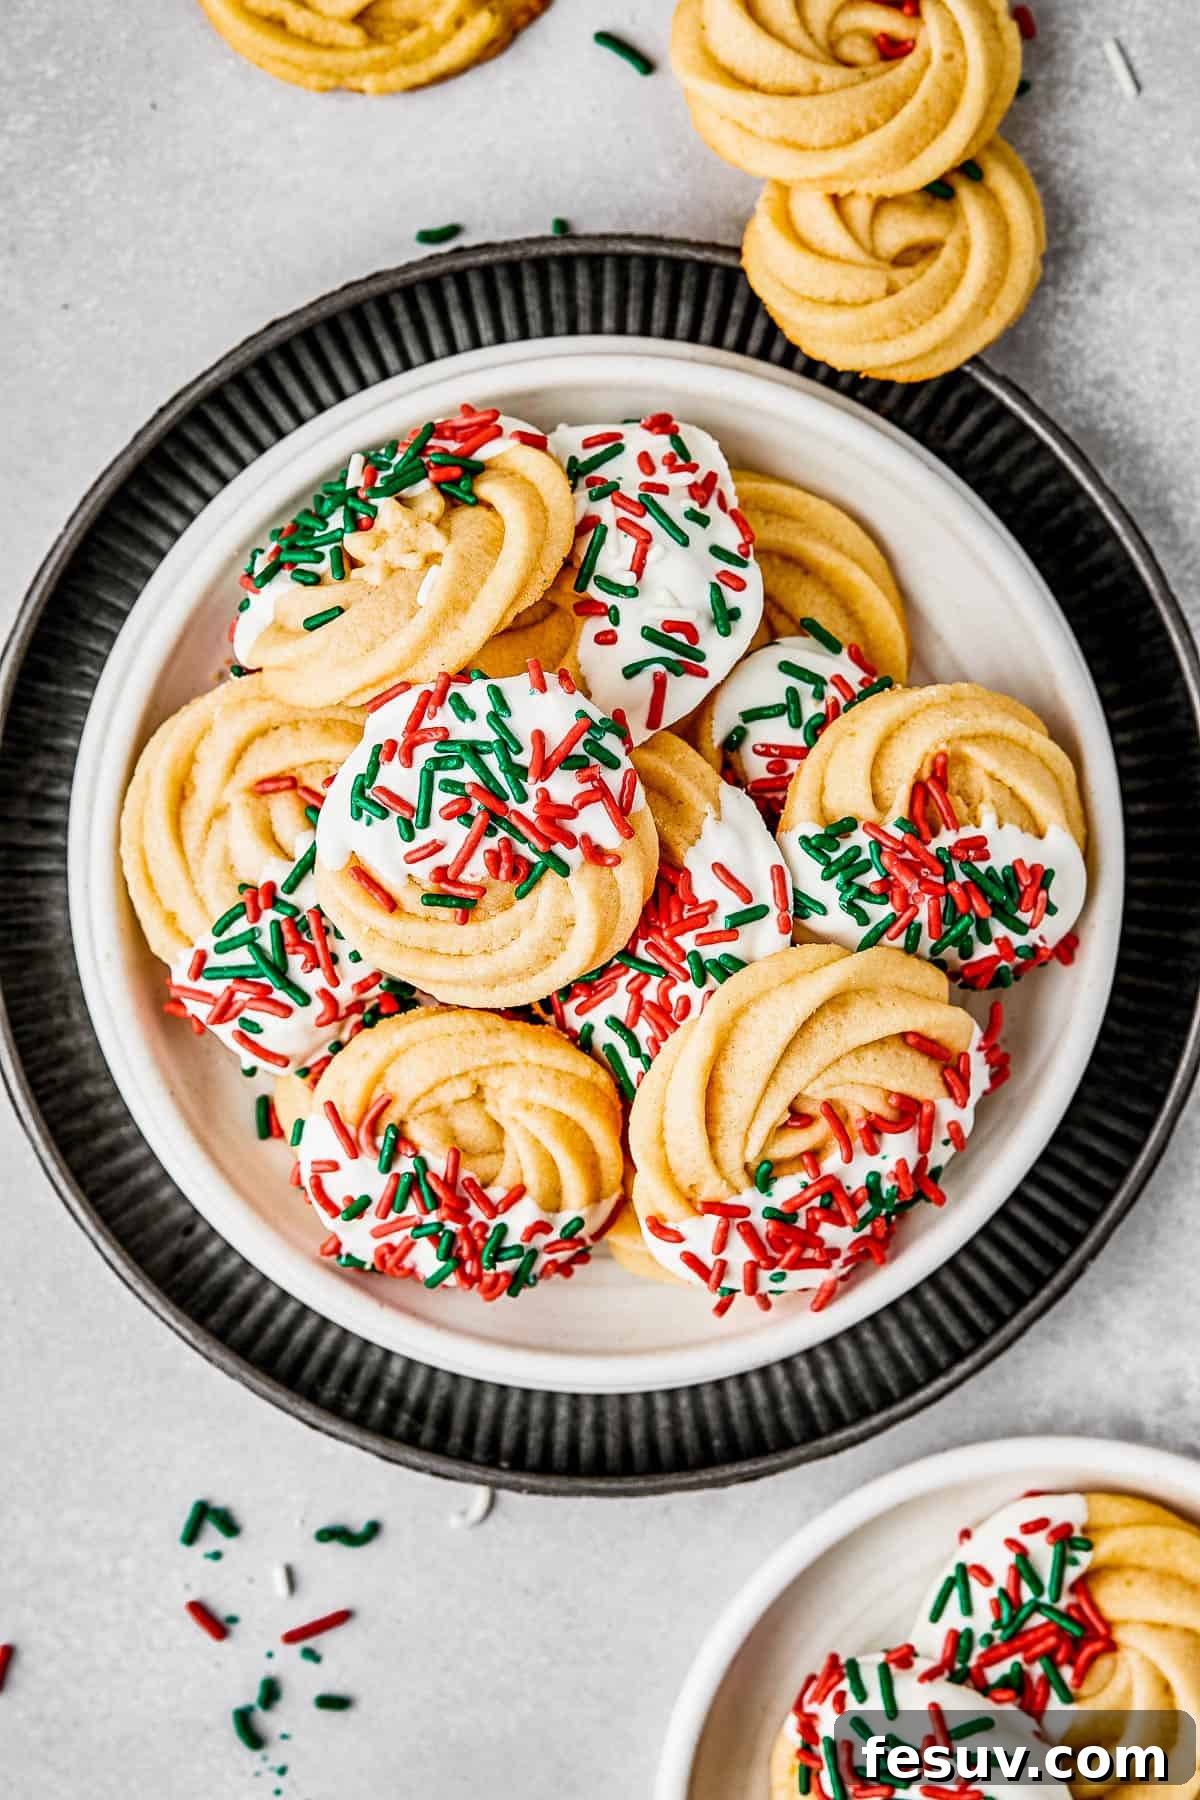
The Irresistible Allure: What Makes Butter Cookies So Beloved?
While personal taste always plays a role (and yes, it might be shocking, but not everyone is a butter cookie fanatic!), the widespread affection for Danish butter cookies stems from a combination of delightful characteristics. They may not boast the universal appeal of something like brown butter chocolate chip cookies, but their unique qualities create a loyal following. The secret lies in their incredibly light, almost ethereal texture that dissolves delicately on the tongue, coupled with a perfectly balanced punch of sweetness and a deeply satisfying, rich buttery taste.
The high butter content is undeniably central to their charm, contributing to that signature melt-in-your-mouth experience. This richness is expertly complemented by the subtle, yet impactful, flavors of vanilla and almond, with a whisper of salt to cut through the sweetness and round out the entire profile. This simple yet sophisticated combination results in an addictive flavor profile that makes it genuinely hard to stop at just one. These cookies are a testament to the power of quality ingredients and straightforward preparation, proving that sometimes, the simplest pleasures are truly the best.
Shortbread vs. Butter Cookies: Understanding the Subtle Yet Significant Differences
Often confused, shortbread cookies and butter cookies share a common buttery foundation but diverge significantly in their texture and ingredient composition. The most prominent differentiator is indeed the texture! Butter cookies, particularly the Danish style, are celebrated for their light, airy, and melting quality. This delicate characteristic is achieved thanks to a softer dough that typically incorporates additional ingredients like egg and milk, alongside confectioner’s sugar, which contributes to their fine crumb and tender bite.
In stark contrast, traditional shortbread cookies adhere to a minimalist recipe, usually featuring only butter, flour, and granulated sugar. This simpler ingredient list results in a distinctly crumbly cookie that, when bitten into, breaks apart into satisfyingly crunchy chunks. While equally delicious and beloved for its own unique qualities, shortbread offers a much denser and more robust texture compared to the soft, tender elegance of Danish-style butter cookies. Both are fantastic in their own right, but understanding their differences helps appreciate the specific charm of each.
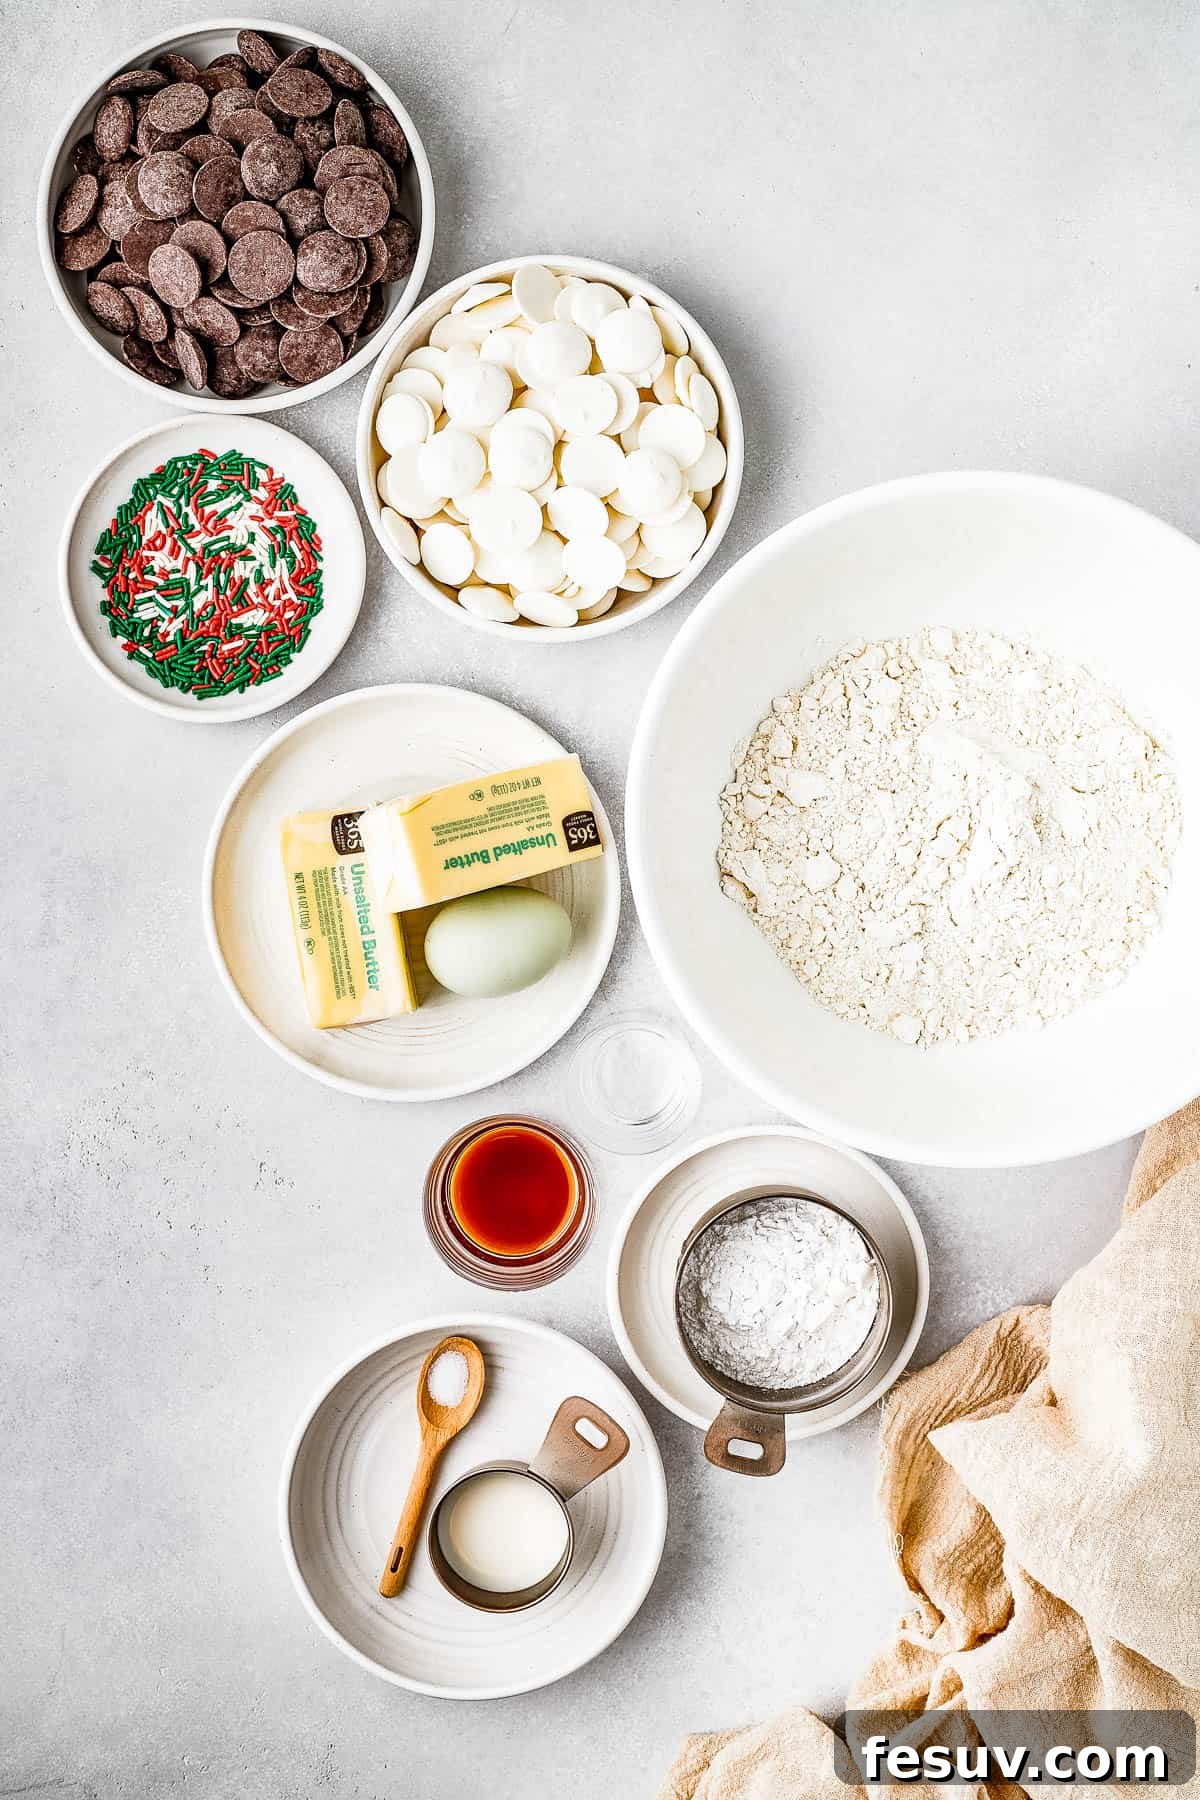
The Foundation of Flavor: Essential Ingredients for Perfect Butter Cookies
One of the beauties of this butter cookie recipe is its simplicity, requiring just a few wholesome ingredients that are likely already staples in your pantry and refrigerator. Using high-quality components is key to achieving that signature rich, melt-in-your-mouth texture and exquisite flavor. Here’s a detailed look at each ingredient and its vital role in creating these delightful treats:
For the Cookies
- Unsalted Butter: The star of the show! For the best flavor and control over saltiness, always opt for unsalted butter. Crucially, your butter must be at room temperature before you begin. This allows it to cream properly with the sugar, incorporating air for a light and fluffy dough.
- Confectioners’ Sugar: Unlike granulated sugar, confectioners’ sugar (also known as powdered sugar) is finely milled and contains a small amount of cornstarch. This contributes significantly to the cookies’ delicate, melt-in-your-mouth texture and prevents them from becoming gritty.
- Large Egg: A single large, whole egg acts as a binder, helping to emulsify the dough and provide structure, ensuring your cookies hold their beautiful piped shapes. Ensure it’s also at room temperature for seamless integration.
- Pure Vanilla Extract: A cornerstone of classic cookie flavor, pure vanilla extract adds warmth and depth. Don’t skimp on quality here; a good vanilla makes a noticeable difference.
- Almond Extract: This is a secret weapon that truly elevates these cookies, giving them that nostalgic, old-fashioned, and subtly complex taste often found in Danish butter cookies. It adds a sophisticated layer of flavor that’s both rich and wonderfully refreshing. Please don’t skip this ingredient – it’s essential for that authentic taste!
- Salt: A pinch of salt is vital for balancing the sweetness of the sugar and extracts. It enhances all the other flavors, preventing the cookies from tasting one-dimensional.
- All-Purpose Flour: Standard all-purpose flour provides the main structure for the cookies. If you’re experimenting with gluten-free options, a 1:1 gluten-free flour blend can be used, but be aware that the final texture of the cookies might vary slightly.
- Milk: A small splash of milk is added to achieve the perfect consistency for piping. It helps thin the dough just enough to flow smoothly through a piping bag without being too runny.
For the Optional Dip & Decoration
- Candy Melts (or Chocolate): Whether you prefer the classic look of white, the richness of dark, or the sweetness of milk chocolate, candy melts provide an easy and beautiful coating for your cookies. High-quality chocolate chips can also be used.
- Sprinkles: Unleash your creativity! Any kind of sprinkles—colorful jimmies, sparkling sugars, or festive nonpareils—can add a fun and celebratory touch to your dipped cookies.
Let’s Bake: A Step-by-Step Guide to Homemade Butter Cookies
Making these elegant butter cookies is a rewarding experience, and while you can certainly mix the dough by hand, using a hand mixer or a stand mixer is highly recommended. This will help you achieve that incredibly light and creamy consistency that’s essential for perfect butter cookies, a task that can be quite challenging with just a spoon and whisk. Whichever method you choose, remember the golden rule: ensure all your ingredients, especially butter and egg, are at room temperature for the best results.
For the Cookies
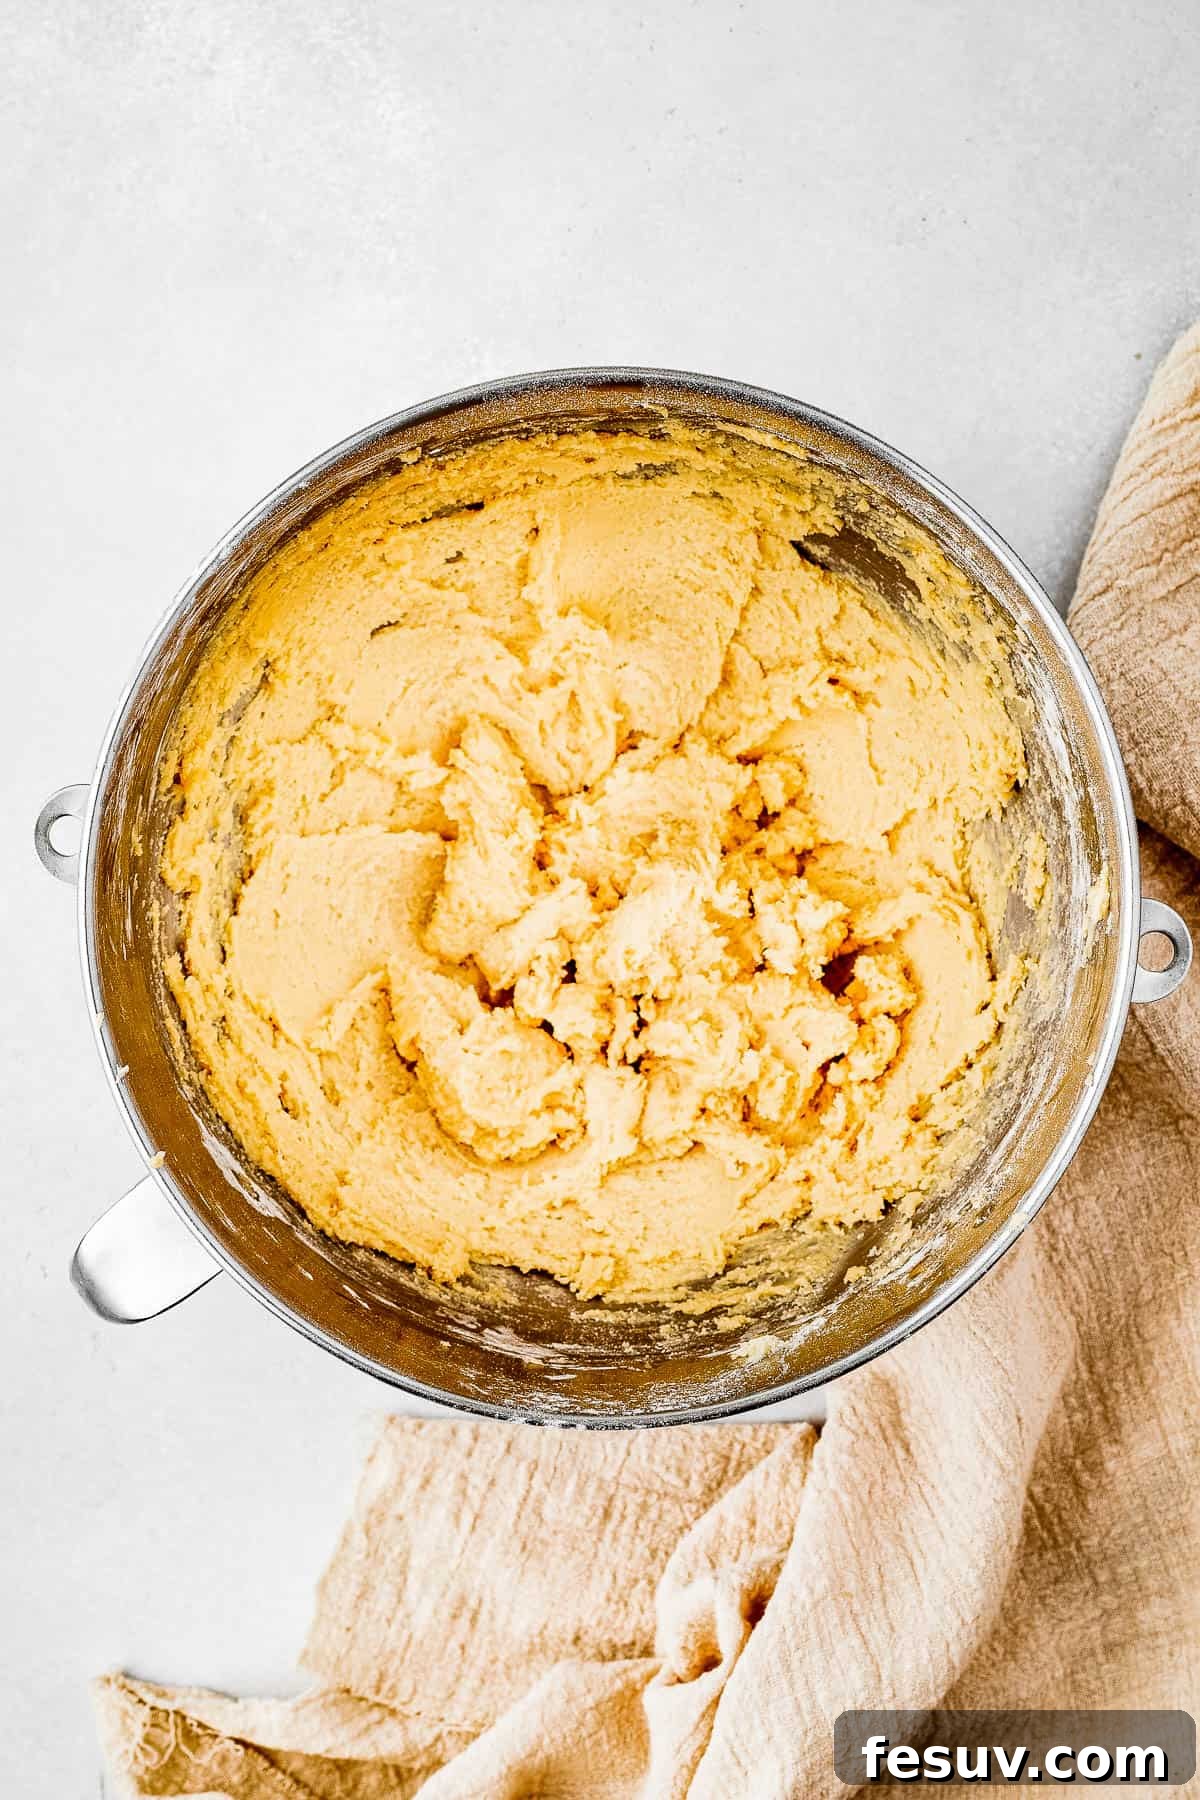
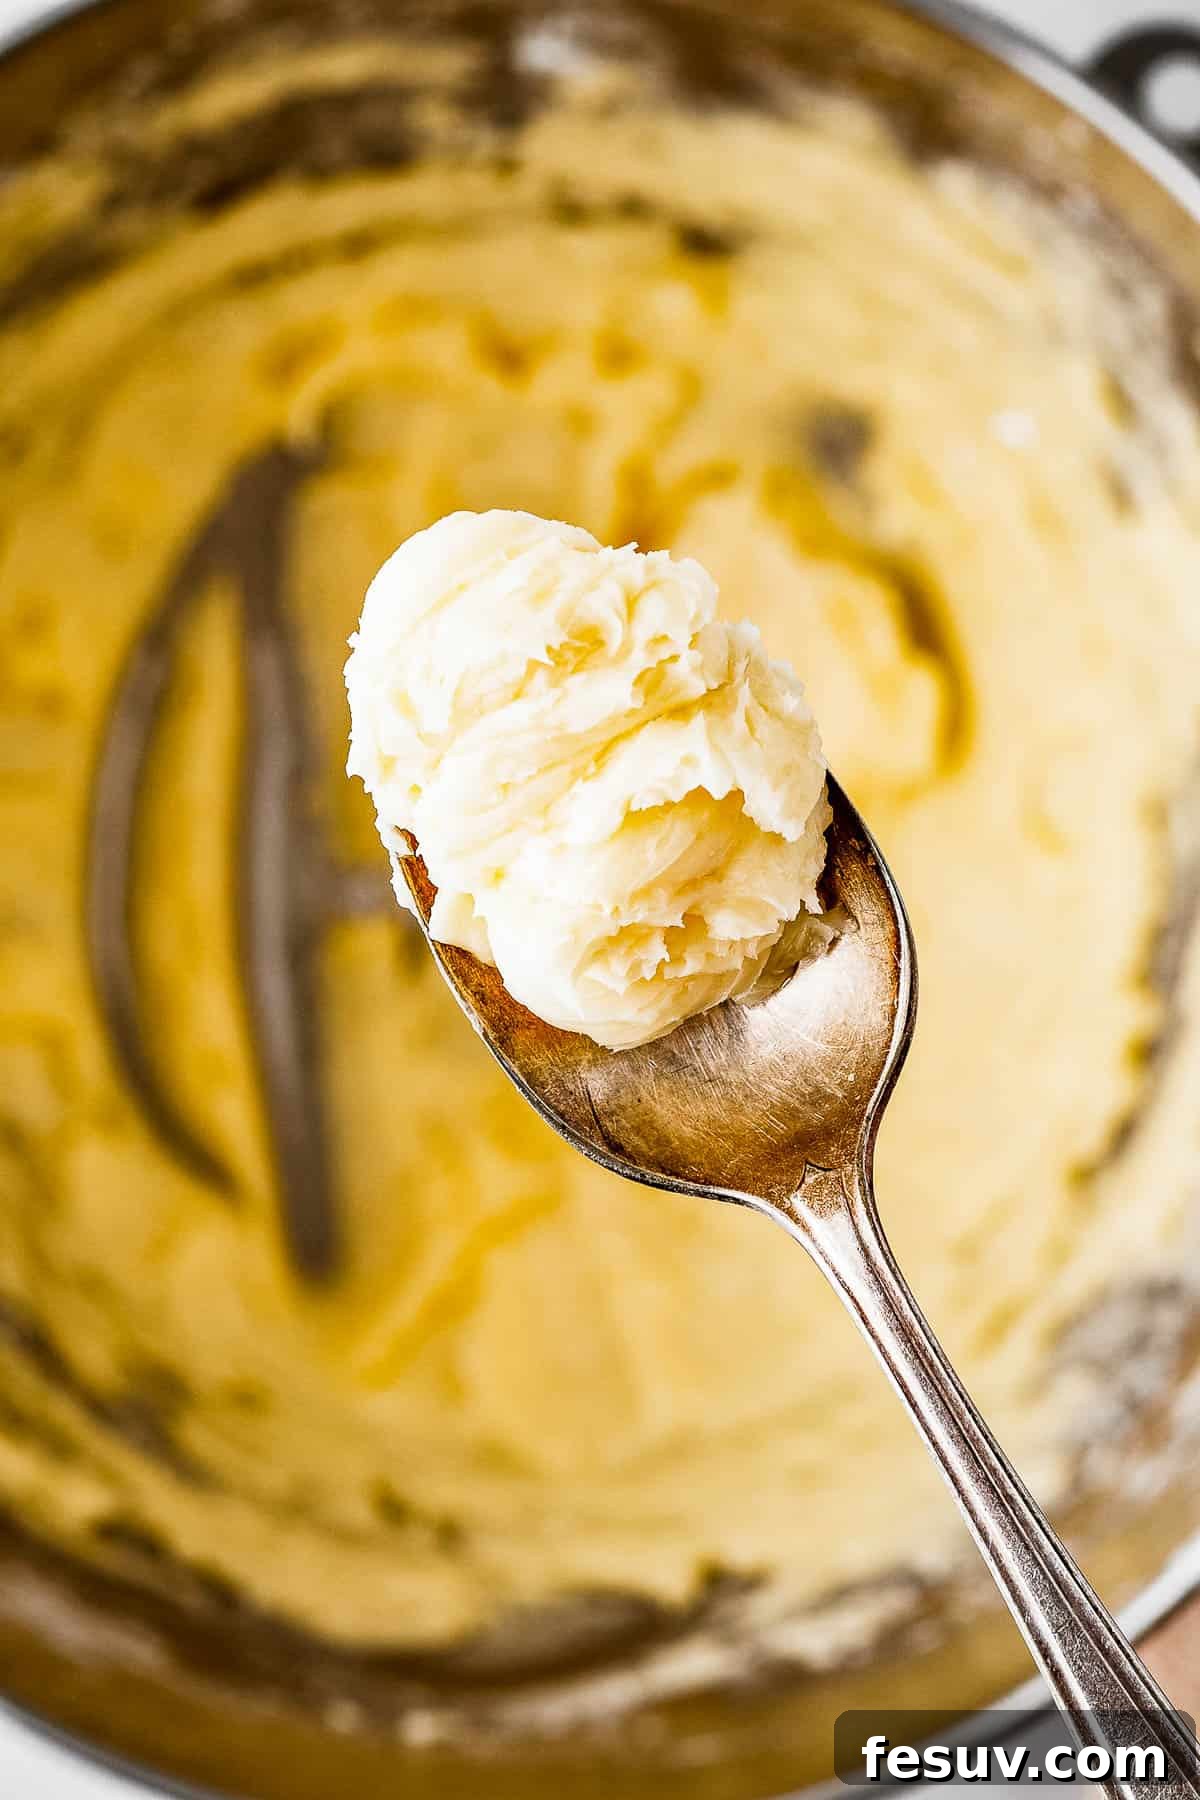
- Cream the Butter and Sugar: In a large mixing bowl, combine the softened unsalted butter and confectioners’ sugar. Using a hand mixer or a stand mixer fitted with a paddle attachment, beat these ingredients together at high speed. Continue mixing for 3 to 5 minutes, or until the mixture becomes wonderfully light and fluffy. This creaming process incorporates air, which is crucial for the cookies’ delicate texture.
- Incorporate Wet Ingredients and Salt: Crack the large egg into the butter mixture. Add the pure vanilla extract, almond extract, and salt. Continue beating these ingredients on high speed for another 1 to 2 minutes, ensuring everything is thoroughly combined and the mixture appears smooth and well-emulsified.
- Gently Add the Flour: Sift the all-purpose flour directly into the wet ingredients. Switch your mixer to a low speed (to prevent a cloud of flour from escaping!) and mix just until a soft, cohesive dough begins to form. Be careful not to overmix at this stage.
- Achieve Piping Consistency with Milk: At this point, the dough should be quite thick, possibly just a little too stiff to easily pipe. Add the tablespoon of milk and continue mixing on low speed until the dough is smooth and the milk is fully incorporated. The final dough consistency should be soft and pipeable, holding its shape without being runny.
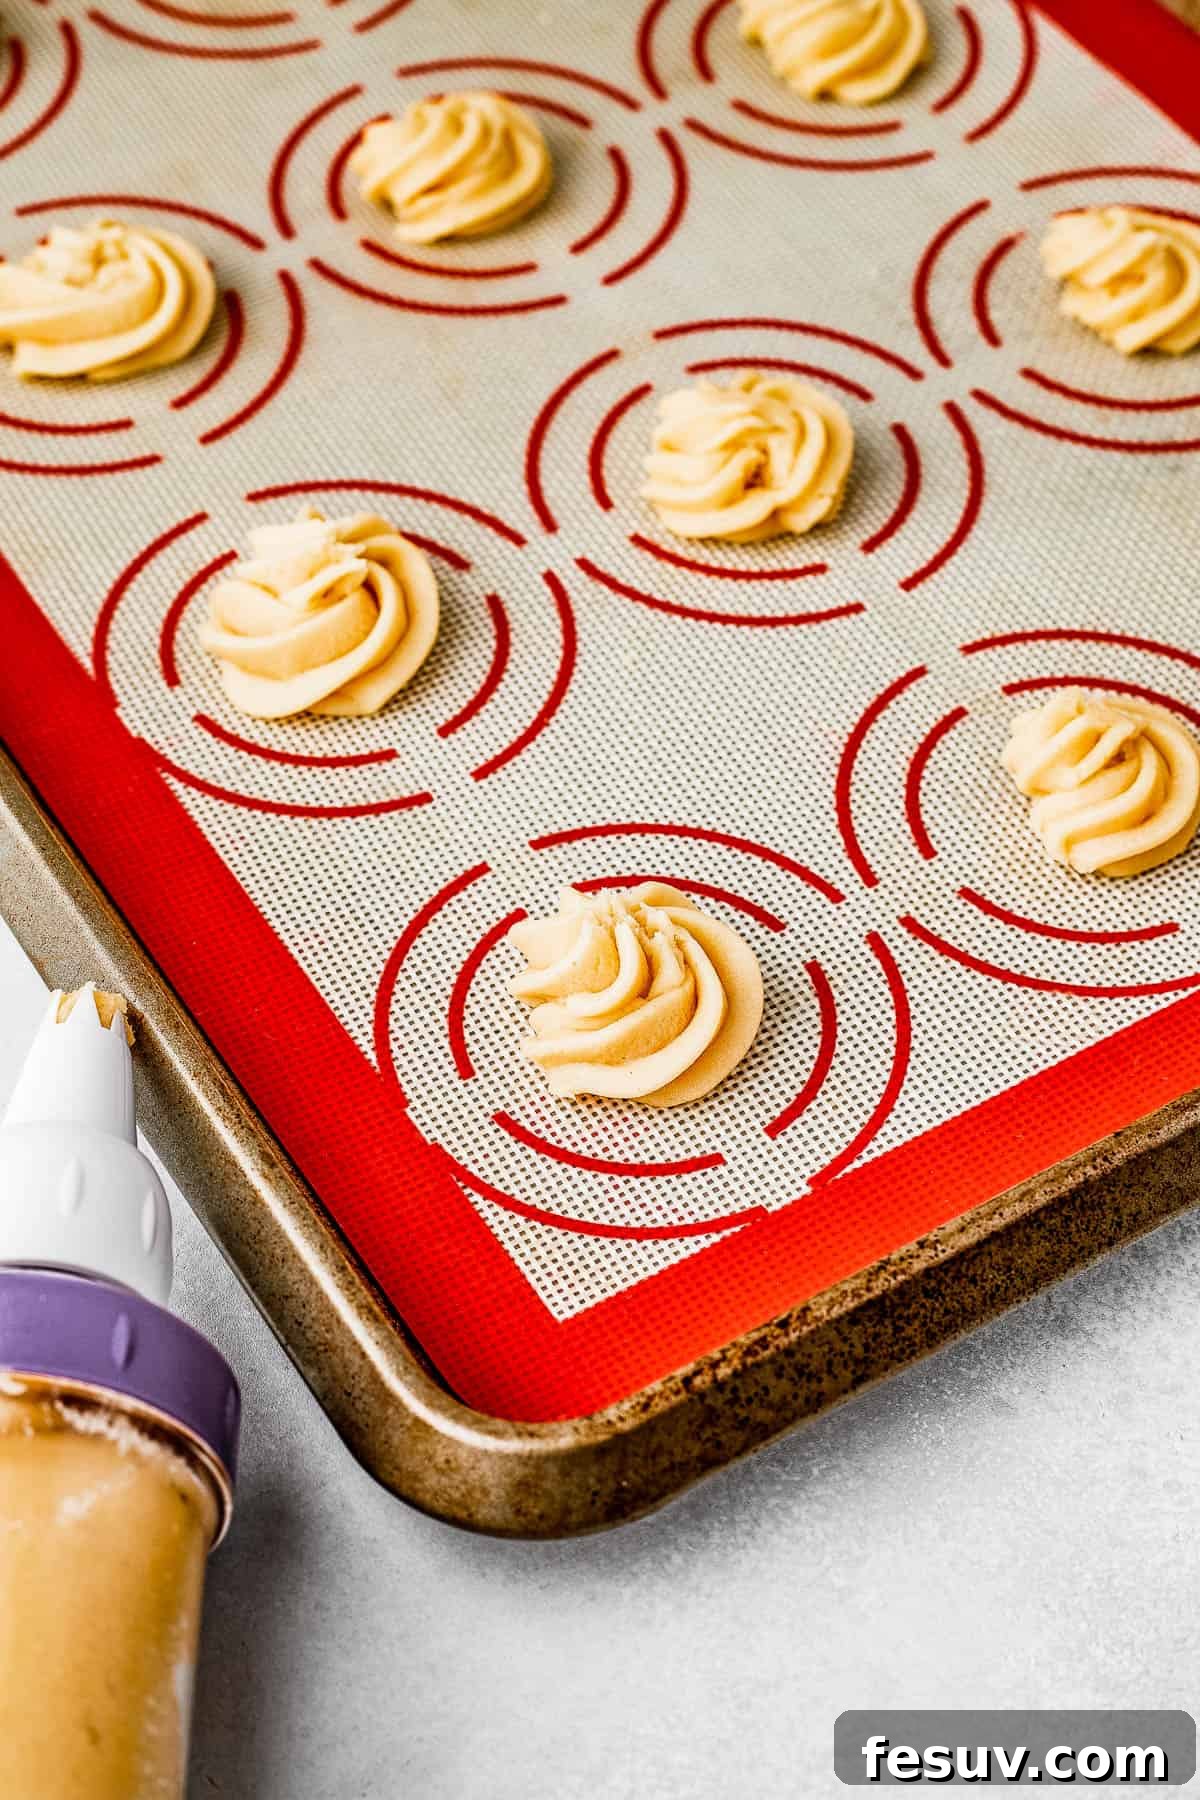
- Pipe and Chill Your Cookies: Carefully spoon or scrape the dough into a piping bag fitted with a large star tip (an open star tip at least ½ inch in diameter works best). If you don’t have a piping bag, you can improvise by snipping a corner off a large zip-top bag and inserting the piping tip. Pipe the dough into small, elegant swirls or other desired shapes onto a clean baking sheet lined with a silicone baking mat or parchment paper. Once all your cookies are shaped, transfer the baking sheet to the refrigerator and chill for a minimum of 30 minutes. This chilling step is vital to prevent the cookies from spreading excessively during baking.
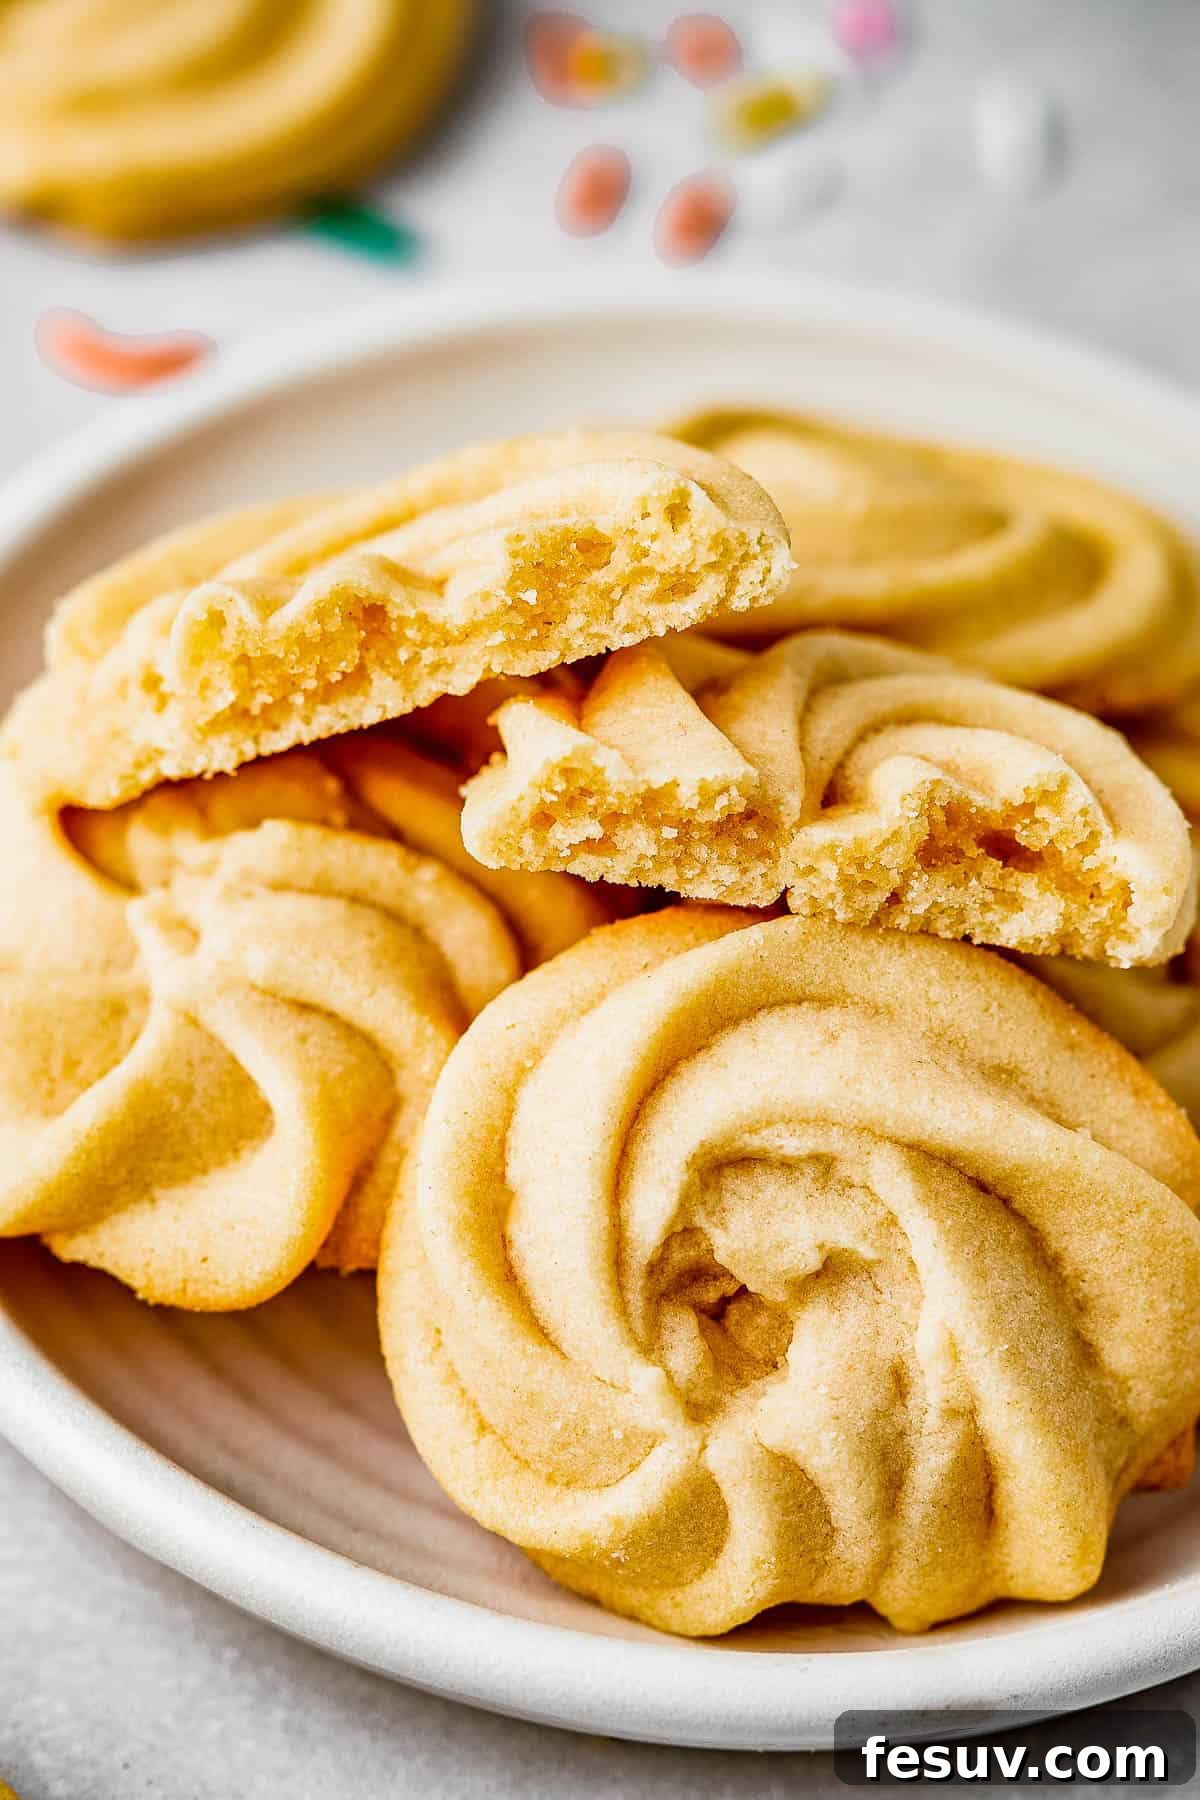
- Bake to Golden Perfection: While the cookies are chilling, preheat your oven to 350˚F (175˚C). Once preheated and the cookies are sufficiently chilled, bake them for 12 to 15 minutes. Look for the edges to turn a light golden brown, indicating they are perfectly done.
- Cool Completely: Allow the baked cookies to cool on the baking sheet for about 5 minutes. This helps them set and prevents breakage. Then, carefully transfer them to a wire cooling rack to cool completely for an additional 10 minutes or more before decorating or storing.
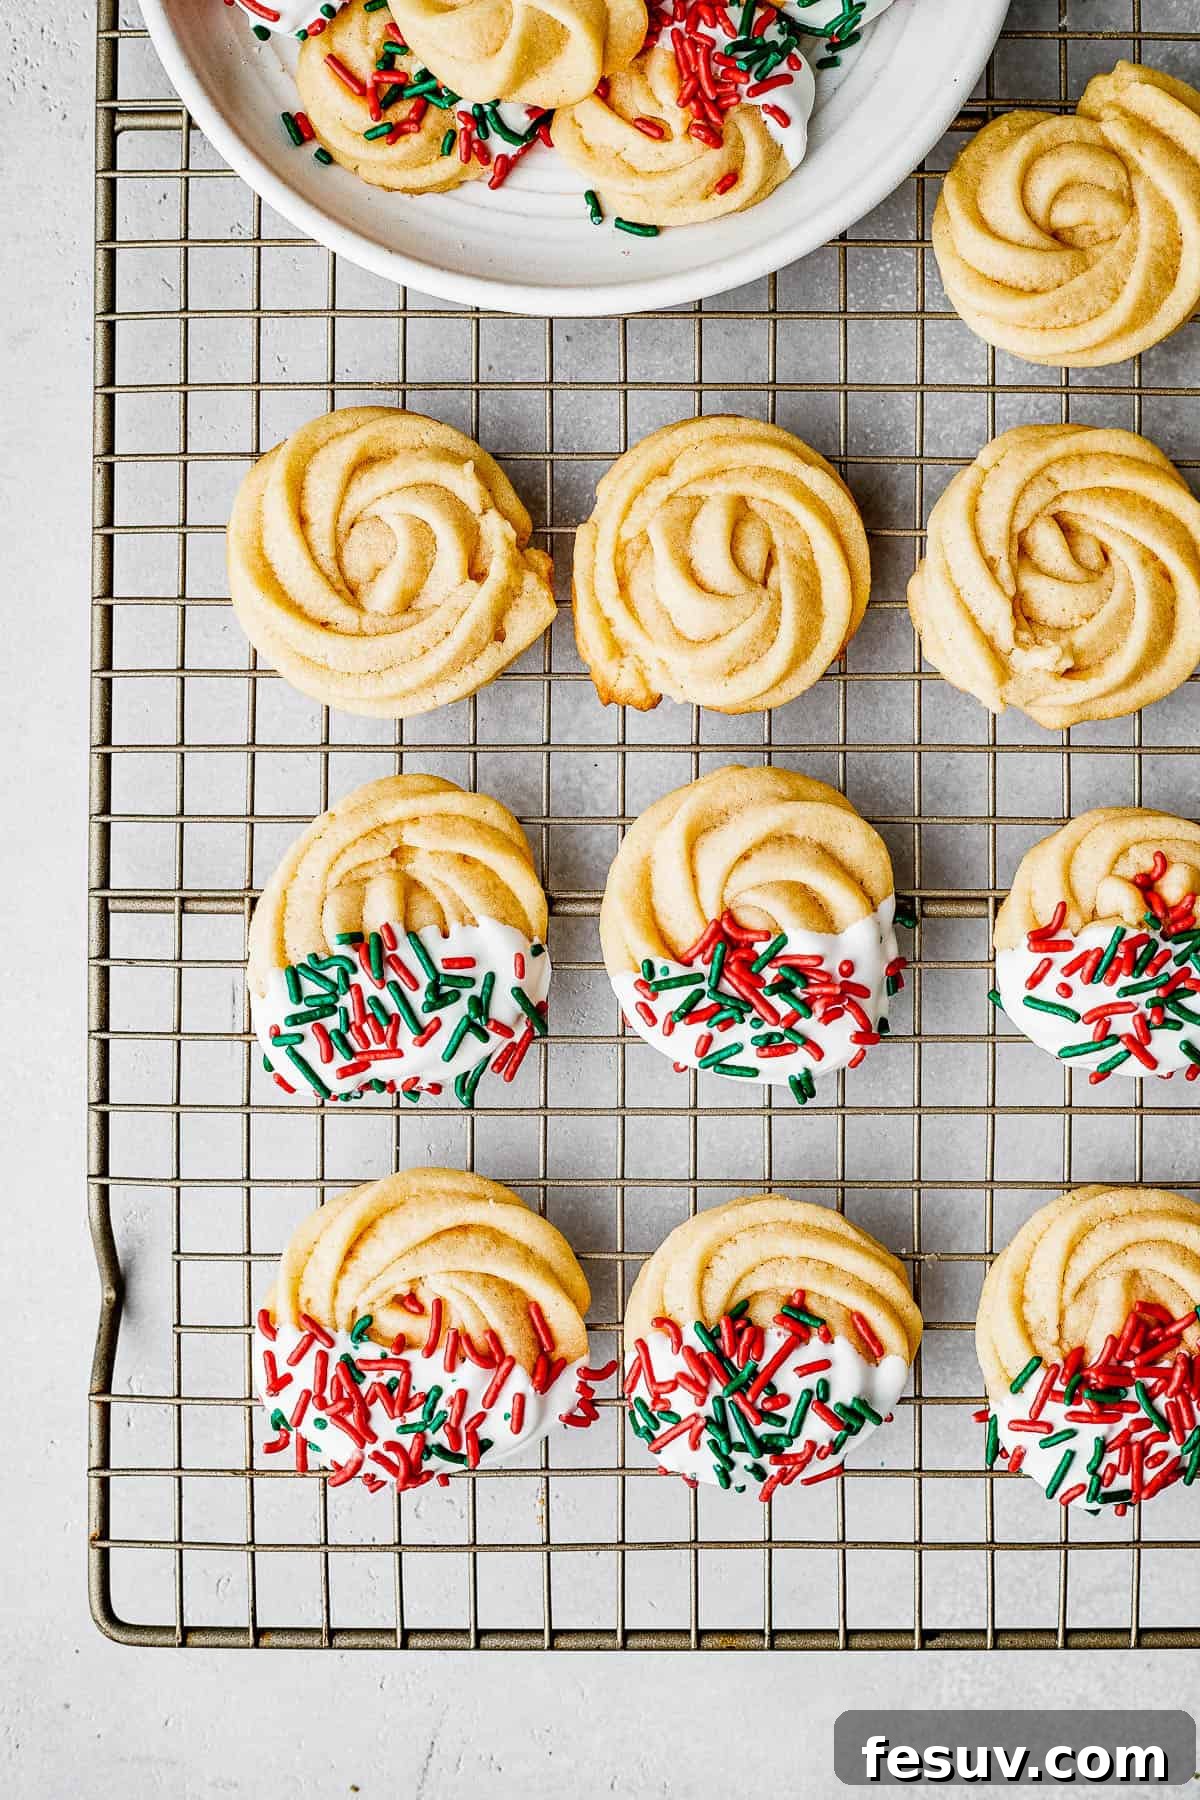
For the Optional Dip & Decoration
- Melt Your Candy Melts (or Chocolate): While a double-boiler works well, using a microwave is often quicker and easier. Place your candy melts (or desired chocolate) in a microwave-safe bowl with a wide rim. Microwave on 50% power in 30-second increments, stirring thoroughly after each interval, until the chocolate is completely melted and beautifully smooth.
- Dip the Cookies: Hold a cooled cookie and gently dip one half into the melted chocolate. Slowly lift it out, allowing any excess chocolate to drip back into the bowl. The goal is a smooth, even coating.
- Decorate with Sprinkles: Immediately after dipping each cookie, place it onto a baking sheet lined with parchment paper. If you’re using sprinkles, shower a few dashes over the wet chocolate before it sets. This ensures they adhere nicely.
- Chill to Set: Once all the cookies have been dipped and adorned with sprinkles, transfer the baking sheet to the refrigerator. Chill for approximately 15 to 20 minutes, or until the chocolate has completely set and hardened. Now they are ready to be served and enjoyed!
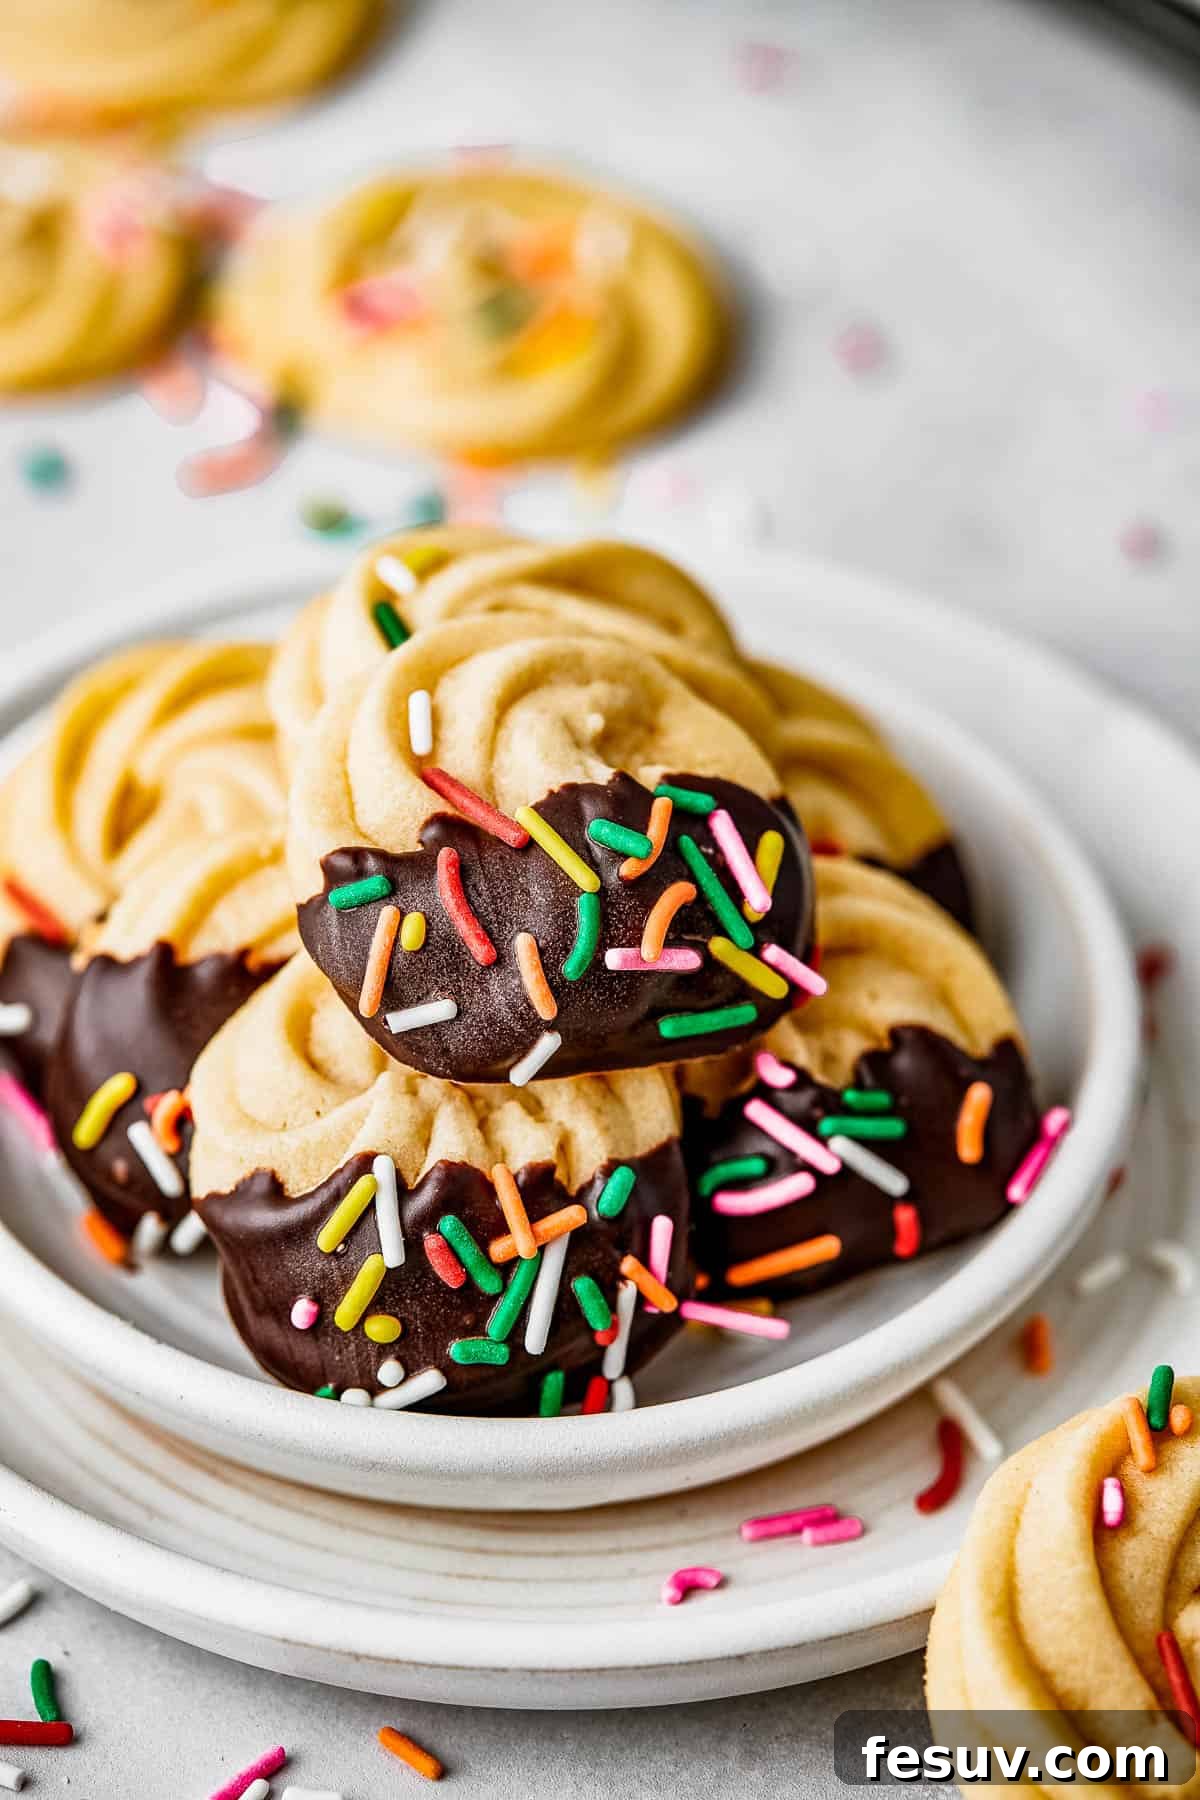
Make Ahead Magic: Prepare Your Butter Cookies in Advance
- For ultimate convenience, these butter cookies can be prepared ahead of time and baked fresh when you’re ready to serve. Simply prepare the dough as instructed, pipe your cookie shapes onto baking sheets, and then either chill or freeze them.
- Cover the baking sheets loosely with plastic wrap. You can refrigerate the unbaked, shaped cookies for up to 2 days, or freeze them for up to 3 months. When freezing, ensure they are placed flat on the baking sheet until solid, then transfer to an airtight container or freezer bag.
- Important Note: Handle unbaked, chilled, or frozen cookies with extreme care, as they are delicate and can easily lose their beautiful piped shapes if squished.
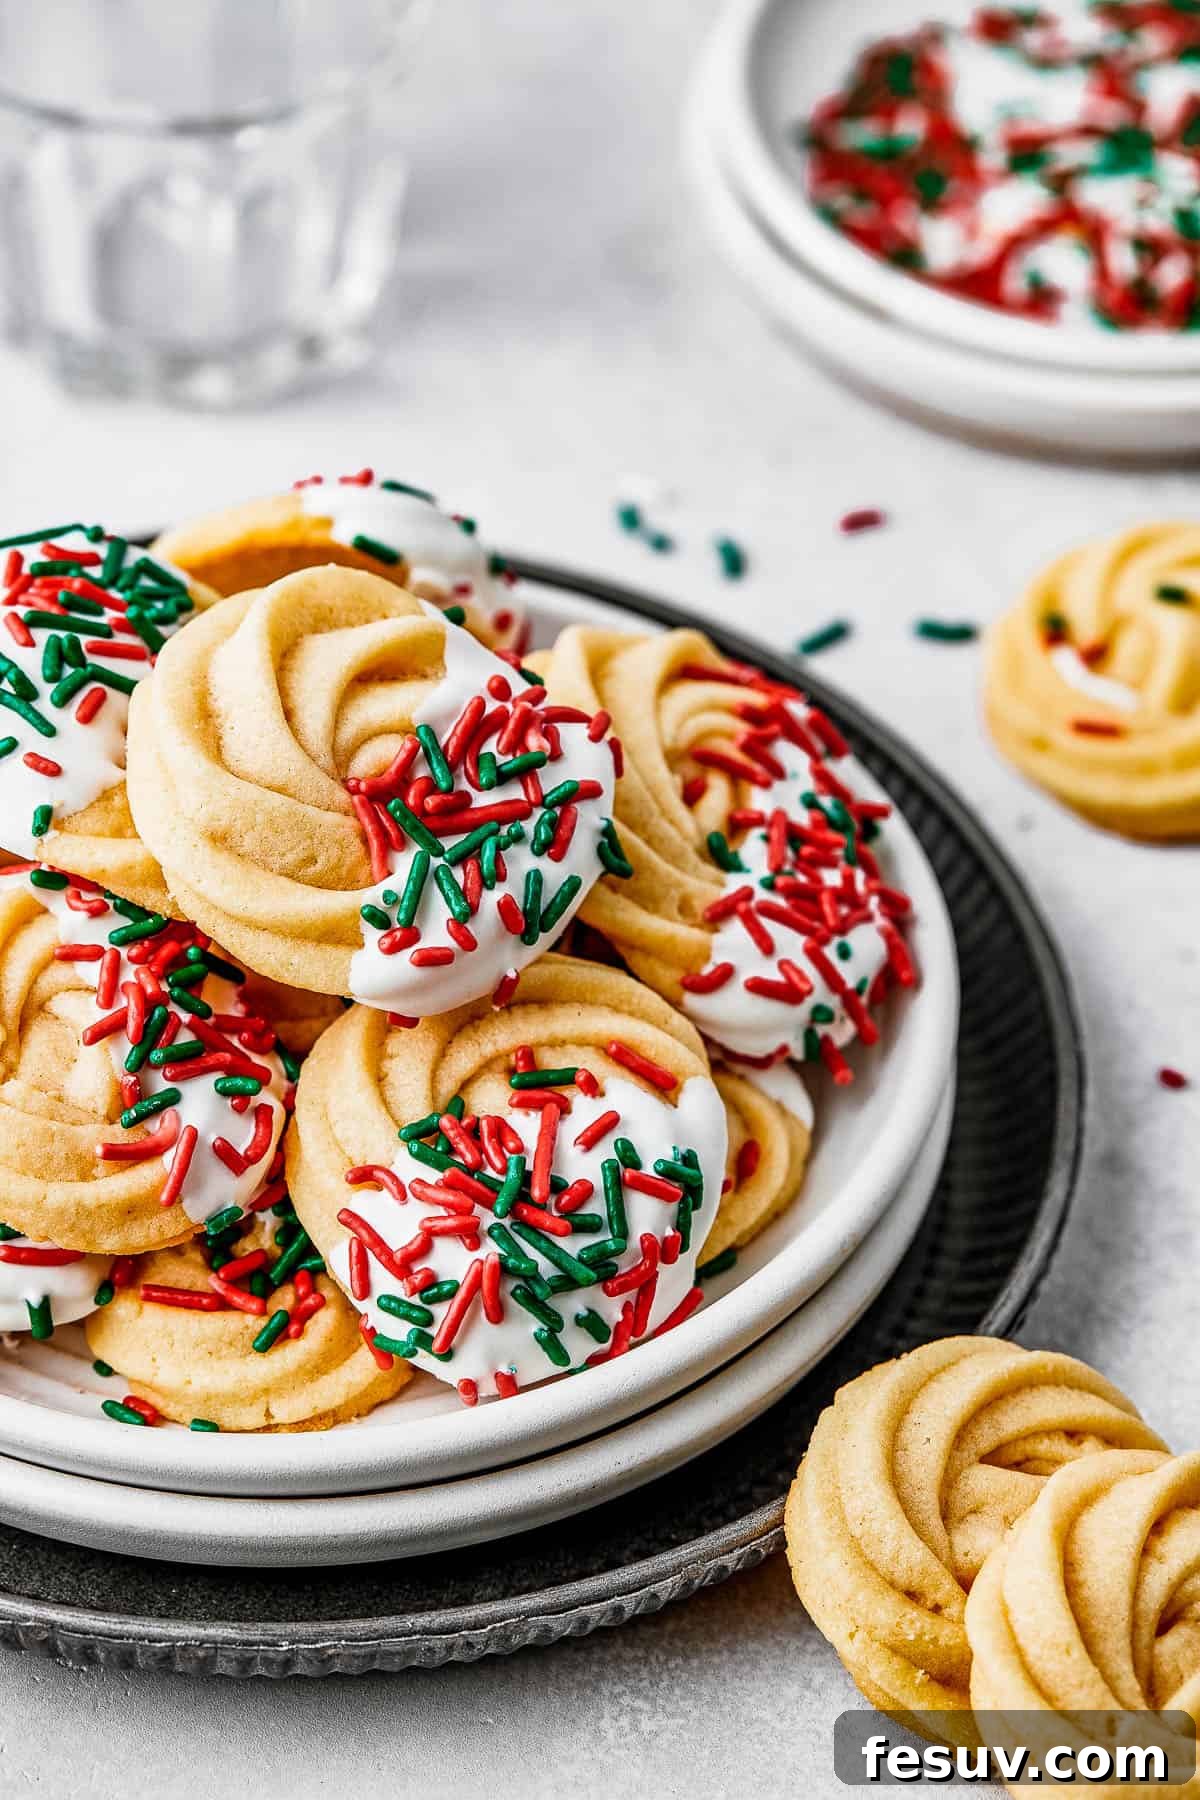
Achieving Butter Cookie Perfection: Expert Baking Tips
While butter cookies are delightfully simple, a few expert tips can ensure your batch turns out flawlessly every time. Read on for our essential advice, and happy baking!
- Don’t Skip the Chill: This is arguably the most critical step for perfectly shaped cookies. While using room temperature ingredients is essential for creating the dough, the shaped cookies absolutely need time to chill in the refrigerator. This firms up the butter in the dough, preventing the cookies from spreading excessively and losing their intricate piped designs during baking.
- Mastering Dough Consistency: The ideal butter cookie dough should be thick enough to hold its shape when piped, yet soft enough to flow smoothly through the piping bag. If your dough feels too stiff to pipe, add milk in half-tablespoon increments, mixing well after each addition, until it reaches the desired consistency. Conversely, if the dough appears too runny (meaning it won’t hold a distinct shape when piped), add flour in half-tablespoon increments to thicken it. Always test a small portion of the dough before loading your entire piping bag.
- Select the Right Piping Tip: Using an appropriately sized piping tip is crucial. A small tip will struggle to let the dense cookie dough pass through. We strongly recommend an open star tip that is at least ½ inch in diameter. This allows for beautifully defined swirls and shapes.
- Piping Alternatives for Simplicity: If piping isn’t your preference or you don’t have the tools, you can still enjoy these delicious cookies! Simply roll the dough into small, 1-inch balls. Place them on the baking sheet and gently flatten each ball slightly with the tines of a fork in a charming cross-hatch pattern.
- The Power of Room Temperature Ingredients: This tip applies not only to the butter but also to the egg and even the milk. Room temperature ingredients emulsify more effectively, creating a smoother, more uniform dough that is easier to work with and results in a superior final texture in your baked cookies.
Get Creative: Easy Variations to Customize Your Butter Cookies
Butter cookies are a fantastic “canvas” for creativity, offering endless possibilities for decoration and flavor variations! This recipe already includes instructions for dipping in chocolate and adding festive sprinkles, but don’t stop there. Here are even more ideas to inspire your cookie artistry:
- For a delightful textural contrast and a hint of sparkle, sprinkle a touch of coarse raw sugar over the piped cookies just before baking.
- Add a pop of color and a burst of flavor by gently pressing a single maraschino cherry or a chocolate kiss into the center of each piped cookie before it goes into the oven.
- After baking and cooling, transform your cookies with an elegant caramel drizzle and delicate flakes of sea salt. The sweet and salty combination is simply divine.
- For a sophisticated look, decorate the baked and cooled cookies with artistic drizzles of both melted white and dark chocolate. Create beautiful patterns for a gourmet touch.
- Experiment with citrus zest! Add a teaspoon of finely grated lemon or orange zest to the dough along with the extracts for a bright, refreshing flavor profile.
- Introduce a hint of spice by adding ¼ teaspoon of ground cardamom or cinnamon to the flour mixture. This is particularly lovely during the fall and winter months.
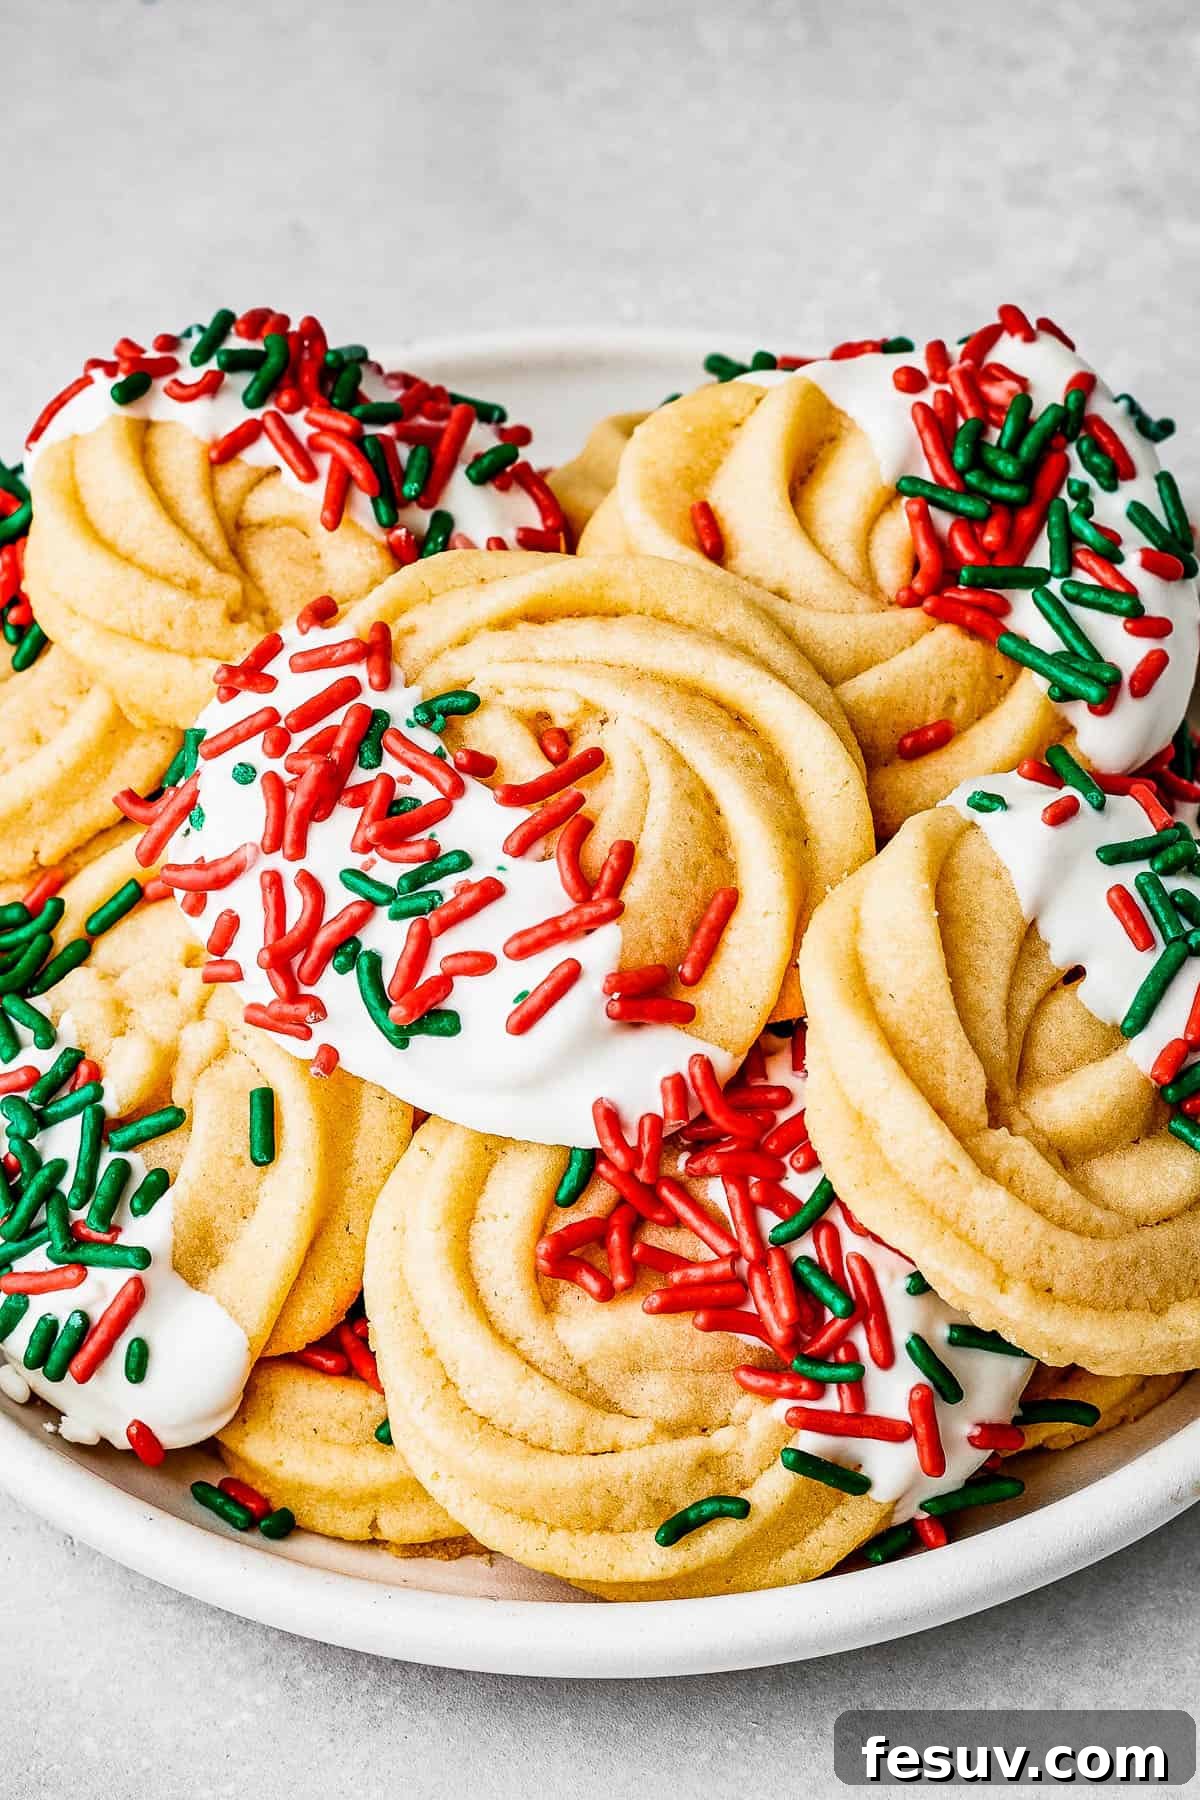
Smart Storage: Keeping Your Butter Cookies Fresh
To ensure your homemade butter cookies remain fresh and delicious for as long as possible, proper storage is key. Following these simple guidelines will help preserve their delicate texture and rich flavor:
- Always allow your baked cookies to cool completely on a wire rack before storing them. Storing warm cookies will create condensation, leading to soggy cookies.
- Place your cooled cookies in airtight containers or heavy-duty food storage bags. This creates a barrier against air and moisture, which are the main culprits behind stale cookies.
- You can then store them at room temperature for up to 5 days. For best results, keep them in a cool, dry place away from direct sunlight.
- For extended freshness, store them in the refrigerator for up to two weeks. The colder temperature helps maintain their texture and prevents them from drying out too quickly.
Can I Freeze Butter Cookies? Absolutely!
Freezing butter cookies is an excellent way to prepare ahead for holidays, unexpected guests, or simply to ensure you always have a delightful treat on hand. They freeze beautifully, allowing you to enjoy that homemade taste weeks or even months later:
- First and foremost, ensure your baked butter cookies are completely cool before freezing. Any residual warmth can lead to ice crystals forming, which affects texture.
- To prevent sticking and protect their delicate shapes, carefully layer the cooled cookies into shallow airtight containers. Place a sheet of parchment paper or wax paper between each layer of cookies. This barrier is crucial, especially for decorated cookies, to keep them from adhering to each other.
- Seal the container tightly to prevent freezer burn and freeze for up to six months. Labeling with the date is always a good practice.
- When you’re ready to enjoy them, simply remove the desired number of cookies from the freezer and let them thaw at room temperature for about 15-30 minutes. They’ll taste almost as fresh as the day they were baked!
Discover More Amazing Cookie Recipes
If you’ve fallen in love with the joy of homemade cookies, you’re in for a treat! Our collection features a variety of delicious recipes perfect for any occasion or craving. Explore these other fantastic cookie creations:
- Red Velvet Crinkle Cookies
- Stained Glass Cookies
- No-Bake Oatmeal Cookies
- White Chocolate Chip Cookies
- Anginetti Cookies
Homemade Butter Cookies Recipe
Homemade Butter Cookies
By Katerina | Easy Weeknight Recipes
These Homemade Butter Cookies are the perfect treat for a chilly afternoon. You’ll love their rich, buttery sweetness and meltingly delicate texture.
Prep Time: 15 minutes
Cook Time: 15 minutes
Chill Time: 30 minutes
Total Time: 1 hour 15 minutes
Yields: 30 Cookies
Print Recipe
Ingredients
For the Cookies
- 1 cup unsalted butter, room temperature
- ¾ cup confectioners sugar
- 1 egg, room temperature
- 1 ½ teaspoons vanilla extract
- ¼ teaspoon almond extract
- ¼ teaspoon salt
- 2 cups all-purpose flour
- 1 tablespoon milk
For the Optional Dip
- 8 ounces candy melts (white, dark, or milk chocolate)
- Sprinkles
Instructions
For the Cookies
- Using a hand mixer or stand mixer fitted with a paddle attachment, beat the butter and sugar together on high until light and fluffy, about 3 to 5 minutes.
- Add the egg, vanilla extract, almond extract, and salt. Mix on high speed until thoroughly combined, about 1 to 2 minutes.
- Add in the flour and mix on low speed until combined and a soft dough forms, about 2 to 3 minutes.
- Add milk and continue to mix at a low speed until combined. The dough should be smooth, but not runny. Runny dough that cannot stand on its own will spread during baking.
- Transfer the dough to a piping bag fitted with a large star tip.
- Pipe cookies into a circular shape onto a baking sheet lined with parchment or a silicone mat.
- Transfer the baking sheet to the refrigerator and chill for at least 30 minutes.
- While the cookies are chilling, preheat the oven to 350˚Fahrenheit.
- Bake for 12 to 15 minutes, or until the edges are a light golden brown.
- Let cookies cool on the baking sheet for 5 minutes, then transfer them to a wire cooling rack to cool completely for another 10 minutes.
For the Optional Dip
- Microwave the candy melts in 30-second increments at 50% power in a wide-rimmed bowl. Stir and repeat until the chocolate is completely melted and smooth.
- Dip the cookie halfway into the melted chocolate and slowly pull up, allowing any excess to drip off.
- Place the dipped cookie onto a baking sheet lined with parchment paper and add a few dashes of sprinkles.
- Repeat with remaining cookies. Transfer the baking sheet to the refrigerator and let the chocolate set for 15 to 20 minutes before serving.
Nutrition (Estimated)
Serving: 1 cookie | Calories: 104kcal | Carbohydrates: 12g | Protein: 1g | Fat: 7g | Saturated Fat: 5g | Polyunsaturated Fat: 1g | Monounsaturated Fat: 2g | Trans Fat: 1g | Cholesterol: 22mg | Sodium: 26mg | Potassium: 14mg | Fiber: 1g | Sugar: 2g | Vitamin A: 198IU | Calcium: 4mg | Iron: 1mg
Nutritional info is an estimate and provided as courtesy. Values may vary according to the ingredients and tools used. Please use your preferred nutritional calculator for more detailed info.
Did you bake this recipe? We’d love to hear from you! Share your experience and leave a rating below.