
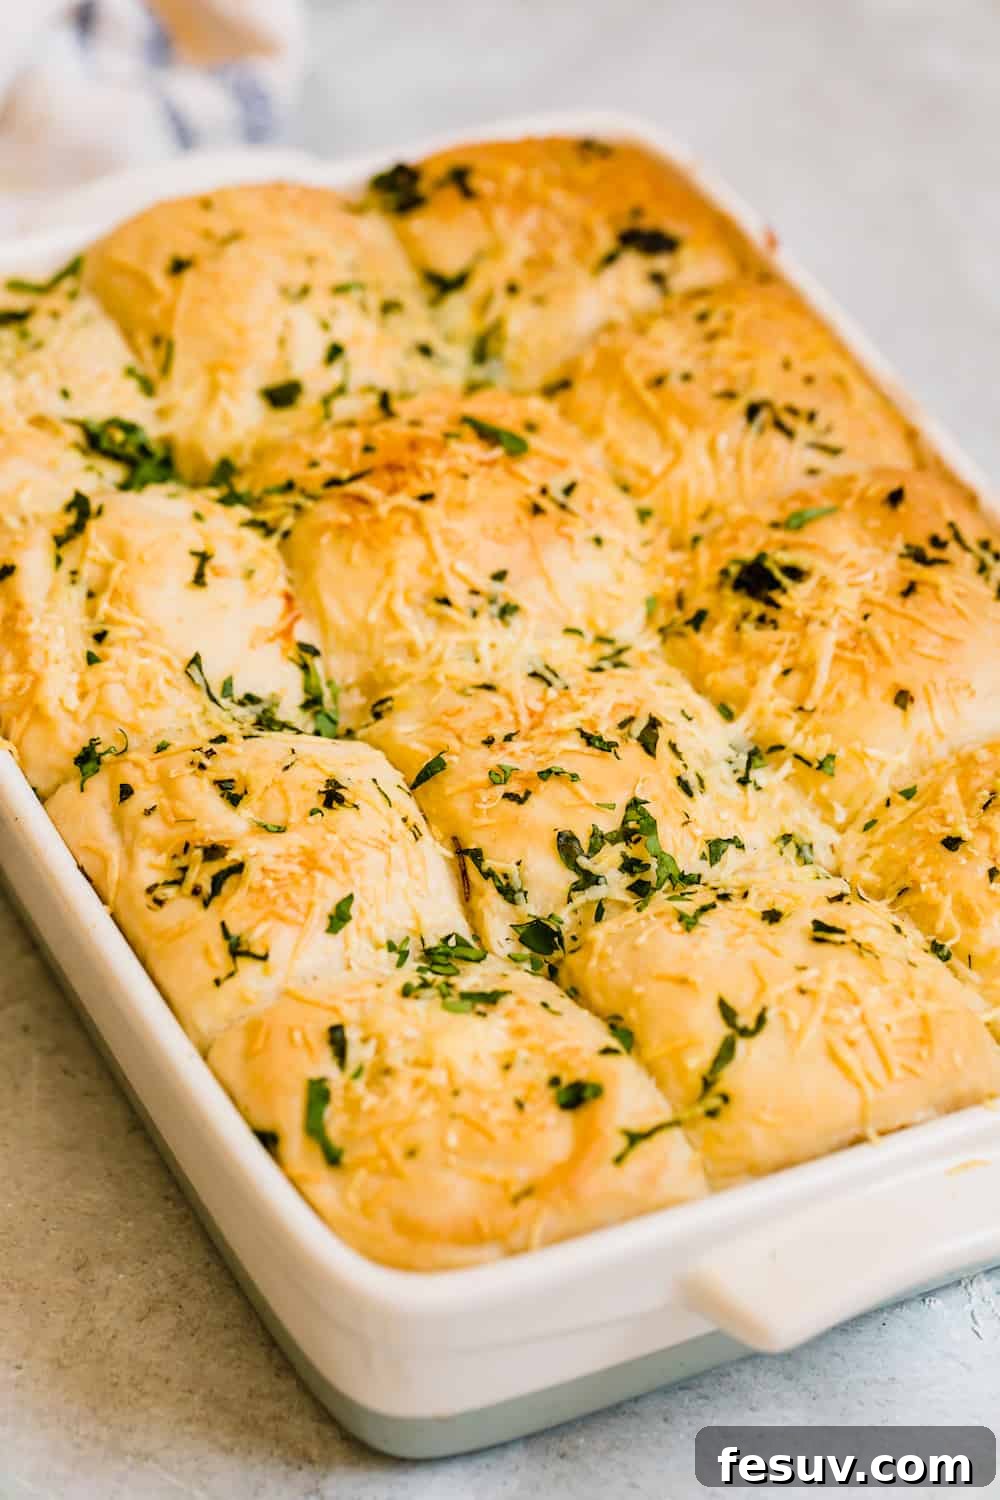
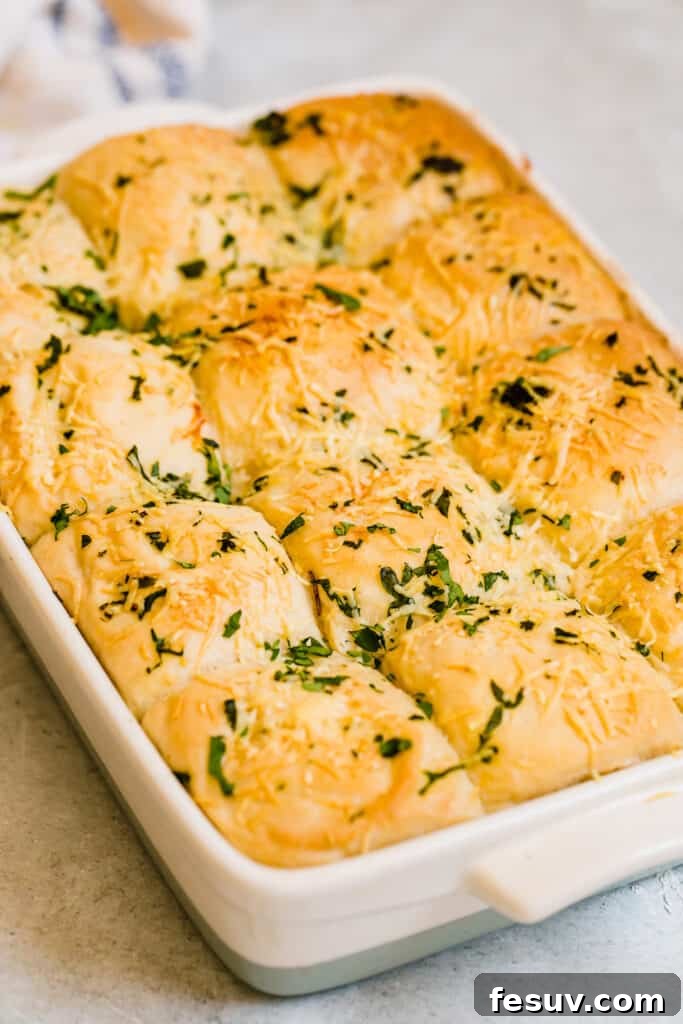
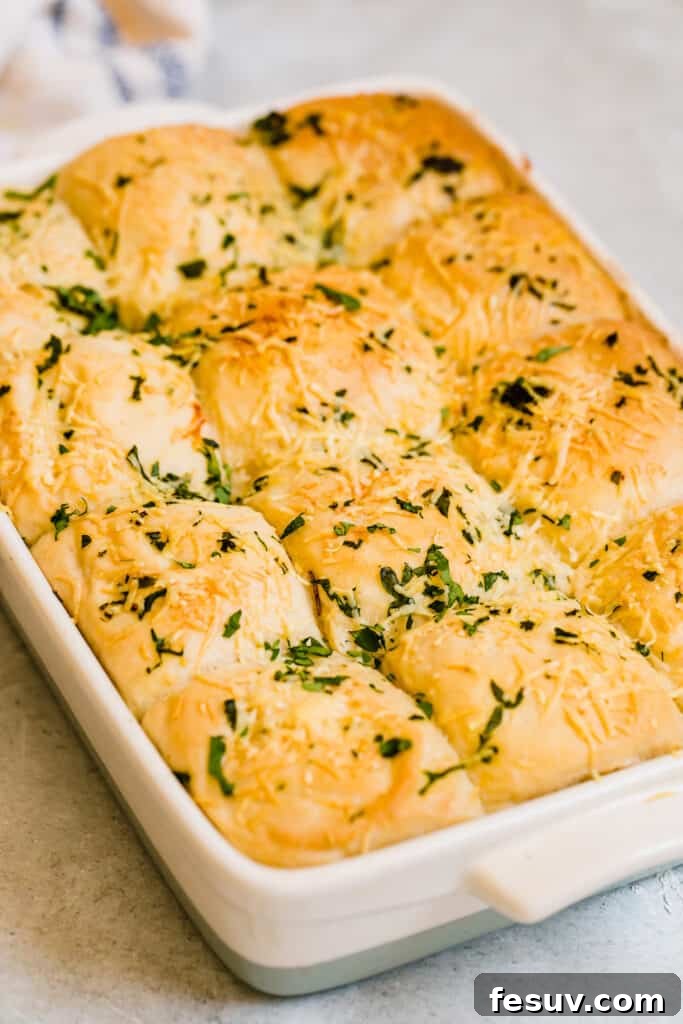
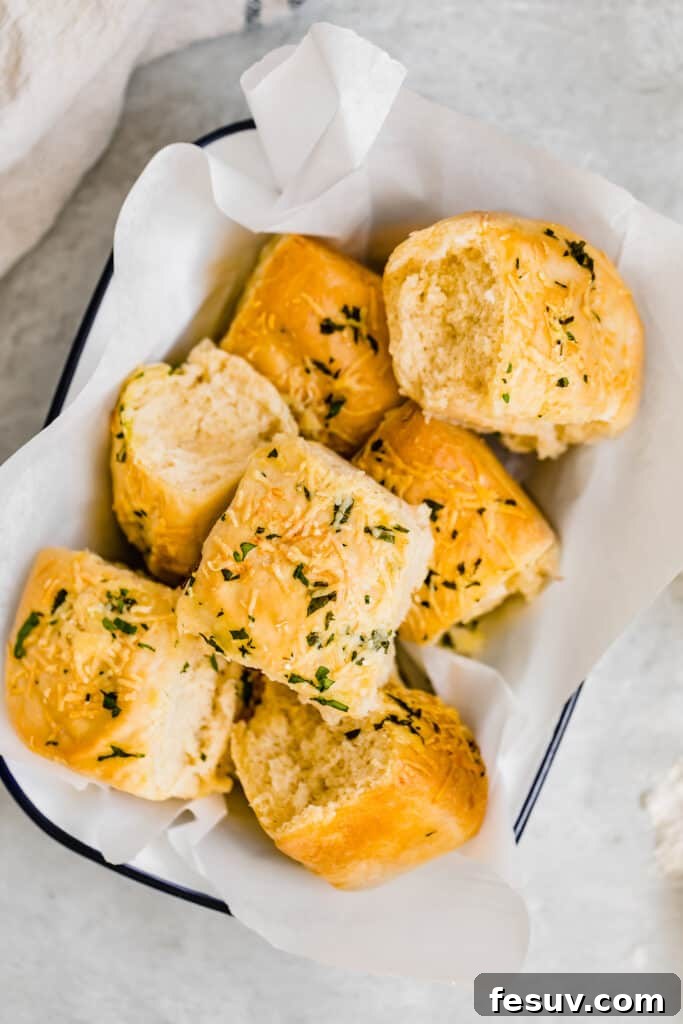
There’s something truly magical about the aroma of freshly baked bread wafting through your home. It promises warmth, comfort, and an irresistible indulgence. Among the myriad of homemade bread delights, Soft Parmesan Dinner Rolls stand out as a perennial favorite. Imagine a roll that’s not just soft and fluffy, but also kissed with the savory notes of Parmesan cheese and the fresh zest of parsley. These golden-brown beauties are more than just a side dish; they are a centerpiece, a conversation starter, and a testament to the simple joys of home baking.
The Irresistible Appeal of Homemade Dinner Rolls
Baking homemade yeast rolls is an experience, a ritual that transcends the mere act of cooking. It’s about creating something from scratch, watching simple ingredients transform into pillowy perfection, and ultimately, sharing that warmth with loved ones. While whipping up a batch of rolls might not be an everyday endeavor for everyone, it often becomes a cherished part of holiday feasts and special gatherings. The sheer joy of tearing into a warm, light, and airy roll is unmatched, making it a staple on countless tables.
But why settle for a basic roll when you can elevate it to extraordinary? This recipe takes the classic fluffy dinner roll and infuses it with a sublime flavor profile, thanks to two humble yet powerful ingredients: finely shredded Parmesan cheese and fresh chopped parsley. The Parmesan adds a rich, salty, and umami depth that perfectly complements the buttery dough, while the parsley introduces a vibrant, herbaceous freshness that brightens every bite. Together, they transform a simple yeast roll into a gourmet delight, promising dinner roll perfection.
Essential Ingredients for Perfect Parmesan Dinner Rolls
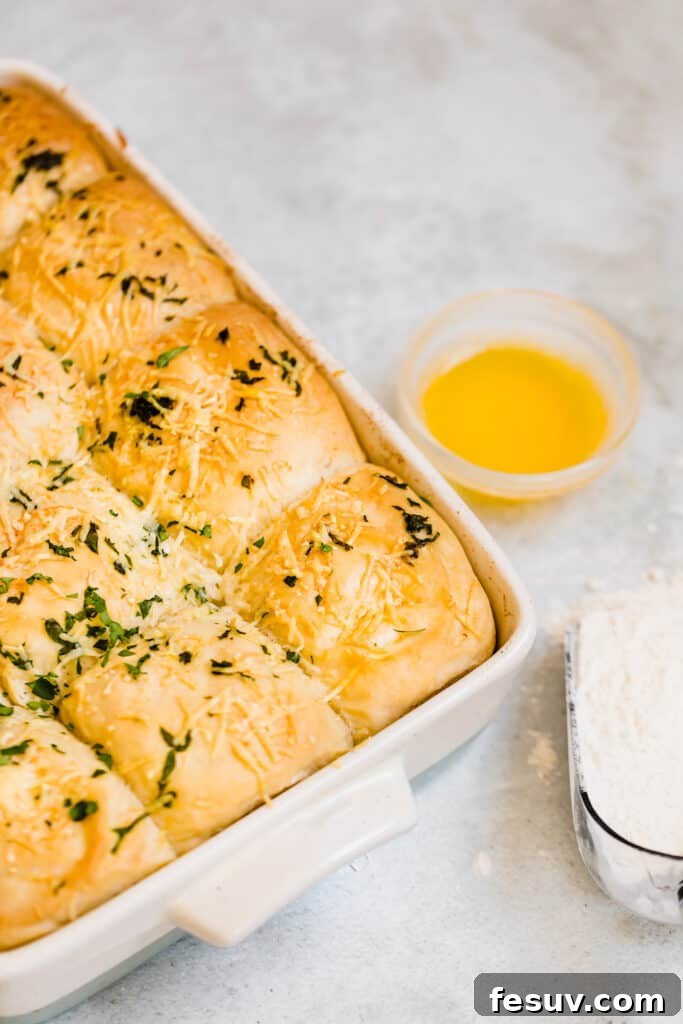
Crafting these Soft Parmesan Dinner Rolls requires a handful of basic baking ingredients, each playing a crucial role in achieving that coveted soft and fluffy texture with a rich, savory flavor. The quality of your ingredients can significantly impact the final result, so choose wisely.
- Water & Milk: You’ll need 1 cup of warm water and 1/2 cup of warm milk. The liquids provide hydration for the dough, creating a tender crumb. Warming them slightly (to about 105-115°F or 40-46°C) is essential for activating the yeast without killing it. Ensure they are warm, not hot.
- Butter: Two tablespoons of melted butter are incorporated into the dough, lending a luxurious richness and contributing to the rolls’ incredible softness. Butter also helps in achieving that beautiful golden crust.
- Sugar: A single tablespoon of granulated sugar serves multiple purposes. It acts as food for the yeast, helping it activate and rise, and adds a subtle sweetness that balances the savory notes of Parmesan. You can experiment with raw sugar, a touch of honey, or maple syrup for a different flavor nuance.
- Yeast: One tablespoon of active dry yeast is the leavening agent responsible for the rolls’ airy and fluffy texture. Proper activation is key to a successful rise.
- Flour: Approximately 3 1/2 cups of all-purpose flour form the structure of these rolls. While all-purpose flour is standard, you can certainly substitute it with your favorite gluten-free all-purpose flour blend if you prefer. Always start with the recommended amount and add more sparingly if the dough is too sticky.
- Salt: Two teaspoons of salt are vital for enhancing the flavor of the dough and controlling yeast activity. Don’t skip it, as it prevents the rolls from tasting bland.
- Parmesan Cheese: About 1/4 cup of finely shredded or grated Parmesan cheese is folded into the dough and sprinkled on top before baking. This hard Italian cheese provides a salty, nutty, and deeply savory flavor that truly defines these rolls. Freshly grated Parmesan offers the best taste.
- Fresh Parsley: A quarter cup of finely chopped fresh parsley adds a vibrant green hue and a burst of fresh, herbaceous flavor. It complements the richness of the Parmesan beautifully and adds a touch of elegance.
Step-by-Step Guide: How to Make Soft Parmesan Dinner Rolls
Baking homemade dinner rolls might seem intimidating at first, but with a clear step-by-step guide, you’ll find it to be a rewarding and enjoyable process. Follow these instructions carefully to achieve the best results.
- Activate the Yeast Mixture: In a large mixing bowl, combine the warm water, warm milk, melted butter, and sugar. These liquids and sugar provide the ideal environment and food for your yeast. Sprinkle the active dry yeast over the mixture. Give it a light whisk and then allow it to sit undisturbed for about 5 minutes. This crucial step is known as “proofing the yeast.” You’ll know it’s working when a foamy layer appears on the surface, indicating the yeast is alive and active. If it doesn’t foam, your yeast might be old, or your liquids were too hot or too cold, and you should start over.
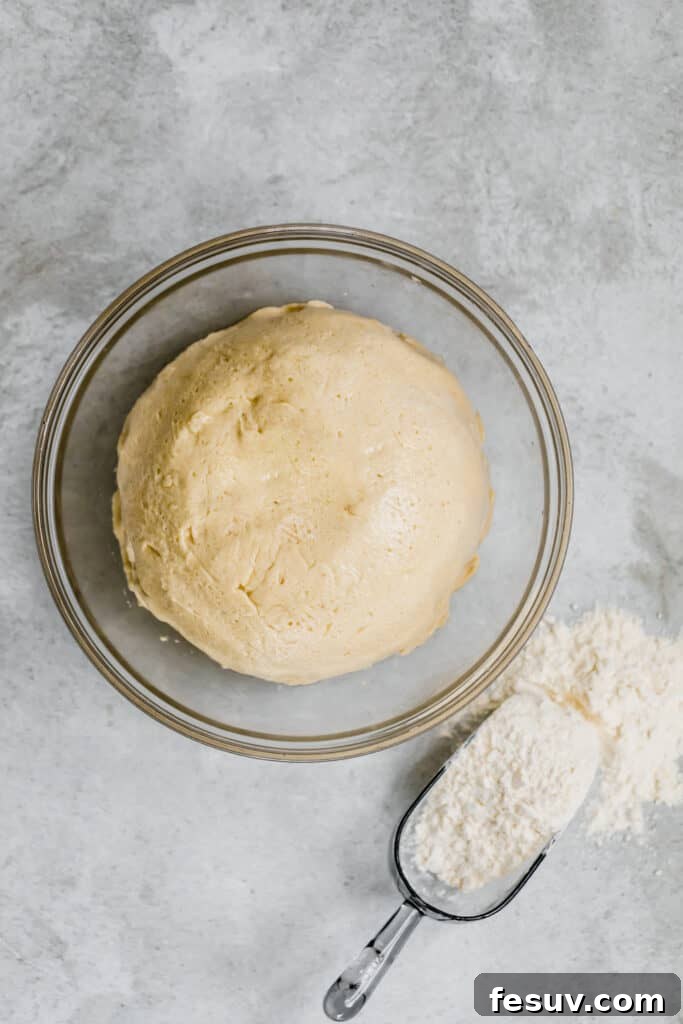
- Combine Dry Ingredients & Knead the Dough: To your activated yeast mixture, add the all-purpose flour and salt. Begin mixing. If you’re using an electric stand mixer fitted with a dough hook, mix on medium-low speed for about five minutes. The dough will start to come together, moving from shaggy to smooth and elastic. If kneading by hand, this process will take a bit longer, usually 10-12 minutes. Continuously fold and press the dough until it becomes very smooth, supple, and has a stretchy, even texture. A good test is the “windowpane test”: stretch a small piece of dough thinly; if light can pass through without tearing, it’s adequately kneaded.
- First Rise (Bulk Fermentation): Once your dough is beautifully smooth and elastic, lightly grease a clean bowl with a little oil or cooking spray. Transfer the dough to this bowl, turning it once to coat all sides. Cover the bowl with a damp kitchen towel or lightly greased plastic wrap. Allow the dough to rise in a warm, draft-free spot for approximately 15 minutes. This initial rise allows the gluten to relax and flavors to develop.
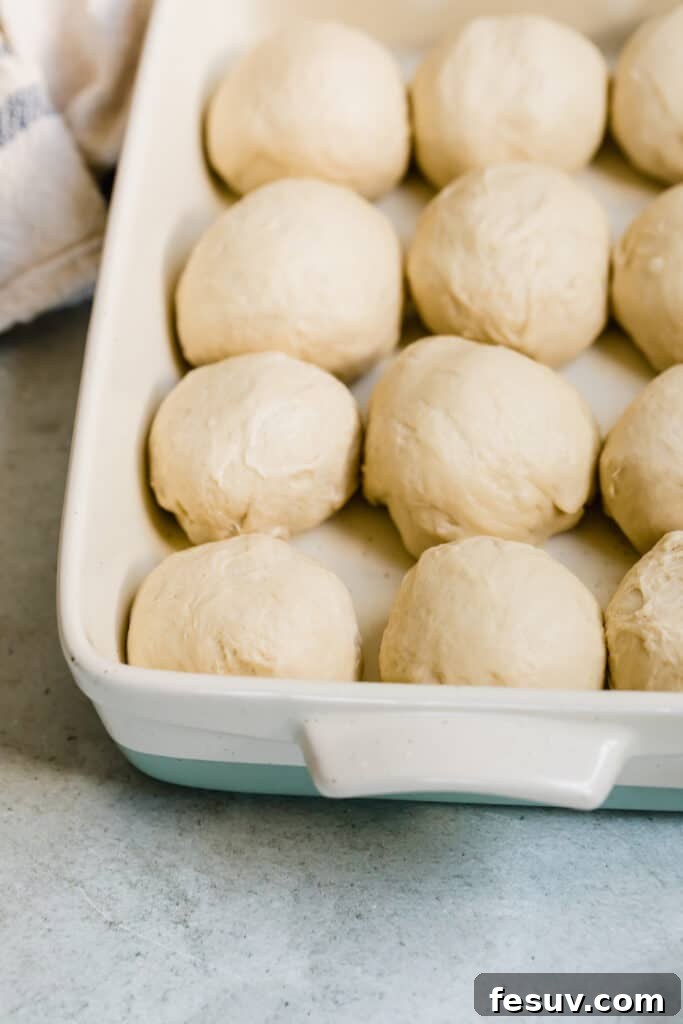
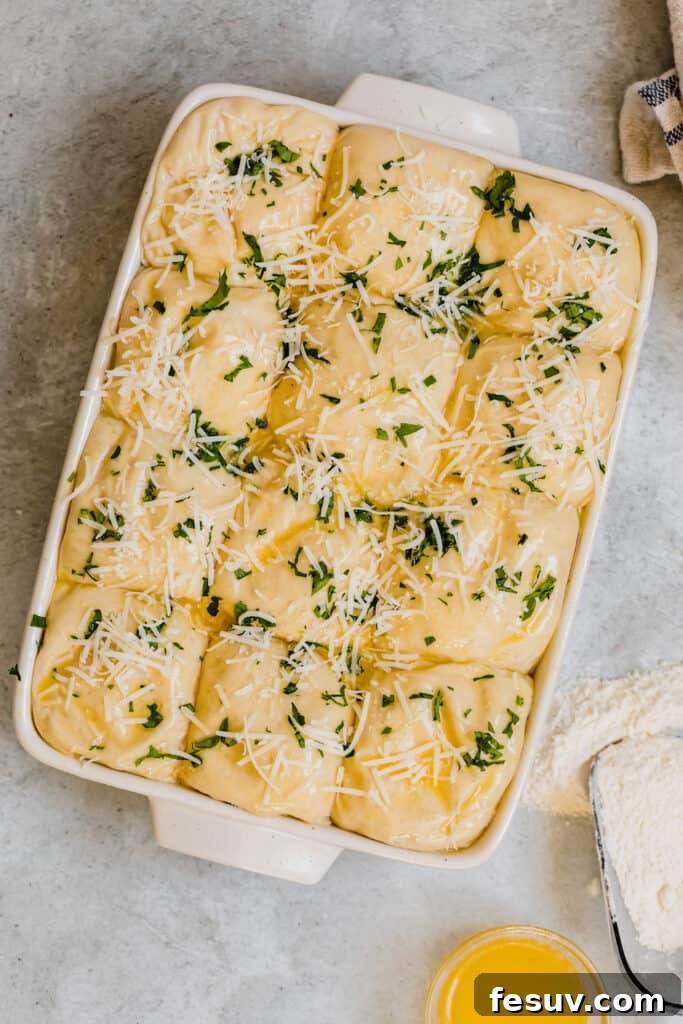
- Punch Down, Shape, and Second Rise: After the initial 15-minute rise, gently “punch down” the dough to release the accumulated gases. This redistributes the yeast, sugar, and moisture, leading to a finer crumb. Turn the dough out onto a lightly floured surface and divide it into 12 equal pieces. For consistent size, you can use a kitchen scale. Roll each piece into a smooth, tight ball. Arrange these dough balls in a greased 9×13 inch baking dish. Cover the dish again with a damp towel or greased plastic wrap. Let the rolls undergo their second rise for another 20 minutes in a warm spot. During this time, they will noticeably increase in size and become very puffy. While they are rising, preheat your oven to 400°F (200°C).
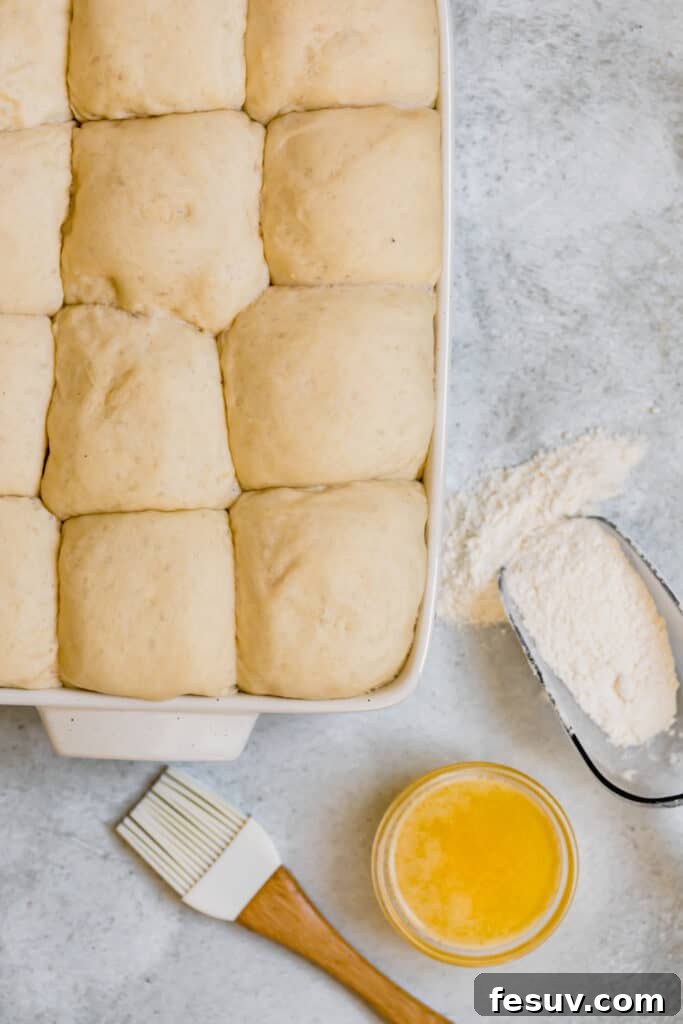
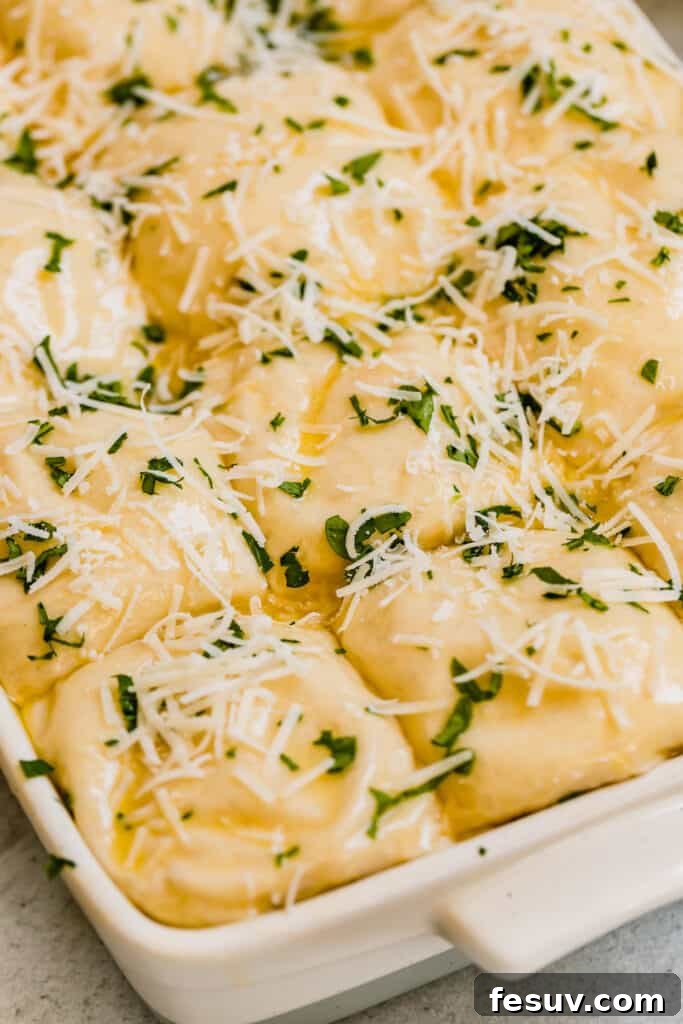
- Bake to Golden Perfection: Once the rolls have completed their second rise and are wonderfully puffy, it’s time for the final touches. Evenly sprinkle the remaining Parmesan cheese and chopped fresh parsley over the tops of the rolls. This not only adds flavor but also creates a beautiful golden crust with flecks of green. Carefully place the baking dish into the preheated 400°F (200°C) oven. Bake for approximately 20 minutes, or until the rolls are gloriously golden-brown on top and cooked through. A quick check with an instant-read thermometer should show an internal temperature of around 200-205°F (93-96°C) for fully baked bread.
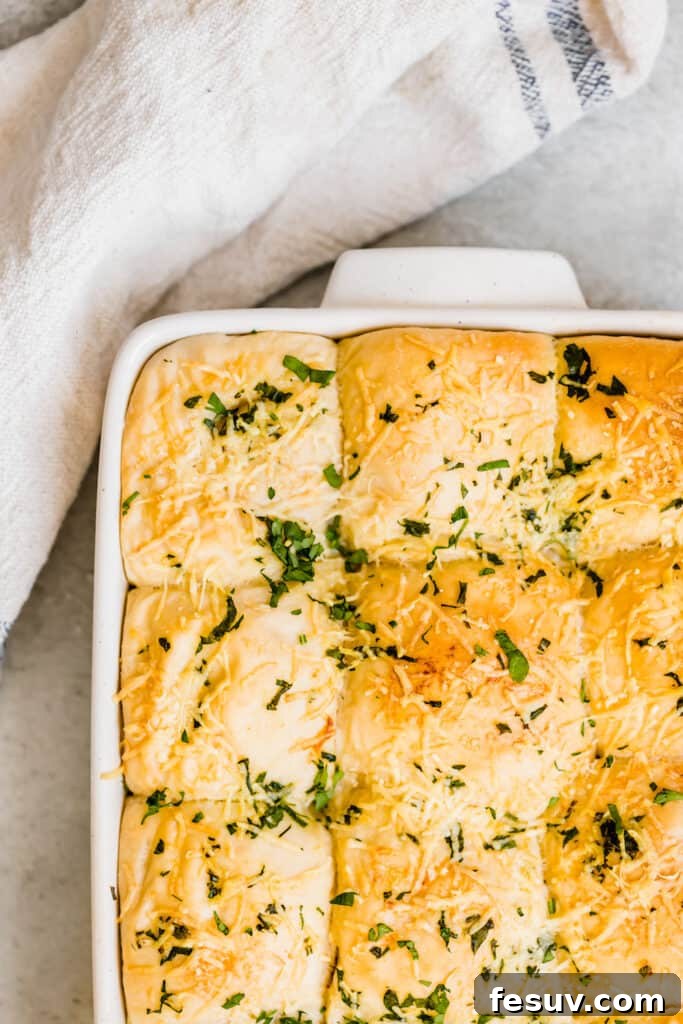
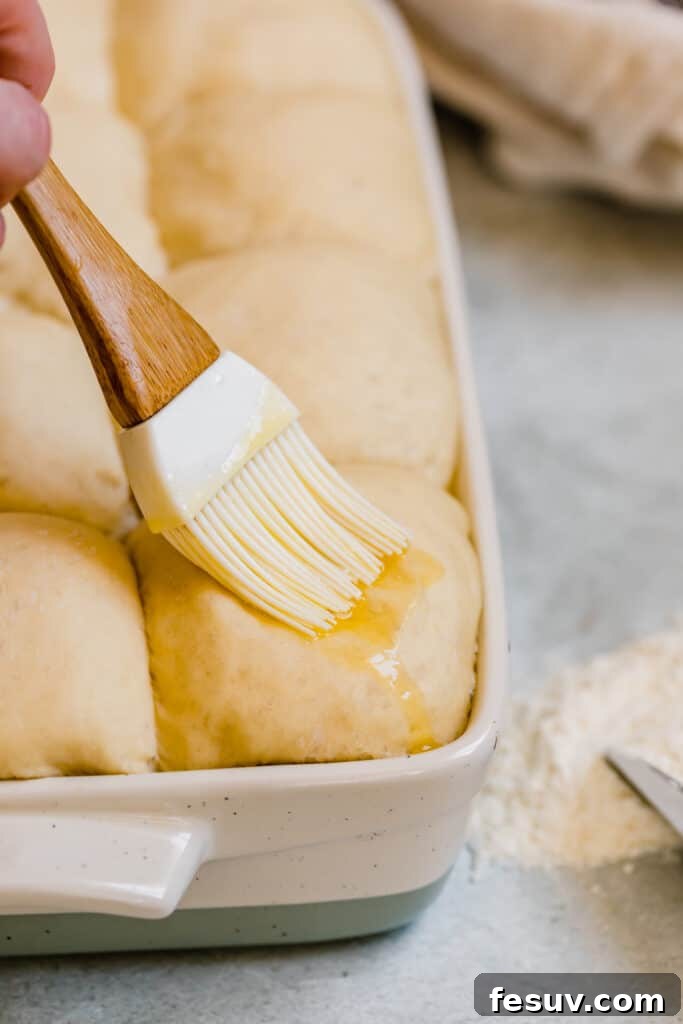
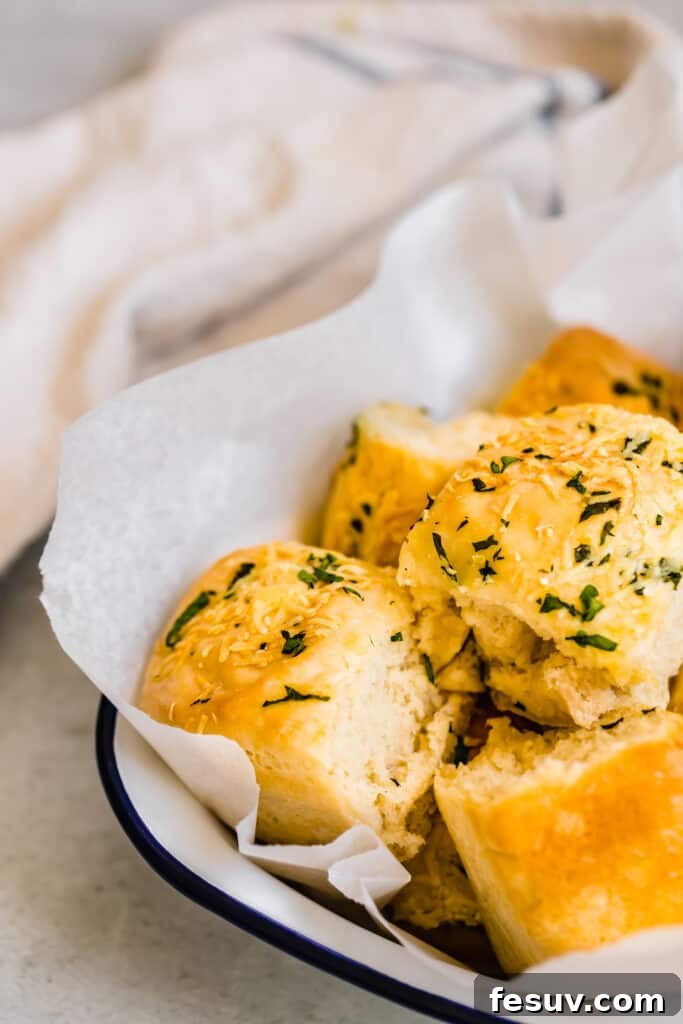
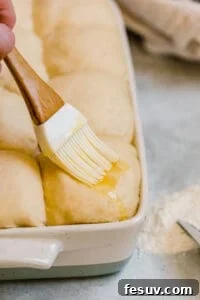
Serve Warm and Savor! Once out of the oven, allow the rolls to rest in the pan for a few minutes before transferring them to a wire rack. While still warm, you can brush them with a little extra melted butter for an even richer finish. There’s nothing quite like a warm, tender, and savory Parmesan dinner roll straight from the oven.
Understanding Dough Rising Times for Yeast Rolls
The rising process is arguably the most critical aspect of baking yeast rolls. It’s also one of the most variable, as several factors can influence how quickly or slowly your dough proofs.
- Temperature is Key: The ambient temperature of your kitchen, and even the specific spot where you place the dough, plays the most significant role in rise time. Yeast thrives in warmth (ideally around 75-80°F or 24-27°C). If your kitchen is cooler, the dough will take longer to rise. Conversely, a warmer environment will accelerate the process.
- Creating a Warm Environment: For those with drafty or naturally cool kitchens, don’t despair! You can create a makeshift warm spot for your dough. Try placing the covered bowl near a gently warm oven (turned off, but previously used), on top of a running crock-pot on a low setting, or even in a microwave (turned off!) with a cup of hot water alongside it to create a steamy, warm environment. Just be cautious not to make it too hot, as extreme heat can kill the yeast.
- Humidity Matters: A humid environment can also slightly speed up rising and prevent the dough from drying out. Covering the dough with a damp towel helps maintain this humidity.
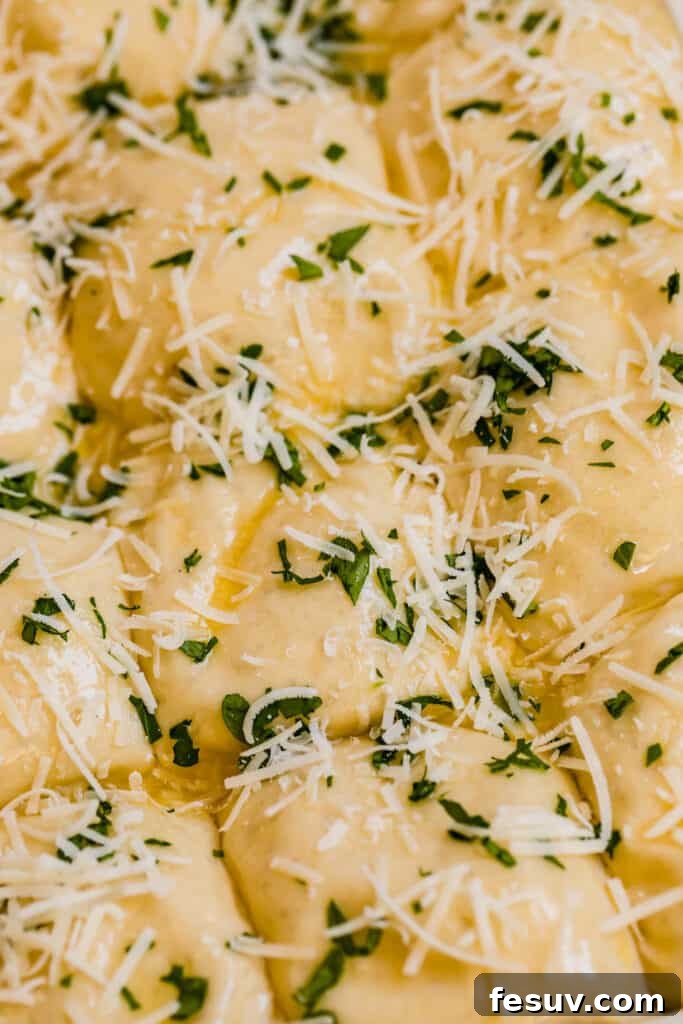
Spotting the Perfect Rise: It’s crucial to avoid both under-rising and over-rising. Under-risen dough will result in dense, heavy rolls. Over-risen dough, also known as “proofed out” dough, can lead to a tired, deflated appearance after baking and may impart a strong, alcoholic yeast flavor. You’ll know your Parmesan dinner rolls have risen enough when they have nearly doubled in size, still look rounded and smooth, and feel wonderfully puffy. A reliable test is the “poke test”: gently press a roll with one floured finger. If the indentation slowly springs back, it needs a little more time. If the indentation remains, or springs back only slightly, the rolls are perfectly proofed and ready to bake! If the dough completely collapses, it’s likely over-proofed.
Pro Tips for Baking the Best Homemade Dinner Rolls
Achieving consistently perfect homemade dinner rolls involves a few tried-and-true techniques and considerations. Here are some tips to help you master this delightful bread recipe:
- Mastering Your Timeline: While this recipe is straightforward, it does require a bit of time commitment due to the multiple rising stages. Factor in the time for warming ingredients, proofing yeast, kneading, shaping, two distinct rises, and baking. Plan backward from your desired serving time to ensure your soft dinner rolls are fresh and warm when you need them. Remember, patience is a virtue in baking yeast bread!
- The Art of Greasing: Dough can be notoriously sticky, especially on warm or humid days. Don’t hesitate to liberally grease not only your mixing bowl and baking dish but also your hands and working surface. A light coating of oil or cooking spray on your hands makes handling the dough much easier. As an alternative to a damp towel, you can cover your dough with lightly greased plastic wrap during rises, ensuring it doesn’t stick as it expands.
- Unleash Your Creativity with Flavor: The base dough for these rolls is incredibly versatile, making it perfect for endless flavor experimentation. Instead of Parmesan and parsley, consider a Mediterranean twist with sun-dried tomatoes and oregano, or a savory Italian blend with asiago cheese and rosemary. You could also knead in other delightful additions such as bits of crispy bacon, chopped chives, caramelized onions, or even a mix of cheddar and jalapeños for a spicy kick. Let your imagination guide you!
- Precision with Temperature: When proofing yeast, ensure your liquids (water and milk) are warm, but not too hot. An ideal temperature range is 105-115°F (40-46°C). Use a kitchen thermometer for accuracy. Temperatures too low won’t activate the yeast, while temperatures too high will kill it.
- Don’t Over-Flour: While kneading, resist the urge to add too much extra flour. A sticky dough is usually a sign that it needs more kneading, not necessarily more flour. Excessive flour can lead to dry, dense rolls. Only add flour sparingly if the dough is truly unmanageable.
- Brush for Shine and Softness: For an extra shiny crust and even softer rolls, brush them with melted butter immediately after they come out of the oven. The butter melts into the warm crust, creating an irresistible finish.
Make-Ahead Parmesan Dinner Rolls for Easy Entertaining
For those times when you need fresh dinner rolls but are short on time, this recipe offers a convenient make-ahead option. Preparing the dough in advance allows you to spread out the work and enjoy warm rolls without the last-minute rush.
- You can prepare the dough through the initial kneading step. Instead of allowing it to rise at room temperature for the first rise, place the greased dough in a greased bowl, cover it tightly with plastic wrap, and transfer it to the refrigerator.
- The cold temperature of the refrigerator will significantly slow down the yeast activity, allowing the dough to undergo a slow, cold fermentation. This process not only convenience but also enhances the flavor of the rolls, resulting in a more complex and delicious taste.
- The dough can typically be stored in the refrigerator for up to 8 hours, or even overnight, depending on how cold your fridge is. The colder the fridge, the slower the rise.
- When you’re ready to bake, remove the dough from the refrigerator. Allow it to come to room temperature for about 30-60 minutes, then proceed with punching it down, dividing it into balls, shaping the rolls, and completing the second rise as directed in the recipe. This method is perfect for holiday sidedishes or busy weeknights.
Storing and Reheating Leftover Parmesan Rolls
If you’re fortunate enough to have any leftover Parmesan dinner rolls (a rare occurrence!), proper storage ensures they remain fresh and delicious for as long as possible. Here’s how to handle them:
- Room Temperature Storage: Once completely cooled, place the rolls in airtight food storage bags or containers. They will stay fresh and soft at room temperature for up to two days. Avoid storing them in the refrigerator, as the cold air tends to dry out bread and can make them stale faster.
- Freezing for Long-Term Freshness: To extend their shelf life, freezing is an excellent option. Once the rolls are fully cooled, wrap each roll individually in plastic wrap, then place the wrapped rolls into freezer-safe bags. Press out as much air as possible from the bags before sealing to prevent freezer burn. They can be stored in the freezer for up to 4 months. Freezing them helps preserve their tender texture and savory flavor, making it easy to enjoy easy homemade bread any time.
- Thawing and Reheating: When you’re ready to enjoy frozen rolls, simply transfer them from the freezer to the counter and let them thaw at room temperature for a few hours. For optimal warmth and softness, you can gently reheat them in a preheated oven at 300°F (150°C) for about 5-10 minutes, or until warmed through. They’ll taste almost as good as freshly baked!
Soft Parmesan Dinner Rolls Recipe
Soft Parmesan Dinner Rolls
Katerina | Easy Weeknight Recipes
45 minutes
20 minutes
1 hour
15 minutes
12
Ingredients
- 1 cup warm water
- 1/2 cup milk, warmed
- 2 tablespoons butter, melted
- 1 tablespoon sugar
- 1 tablespoon active dry yeast
- 3 1/2 cups all-purpose flour
- 2 teaspoons salt
- 1/4 cup finely shredded Parmesan cheese
- 1/4 cup finely chopped fresh parsley
Instructions
-
In a mixing bowl, combine water, milk, butter, and sugar. Sprinkle yeast on top and whisk lightly then allow to sit for 5 minutes or until foamy.
-
Add the flour and salt; using an electric mixer, mix for 4 to 5 minutes using a dough hook on medium-low setting.
-
Once the dough is smooth, transfer to a greased bowl.
-
Cover the bowl with a damp towel and let it rise for 15 minutes.
-
Once risen, punch down the dough and divide into 12 equal pieces.
-
Roll each piece of dough into a ball and place on a greased 9×13 baking dish.

-
Cover the dish with a damp towel and let the dough balls rise for 20 minutes.
-
Preheat oven to 400˚F (200°C).
-
Once the rolls have risen, sprinkle each roll with parmesan cheese and parsley.
-
Bake for 20 minutes, or until rolls are golden brown and cooked through.
-
Remove from oven and let stand for a few minutes.
-
Serve warm and enjoy!
Equipment
-
Oven
-
Large Mixing Bowl
-
Electric Mixer with Dough Hook (optional, can knead by hand)
-
9×13 inch Baking Dish
Notes
Nutrition
Calories:
170
kcal
|
Carbohydrates:
30
g
|
Protein:
5
g
|
Fat:
3
g
|
Saturated Fat:
2
g
|
Cholesterol:
8
mg
|
Sodium:
442
mg
|
Potassium:
56
mg
|
Fiber:
1
g
|
Sugar:
2
g
|
Vitamin A:
93
IU
|
Calcium:
40
mg
|
Iron:
2
mg
Nutritional info is an estimate and provided as courtesy. Values may vary according to the ingredients and tools used. Please use your preferred nutritional calculator for more detailed info.
Serving Suggestions for Parmesan Dinner Rolls
These versatile Parmesan dinner rolls are incredibly delicious on their own, but they also make a fantastic accompaniment to a wide range of dishes. Their savory profile makes them particularly well-suited for:
- Holiday Feasts: They are a perfect addition to Thanksgiving, Christmas, or Easter dinners, pairing beautifully with roasted meats, gravies, and other traditional side dishes.
- Soups and Stews: Their soft texture is ideal for soaking up hearty broths and rich sauces from your favorite soups or stews. Think minestrone, French onion soup, or a beef bourguignon.
- Pasta Dishes: Serve them alongside a classic spaghetti and meatballs, a creamy fettuccine alfredo, or a robust lasagna to complete your Italian-inspired meal.
- Weeknight Dinners: Elevate a simple chicken or fish dish, or even a robust salad, with these flavorful rolls. They add a touch of homemade elegance to any meal.
- Breakfast or Brunch: Yes, even breakfast! A warm roll split and lightly toasted with scrambled eggs or a frittata can be a delightful way to start your day.
More Baking Recipes to Try from Our Kitchen
If you’ve enjoyed baking these Soft Parmesan Dinner Rolls and are looking for more delicious homemade bread recipes to expand your repertoire, we have plenty to inspire you. Explore other easy and rewarding baking projects:
- Spinach and Feta No-Yeast Bread: A quick and flavorful bread option for those new to baking or looking for a yeast-free alternative.
- Easy Homemade Flatbread: Perfect for wraps, pizzas, or dipping, this recipe is incredibly versatile and simple to make.
- No-Knead Skillet Cheese Bread: Minimal effort, maximum flavor! This skillet bread is cheesy, crusty, and requires no kneading.