
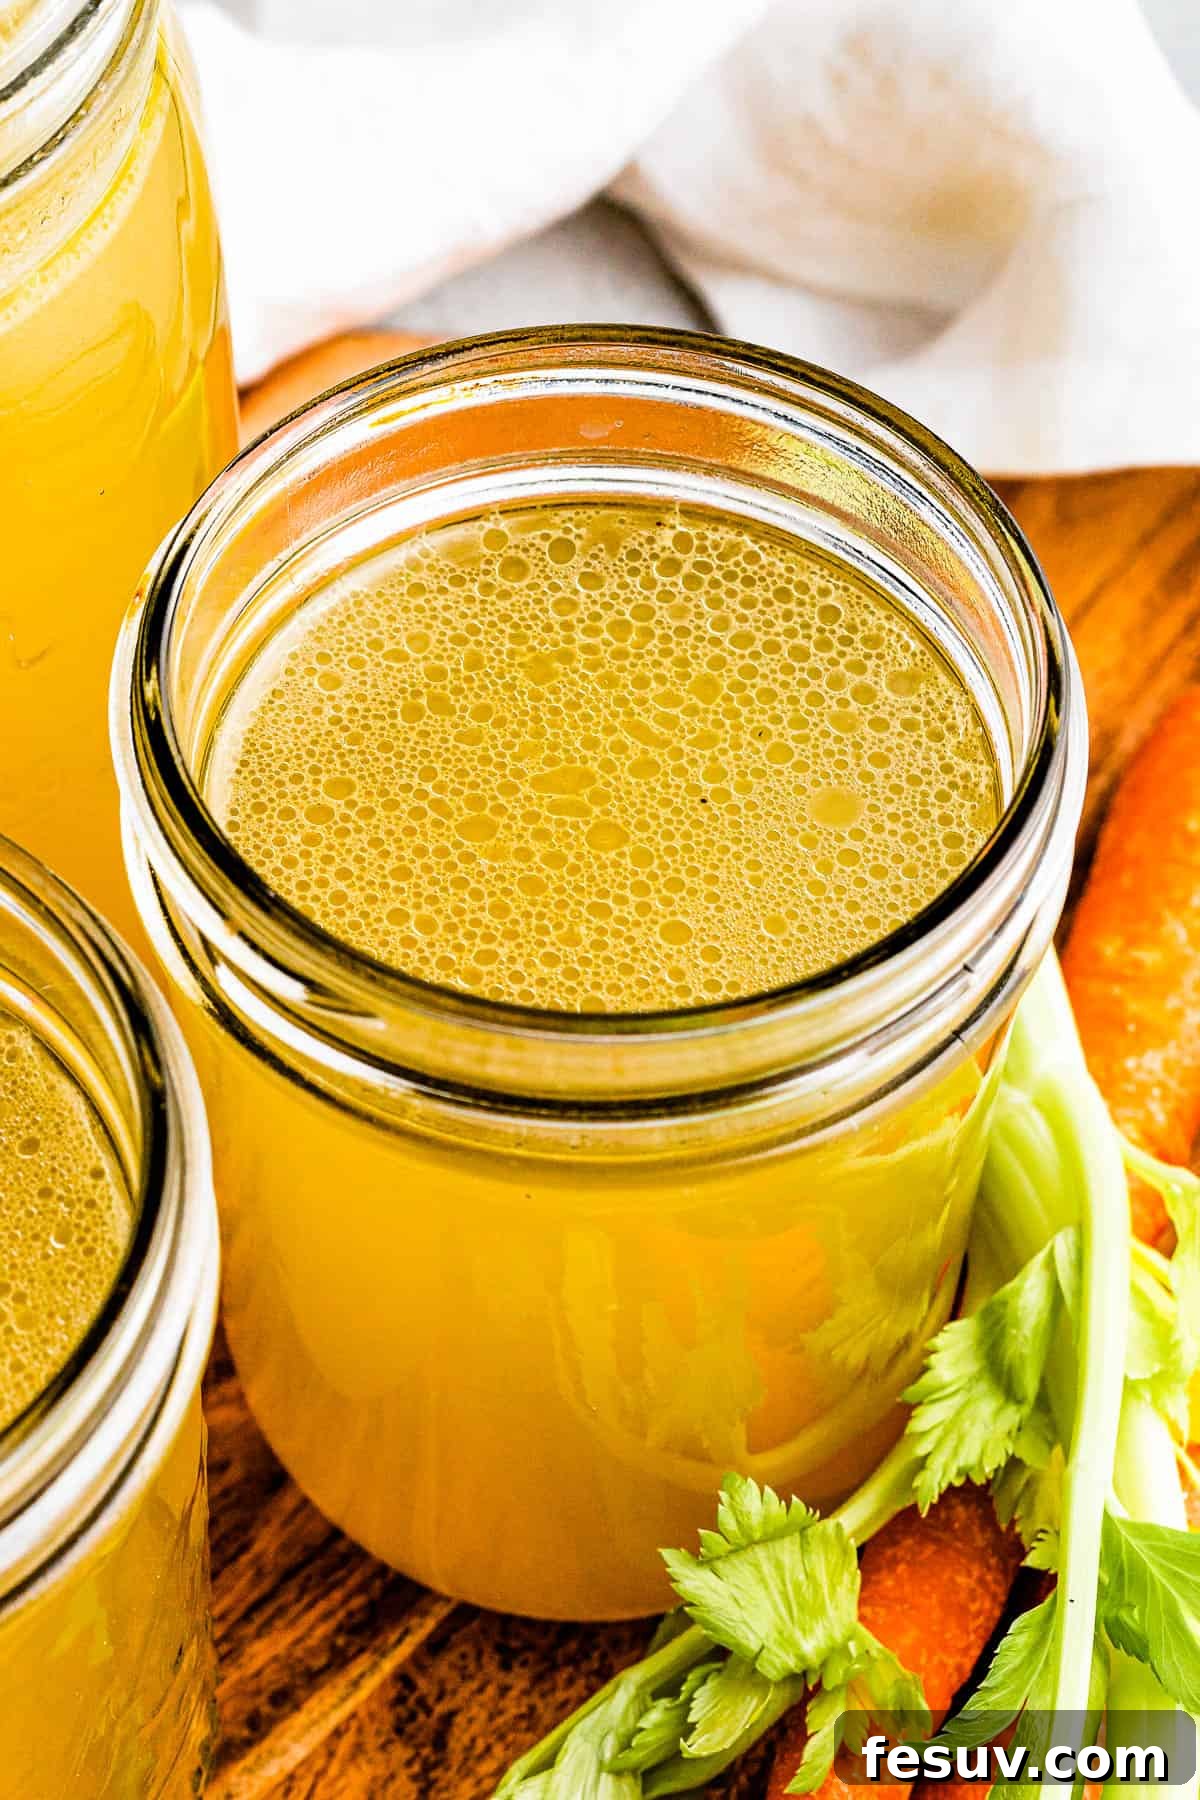
Elevate your cooking with this incredibly simple yet profoundly flavorful Homemade Instant Pot Chicken Broth. Forget the bland, store-bought cartons – this recipe brings a deep, rich taste that tastes like it’s been simmering for hours, all thanks to the magic of your Instant Pot! Made with a whole chicken, vibrant carrots, aromatic onion, and crisp celery, it’s a full-bodied base perfect for countless recipes, from comforting soups to savory sauces.
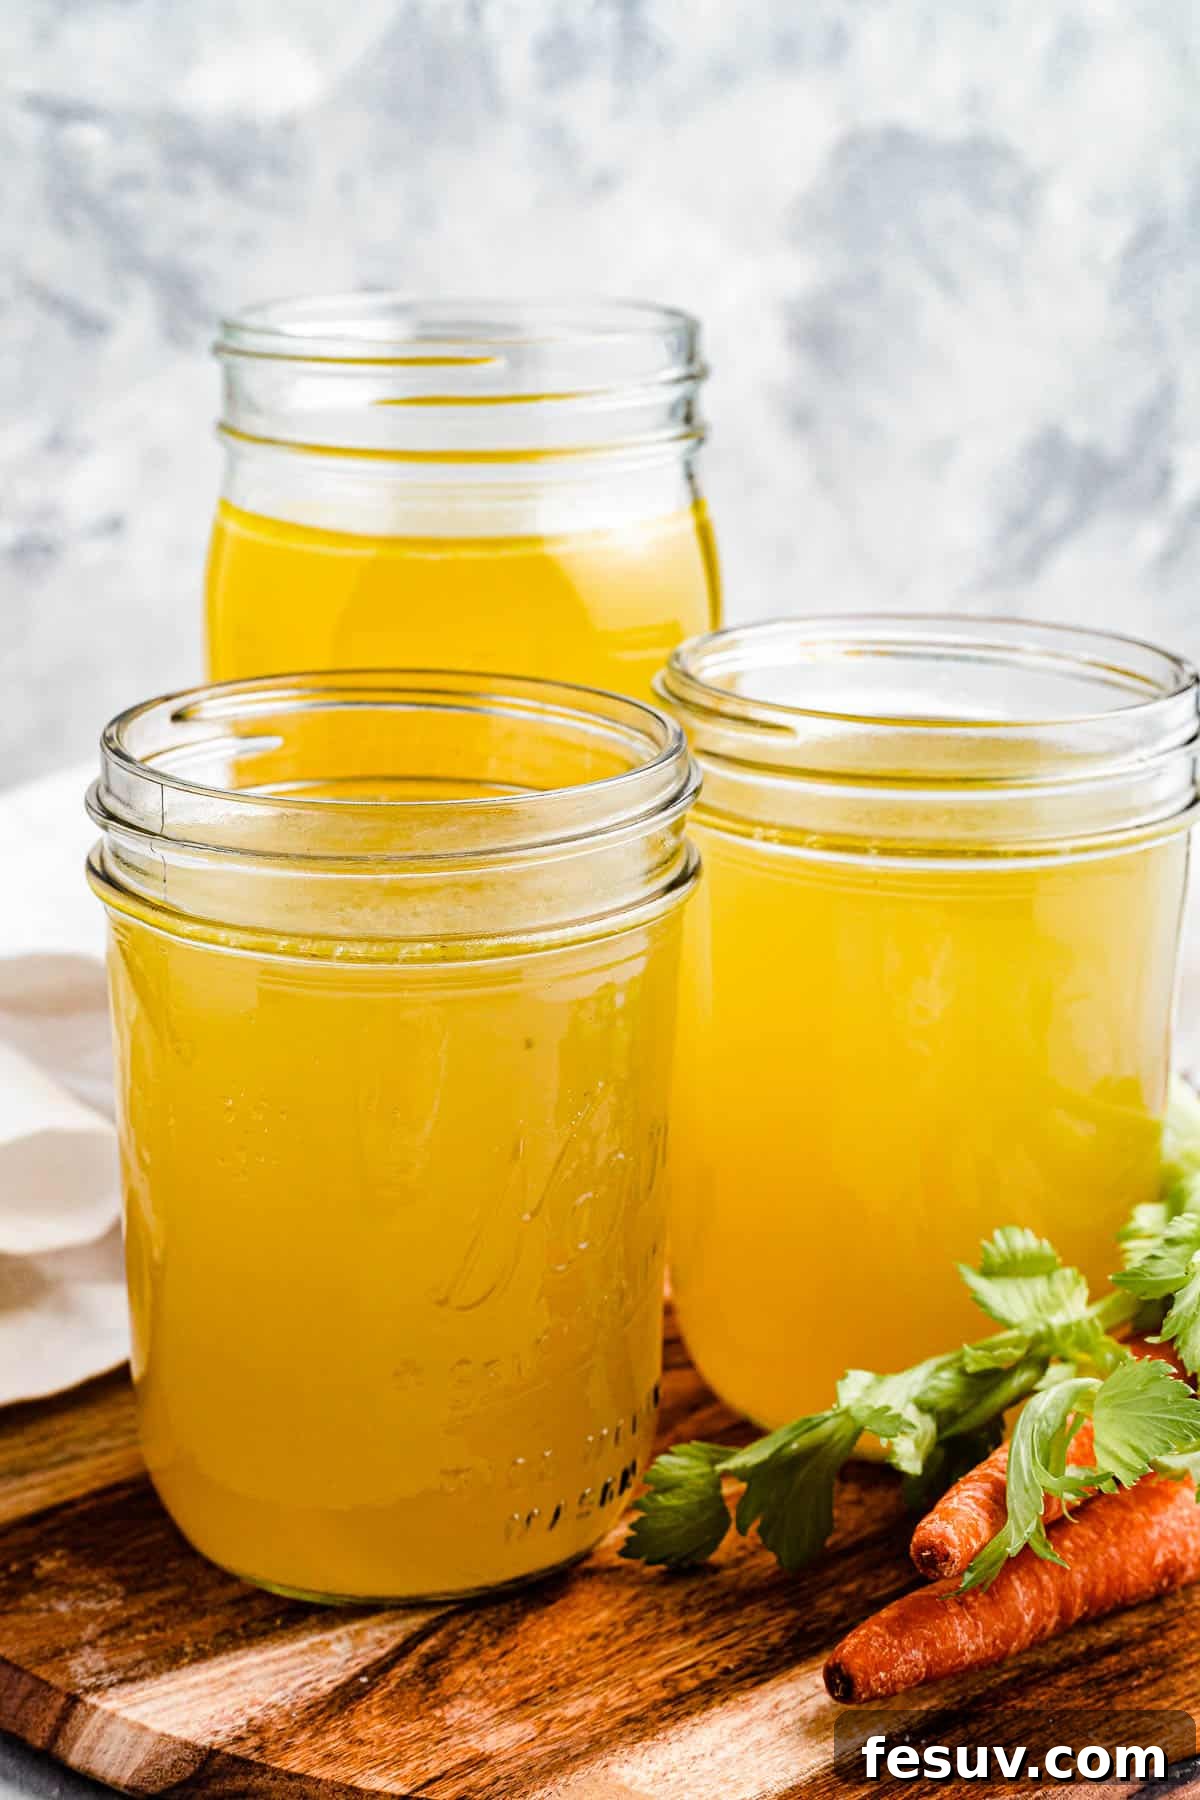
Homemade Instant Pot Chicken Broth: Your Ultimate Kitchen Essential
Do you often find yourself reaching for a recipe, only to discover you’ve run out of chicken broth? Or perhaps you’re at the grocery store, staring at rows of expensive, often overly salty, boxed broths, wondering if there’s a better way to ensure you always have this pantry staple on hand. The answer is a resounding yes! Making your own chicken broth at home is not only incredibly easy and cost-effective, but it also allows you to control every ingredient for superior flavor and quality.
This simple, swift Instant Pot Chicken Broth recipe is a game-changer. I make it regularly, ensuring I always have a fresh supply of rich, homemade broth ready for any culinary endeavor. The beauty of crafting your own broth lies in the complete control it offers. You choose the type of chicken, select your preferred organic vegetables, and customize the seasoning with your favorite herbs and spices, avoiding unwanted additives or excessive sodium found in many commercial products.
An incredible added benefit of using a whole chicken for this broth is that you simultaneously yield tender, flavorful cooked chicken meat. Once the broth is done, simply remove the chicken from the bones, and you have perfectly pre-cooked chicken ready for a myriad of other dishes. Imagine quick weeknight meals like shredded chicken sandwiches, hearty chicken noodle soup, or a delicious Mexican chicken casserole. Having cooked chicken on hand is a fantastic shortcut for healthy, fast meals throughout the week, making this Instant Pot method a double win for busy home cooks.
Broth vs. Stock: Understanding the Culinary Distinction
Often, the terms chicken broth and chicken stock are used interchangeably in recipes, and for most home cooks, this is perfectly acceptable. However, there are subtle yet important differences that distinguish these two foundational liquids. The primary distinction lies in their main ingredient and the duration of their cooking process.
Chicken Broth, as we are making today with our whole chicken, is typically made by simmering meat (often with some bones attached) and aromatic vegetables for a shorter period. The goal is to extract the savory flavors from the chicken meat. Broth tends to be lighter in body and flavor compared to stock because it’s cooked for a shorter time, preventing the meat from becoming overly tough. It’s usually thinner and doesn’t solidify when chilled, retaining a clean, delicate chicken essence.
Chicken Stock, on the other hand, is primarily made from simmering bones (often roasted for deeper flavor) and cartilage, along with vegetables, for a much longer duration – typically 4 to 12 hours. This extended cooking time is crucial for extracting collagen from the bones, which gives stock a richer body and mouthfeel. When chilled, stock will often solidify into a gelatinous state, a clear indicator of its collagen content. This gelatin contributes significantly to the richness and texture of sauces and gravies.
Decoding Bone Broth
While “bone broth” has gained immense popularity as a health trend, it is technically a type of stock. What sets bone broth apart is its incredibly long cooking time, sometimes extending up to 24 hours or even more, and the common addition of an acidic ingredient like apple cider vinegar. This acid helps to break down the bones and connective tissues, facilitating the release of even more collagen, minerals, and amino acids into the liquid. The result is a highly nutritious and intensely flavorful liquid, often consumed for its purported health benefits.
Essential Ingredients for Perfect Instant Pot Chicken Broth
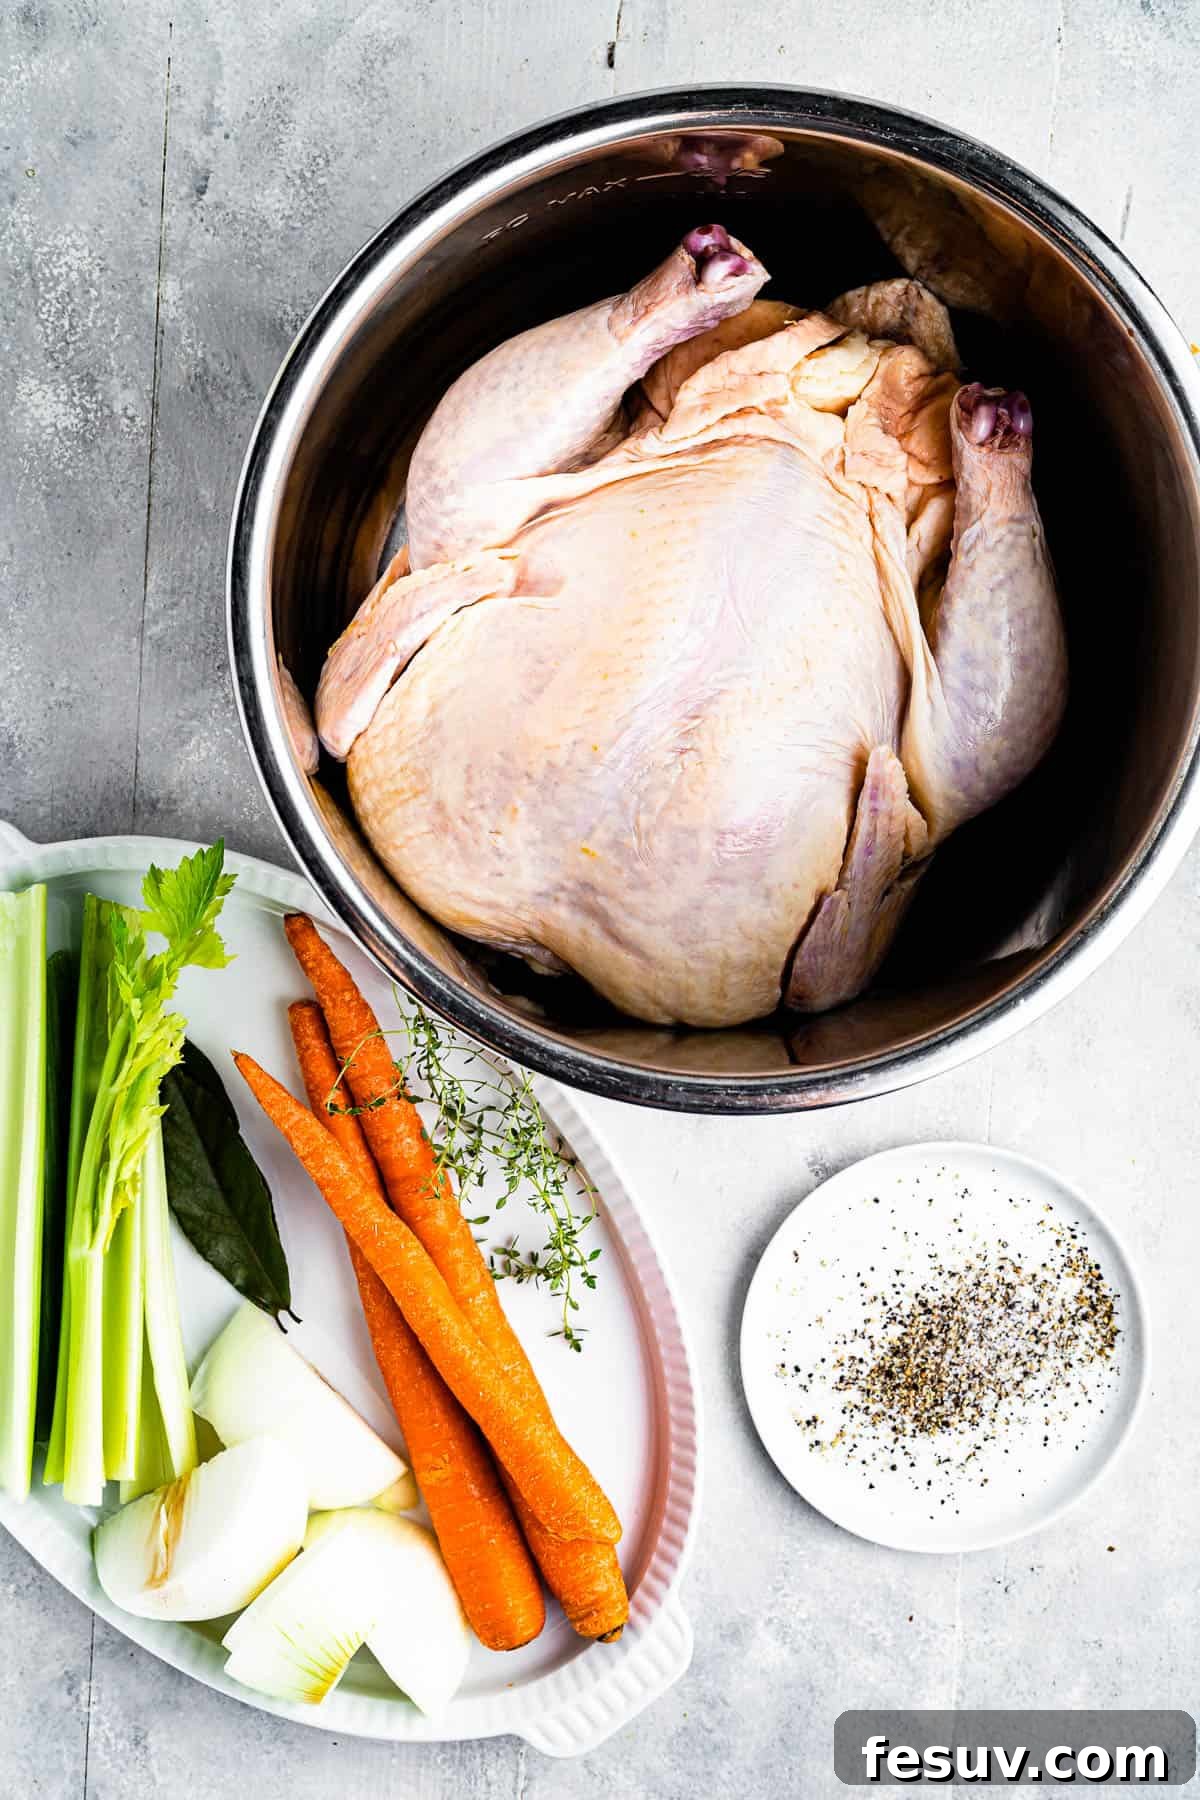
Crafting a truly exceptional chicken broth starts with quality ingredients. While this recipe provides a fantastic foundation for a classic, smooth, and full-flavored broth, feel free to experiment with additional aromatics or herbs to suit your personal taste. This basic combination creates a timeless flavor profile that you’ll undoubtedly adore and find incredibly versatile.
- Chicken: For this recipe, a small whole chicken, approximately 2 pounds, works wonderfully. Alternatively, you can use about two pounds of chicken pieces such as wings, thighs, or backs. These parts are rich in connective tissue, which adds body and flavor to the broth. For an even richer flavor, consider using organic or free-range chicken.
- Carrots: About 3 large carrots, scrubbed clean and cut in half, contribute a subtle sweetness and beautiful golden hue to the broth. You don’t need to peel them, as the skins hold flavor and nutrients.
- Celery: Three celery stalks, cut in half, are essential for that quintessential savory “chicken soup” flavor profile. They add a refreshing, slightly peppery note that balances the richness of the chicken.
- Onion: One large onion, either white or yellow, halved or quartered, provides a fundamental aromatic base. The outer skin (if clean) can even be left on for extra color and flavor.
- Bay Leaves: Two dried bay leaves are crucial for adding a delicate, herbaceous note that complements the other ingredients without overpowering them. They infuse the broth with a subtle depth.
- Thyme: My personal favorite dried herb for chicken broth is thyme, offering an earthy and slightly floral aroma. However, feel free to explore other herbs like rosemary, sage, or parsley stems to customize the flavor to your liking.
- Salt and Black Pepper: Essential for seasoning. Start with 1 teaspoon of sea salt and ½ teaspoon of freshly ground black pepper, and adjust to taste after the broth has cooked. Remember, you can always add more salt, but you can’t take it away!
- Water: The liquid base for your broth. This recipe typically yields about two and a half quarts of finished broth, requiring approximately 8 to 10 cups of water, or enough to just cover your chicken in the Instant Pot without exceeding the max fill line.
Step-by-Step Guide: Crafting Your Instant Pot Chicken Broth
While the Instant Pot significantly cuts down the cooking time compared to a traditional stovetop simmer, the process still requires some dedicated time. Plan for about an hour of active cooking and pressure release, followed by an equally important period for cooling, straining, and transferring your golden elixir into storage containers. This hands-off approach makes it perfect for a weekend afternoon or even a busy weeknight if you plan ahead.
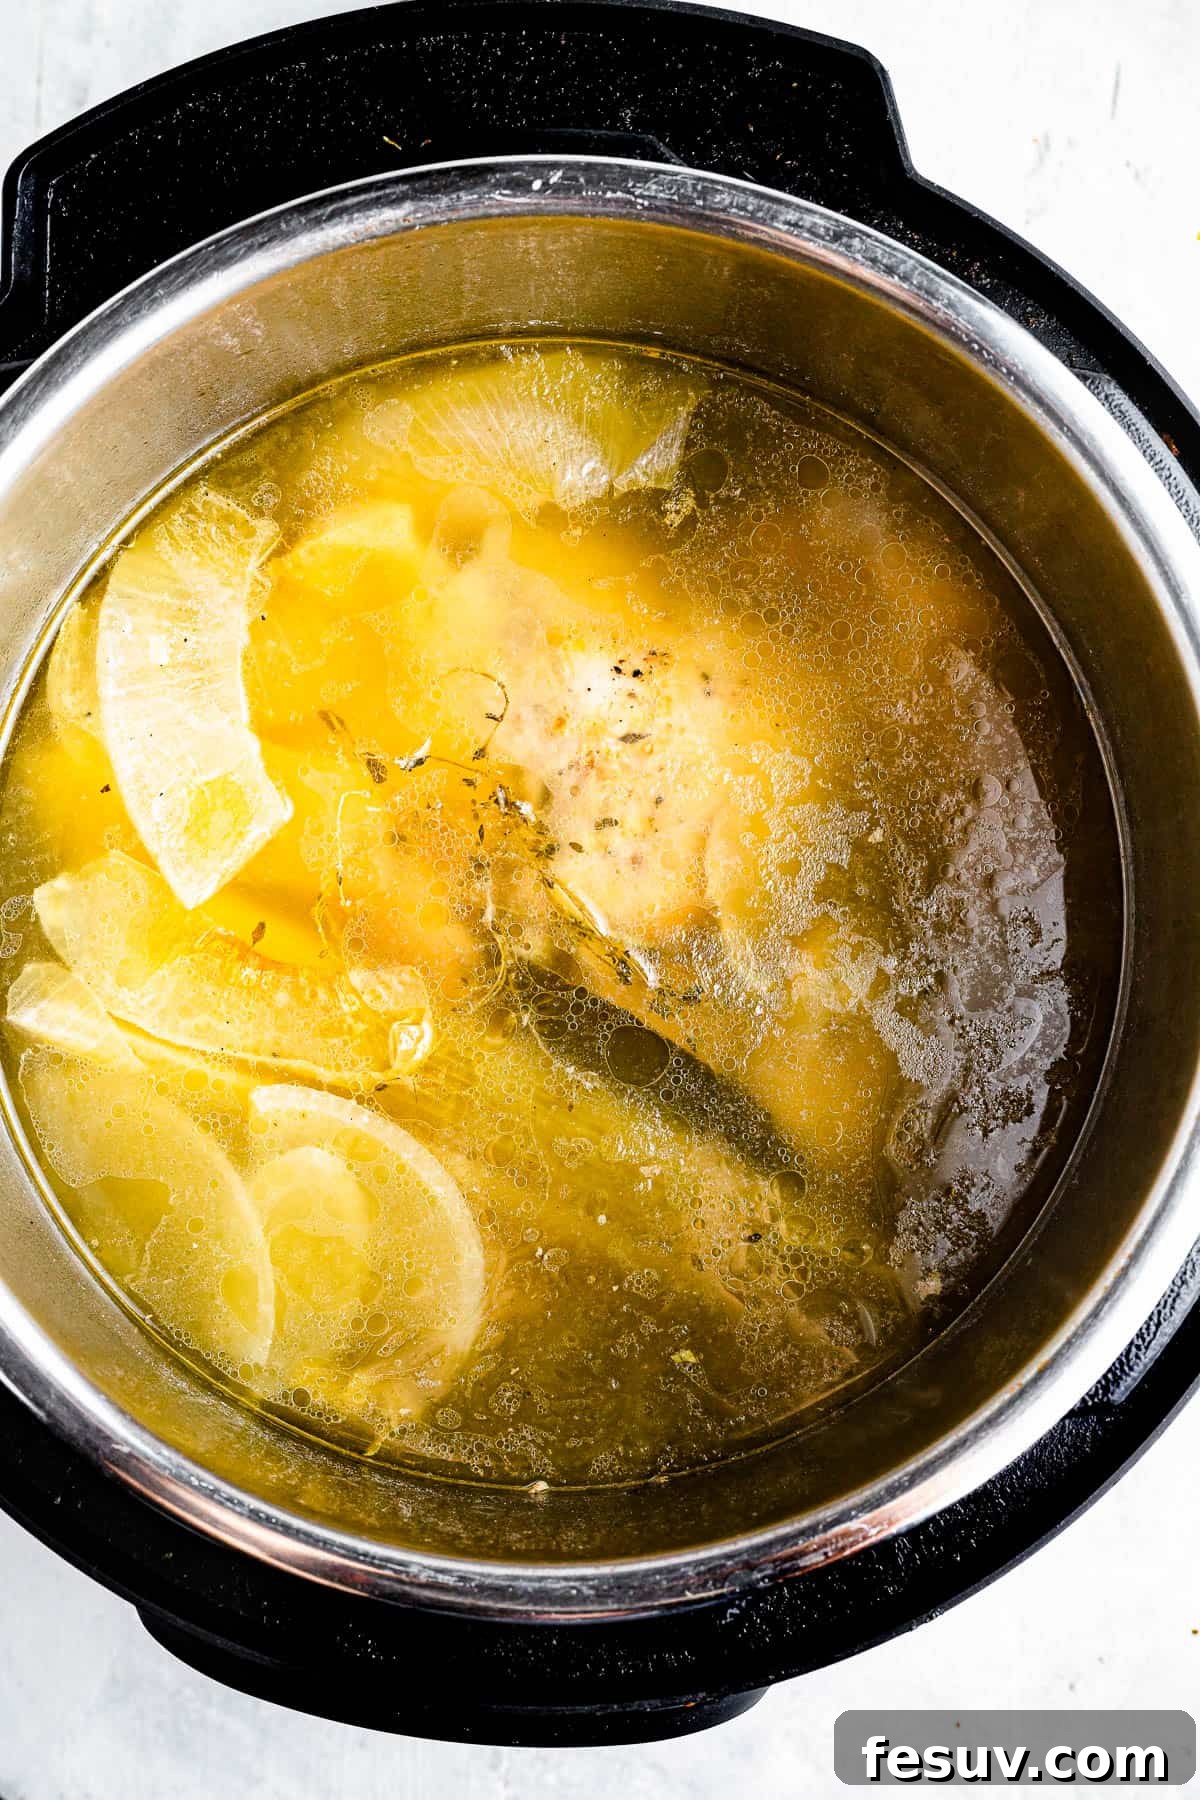
- Prepare Your Instant Pot: Begin by placing the whole chicken (or chicken pieces), halved carrots, celery stalks, quartered onion, bay leaves, dried thyme, sea salt, and freshly ground black pepper into the inner pot of your Instant Pot. Arrange them evenly to ensure proper cooking.
- Add Water to Submerge: Carefully pour 8 to 10 cups of cold water over the ingredients until the chicken is fully submerged. It’s crucial not to exceed the “MAX FILL” line indicated on your Instant Pot’s inner pot. The exact amount of water may vary slightly depending on the size of your chicken.
- Pressure Cook to Perfection: Secure the lid onto the Instant Pot and rotate it to the locked position. Ensure the steam release valve is set to the “Sealing” position. Select the “Manual” or “Pressure Cook” setting on high pressure for 45 minutes. The Instant Pot will take some time to come to pressure before the cooking countdown begins.
- Natural Release, Then Quick Release: Once the 45-minute cooking cycle is complete, allow the Instant Pot to naturally release pressure for 10-15 minutes. This step helps to tenderize the chicken further and prevent foam from shooting out during the quick release. After 10-15 minutes, carefully switch the steam release valve to the “Venting” position for a quick release of any remaining pressure. Once the floating valve drops, it’s safe to open the lid.
- Cooling Down: Remove the lid and allow the hot chicken broth to cool down significantly within the pot. This cooling period is important for safety and makes the straining process much easier. You can place a tea towel over the pot to keep it covered while it cools, preventing any dust or debris from entering.
- Skim and Remove Solids: Once the broth has cooled enough to handle, use a large spoon or ladle to skim off any accumulated fat from the surface. Then, carefully remove the cooked chicken (setting aside the meat for future meals), along with any large bones and vegetable pieces.
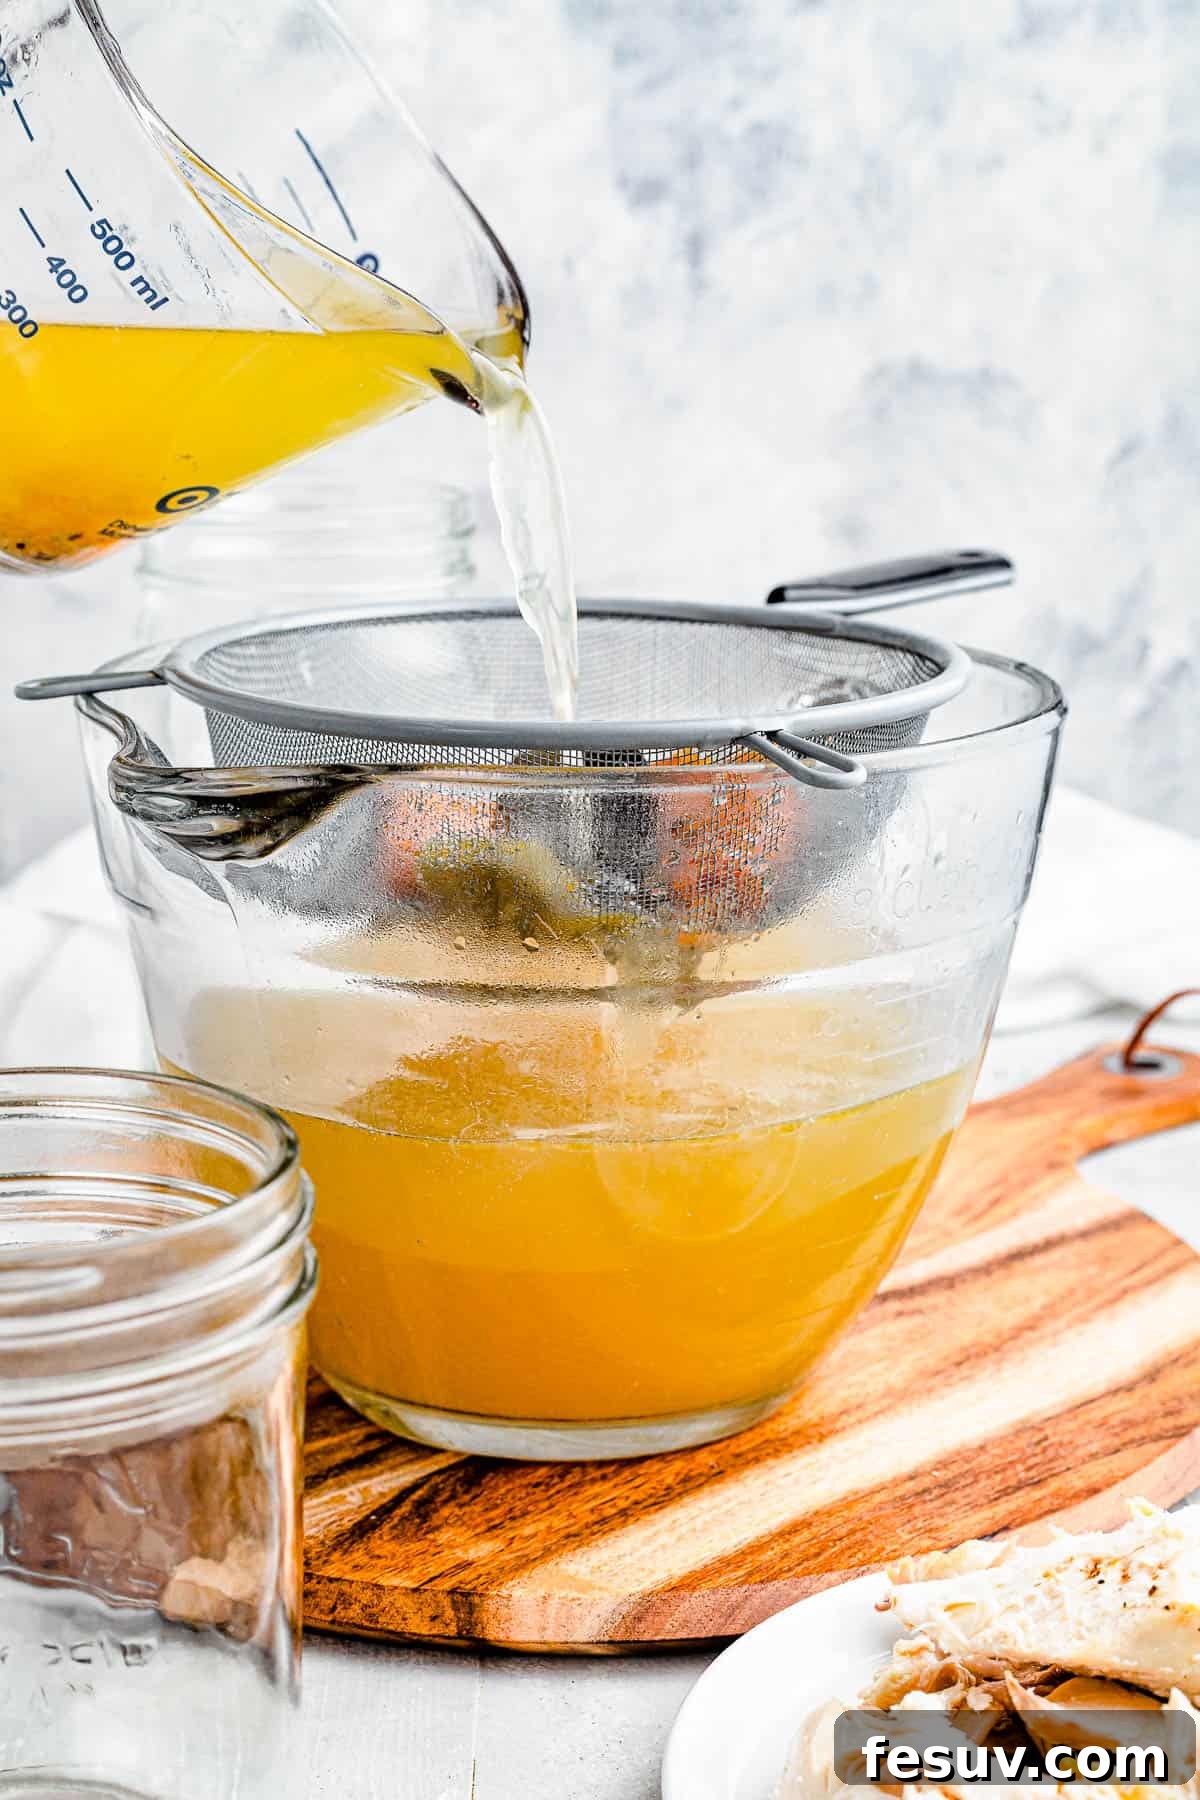
- Strain for Clarity: Place a large heatproof bowl (3 to 4 quarts is ideal) on your counter. Line a fine-mesh strainer or a colander with a few layers of cheesecloth, and position it over the bowl. Slowly and carefully pour the cooled broth through the strainer. This step is vital for removing any small bones, herb fragments, or remaining vegetable scraps, resulting in a beautifully clear broth.
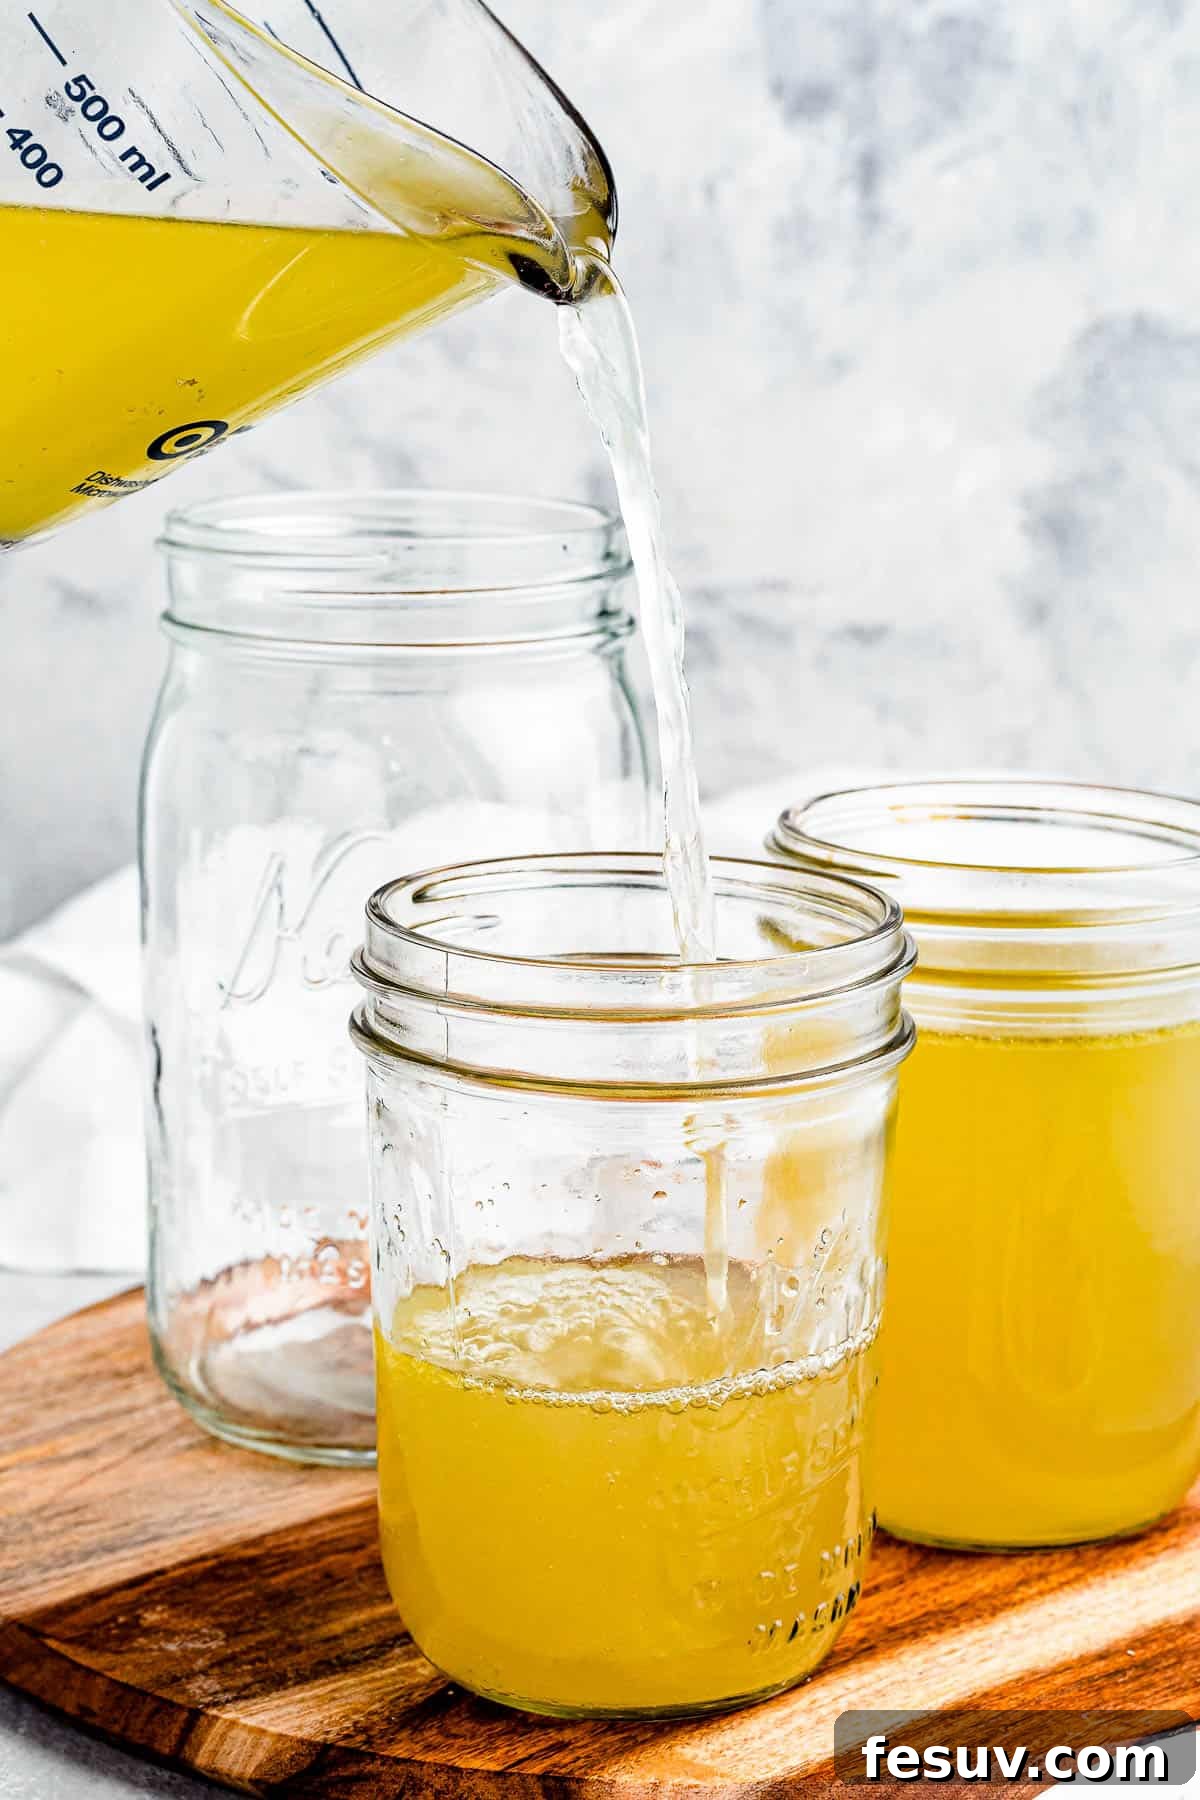
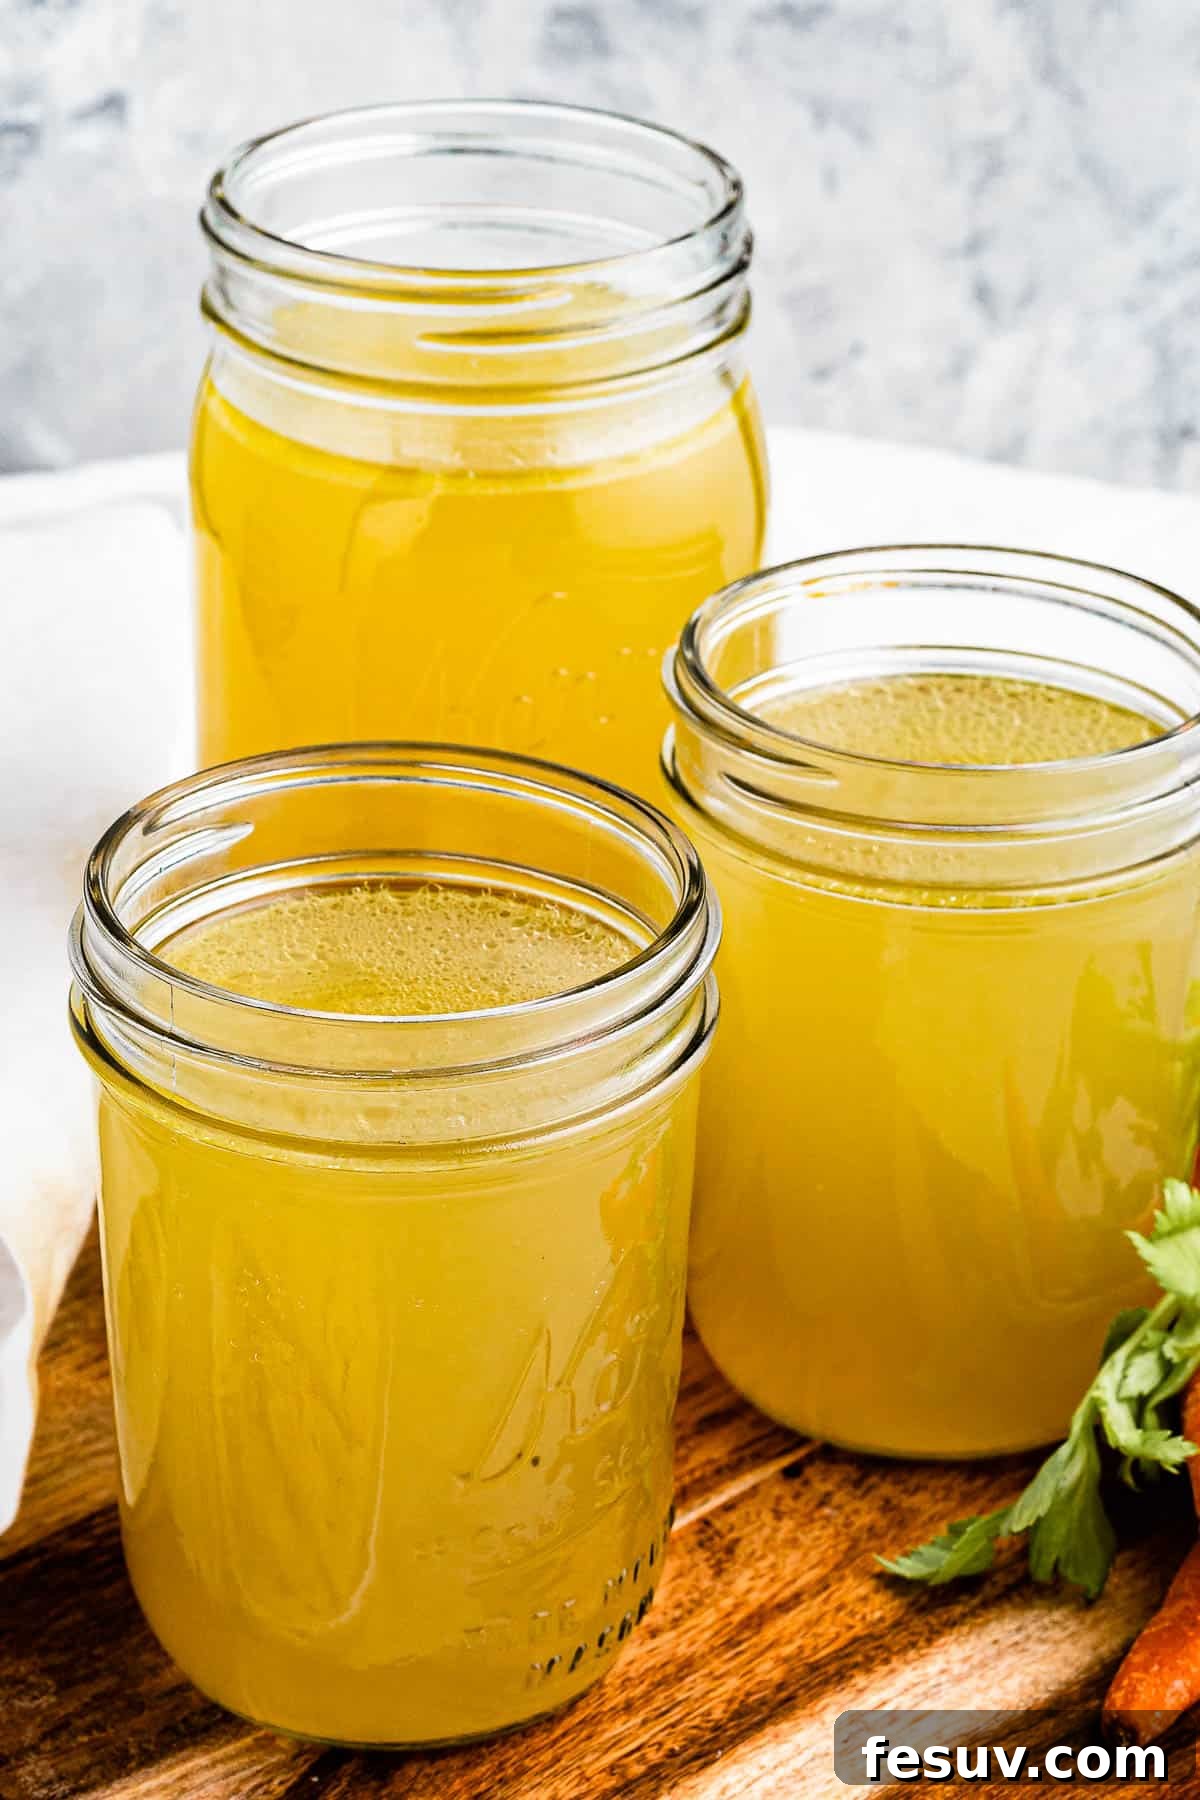
- Store Your Homemade Broth: Transfer the freshly strained, clear chicken broth into clean glass jars or other airtight containers. Seal them tightly. Your homemade Instant Pot chicken broth is now ready for storage.
Stovetop Chicken Broth: The Classic Method
If you don’t own an Instant Pot or simply prefer the traditional method, making chicken broth on the stovetop is equally rewarding. It takes a bit longer, but the process is straightforward and yields a deeply comforting aroma throughout your home.
- Combine Ingredients: Place the whole chicken (or chicken parts), carrots, celery, onion, bay leaves, thyme, salt, and pepper into a large stockpot or Dutch oven. Ensure all ingredients fit comfortably.
- Add Water and Bring to a Boil: Pour enough cold water over the ingredients to cover the chicken by approximately 1 inch (this usually amounts to 10-12 cups, depending on your pot and chicken size). Place the pot over medium-high heat and slowly bring the mixture to a rolling boil.
- Reduce to a Gentle Simmer: As soon as the water begins to boil, immediately reduce the heat to the lowest possible setting to maintain a very gentle simmer. Using a large spoon, skim off any foam or impurities that rise to the surface during the initial stages of simmering. This helps keep your broth clear.
- Slow Simmer for Flavor: Partially cover the pot with a lid, leaving a small gap for steam to escape. Let the broth gently simmer for 2 to 2½ hours. During this time, the chicken will become incredibly tender, and the flavors will meld beautifully. For an even richer, more intense flavor, you can extend the simmering time up to 3 hours, but be mindful not to overcook the chicken meat if you plan to use it.
- Cool, Strain, and Store: Once simmered to your desired richness, remove the pot from the heat and allow the broth to cool. Follow the same straining and storage instructions as for the Instant Pot method. Remember to remove the chicken and large vegetable pieces before straining.
Expert Tips for Exceptional Homemade Chicken Broth
Making your own chicken broth is a rewarding culinary experience. To ensure every batch turns out perfectly golden, flavorful, and clear, keep these expert tips in mind:
- Prioritize Safety During Straining: Dealing with large volumes of hot liquid requires caution. If you find it challenging to lift and pour the full inner pot of the Instant Pot or a large stockpot, don’t hesitate to use a heatproof ladle to transfer about one-third to half of the broth into the strainer first. This makes the remaining pot lighter and easier to manage, reducing the risk of spills or burns.
- Utilize a Large Funnel for Jars: Transferring strained broth into narrow-mouthed glass jars can be messy. A large canning funnel is an invaluable tool for this task. It sits securely on the jar opening, providing a wide target for pouring or ladling the broth, minimizing spills and waste.
- Customize and Enhance Flavors: The beauty of homemade broth is its adaptability. Don’t be afraid to experiment!
- Add Richness: Incorporate savory ingredients like a handful of dried mushrooms for an umami boost, a piece of smoked ham hock, or even leftover bacon grease for a deeper, more complex flavor profile.
- Herb Exploration: Beyond thyme, consider adding other fresh or dried herbs like rosemary sprigs, parsley stems (often discarded but packed with flavor), or a pinch of marjoram.
- Brighten with Acid: A small splash of lemon juice or a tablespoon of apple cider vinegar at the end of cooking can brighten the flavor of your broth, though be mindful not to overdo it.
- Use Kitchen Scraps: Save vegetable scraps (onion skins, carrot ends, celery tops) in a freezer bag. When you have enough, add them to your broth for extra flavor and to minimize food waste.
- Maintain a Gentle Simmer (Stovetop): For stovetop broth, avoid a rolling boil. A gentle simmer is key to a clear broth. Vigorous boiling can emulsify fats and impurities, leading to a cloudy broth.
- Degrease for Health and Clarity: While skimming fat during cooling is helpful, for an even clearer, less fatty broth, chill it completely in the refrigerator overnight. The fat will solidify on top, making it effortless to lift off with a spoon.
Unleashing the Versatility: How to Use Your Homemade Chicken Broth
Now that you’ve crafted a beautiful batch of homemade chicken broth, what culinary adventures await? The possibilities are truly endless! Homemade chicken broth is a foundational ingredient that imbues almost any dish with superior flavor, added nutrition, and a depth that store-bought versions simply can’t match. Here are just a few ideas to inspire your kitchen creativity:
- Perfecting Grains: Use chicken broth instead of water when cooking rice, quinoa, couscous, or any other grain. It transforms a simple side dish into a flavorful accompaniment.
- Elevating Mashed Potatoes: Replace milk or cream with warm chicken broth when making mashed potatoes for an unbelievably rich and savory flavor profile.
- The Foundation of Fantastic Soups: It’s the ultimate base for all your favorite soups, stews, and chowders. From classic chicken noodle to hearty vegetable soup, your broth will be the star.
- Rich Gravies and Sauces: A crucial ingredient for creating deep, savory gravies and flavorful sauces that will impress.
- Steaming and Boiling Vegetables: Infuse your steamed or boiled vegetables with extra flavor by using chicken broth instead of plain water.
- Deglazing and Pan Sauces: After searing meats, use a splash of hot chicken broth to deglaze your skillet, scraping up all those flavorful browned bits to create a quick, restaurant-quality pan sauce.
- Enhancing Instant Pot Meals: When cooking other dishes in your Instant Pot, replace water with your homemade broth to boost the flavor and richness of dishes like pot roasts, chilis, or pasta.
- Risotto and Pasta Dishes: Add ladlefuls of warm broth to your risotto for creaminess and depth, or use it as cooking liquid for pasta to impart more flavor into every bite.
- Poaching: Gently poach chicken breasts or fish in your homemade broth for tender, flavorful results.
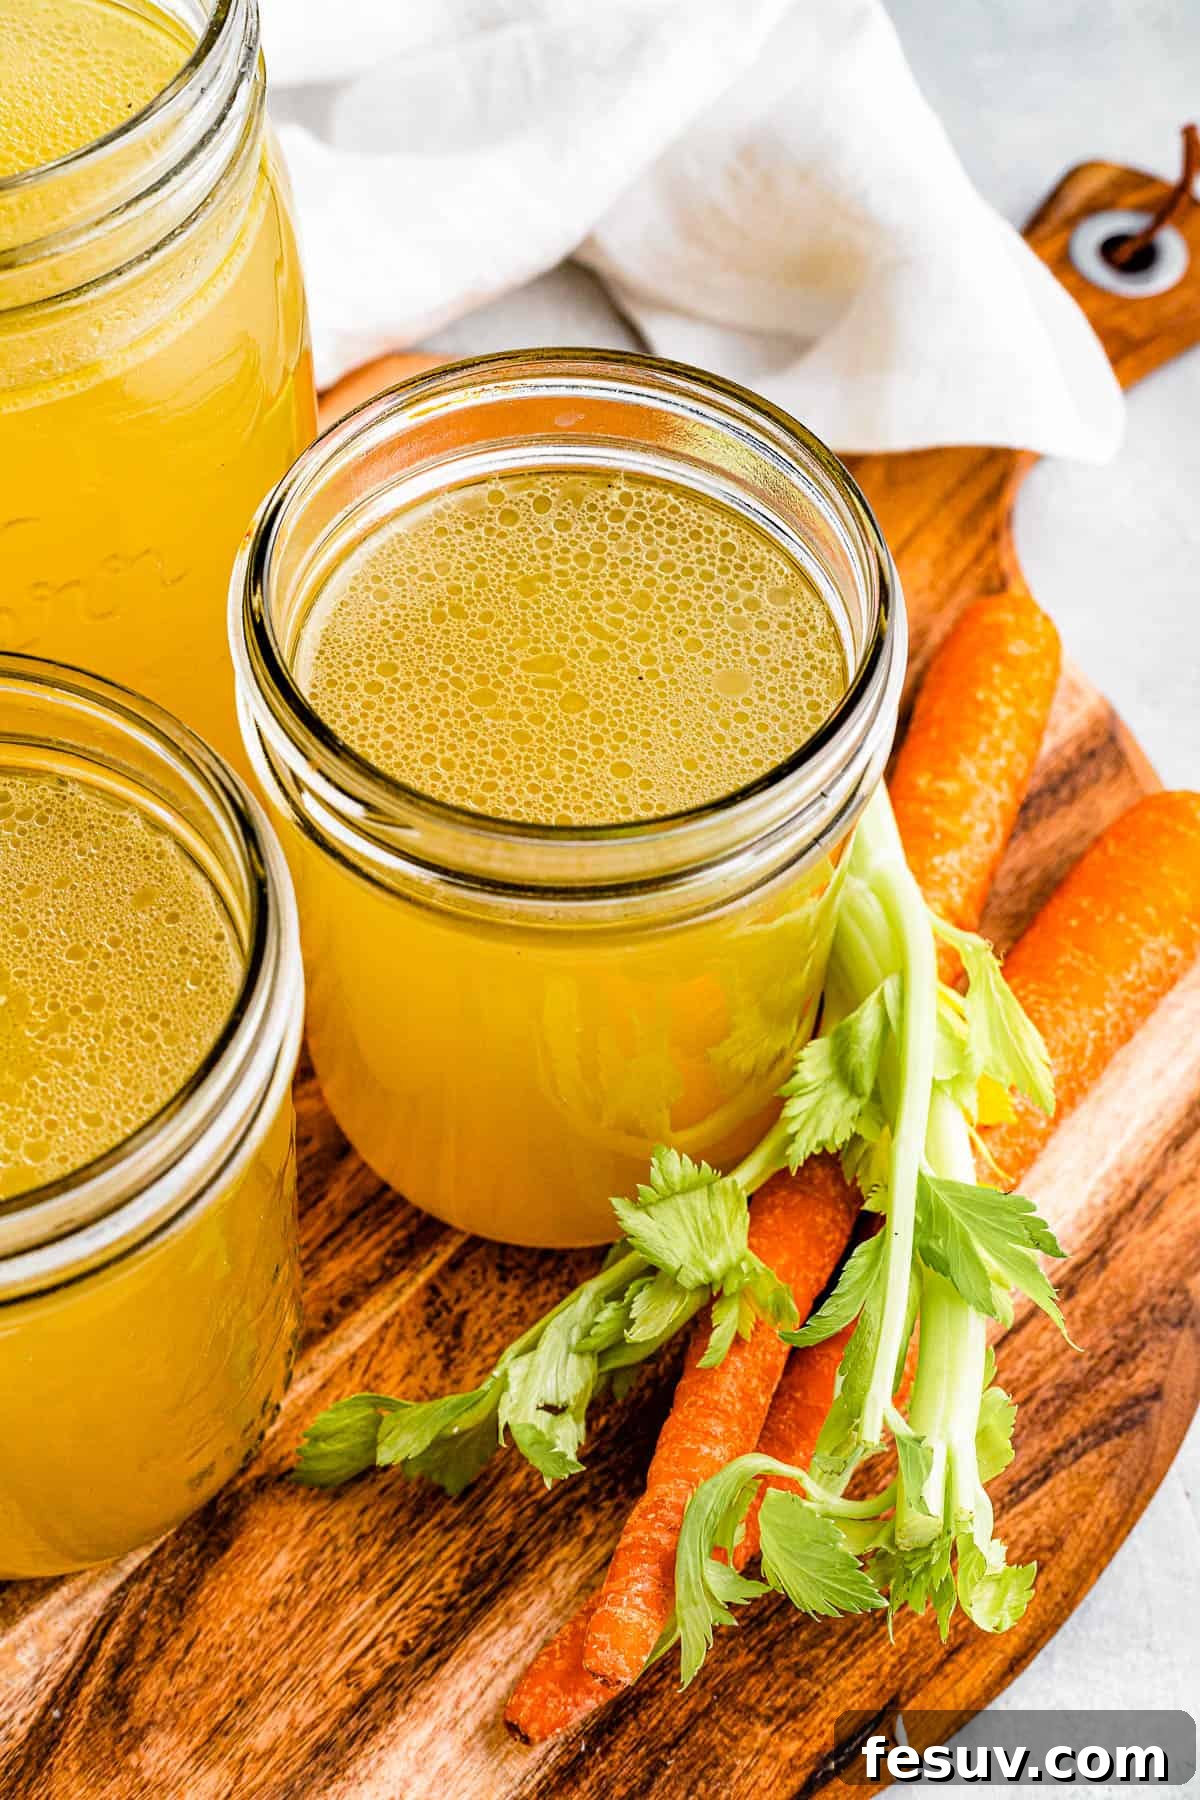
Instant Pot Chicken Broth Recipe
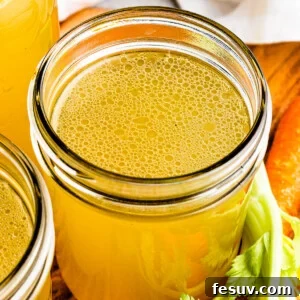
Instant Pot Chicken Broth: Fast, Flavorful & Versatile
This homemade Instant Pot Chicken Broth is incredibly fast and easy to make, yet delivers a rich, savory flavor as if it simmered all day. With notes of carrot, onion, and celery, it’s a full-flavored base perfect for any recipe.
Rating: 5 out of 5 stars from 2 votes.
By Katerina | Easy Weeknight Recipes
- Prep Time: 15 minutes
- Cook/Cool Time: 1 hour 30 minutes
- Total Time: 1 hour 45 minutes
- Yields: 10 cups (approx. 2.5 quarts)
Ingredients
- 2 pounds whole chicken, or 2 pounds of chicken parts (wings, thighs, backs)
- 3 large carrots, scrubbed and cut in half
- 3 celery stalks, cut in half
- 1 large onion, white or yellow, halved or quartered
- 2 bay leaves
- 1 teaspoon dried thyme, or several fresh thyme stems
- 1 teaspoon sea salt (adjust to taste)
- ½ teaspoon freshly ground black pepper (adjust to taste)
- 8 to 10 cups water, or enough to cover chicken without exceeding max fill line
Instructions
- Load the Pressure Cooker: Place the chicken, carrots, celery, onion, bay leaves, thyme, salt, and pepper into the inner pot of your Instant Pot.
- Add Water: Gently pour in 8 to 10 cups of cold water until the chicken is submerged, ensuring not to exceed the “MAX FILL” line on your Instant Pot.
- Pressure Cook: Secure the lid of the Instant Pot, set the valve to “Sealing,” and pressure cook on high for 45 minutes.
- Release Pressure and Cool: Allow for a 10-15 minute natural pressure release, then quick release any remaining pressure. Once safe, open the lid and let the broth cool down in the pot.
- Remove Solids: Once cooled, skim any fat from the top with a large spoon. Carefully remove the cooked chicken (reserve the meat for other uses), large bones, and vegetable pieces.
- Strain the Broth: Place a fine-mesh strainer (or a colander lined with cheesecloth) over a large 3 to 4-quart heatproof bowl. Slowly pour the broth through the strainer to remove any remaining small solids, ensuring a clear broth.
- Store: Transfer the strained broth into clean glass jars or airtight containers.
Equipment
- Instant Pot (6-quart or larger recommended)
- Fine-mesh strainer or cheesecloth
- Large heatproof bowl
- Glass jars or freezer-safe containers for storage
Notes
- This recipe yields approximately 2.5 quarts (10 cups) of delicious homemade chicken broth.
- To freeze chicken broth: Pour cooled broth into freezer-safe containers or bags, leaving about an inch of headspace for expansion. Store in the freezer for up to 6 months.
- For smaller portions, freeze broth in ice cube trays, then transfer the frozen cubes to freezer bags. This allows for easy access to exact amounts needed for recipes.
- Stovetop Method (Alternative): Combine all ingredients in a large stockpot, covering the chicken by about an inch with water. Bring to a boil, then reduce to a gentle simmer for 2 to 3 hours, skimming off any foam. Strain, cool, and store as directed.
Nutrition Information (Estimate)
Please note: Nutritional information is an estimate and provided as a courtesy. Values may vary based on ingredients and tools used. For detailed information, consult your preferred nutritional calculator.
- Serving Size: 1 cup
- Calories: 108 kcal
- Carbohydrates: 3g
- Protein: 8g
- Fat: 7g
- Saturated Fat: 2g
- Polyunsaturated Fat: 1g
- Monounsaturated Fat: 3g
- Trans Fat: 1g
- Cholesterol: 33mg
- Sodium: 287mg
- Potassium: 168mg
- Fiber: 1g
- Sugar: 2g
- Vitamin A: 3129 IU
- Vitamin C: 3mg
- Calcium: 23mg
- Iron: 1mg
Did you make this recipe? We’d love to hear your thoughts and see your creations! Consider leaving a rating or comment below.
Storing Your Homemade Chicken Broth: Freshness That Lasts
One of the greatest advantages of making your own chicken broth is having a fresh, wholesome supply on hand whenever you need it. Proper storage ensures your hard work pays off for days, weeks, or even months. Here’s how to keep your homemade liquid gold fresh:
- Refrigeration: Once your broth has completely cooled to room temperature, pour it into clean airtight storage containers or glass jars with well-fitting lids. Store in the refrigerator for up to 4 to 5 days. For optimal freshness and to prevent bacterial growth, ensure the broth cools down quickly before refrigerating.
- Freezing for Long-Term Storage: Freezing is an excellent option for preserving broth for extended periods.
- Containers or Bags: Pour cooled broth into freezer-safe containers or heavy-duty freezer bags. Remember to leave at least an inch of headspace at the top of containers, as liquids expand when frozen. This prevents containers from cracking.
- Ice Cube Trays: For ultimate convenience, freeze broth in ice cube trays. Once solid, transfer the frozen broth cubes to a large freezer bag. This method allows you to easily grab small, pre-portioned amounts of broth (typically 1-2 tablespoons per cube) without having to thaw a larger batch. Perfect for deglazing a pan, adding a splash to sautéed vegetables, or boosting flavor in smaller dishes.
- Thawing: When ready to use, simply transfer frozen broth to the refrigerator overnight to thaw, or gently heat it on the stovetop or in the microwave.
- Canning (Advanced Method): For shelf-stable chicken broth, canning is an option, though it requires specific equipment and adherence to safety guidelines for pressure canning low-acid foods. If you’re interested in canning, always consult reputable resources like the USDA National Center for Home Food Preservation to ensure safe practices.
Explore More Instant Pot Favorites
Your Instant Pot is a versatile kitchen workhorse, capable of much more than just amazing chicken broth. If you loved the ease and efficiency of this recipe, be sure to explore these other fantastic Instant Pot creations:
- Instant Pot Loaded Baked Potatoes: Fluffy, perfectly cooked potatoes ready in a fraction of the time.
- Easy Instant Pot Ribs: Fall-off-the-bone tender ribs with minimal effort.
- Instant Pot Hard Boiled Eggs: Consistently perfect hard-boiled eggs that are easy to peel.
- Instant Pot Mongolian Beef: A quick and flavorful takeout classic made at home.