
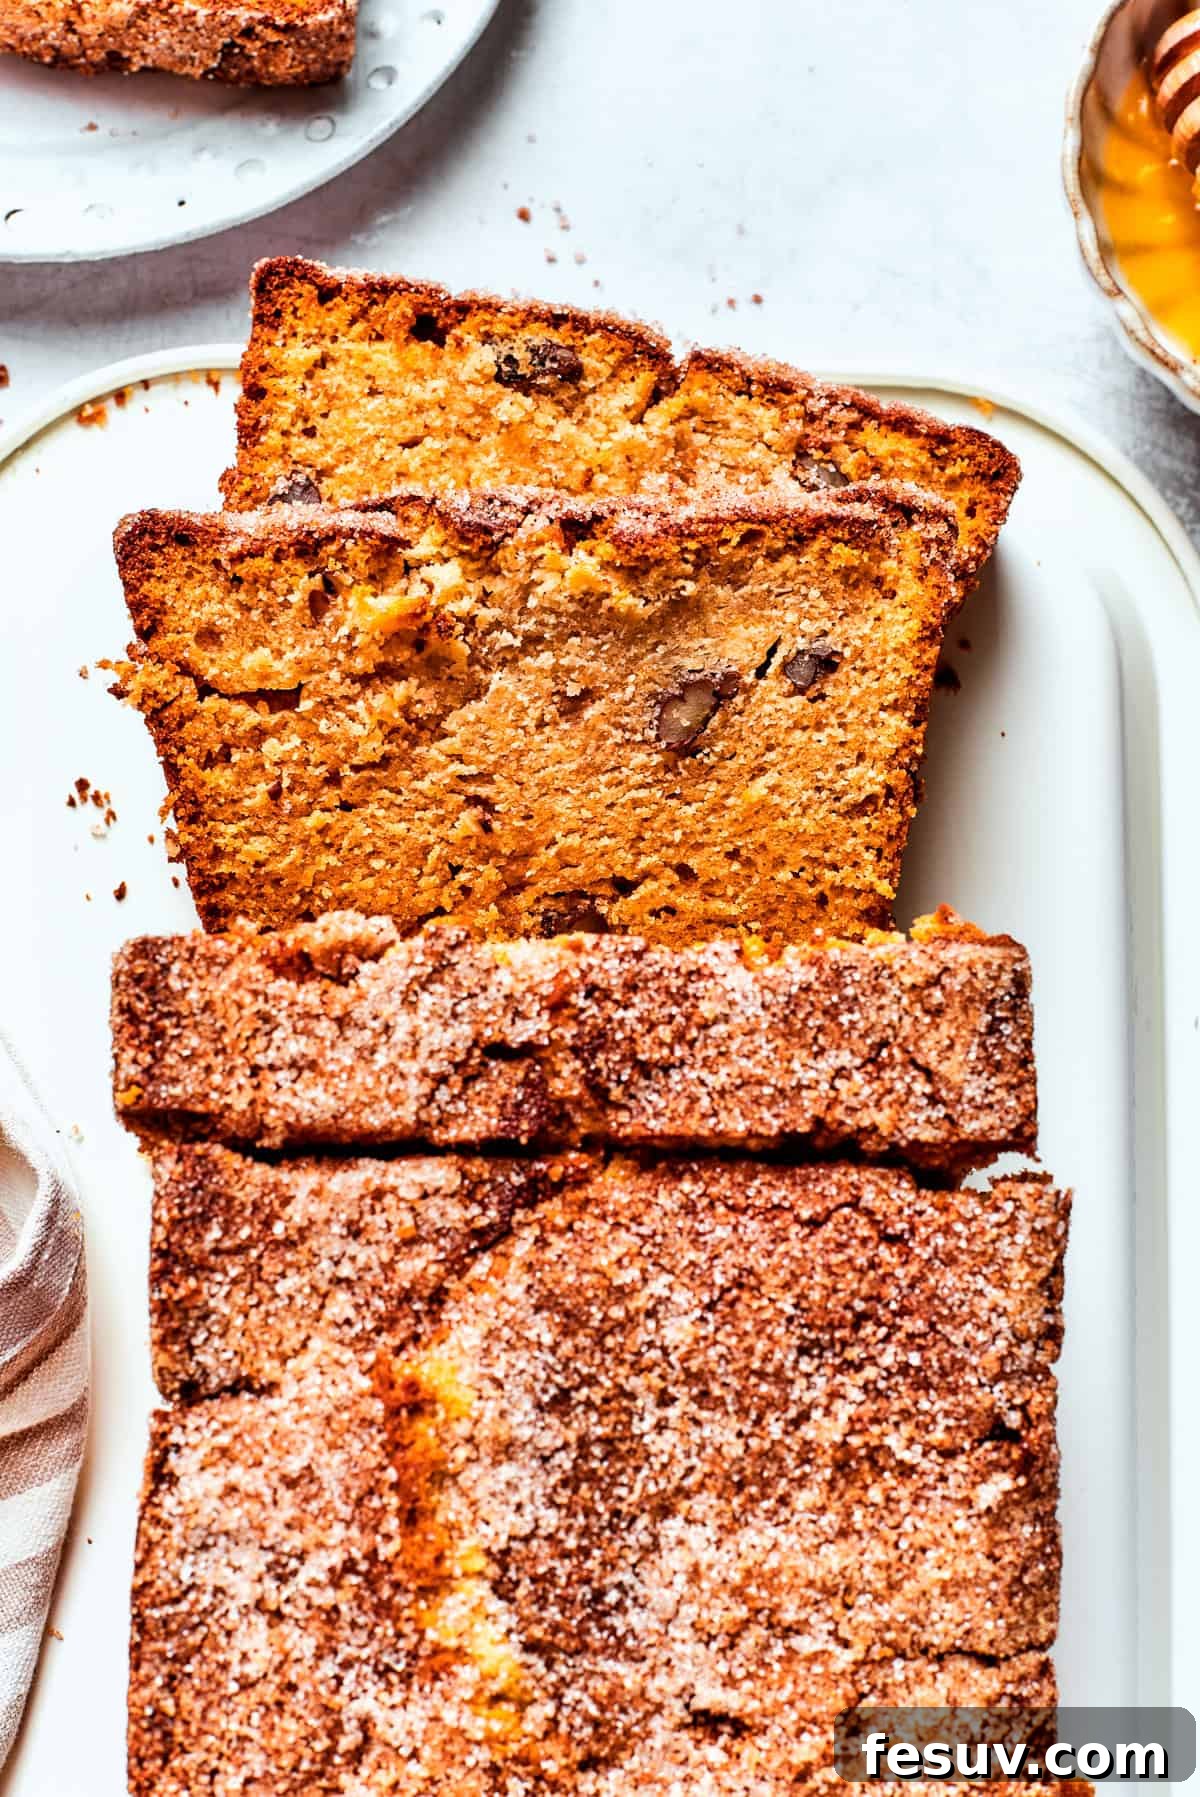
Amish Friendship Bread is a beloved sweet bread tradition, embodying community spirit and the joy of homemade baking. This classic cinnamon-swirled loaf, known for its tender crumb and rich flavor, begins with a unique, active starter. Learning how to prepare and nurture this special Amish friendship bread starter is key to unlocking the magic of this delightful recipe. It’s more than just a sweet treat; it’s an experience meant to be shared, creating connections one delicious slice at a time.
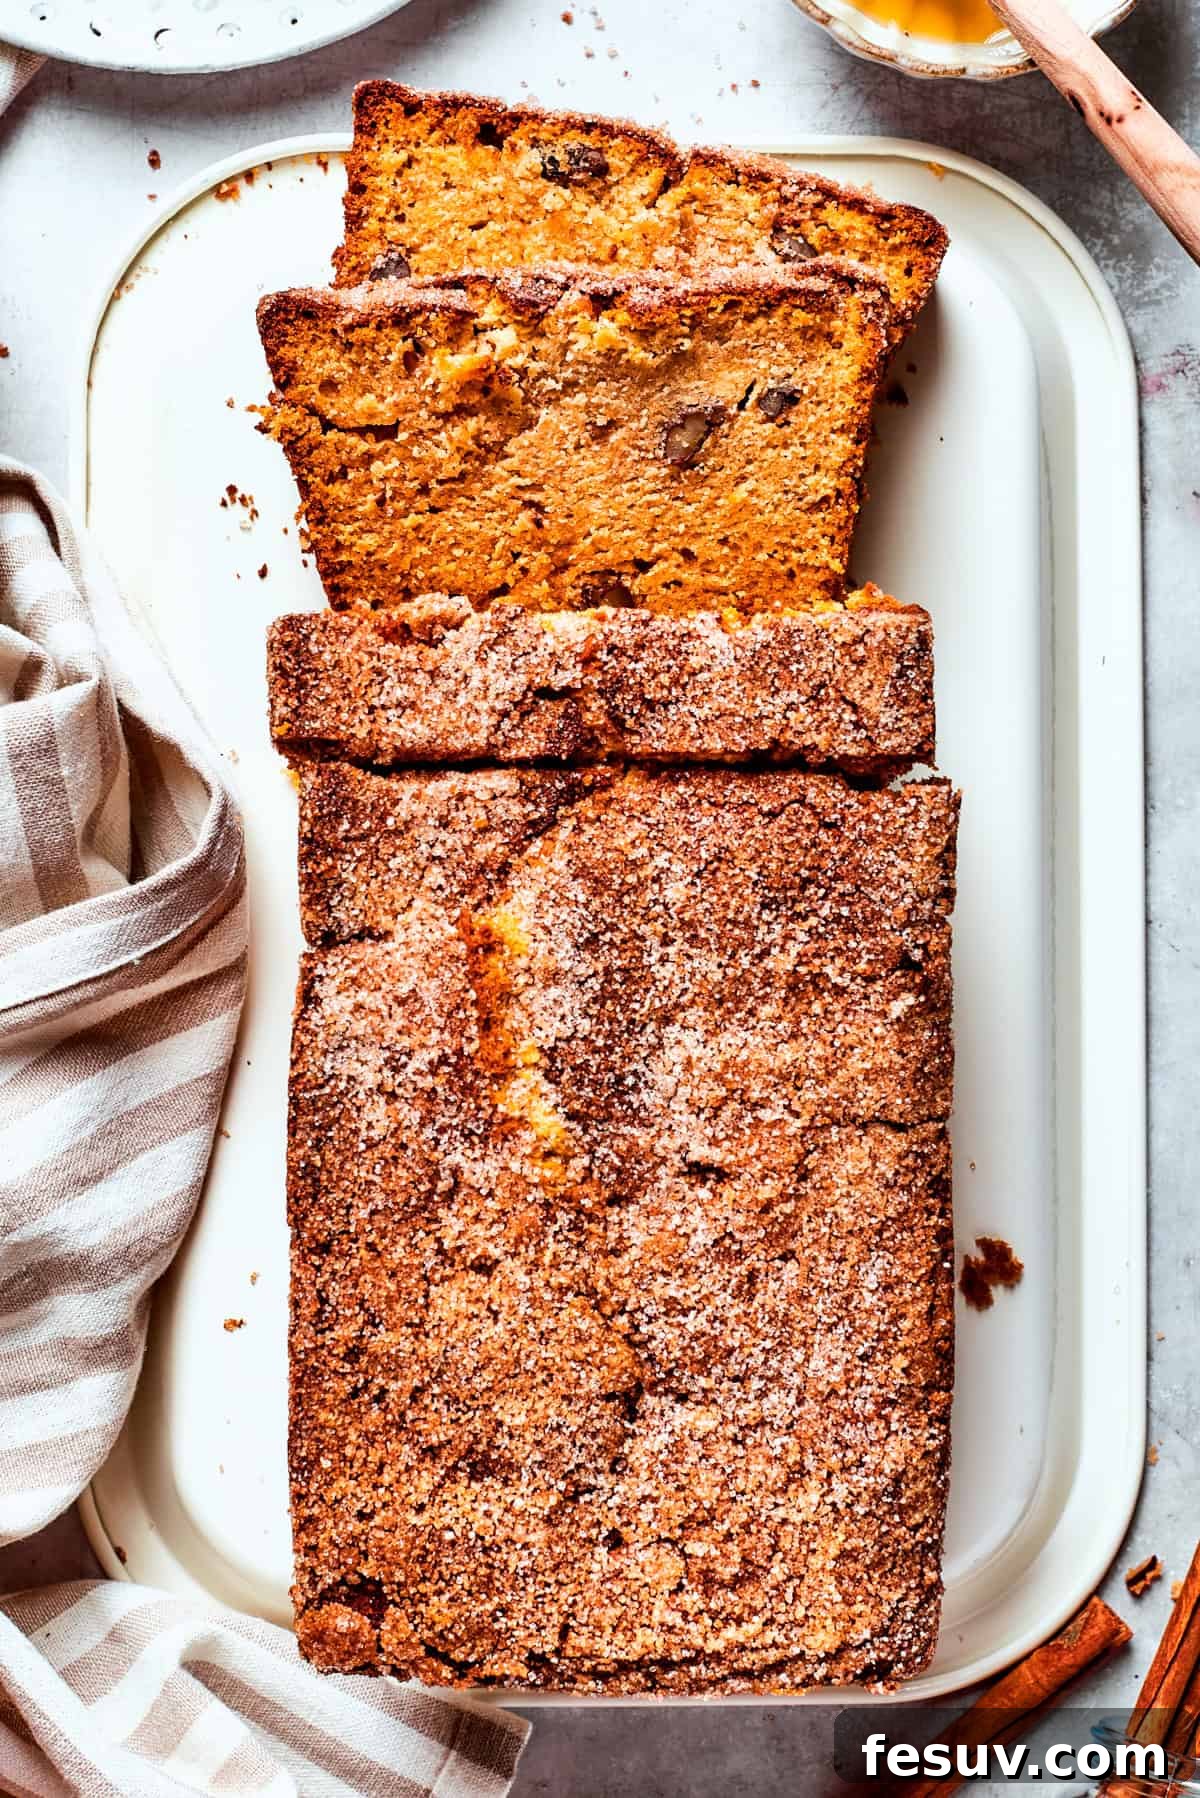
There’s a special kind of satisfaction that comes from baking bread from scratch. As an avid home baker, I can attest to the rewarding journey, whether I’m crafting simple flatbreads, comforting spoon bread, or more elaborate creations like star bread and even indulgent chocolate zucchini bread. Each loaf tells a story, but few compare to the engaging process and heartwarming tradition of Amish Friendship Bread. This unique 10-day recipe centers around cultivating a sweet, yeast-based starter that infuses the bread dough with an unparalleled depth of flavor and a wonderfully soft, yeasty texture. Imagine starting your morning with a toasted slice of this cinnamon-infused sweet bread, slathered with softened butter – it’s a truly exquisite treat.
The beauty of the Amish friendship bread starter extends far beyond just making this specific loaf. Its versatile nature allows it to be incorporated into a variety of other baked goods, adding a subtle sweetness and tender crumb. Consider using it in fluffy rolls, other sweet breads, light and airy muffins, or even pancakes and waffles for a delightful breakfast twist. And, true to its name, the most cherished aspect of this bread is its emphasis on sharing. Dividing portions of your active starter with family and friends invites them into the tradition, allowing them to embark on their own baking adventure and create their very own loaves of Amish Friendship Bread, fostering a delicious cycle of connection and generosity.
Why You’ll Love This Homemade Sweet Bread
Embarking on the journey of making Amish Friendship Bread is a truly unique and rewarding experience. Here are compelling reasons why this recipe will capture your heart and become a cherished baking tradition in your kitchen:
- A Journey, Not a Race: In a world that often rushes, this recipe offers a delightful invitation to slow down. The 10-day process of nurturing your starter is not just about feeding yeast; it’s a daily ritual that fosters patience and mindfulness. Watching the starter bubble and grow, checking on its progress each day, becomes a calming routine. It’s an engaging project that my kids adore observing, and it provides a wonderful opportunity for me to pause and appreciate the art of traditional bread-making. This slow method guarantees a depth of flavor and texture that simply cannot be rushed.
- Uniquely Irresistible Flavor: While some sourdough breads boast a robust, tangy profile, Amish Friendship Bread stands in a category of its own. It offers a distinctively sweet, slightly tangy flavor profile that’s incredibly comforting. The tender, doughy texture paired with aromatic cinnamon swirls creates a harmonious balance of sweetness and spice. It’s a bread that evokes nostalgia, tasting like a warm hug on a cool morning. This unique blend of sweetness and a gentle fermented note makes it incredibly appealing to a wide range of palates.
- Starter Longevity & Versatility: Don’t want to share all your precious starter? That’s perfectly fine! One of the fantastic benefits of this recipe is the starter’s excellent keeping qualities. You can easily divide excess starter into 1-cup portions and store them in freezer-safe bags. Frozen starter remains viable for several months, ready to be defrosted and used immediately to bake a fresh loaf, or even to kickstart a new feeding cycle. This eliminates the need to create a new batch from scratch every time you want to bake, saving you valuable time and ensuring you always have a piece of this friendship tradition on hand.
What Is Amish Friendship Bread?
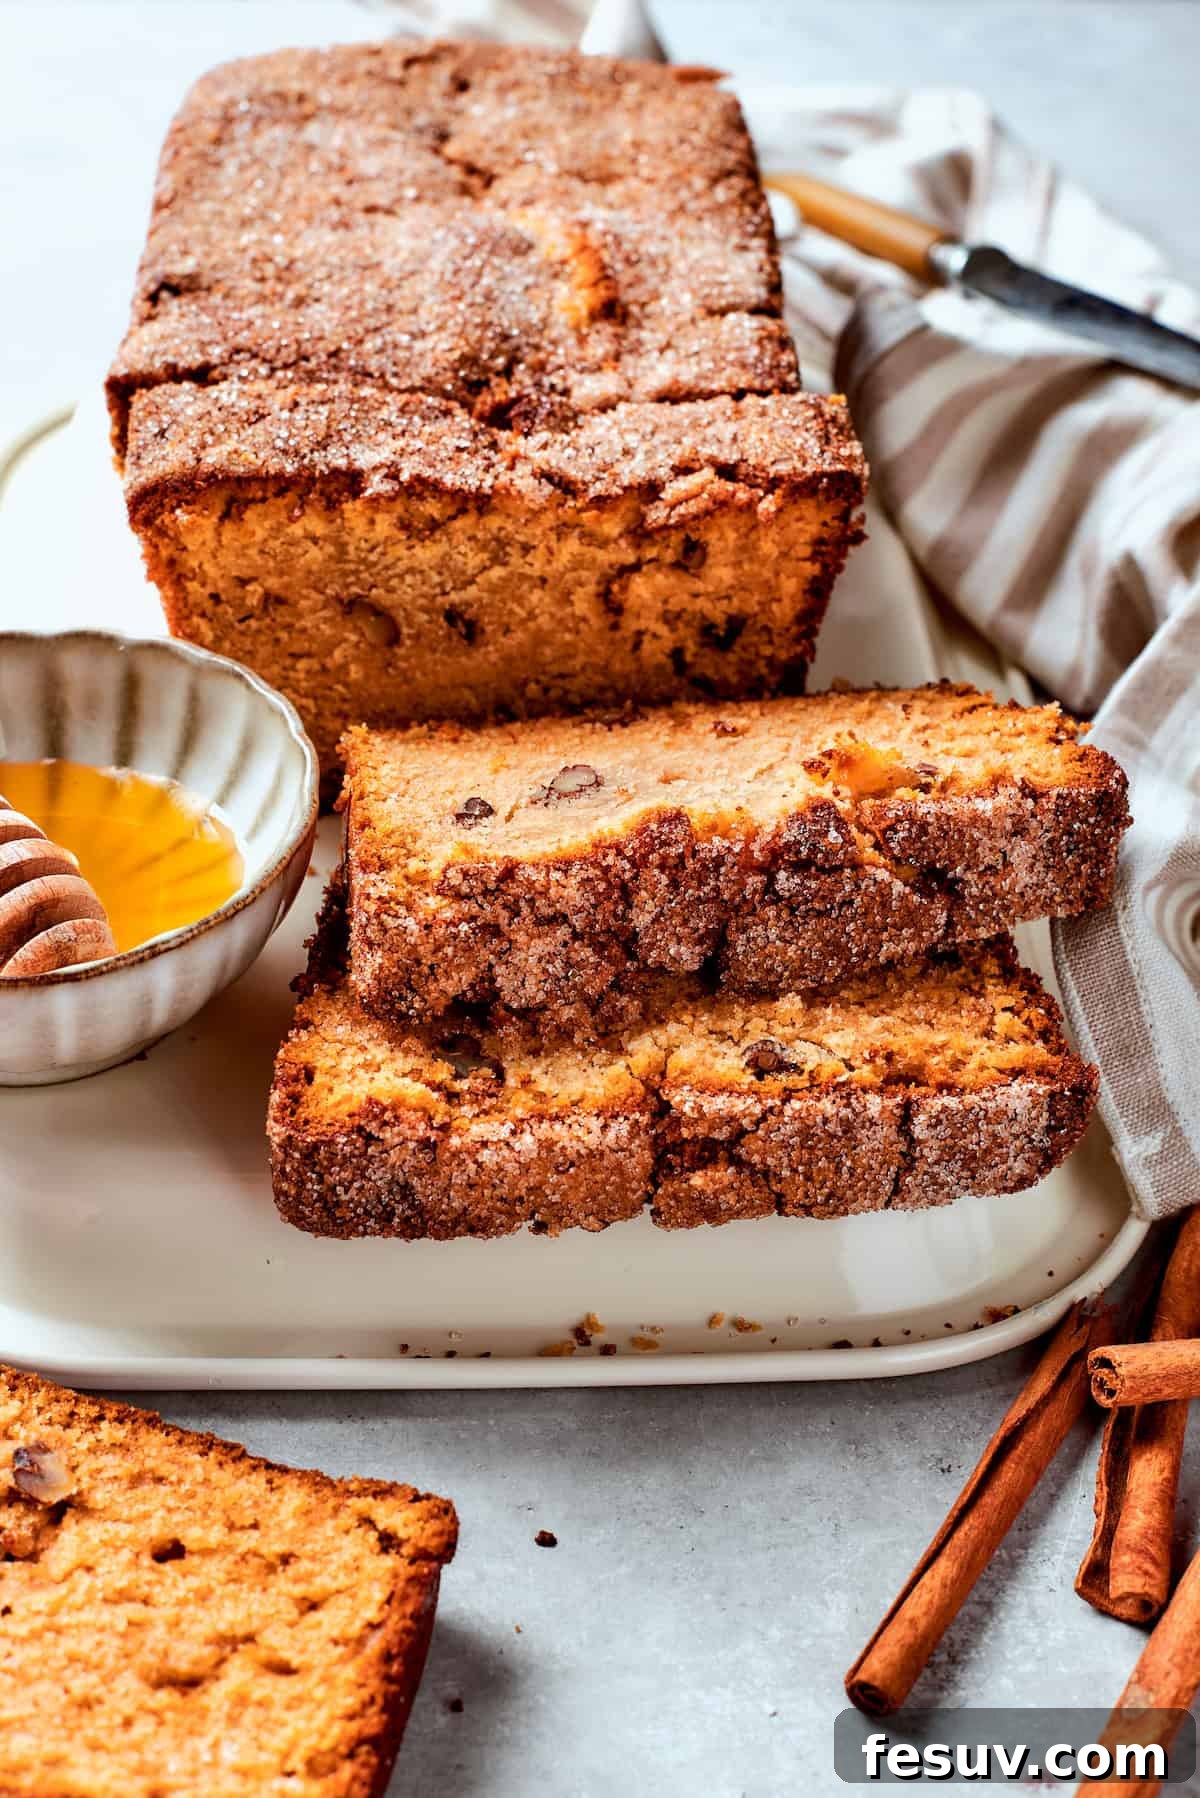
Amish Friendship Bread is a delightful, sweet, yeast-based bread often likened to a sweet sourdough due to its fermented starter base. Its signature features include a moist, tender crumb and a comforting cinnamon-sugar swirl. The core concept revolves around a unique yeast-activated starter that is fed over a 10-day period. After this initial cultivation, a portion of the starter—typically one cup—is used to bake a delicious loaf of bread. The remaining starter is then traditionally shared with friends and family, embodying the spirit of community and connection that gives the bread its endearing name.
While an Amish friendship bread starter shares some operational similarities with a traditional sourdough starter (both are fermented and require regular feeding), there are crucial distinctions. A classic sourdough starter relies solely on flour and water, harnessing wild yeasts naturally present in the environment. In contrast, an Amish friendship bread starter explicitly incorporates commercial active dry yeast, along with granulated sugar and milk. This intentional addition of yeast, sugar, and milk results in a sweeter, milder tang compared to the more pronounced sourness of a traditional sourdough. However, like sourdough, the Amish starter needs to activate and ferment at room temperature and demands consistent feeding over its 10-day development cycle before it’s ready to transform into a warm, inviting loaf of Amish Friendship Bread.
Essential Recipe Ingredients
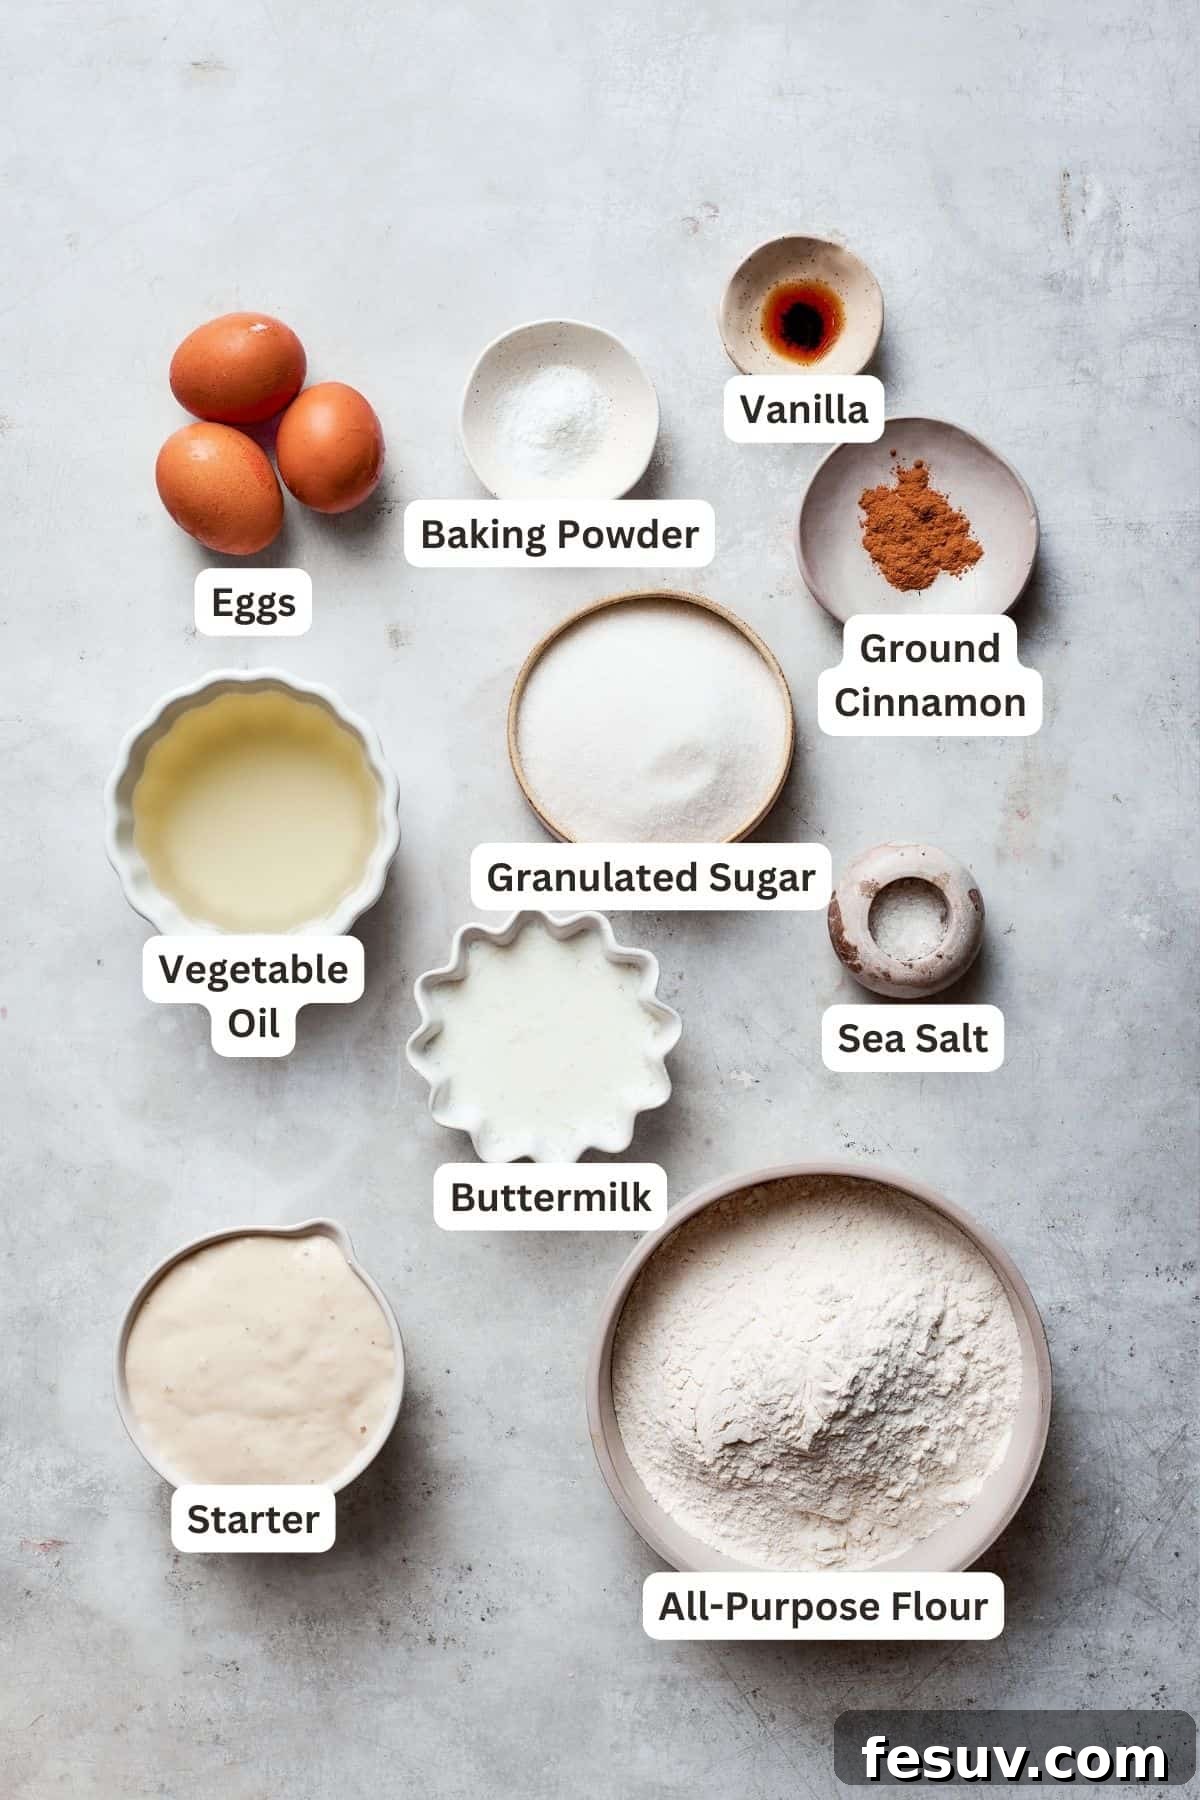
Crafting this heartwarming Amish Friendship Bread involves a few distinct stages, but the ingredients required are mostly common pantry staples. Each component plays a vital role in achieving the bread’s signature sweet, tender, and cinnamon-infused profile. Below is a detailed look at what you’ll need. For precise measurements, please refer to the complete recipe card at the conclusion of this article.
For the Starter: The Foundation of Friendship
- Active Dry Yeast: This is the powerhouse that initiates the fermentation process. For optimal results, I highly recommend using active dry yeast, as this recipe was specifically developed and tested with it to ensure a robust and healthy starter.
- Warm Water: Precision is key here. The water should be comfortably warm, ideally around 110°F (43°C), to properly activate the yeast without killing it. A kitchen thermometer is your best friend for achieving the perfect temperature.
- Granulated Sugar: As a sweet bread, sugar plays a dual role: it provides essential food for the yeast, encouraging vigorous activity, and it contributes to the overall sweetness of the starter and the final loaf.
- All-Purpose Flour: The structural backbone of your starter and bread. When measuring flour, always use the “spoon and level” method rather than scooping directly from the bag. This prevents over-packing the flour, which can lead to a dry or dense finished product.
- Milk: Adds richness and moisture to the starter, contributing to a tender crumb in the finished bread. Both whole milk and 2% milk work wonderfully in this recipe.
For the Feedings: Nurturing Your Starter
- Granulated Sugar: Continues to nourish the active yeast cultures, ensuring your starter remains lively and productive over the 10-day period.
- All-Purpose Flour: Provides fresh nutrients and structure, allowing the starter to grow and develop its characteristic texture and aroma.
- Milk: Essential for maintaining the starter’s consistency and providing continued moisture and richness during its daily feedings.
For the Bread: Assembling the Loaf
- Amish Friendship Starter: One cup of your carefully nurtured, 10-day-old starter forms the flavorful heart of this bread, imparting its unique sweet-sour tang and yeasty aroma.
- Granulated Sugar: Enhances the bread’s inherent sweetness, creating a truly decadent treat.
- Vegetable Oil: Crucial for maintaining a moist and tender texture without introducing any competing flavors. A neutral oil like vegetable, canola, or grapeseed oil is ideal; avoid stronger oils that could overpower the delicate cinnamon and sweet notes.
- Large Eggs: Act as binders, provide richness, and contribute to the bread’s rise. Ensure your eggs are at room temperature for better emulsification and a smoother batter.
- Vanilla Extract: Pure vanilla extract deepens the sweet profile and adds a warm, comforting aromatic note that complements the cinnamon beautifully.
- Buttermilk: A secret ingredient for tender, moist bread. Its acidity reacts with the baking powder, providing an extra lift and contributing to a fine crumb. Always give your buttermilk a good shake before measuring.
- All-Purpose Flour: Again, the foundation for structure. Employ the spoon and level method to ensure your bread is perfectly balanced, not overly dry or heavy.
- Baking Powder: Works in conjunction with the buttermilk to give the bread additional lift and a light, airy texture. Check the expiration date to ensure potency; a fresh carton is always best for reliable results.
- Sea Salt: A pinch of sea salt is vital for balancing the sweetness and enhancing all the other flavors in the bread, preventing it from tasting flat.
- Ground Cinnamon: The star spice, providing that signature warm, aromatic swirl throughout the loaf.
- Toasted Chopped Pecans (Optional): Adds a delightful crunch and nutty depth of flavor, beautifully complementing the sweet cinnamon notes. You can toast them lightly in a dry pan for enhanced aroma.
- Cinnamon-Sugar Topping: A simple yet effective blend of granulated sugar and ground cinnamon creates a gorgeous, caramelized crust and an extra burst of flavor on top.
Crafting Your Amish Friendship Bread Starter: A 10-Day Journey
The heart of Amish Friendship Bread lies in its vibrant, active starter. This 10-day process might seem lengthy, but it’s largely hands-off and deeply satisfying as you watch your starter come to life. Below, I’ve outlined the step-by-step process for cultivating a healthy and robust starter. For comprehensive, detailed instructions and quantities, please refer to the complete recipe card at the end of this post.
- Day 1: Activating the Yeast – The Genesis. Begin by gently dissolving your active dry yeast in the precisely warmed water (110°F or 43°C). Stir briefly and then allow this mixture to rest undisturbed for about 10 minutes. You’ll know your yeast is alive and ready when a frothy, bubbly layer forms on the surface – a sign of its energetic activity.
- Day 2-4: Initial Feeding & Incubation. In a large, non-metallic bowl (glass, ceramic, or plastic are ideal, as metal can react with the starter), combine 1 cup of granulated sugar, 1 cup of all-purpose flour, and 1 cup of milk. Stir these ingredients thoroughly until a smooth batter forms. Now, gently incorporate your frothy yeast mixture into this base, mixing until everything is well combined. Loosely cover the bowl with a clean kitchen towel or plastic wrap (allowing for airflow is important) and set it aside on your kitchen counter. Choose a spot that’s out of direct sunlight but consistently warm. During these days, the starter will begin its slow fermentation process, and you might notice subtle activity. No need to stir yet.
- Day 5: The First Major Feeding. By this point, your starter should show more noticeable signs of life—you’ll likely see small bubbles forming on the surface and detect a faintly sweet, yeasty, almost beer-like aroma. It’s time for its first substantial meal. Add another 1 cup of granulated sugar, 1 cup of all-purpose flour, and 1 cup of milk to the starter. Stir vigorously until the new ingredients are fully integrated and the mixture is smooth. The starter will become thicker and take on a more “gooey” consistency. Recover it loosely and return it to its warm spot.
- Day 6-9: Daily Nurturing. For the next four days, your primary task is simple: stir the starter once a day. This daily agitation helps to redistribute the active yeast cultures, ensures even fermentation, and prevents any stagnant spots. You should continue to observe increasing bubble activity and a developing sweet-sour fragrance, indicating a healthy, thriving starter. This routine keeps the yeast active and strong.
- Day 10: The Grand Finale Feeding. On the final day of your starter cultivation, it’s time for the last feeding before baking. Add a final 1 cup of granulated sugar, 1 cup of all-purpose flour, and 1 cup of milk to the starter. Mix everything together thoroughly until smooth. Your starter should now possess a distinctively sweet-sour aroma, a robust bubbly appearance, and a thick, pourable consistency, much like a pancake batter. It is now perfectly conditioned and ready to be used in your Amish Friendship Bread recipe, or divided for sharing!
Baking Your Amish Friendship Bread: From Starter to Loaf
Once your Amish Friendship Bread starter is wonderfully alive and actively fermenting, the transformation into a delicious loaf is relatively straightforward and incredibly rewarding. Here’s a clear guide to baking this cinnamon-swirled sweet bread. For the most detailed, step-by-step instructions, please consult the full recipe card provided further down in this article.




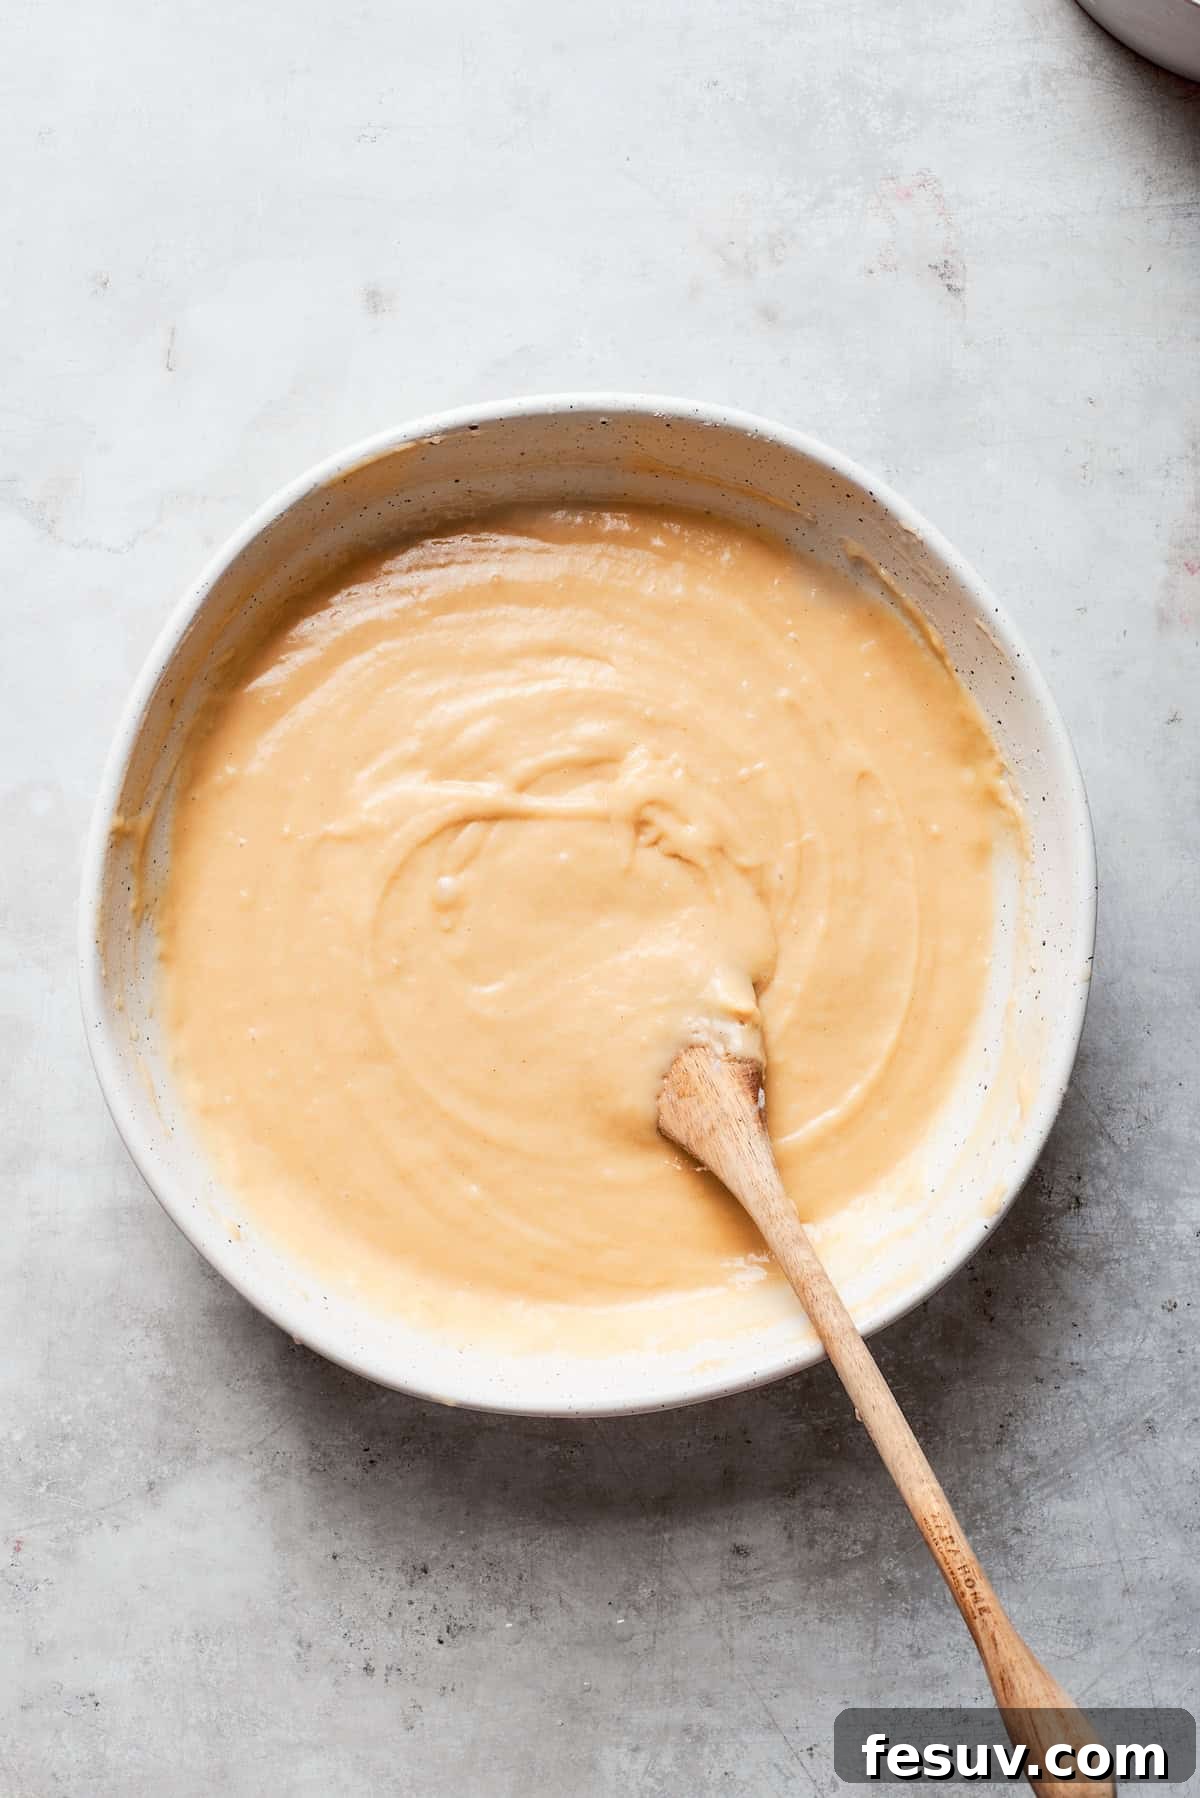
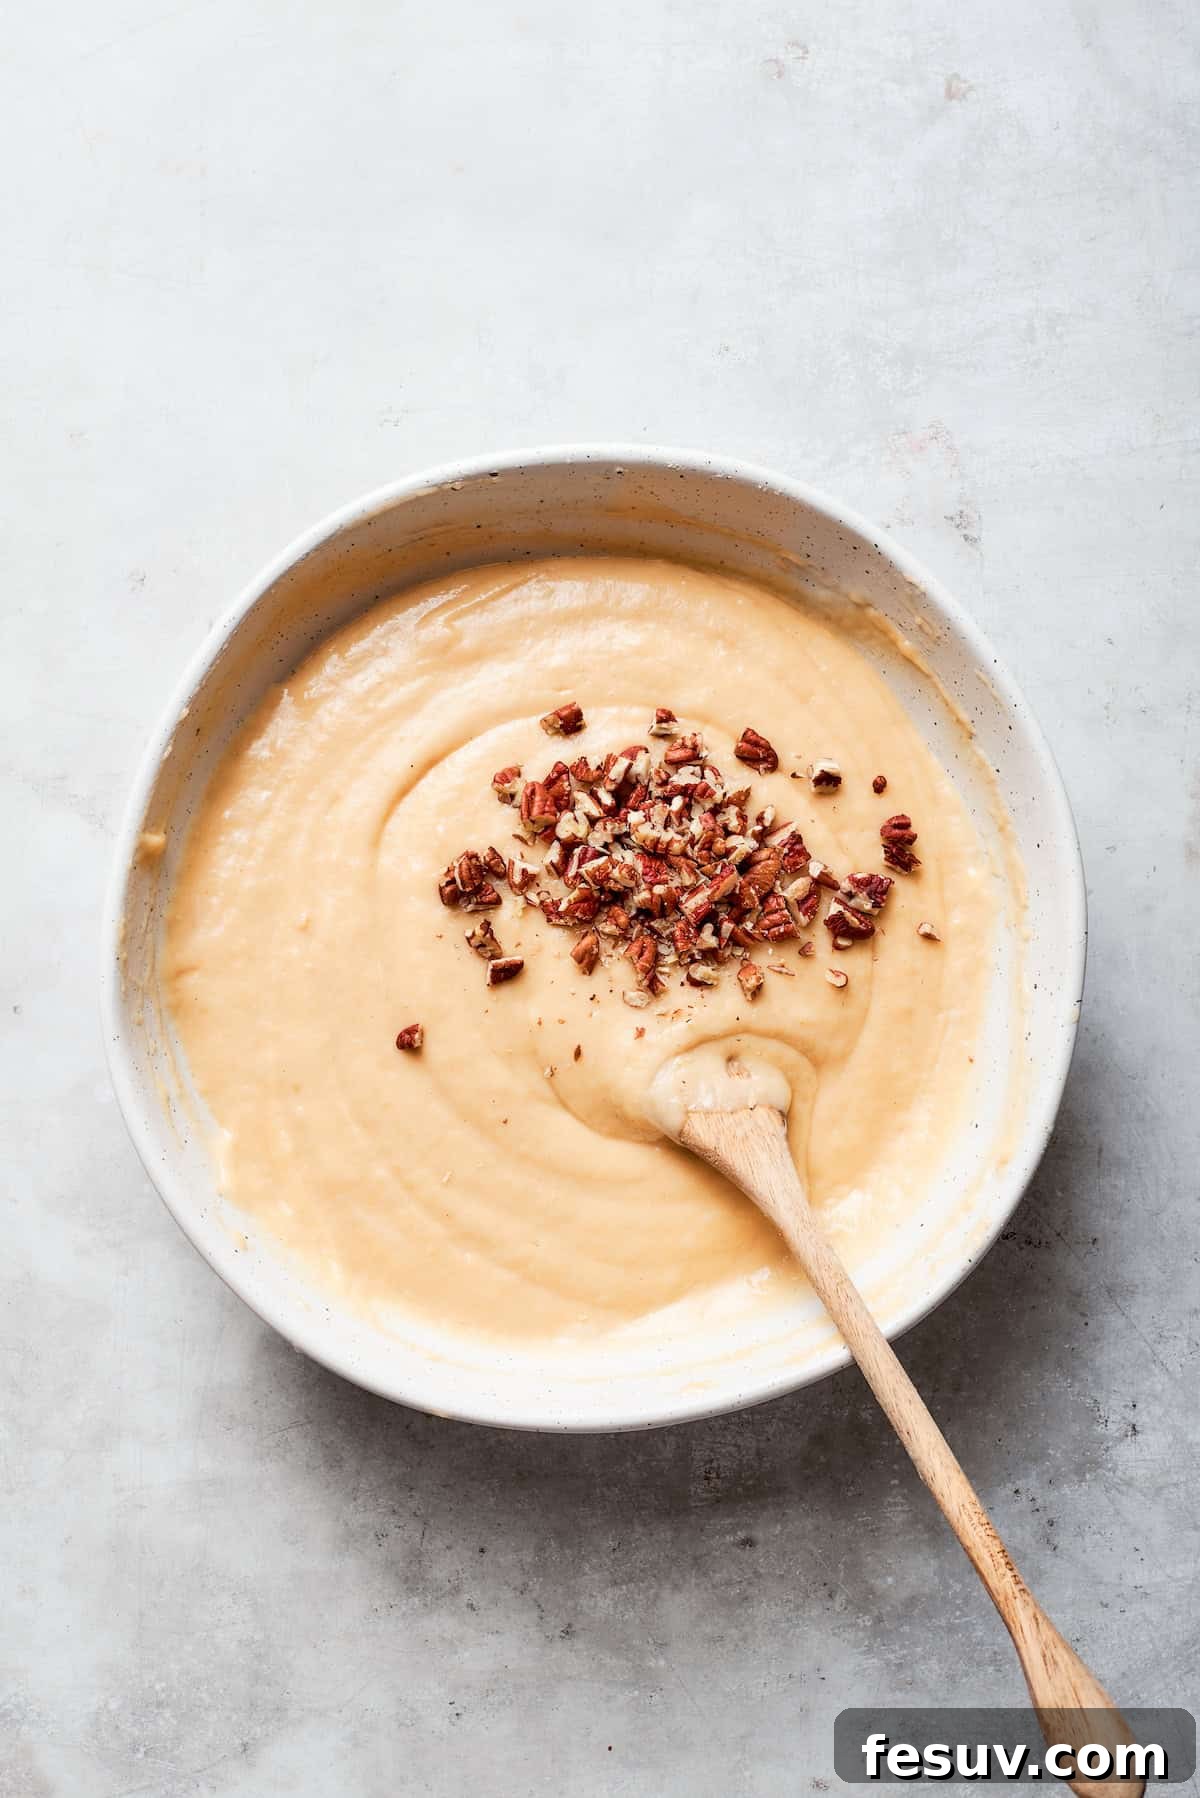
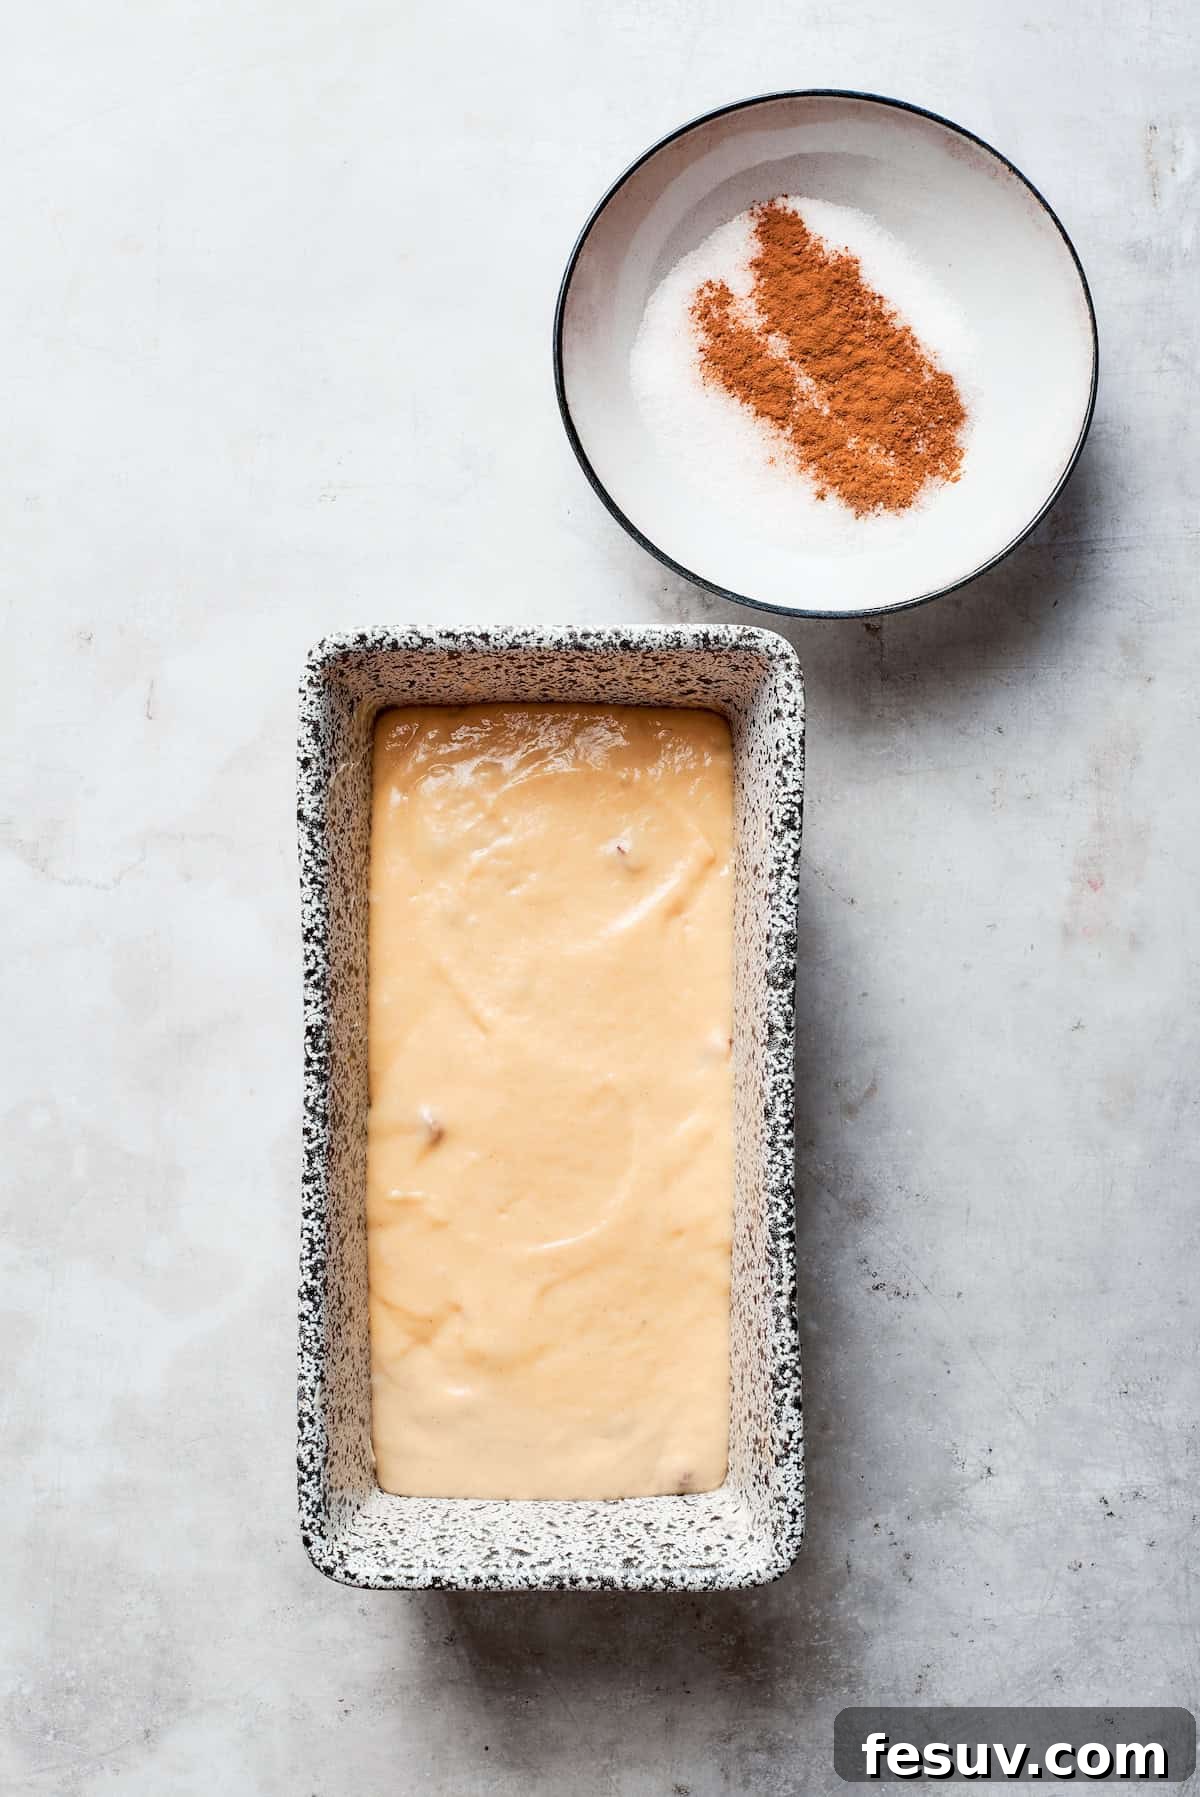
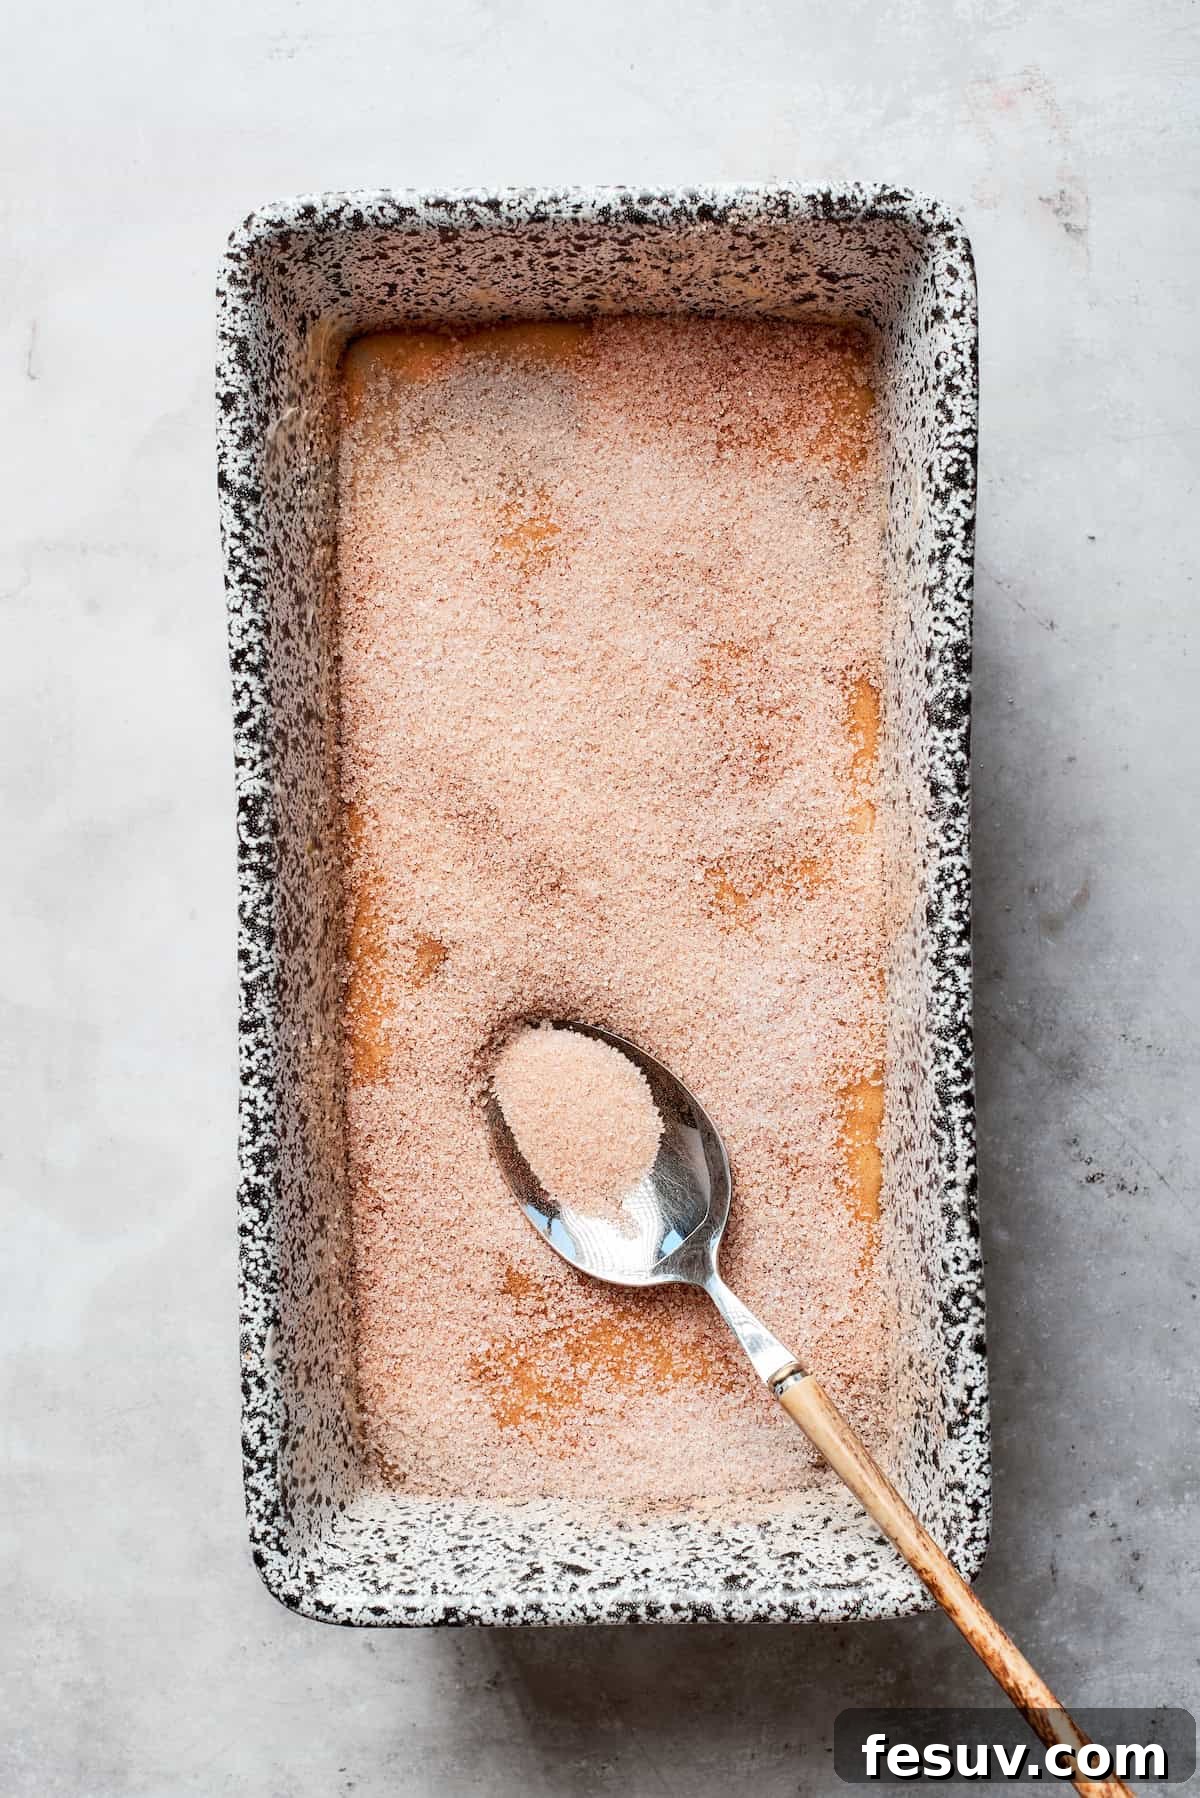
- Prepare Your Baking Environment: Begin by preheating your oven to 325°F (160°C). Generously grease a standard 9×5-inch loaf pan or line it with parchment paper, leaving an overhang on the sides for easy removal after baking. This step ensures your beautiful loaf won’t stick.
- Mix the Wet Base: In a large mixing bowl, combine the active 1 cup of Amish Friendship Bread starter with 1 cup of granulated sugar and 3 cups of neutral vegetable oil. Whisk these ingredients together thoroughly until well combined and smooth. The starter will begin to blend seamlessly with the sugar and oil, forming the moist base of your bread.
- Incorporate Additional Wet Ingredients: To the starter mixture, add the large eggs (at room temperature), pure vanilla extract, and buttermilk. Continue to whisk until all the wet ingredients are fully incorporated and the mixture is smooth and evenly blended. The buttermilk’s acidity will begin to interact, subtly activating with the baking powder you’ll add later.
- Introduce the Dry Ingredients: In a separate, medium-sized bowl, sift together the 2 cups of all-purpose flour, 1½ teaspoons of baking powder, ½ teaspoon of sea salt, and 1 teaspoon of ground cinnamon. Sifting helps to aerate the flour and ensures even distribution of the leavening agents and spices. Gradually add this dry mixture to your wet batter, stirring gently with a whisk or spatula until just combined. Be careful not to overmix, as this can lead to a tough bread; a few small lumps are perfectly acceptable.
- Fold in the Nuts (Optional, but Recommended): If you’re using them, gently fold in the ½ cup of toasted chopped pecans. Their crunch adds a wonderful textural contrast and nutty flavor that complements the sweet cinnamon notes beautifully.
- Transfer to Pan: Carefully pour or spoon the prepared batter into your greased or parchment-lined loaf pan, spreading it evenly.
- Create the Signature Topping: In a small bowl, whisk together the ⅓ cup of granulated sugar and 1 teaspoon of ground cinnamon until thoroughly blended. This simple mixture will create a delightful, caramelized crust as the bread bakes. Sprinkle this cinnamon-sugar topping evenly over the entire surface of the batter in the loaf pan.
- Bake to Perfection: Place the loaf pan in your preheated oven and bake for 60 to 90 minutes. Baking times can vary slightly depending on your oven, so check for doneness by inserting a toothpick into the center of the loaf. If it comes out clean or with only a few moist crumbs attached, your bread is ready. Avoid opening the oven door too early or too frequently, as this can cause the bread to sink.
- Cool and Serve: Once baked, remove the loaf from the oven and allow it to cool in the pan for about 10 minutes. This crucial resting period helps the bread to firm up and prevents it from crumbling. After 10 minutes, carefully transfer the loaf from the pan to a wire rack to cool completely. Patience is key here; slicing into warm bread can affect its texture. Once fully cooled, slice and enjoy your homemade Amish Friendship Bread!
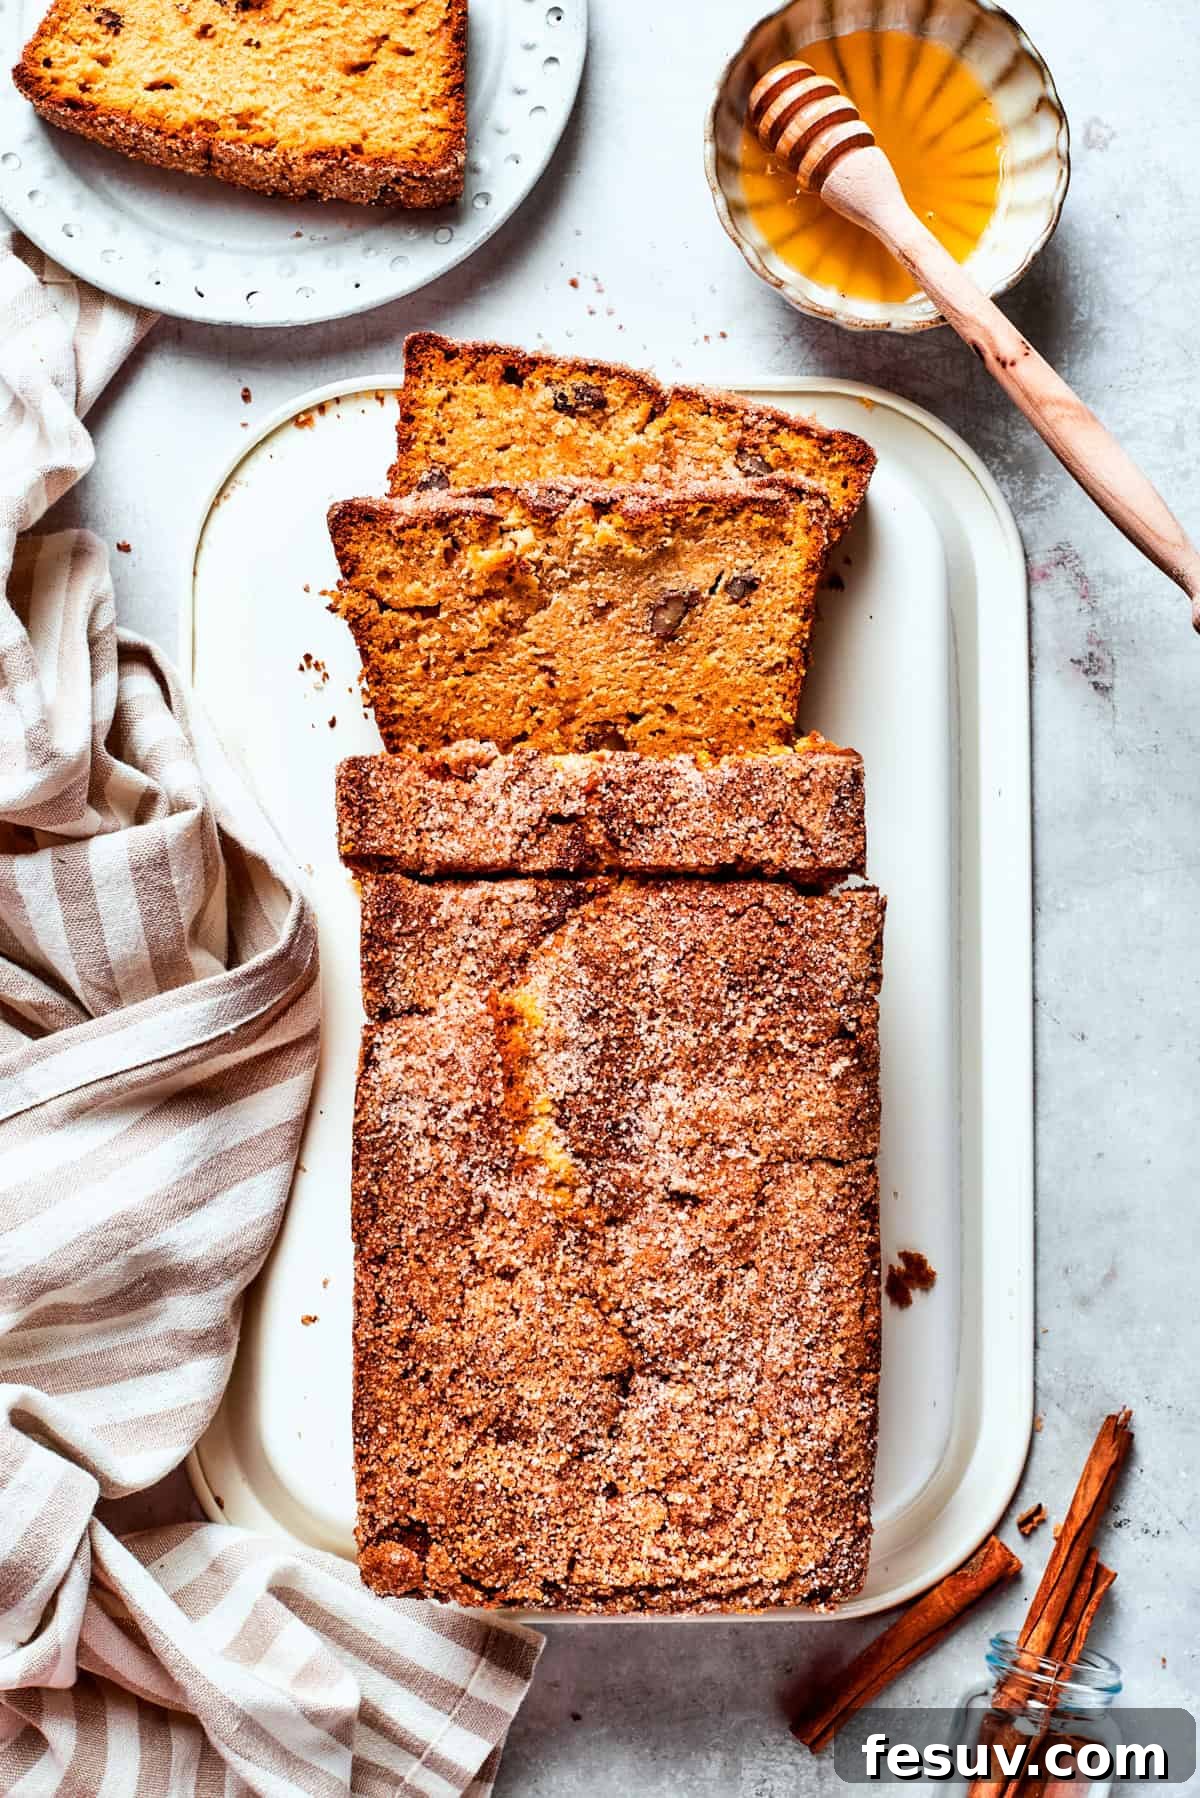
Expert Tips for Perfect Amish Friendship Bread
While the idea of making homemade bread, especially with a starter, might seem daunting at first, it’s a truly achievable and enjoyable process for any home baker. By following these expert tips and best practices, you’ll master the art of Amish Friendship Bread with confidence:
- Vigilantly Monitor Your Starter: The health of your starter is paramount. Throughout the 10-day process, pay close attention to its appearance and smell. A healthy, active starter should exhibit noticeable bubbling, develop a sweet, yeasty, and slightly sour aroma (similar to fermenting fruit or beer). Conversely, if your starter develops an unpleasant odor—such as rotten eggs, mold (green, black, or pink fuzzy spots), or any discoloration—it’s unfortunately compromised. In such cases, it’s best to discard it immediately and begin with fresh ingredients to ensure a safe and delicious outcome.
- Embrace Warmth in Your Kitchen: Yeast thrives in warm environments. To encourage optimal fermentation and activity in your starter, ensure your kitchen is not too cold, especially during the colder months. A consistently warm ambient temperature (ideally between 70-75°F / 21-24°C) will keep your starter happy and active, contributing to a robust rise in your finished bread. Avoid placing it in drafty areas or directly next to a window.
- Strategic Planning is Your Ally: The 10-day starter cultivation period requires a bit of foresight. Map out your baking schedule in advance so that your starter is perfectly ripe and ready on the day you plan to bake your bread. This prevents last-minute rushes and ensures you have a vigorous starter for the best possible results. Consider starting on a weekend to allow for easier daily feeding.
- Share the Joy or Save for Later: After the 10-day cycle, you’ll have more than enough starter for one loaf of bread. The tradition of “friendship bread” encourages you to share the excess. Divide your remaining starter into 1-cup portions and distribute them to eager friends and family, along with a copy of this recipe! Alternatively, you can store these portions in freezer-safe bags in the freezer for up to three months. When you’re ready to bake again, simply thaw a cup of starter in the refrigerator, and it will be ready to use.
- Patience is a Virtue When Cooling: As with most homemade breads and quick breads, allowing your Amish Friendship Bread to cool completely on a wire rack before slicing is crucial. Slicing into a hot loaf can result in a gummy texture and make it difficult to get clean cuts. Cooling allows the internal structure of the bread to set and firm up, leading to a perfect slice every time.
- Choose Non-Metallic Containers for Starter: Always use glass, ceramic, or food-grade plastic containers for your starter. Metal can sometimes react with the acidic nature of the fermenting starter, potentially imparting an off-flavor or hindering its activity.
- Don’t Overmix the Batter: When combining your wet and dry ingredients for the bread itself, mix just until the flour streaks disappear. Overmixing can develop the gluten too much, resulting in a dense, tough loaf rather than the desired tender crumb.
- Customize Your Add-ins: While pecans and cinnamon are classic, feel free to experiment! Consider adding chopped walnuts, dried cranberries, golden raisins, or even a touch of orange zest to the bread batter for delightful variations.
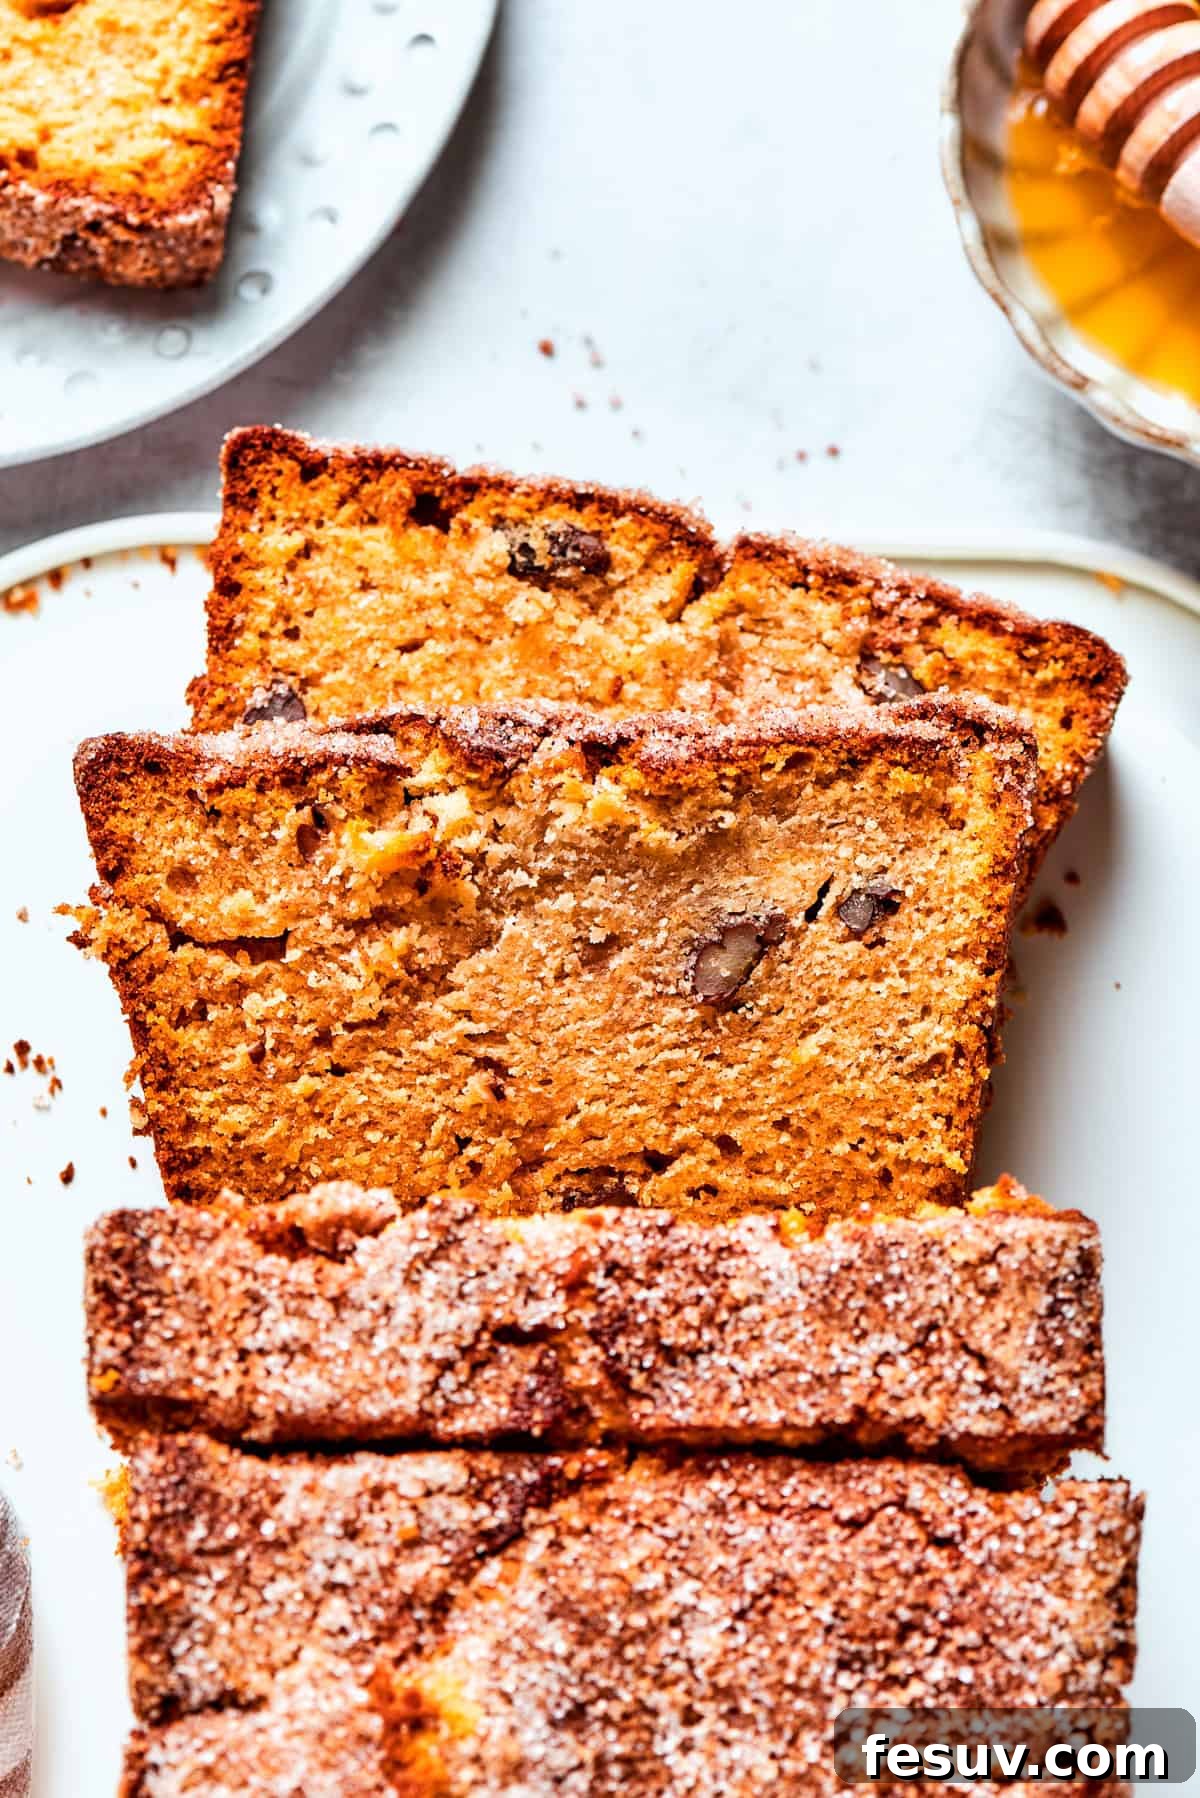
Frequently Asked Questions About Amish Friendship Bread
How many days does it take to make Amish friendship bread?
The total process for making Amish Friendship Bread takes approximately 10 days. The majority of this time is dedicated to cultivating and feeding the starter, allowing it to ferment and become active. Once you have a healthy, established starter (either freshly made or revived from the fridge/freezer), the actual baking of a loaf of friendship bread takes just a few hours from prep to cooling.
What’s the difference between friendship bread and sourdough?
While both involve a fermented starter, there are key differences. Amish friendship bread starter is typically made with active dry yeast, flour, milk, and sugar, resulting in a distinctly sweet profile. Traditional sourdough starter, on the other hand, relies on wild yeasts and bacteria present in a simple mixture of flour and water, leading to its characteristic tangy, often more sour flavor. Consequently, an Amish friendship bread loaf is much sweeter and has a different textural quality than a classic sourdough bread.
How do I know if my starter has gone bad?
A healthy starter should have a sweet, yeasty, slightly alcoholic, or faintly sour smell and exhibit bubbly activity. Your starter has likely gone bad if you observe any visible mold (which can be green, black, pink, or fuzzy), or if it emits a strongly unpleasant or foul odor, such as rotten eggs, nail polish remover, or putrid smells. If you notice these signs, it’s safest to discard the starter and begin a new batch with fresh ingredients.
Why did my Amish friendship bread sink in the center?
Several factors can cause your Amish Friendship Bread to sink in the center. A common culprit is opening the oven door too early or too frequently during baking. The sudden change in temperature can cause the delicate structure of the rising bread to collapse. Other reasons might include overmixing the batter (which creates too much gluten), using expired baking powder, or the bread not being fully baked through in the center. Ensure your oven temperature is accurate and resist the urge to peek until the baking time is nearing its end.
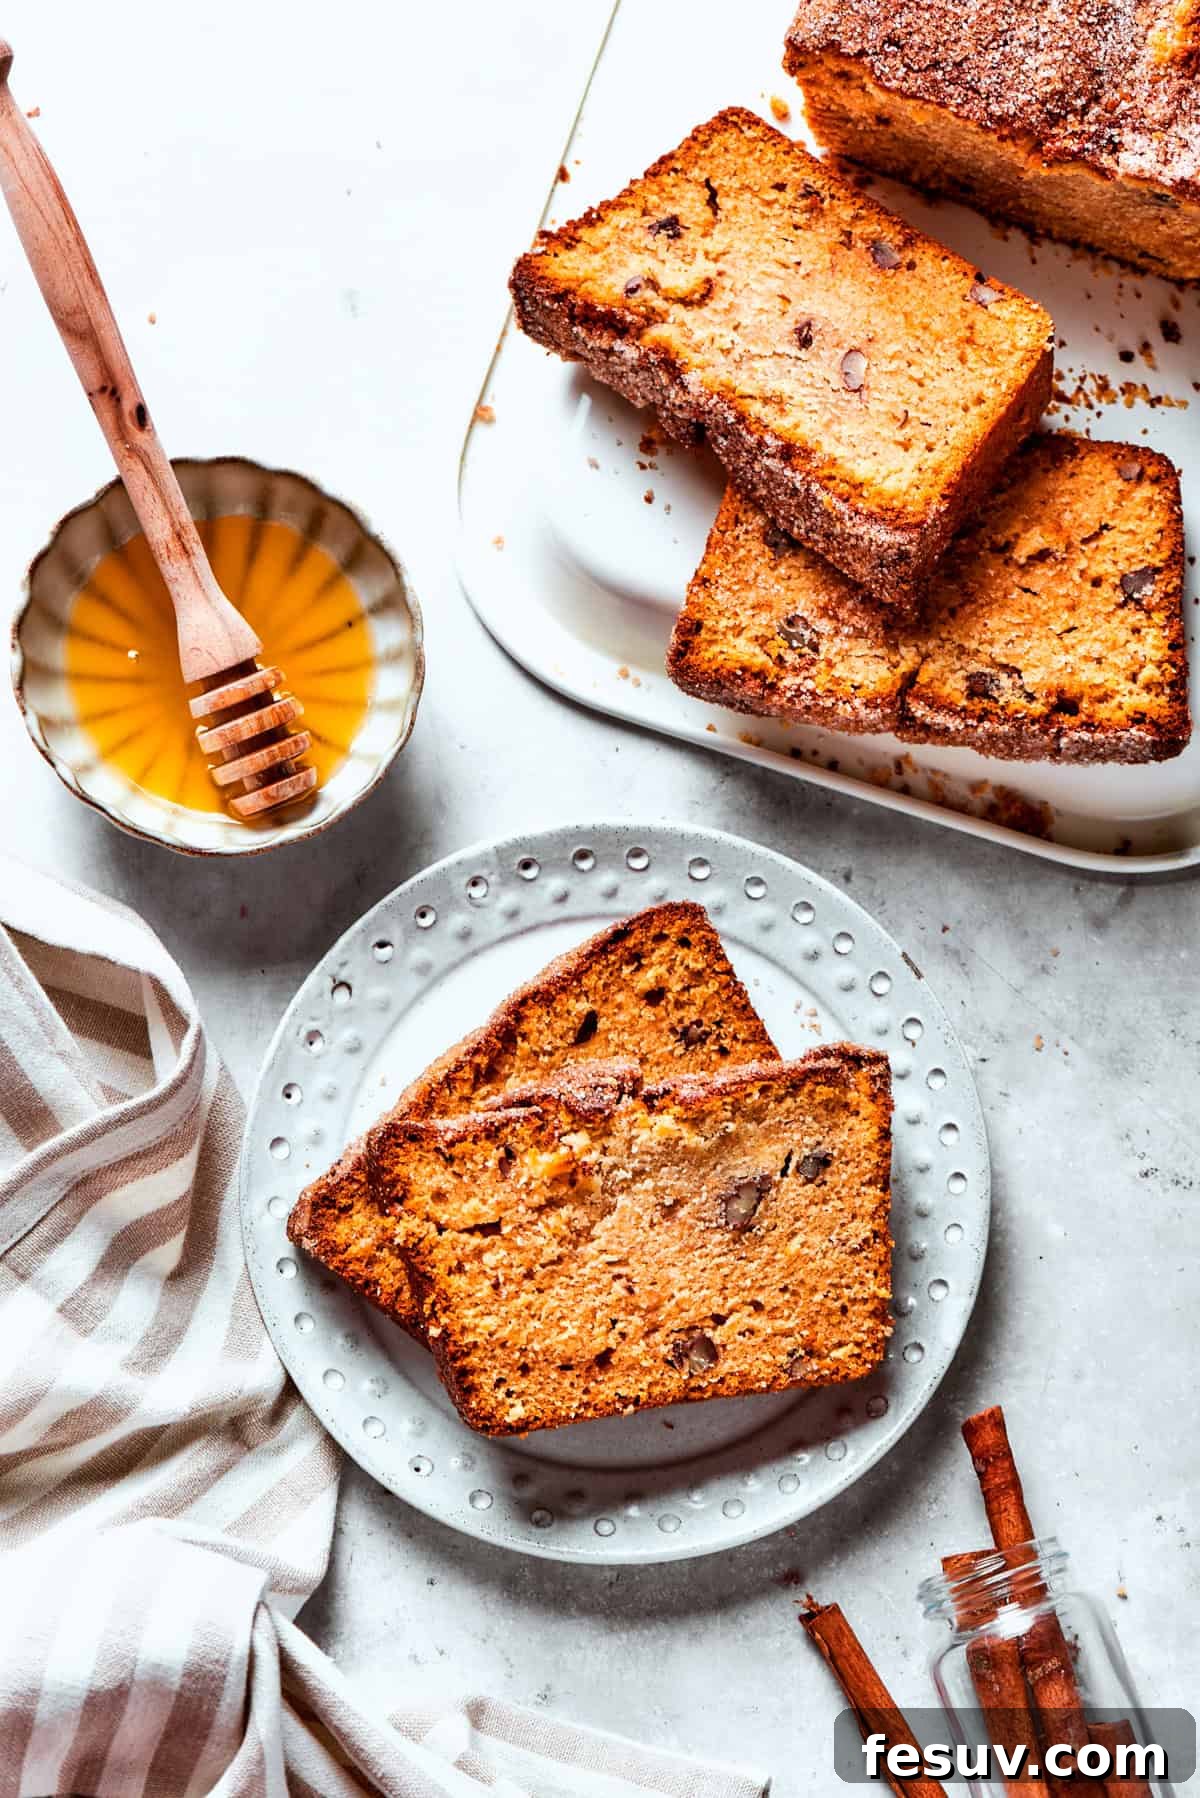
Delightful Serving Suggestions
Amish Friendship Bread, with its comforting sweetness and cinnamon swirl, is incredibly versatile and delicious on its own. Whether enjoyed plain or toasted, it pairs beautifully with a relaxing pot of tea or a robust cup of coffee, perhaps even a rich caffe macchiato. It makes an excellent addition to a brunch spread, a delightful dessert, or a satisfying anytime snack. Here are a few elevated ways to savor this special bread:
- Classic Butter: The simplest pleasure is often the best. Spread warm, fresh slices with a generous pat of salted or unsalted butter. The butter melts into the tender crumb, enhancing its richness.
- Sweet Honey Drizzle: For an extra layer of indulgence, add a golden drizzle of local honey over your buttered bread. The natural sweetness of honey beautifully complements the bread’s flavors.
- Nut Butter Boost: Elevate your snack with a spread of your favorite nut butter. Almond butter, peanut butter, or cashew butter adds protein and a creamy texture, making it a more substantial treat.
- Brunch Extravaganza: Incorporate Amish Friendship Bread into your breakfast or brunch menu. It’s a fantastic sweet counterpoint to savory egg dishes, such as a hearty eggs Benedict casserole or a flavorful pan of eggs in purgatory. Don’t forget a side of crispy oven-baked bacon to complete the meal!
- Fruit & Cream: Serve a slice with fresh berries and a dollop of whipped cream or a spoonful of Greek yogurt for a lighter, fruit-forward dessert.
- Ice Cream Pairing: For a decadent treat, warm a slice slightly and serve it alongside a scoop of vanilla bean ice cream, perhaps with a caramel drizzle.
Storing Your Amish Friendship Bread and Starter
Ensuring your delicious bread and precious starter are stored correctly will help maintain their freshness and longevity:
- Starter Storage: Any leftover starter should be stored in a non-metallic container with a loose-fitting lid or cover to allow for some airflow. Place it in the refrigerator, where its activity will slow down significantly. To keep your refrigerated starter healthy and ready for future use, remember to feed it every 5-7 days. Always stir the starter gently both before and after each feeding session.
- Baked Bread Storage: Once your Amish Friendship Bread has cooled completely, store any remaining slices or the whole loaf in an airtight container at room temperature. It will remain wonderfully fresh and moist for up to 3 days.
- Freezing the Bread: For longer storage, Amish Friendship Bread freezes beautifully. Wrap the cooled loaf tightly in plastic wrap, then aluminum foil, or place individual slices in a freezer-safe bag. It can be stored in the freezer for up to 3 months. When you’re ready to enjoy it, simply thaw the bread in the refrigerator overnight or at room temperature. You can then gently warm slices in a toaster or oven if desired.
Explore More Delicious Bread Recipes
If you’ve enjoyed the journey of making Amish Friendship Bread, you might be inspired to try more homemade bread delights. Here are some other fantastic recipes to expand your baking repertoire:
- Challah Bread
- No Knead Dutch Oven Bread
- Cheesy Garlic Pull Apart Bread
- Sour Cream Banana Bread

Amish Friendship Bread
Ingredients
Starter:
- 1 package active dry yeast, or 2¼ teaspoons
- ¼ cup warm water, about 110°F
- 1 cup granulated sugar
- 1 cup all-purpose flour
- 1 cup milk
Feedings:
- 2 cups granulated sugar, divided
- 2 cups all-purpose flour, divided
- 2 cups milk, divided
For the Bread:
- 1 cup starter
- 1 cup granulated white sugar
- 3 cups vegetable oil
- 3 large eggs, at room temperature
- 1 teaspoon vanilla extract
- 1¼ cup buttermilk
- 2 cups all-purpose flour
- 1½ teaspoon baking powder
- ½ teaspoon sea salt
- 1 teaspoon ground cinnamon
- ½ cups toasted chopped pecans
For the cinnamon sugar mixture:
- ⅓ cup granulated white sugar
- 1 teaspoon ground cinnamon
Instructions
Making the Starter
-
Day 1-4: Activating the Yeast. In a small bowl, dissolve the yeast in warm water (110°F). Stir gently and let it sit for about 10 minutes until it becomes frothy. This indicates that the yeast is active and ready to use.
-
Feeding the Starter. In a large non-metallic bowl or container, combine 1 cup of granulated sugar, 1 cup of all-purpose flour, and 1 cup of milk. Stir well to combine. Add the frothy yeast mixture from Step 1 into the bowl. Stir thoroughly until all ingredients are incorporated.
-
Store. Cover the bowl loosely with a clean cloth or plastic wrap. Store the starter at room temperature, away from direct sunlight, in a warm spot.
-
Day 5: First Feeding. By now, you should start to notice some fermentation activity in the starter, such as bubbles forming and a slight sweet-sour smell. It’s time for the first feeding. Add 1 cup of granulated sugar, 1 cup of all-purpose flour, and 1 cup of milk to the starter. Stir until smooth and well combined. The mixture will become thicker and more gooey.
-
Day 6-9: Daily Stirring. For the next several days, continue to stir the starter once a day. This helps distribute the yeast and encourages fermentation. You may notice the starter becoming bubblier and increasing in volume.
-
Day 10: Final Feeding. On the 10th day, perform the final feeding before using the starter in your bread recipe. Add another 1 cup of granulated sugar, 1 cup of all-purpose flour, and 1 cup of milk to the starter. Mix thoroughly until smooth and well incorporated. The starter should now have a sweet-sour aroma and a thick, pancake batter-like consistency, ready for baking or sharing.
Preparing the Amish Friendship Bread
-
Preheat the oven to 325°F (160°C). Grease a 9×5-inch loaf pan or line it with parchment paper, leaving an overhang.
-
In a large ceramic bowl, combine 1 cup of the starter with 1 cup of granulated sugar and 3 cups of vegetable oil. Mix well with a hand whisk until thoroughly combined.
-
Add eggs, vanilla extract, and buttermilk to the mixture. Whisk until fully incorporated and smooth.
-
In a separate bowl, sift together 2 cups of all-purpose flour, baking powder, salt, and cinnamon. Gradually incorporate the dry ingredients into the wet mixture, stirring just until they are well combined. Be careful not to overmix the batter.
-
Gently fold in the toasted chopped pecans until evenly distributed.
Baking
-
Transfer the batter to the prepared loaf pan, spreading it evenly.
-
In a small bowl, combine the remaining ⅓ cup of sugar and 1 teaspoon of cinnamon until well blended to create the topping.
-
Sprinkle the cinnamon-sugar mixture evenly over the top of the batter in the loaf pan.
-
Bake in the preheated oven for 60 to 90 minutes, or until a wooden toothpick inserted into the center of the loaf comes out clean. Avoid opening the oven door during the first 45 minutes of baking.
-
Remove from the oven and let the bread cool in the pan for 10 minutes. Then, carefully transfer the loaf to a wire rack to cool completely before slicing and serving.
Notes
- Measure out 1 cup of the starter for your Amish Friendship Bread recipe. The remaining starter can be divided and shared with friends to continue the tradition or used to start a new batch for yourself.
Storing the Starter:
- Store any leftover starter in a non-metallic container with a loose lid or cover. Keep it in the refrigerator and feed it every 5-7 days to maintain its activity. Remember to stir before and after feeding.
Note: Throughout the process, if the starter develops an off smell (like rotten eggs or nail polish remover) or shows visible signs of mold (any fuzzy green, black, or pink spots), discard it immediately and start over with fresh ingredients to ensure safety and quality.
Serving and Storing Baked Bread:
- Serve the Amish Friendship Bread slices plain, or enhance them with butter, honey, or your favorite spread.
- Store any leftover baked bread in an airtight container at room temperature for up to 3 days to maintain freshness. For longer storage, slices or the whole loaf can be wrapped and frozen for up to 3 months. Thaw in the refrigerator before enjoying.
Nutrition Facts (Estimate per serving)
Nutritional information is an estimate and provided as a courtesy. Values may vary according to the specific ingredients and tools used. Please utilize your preferred nutritional calculator for more precise and detailed information.