
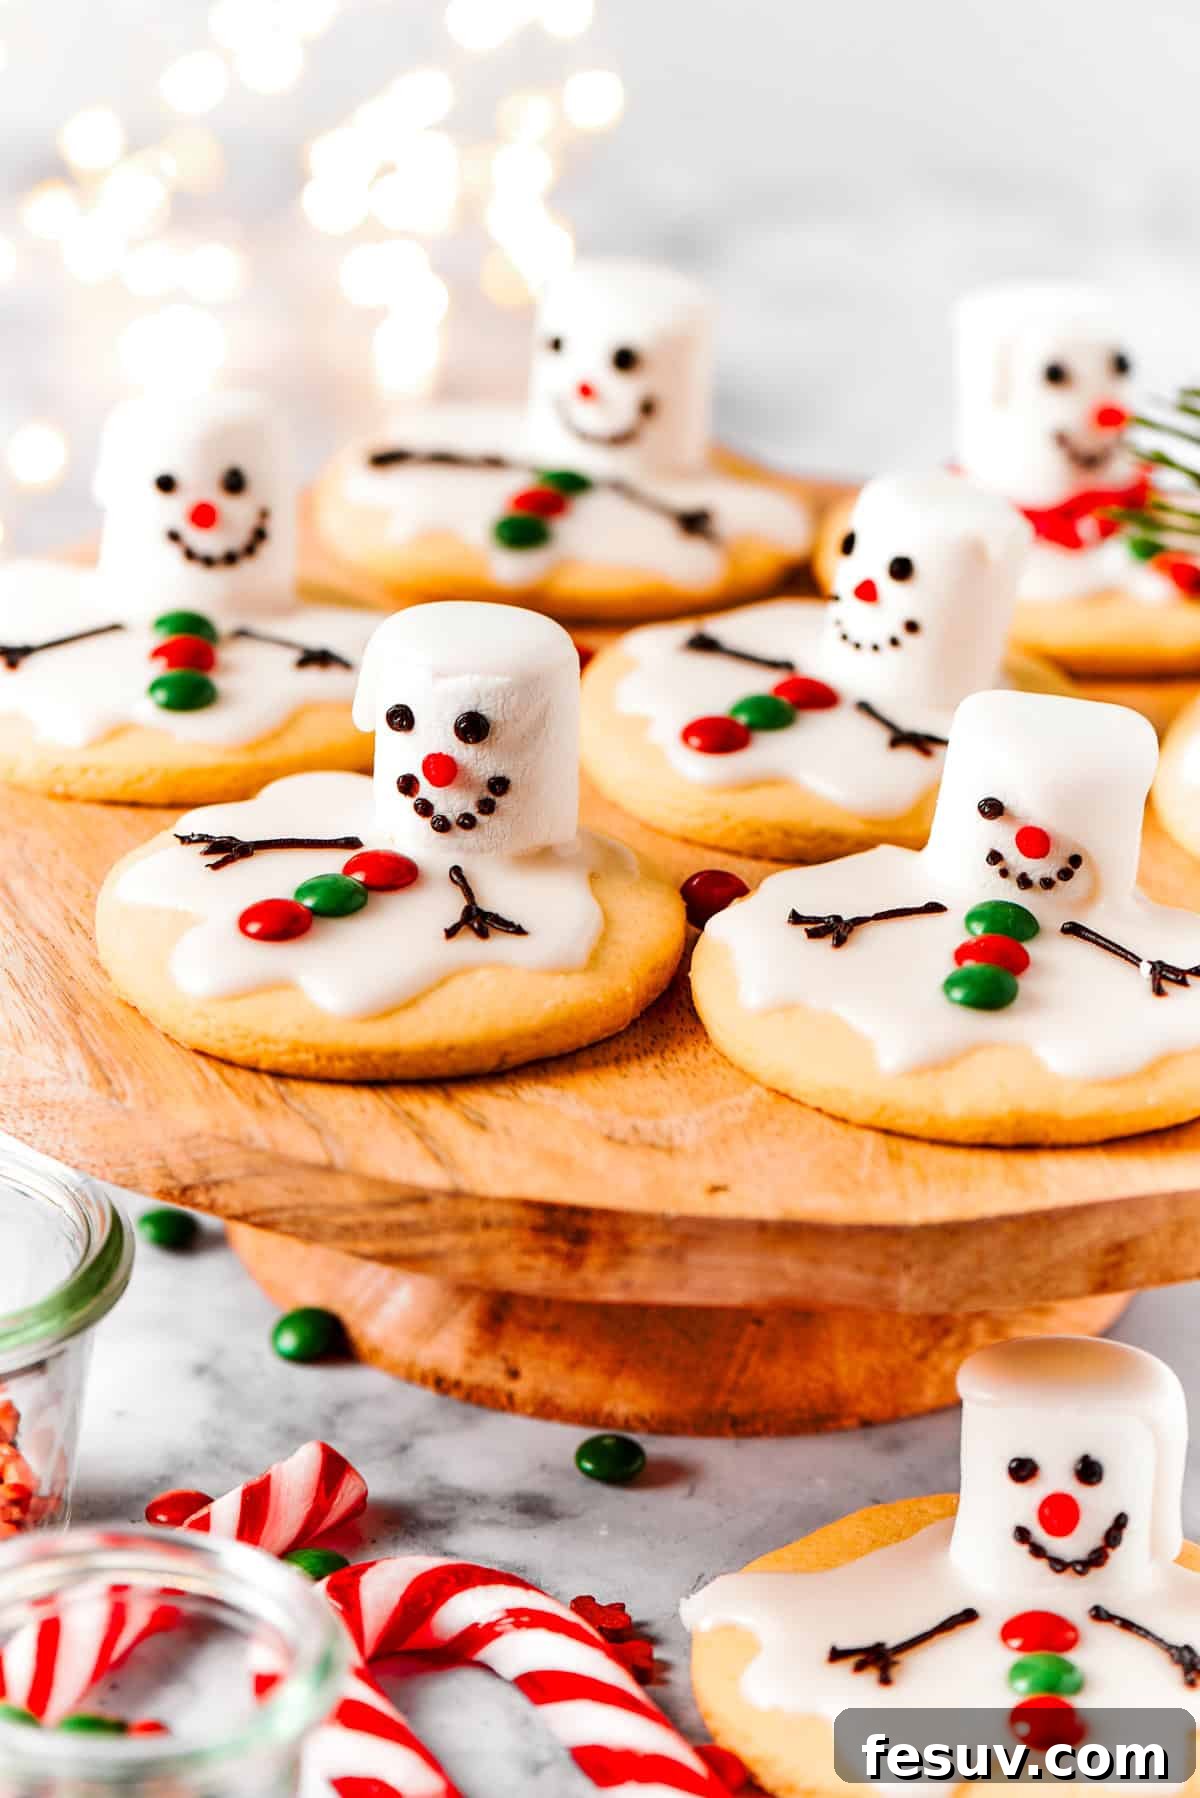
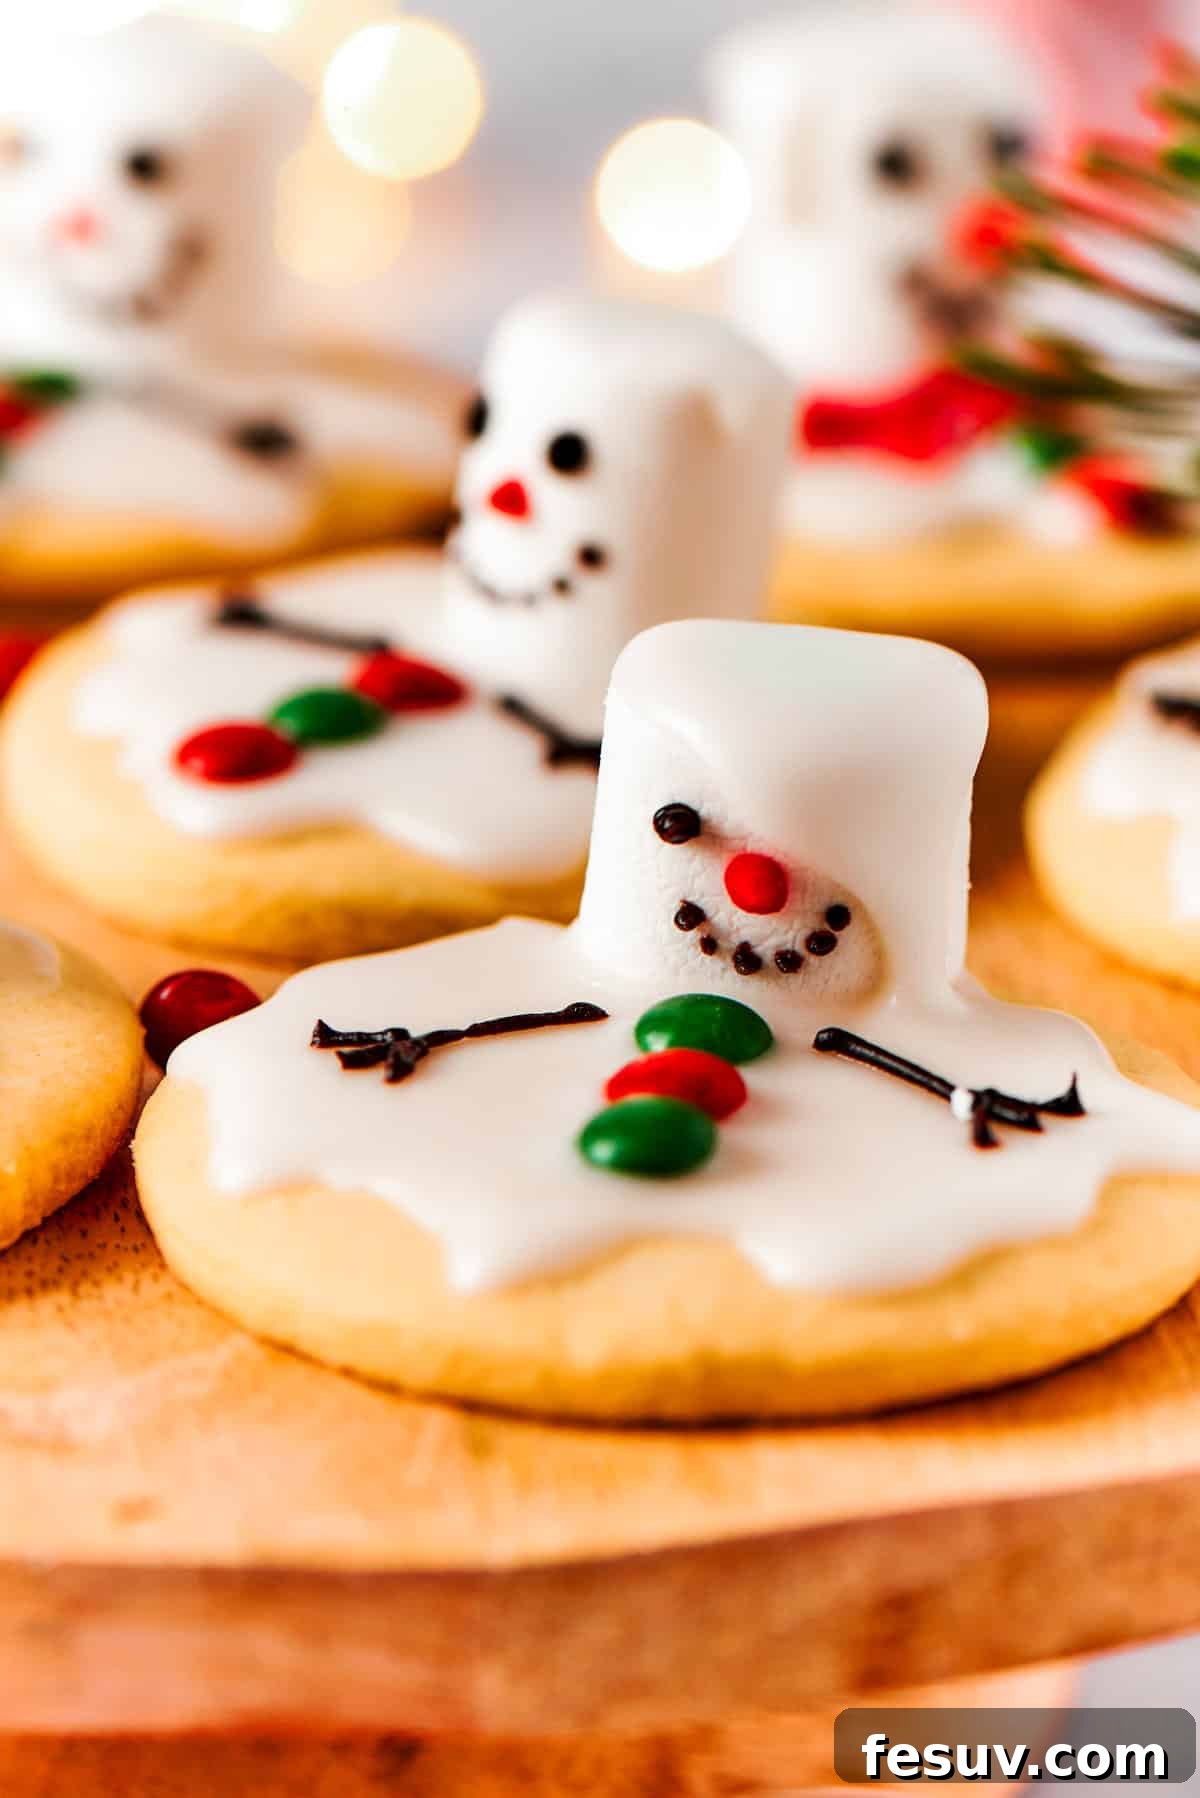
Step into a world of winter whimsy with these absolutely adorable Melted Snowman Cookies! Imagine a batch of perfectly baked, buttery homemade sugar cookies, generously topped with a rich, velvety vanilla frosting, and adorned with a plump, fluffy marshmallow that looks as if it’s just taken a playful tumble. These delightful treats are more than just a dessert; they’re a miniature masterpiece, guaranteed to bring smiles and spark joy in everyone, from the youngest helpers in the kitchen to the seasoned holiday celebrants.
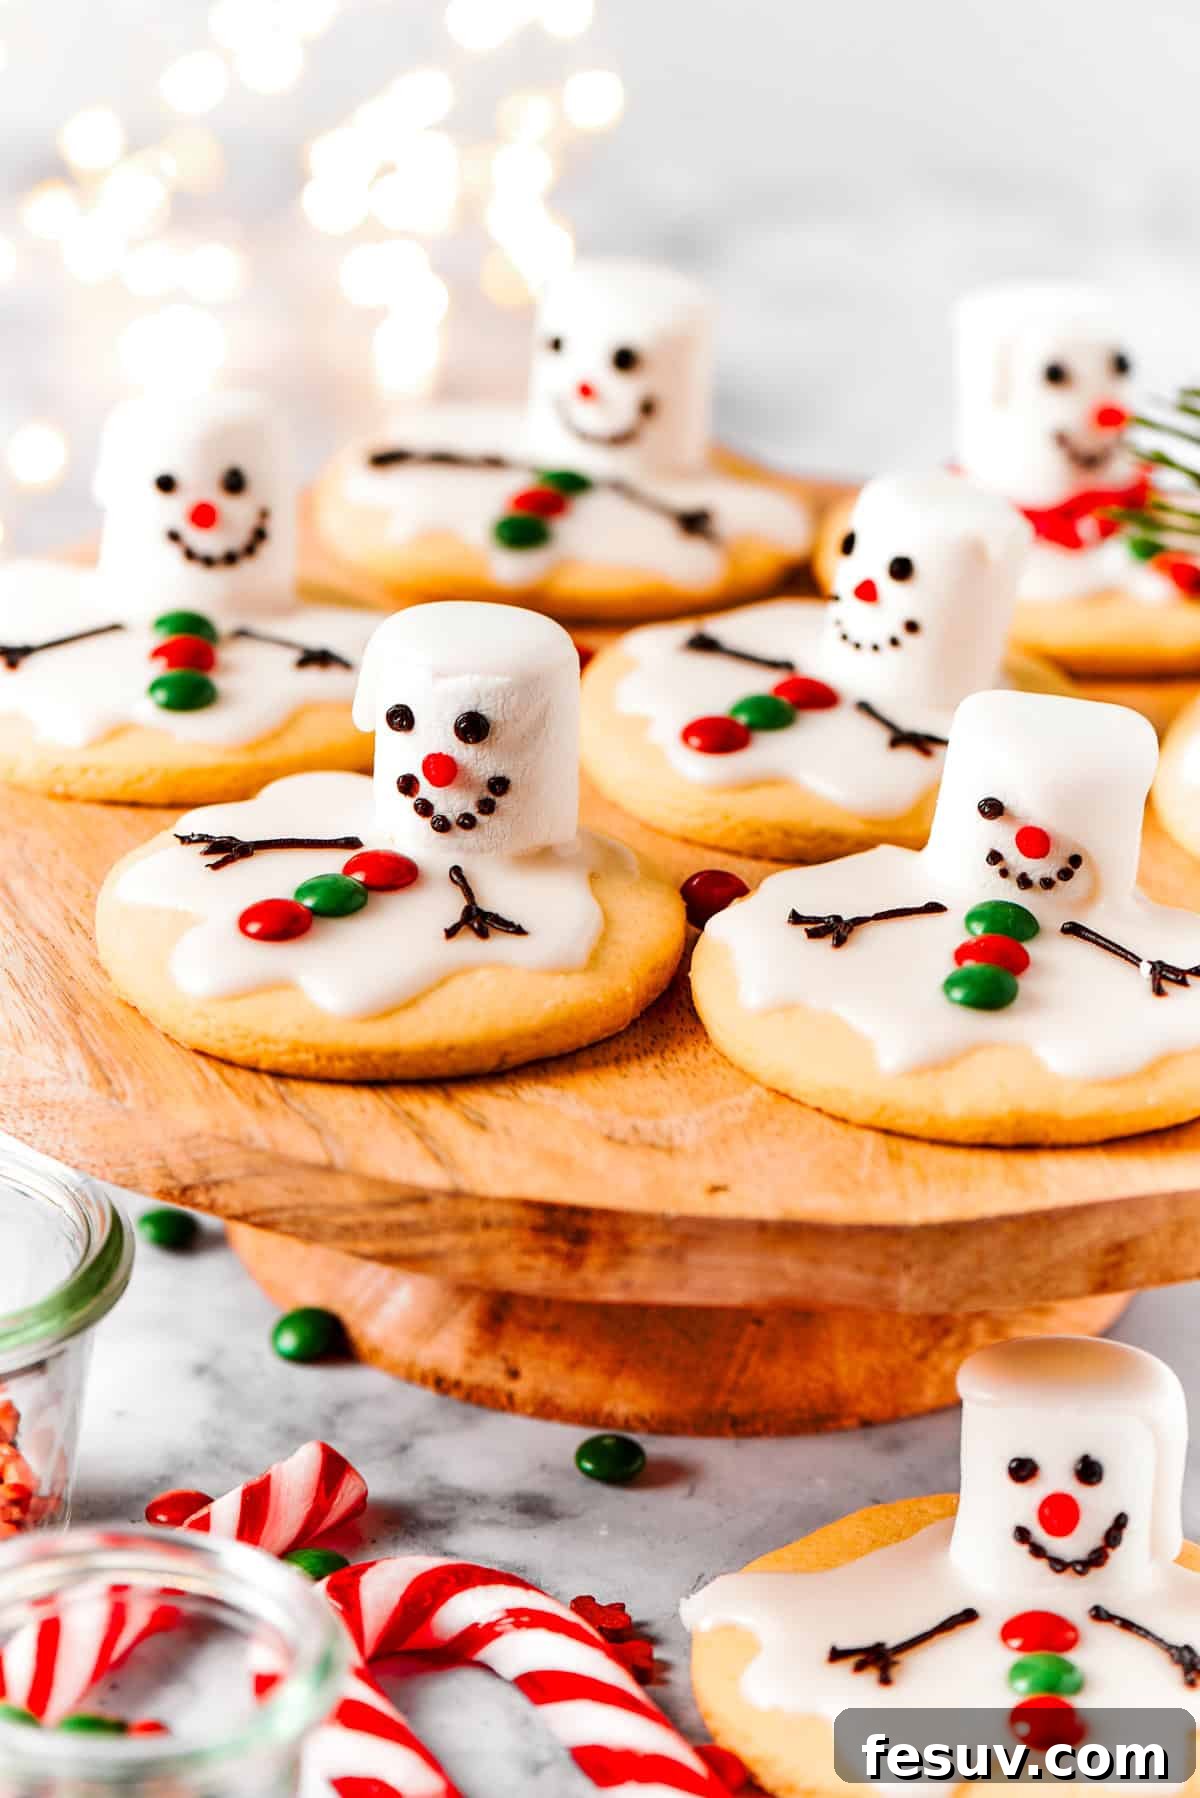
Every year, as the festive season approaches, my children eagerly anticipate making these charming melted snowman cookies. They’ve become a cherished tradition in our home, symbolizing the warmth and magic of the holidays. These aren’t just cookies; they’re an experience, a memory in the making. As you plan your holiday baking spread, consider pairing these fun creations with other seasonal favorites like light and airy Christmas cake mix cookies, festive candy cane cookies, or classic homemade butter cookies. And, of course, no holiday cookie plate is complete without a side of refreshing minty candy canes! These melted snowman cookies truly stand out, offering both visual appeal and irresistible flavor.
Why You’ll Adore These Melted Snowman Cookies
There are countless reasons why these whimsical cookies capture hearts and become an instant holiday hit. From their engaging creation process to their delightful taste, they embody the spirit of the season.
- Fantastic for Family Fun: These cookies are designed with little hands in mind! Involving your children in the baking process, from mixing the dough to cutting out shapes, is a wonderful way to foster a love for baking. Once the cookies are ready, set out all the decorating components – the frosting, marshmallows, edible markers, and sprinkles – and let their imaginations run wild. It’s a fantastic opportunity for creative expression and quality family time, making lasting memories as they bring their unique snowmen to life.
- Overflowing with Festive Charm: Whether it’s the peak of Christmas, a cozy winter gathering, or simply a snowy afternoon, these melting snowman cookies are the perfect embodiment of festive cheer. Their playful appearance makes them an ideal centerpiece for any holiday dessert table, a heartwarming gift, or a delightful treat for school parties and potlucks. They instantly infuse any setting with a touch of winter magic and holiday spirit.
- Unleash Your Creativity: While this recipe provides a fantastic foundation, it’s merely a springboard for your imagination! Feel free to experiment with different edible decorations. Use mini chocolate chips for eyes and buttons, pretzel sticks for arms, small candies for scarves, or even a tiny piece of orange candy for a carrot nose. Each cookie becomes a canvas for personalized snowman artistry, allowing you to create a whole army of uniquely charming characters.
- Perfect for Parties & Gifting: Planning a holiday cookie swap or looking for unique party activities? These melted snowman cookies are an excellent choice! Set up a decorating station where guests can personalize their own cookies, turning a simple gathering into a fun, interactive experience. They also make thoughtful, handcrafted gifts for neighbors, teachers, and friends, beautifully packaged in clear bags with a festive ribbon.
Essential Ingredients for Your Melted Snowman Cookies
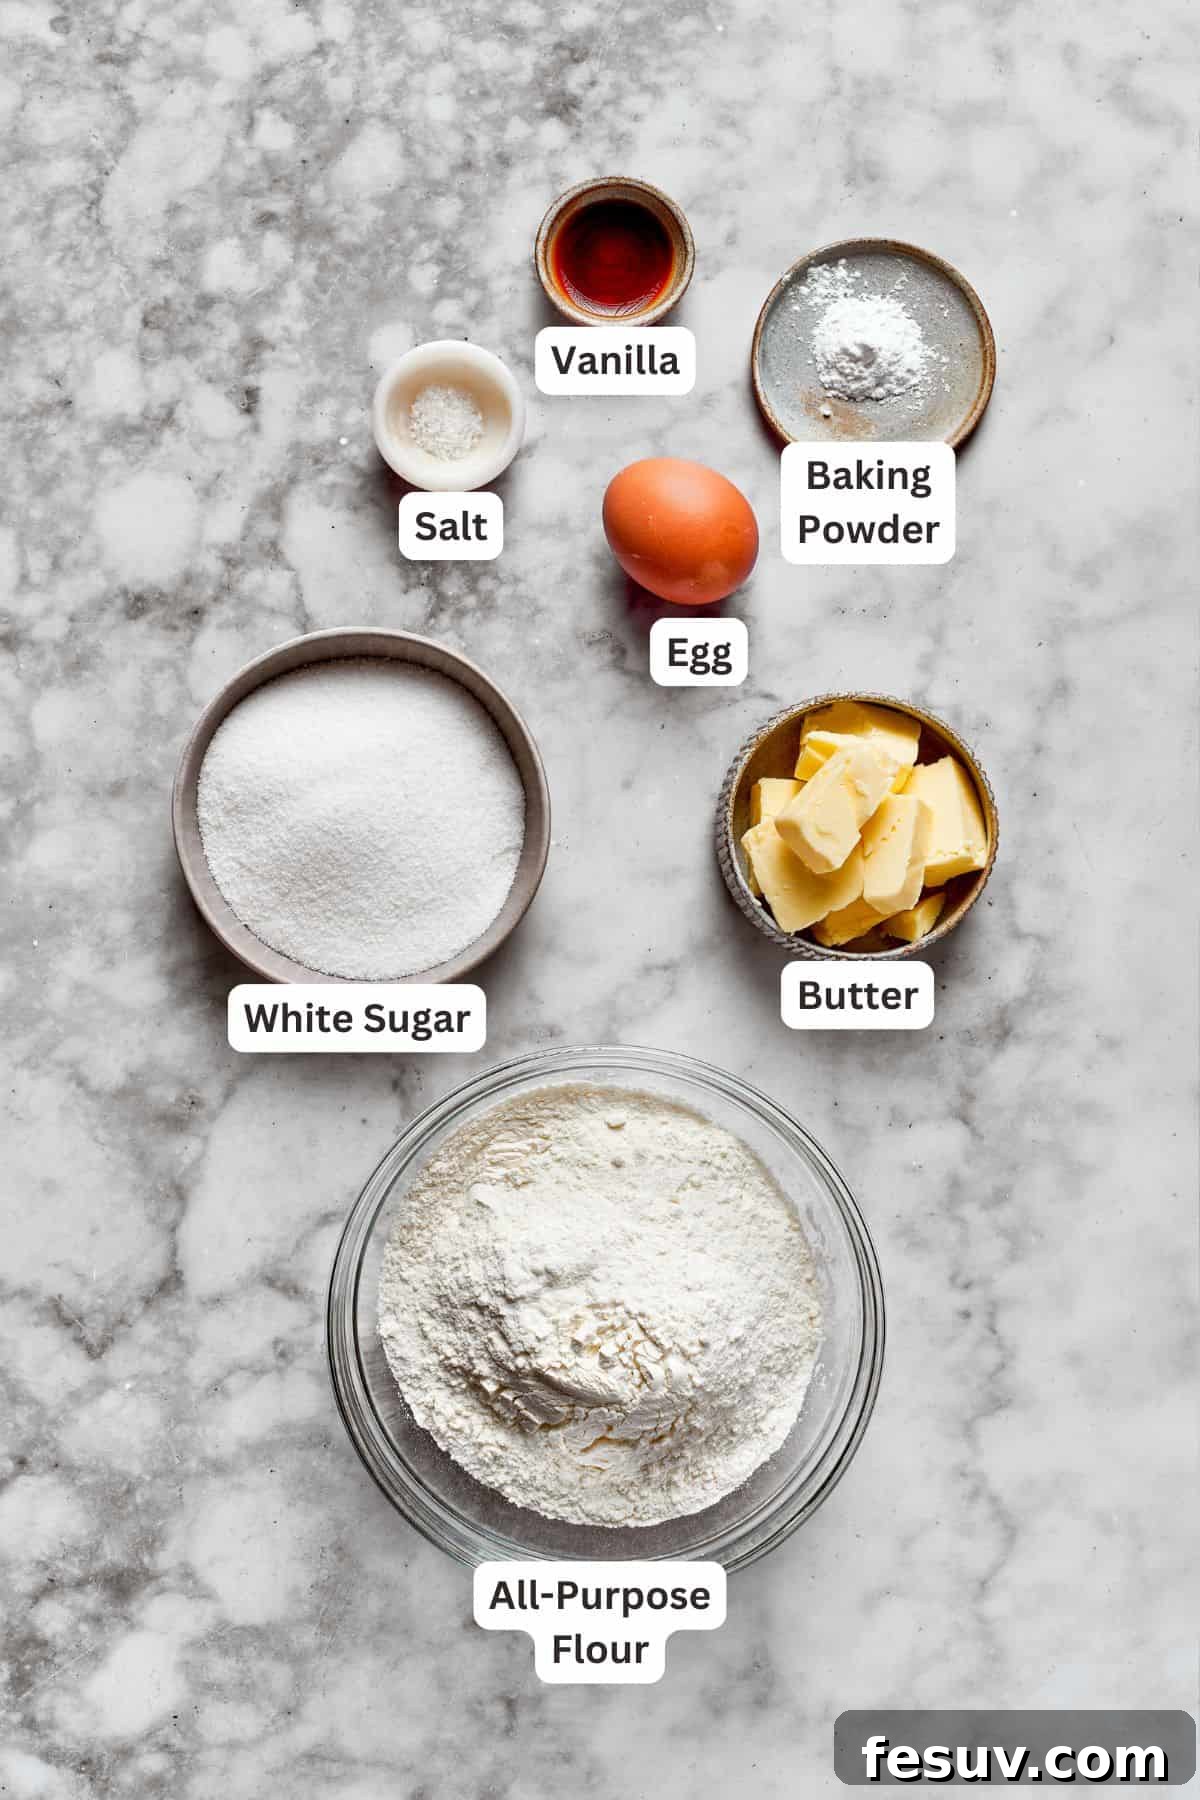
Crafting these charming holiday cookies requires a simple selection of pantry staples and a few decorating essentials. The beauty lies in the quality of these basic components, ensuring a delicious and visually appealing outcome. For precise measurements and step-by-step instructions, make sure to refer to the comprehensive recipe card conveniently located at the conclusion of this post.
- Unsalted Butter: Always opt for unsalted butter, softened to room temperature. This allows you to control the salt content in your baking and ensures it creams beautifully with the sugar, creating a smooth, cohesive cookie dough. Room temperature butter also emulsifies better with other ingredients, leading to a tender crumb.
- Dry Ingredients: This classic sugar cookie base relies on granulated sugar for sweetness and texture, all-purpose flour for structure, baking powder for a slight lift, and a touch of salt to balance the flavors and enhance the sweetness. Sifting the dry ingredients together ensures even distribution and prevents lumps.
- Large Egg: A single large egg, brought to room temperature, acts as a binder, adding moisture and richness to the dough. Room temperature eggs combine more uniformly with other ingredients, resulting in a smoother batter.
- Flavorings: Pure vanilla extract is crucial for that classic, comforting sugar cookie taste. For an optional, yet delightful twist, consider adding orange extract. Its bright, citrusy notes complement the vanilla and add an extra layer of holiday flavor, reminiscent of candied orange peels.
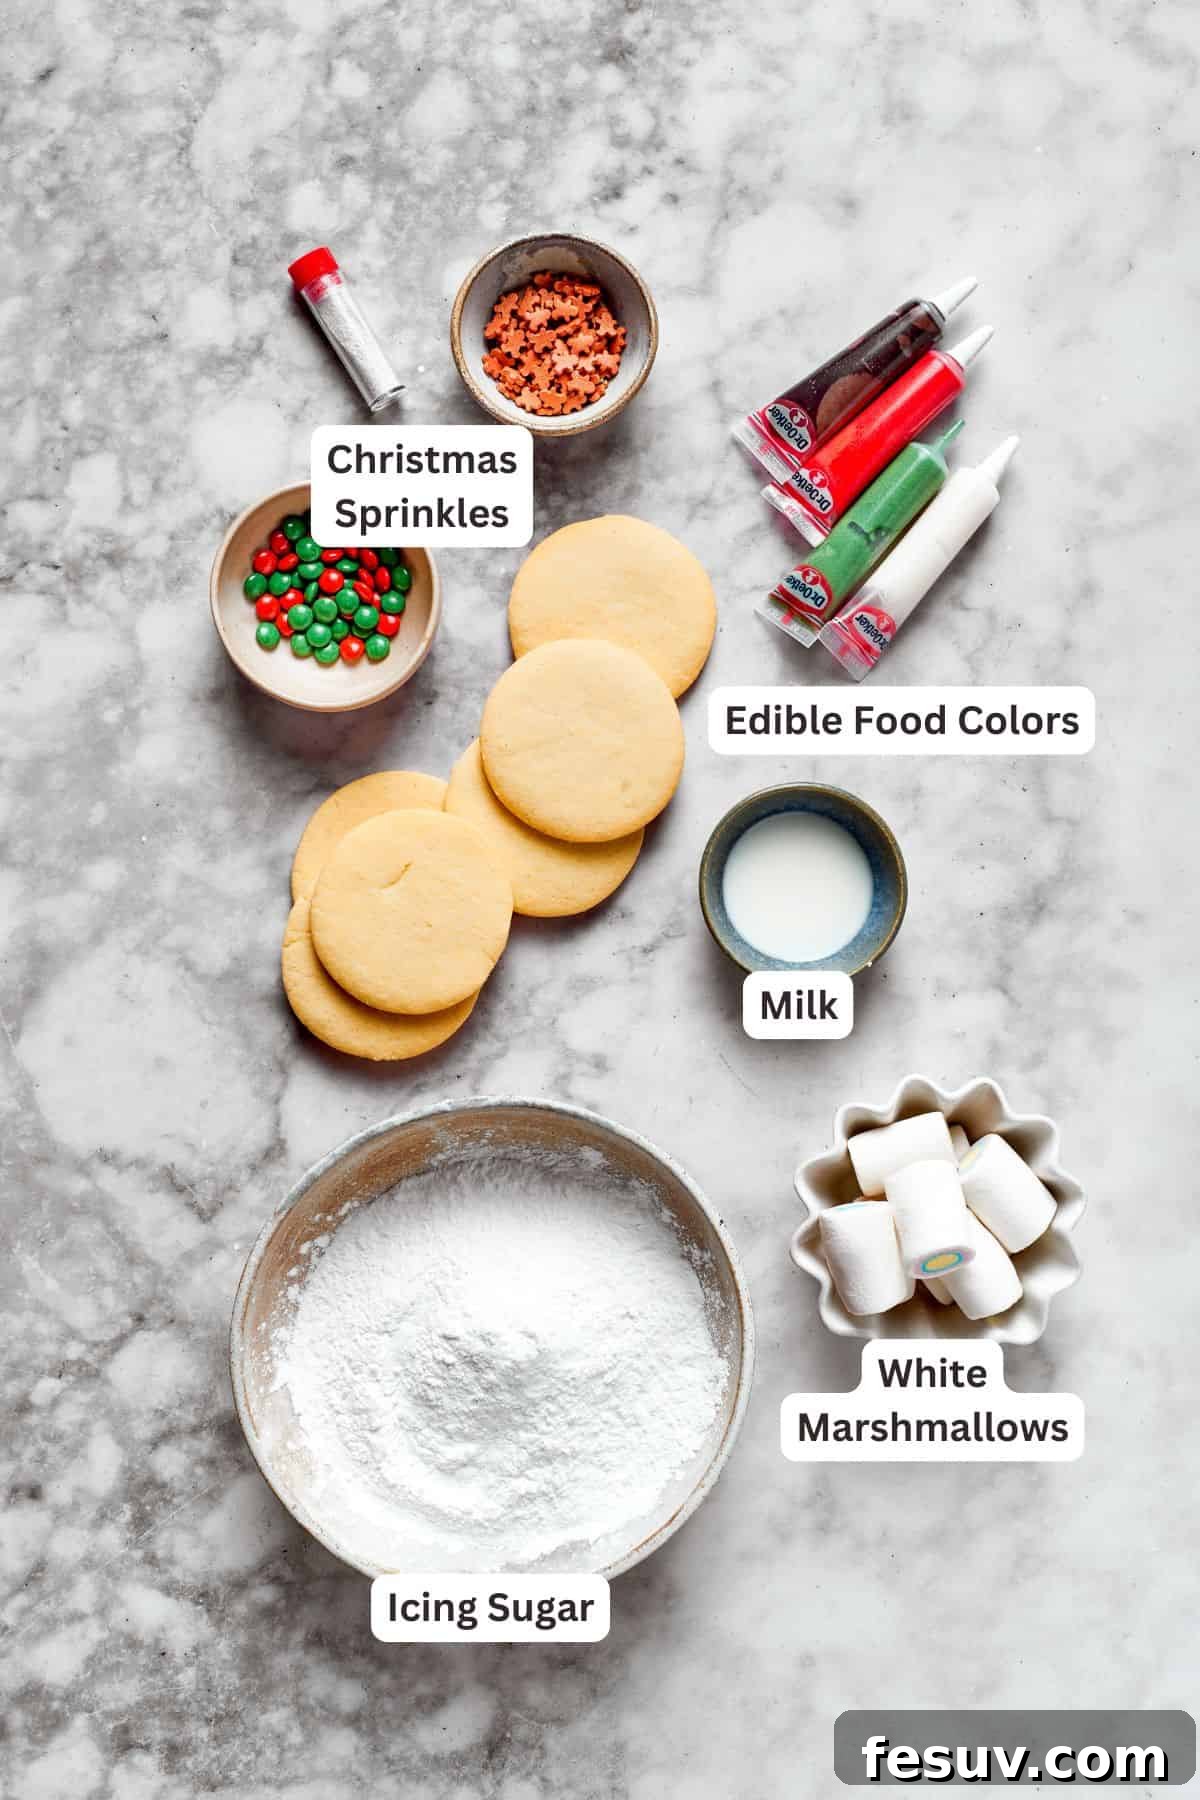
- Powdered Sugar (for Icing): Also known as confectioners’ sugar, this fine powder is the base for our smooth vanilla frosting. Sifting it before mixing is paramount to eliminate any lumps, ensuring a silky, spreadable icing without a grainy texture.
- Milk (for Icing): Whole milk or 2% milk works perfectly to achieve the desired consistency for your frosting. Start with a small amount and add more gradually until your icing is smooth and spreadable, but not too thin.
- Decorating Essentials: The fun part! You’ll need large marshmallows for the snowman’s “head,” edible food coloring pens (or writing gel icing) for drawing faces and details, and a variety of festive sprinkles to add extra sparkle and charm to your melted masterpieces.
Crafting Your Melted Snowman Cookies: A Step-by-Step Guide
Making these delightful melted snowman cookies is a truly enjoyable process. While baking the homemade sugar cookies from scratch offers the best flavor and texture, don’t hesitate to use pre-made sugar cookies from your local bakery if you’re looking for a shortcut. The decorating is where the real magic happens! Here’s a detailed look at how to bring these festive treats to life:
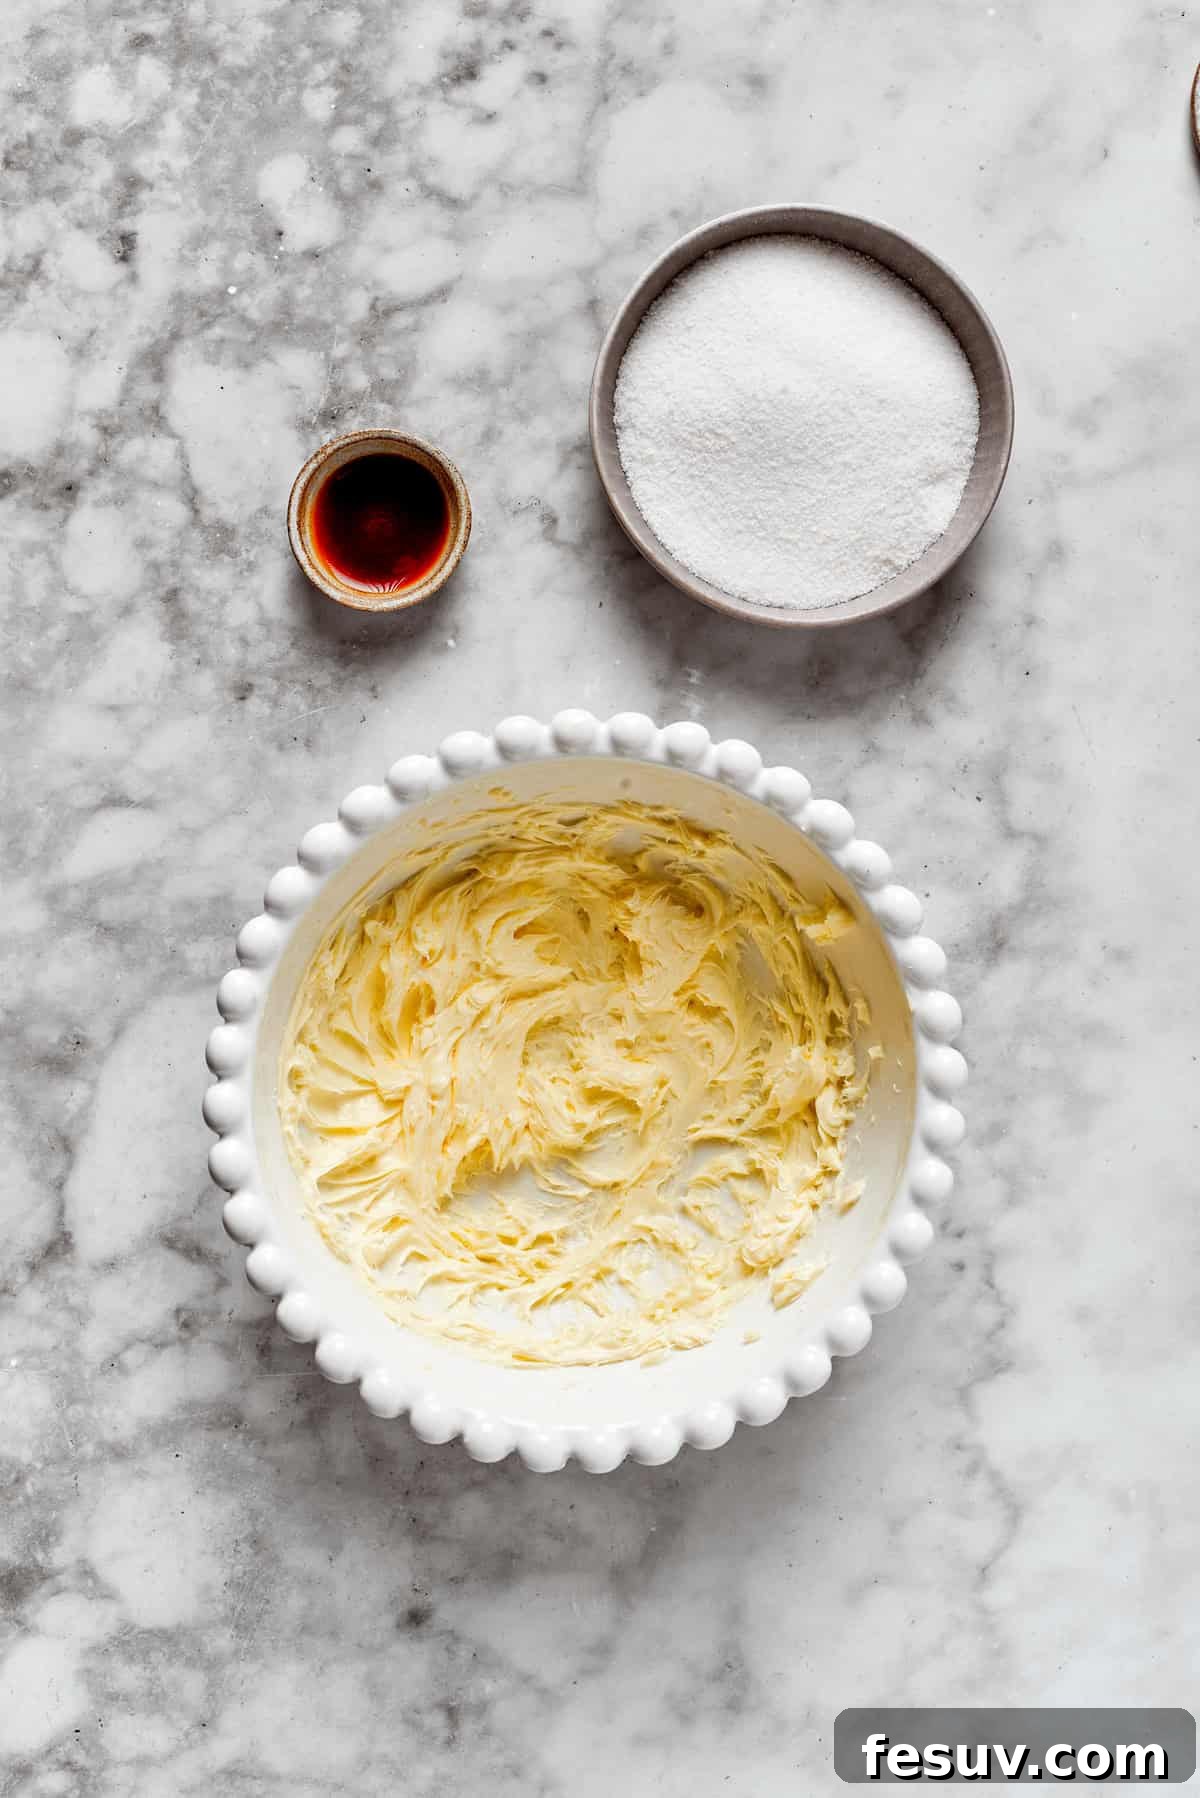
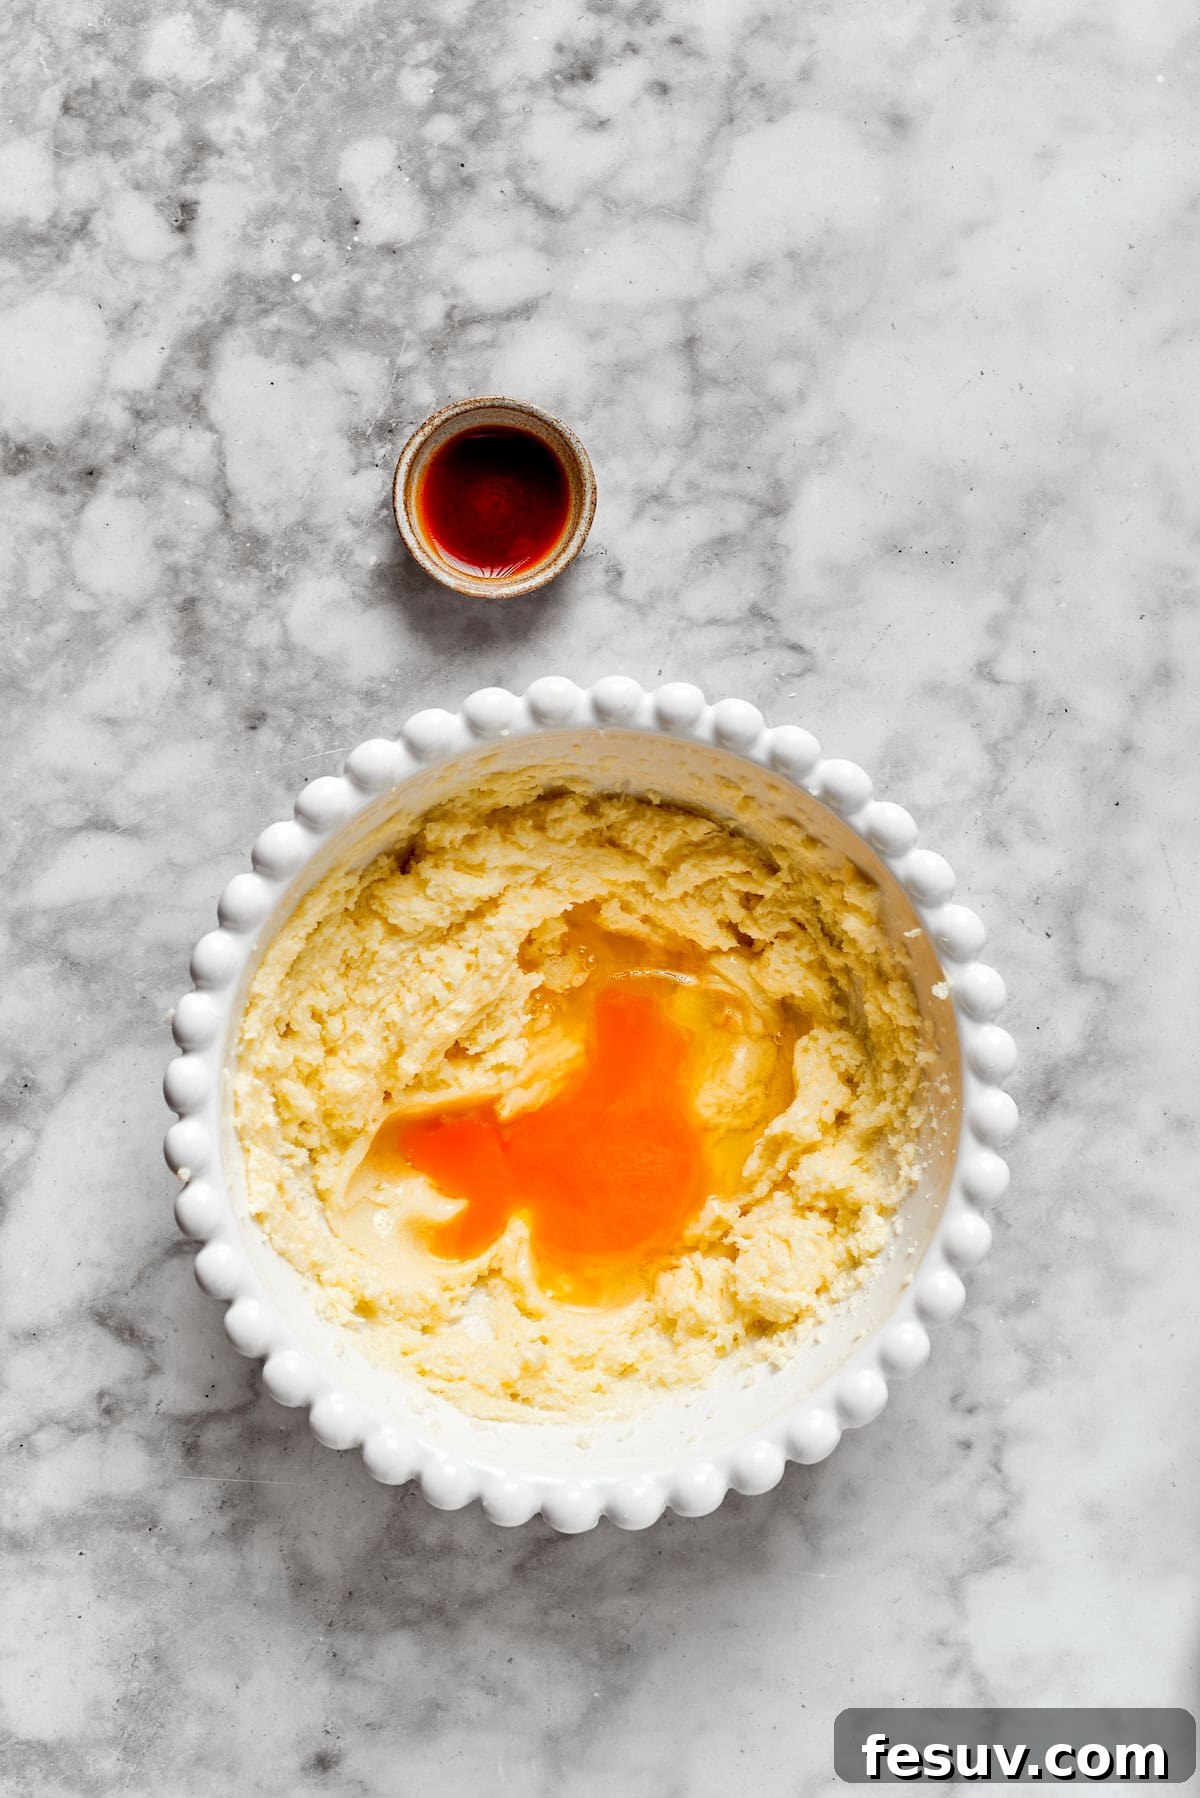
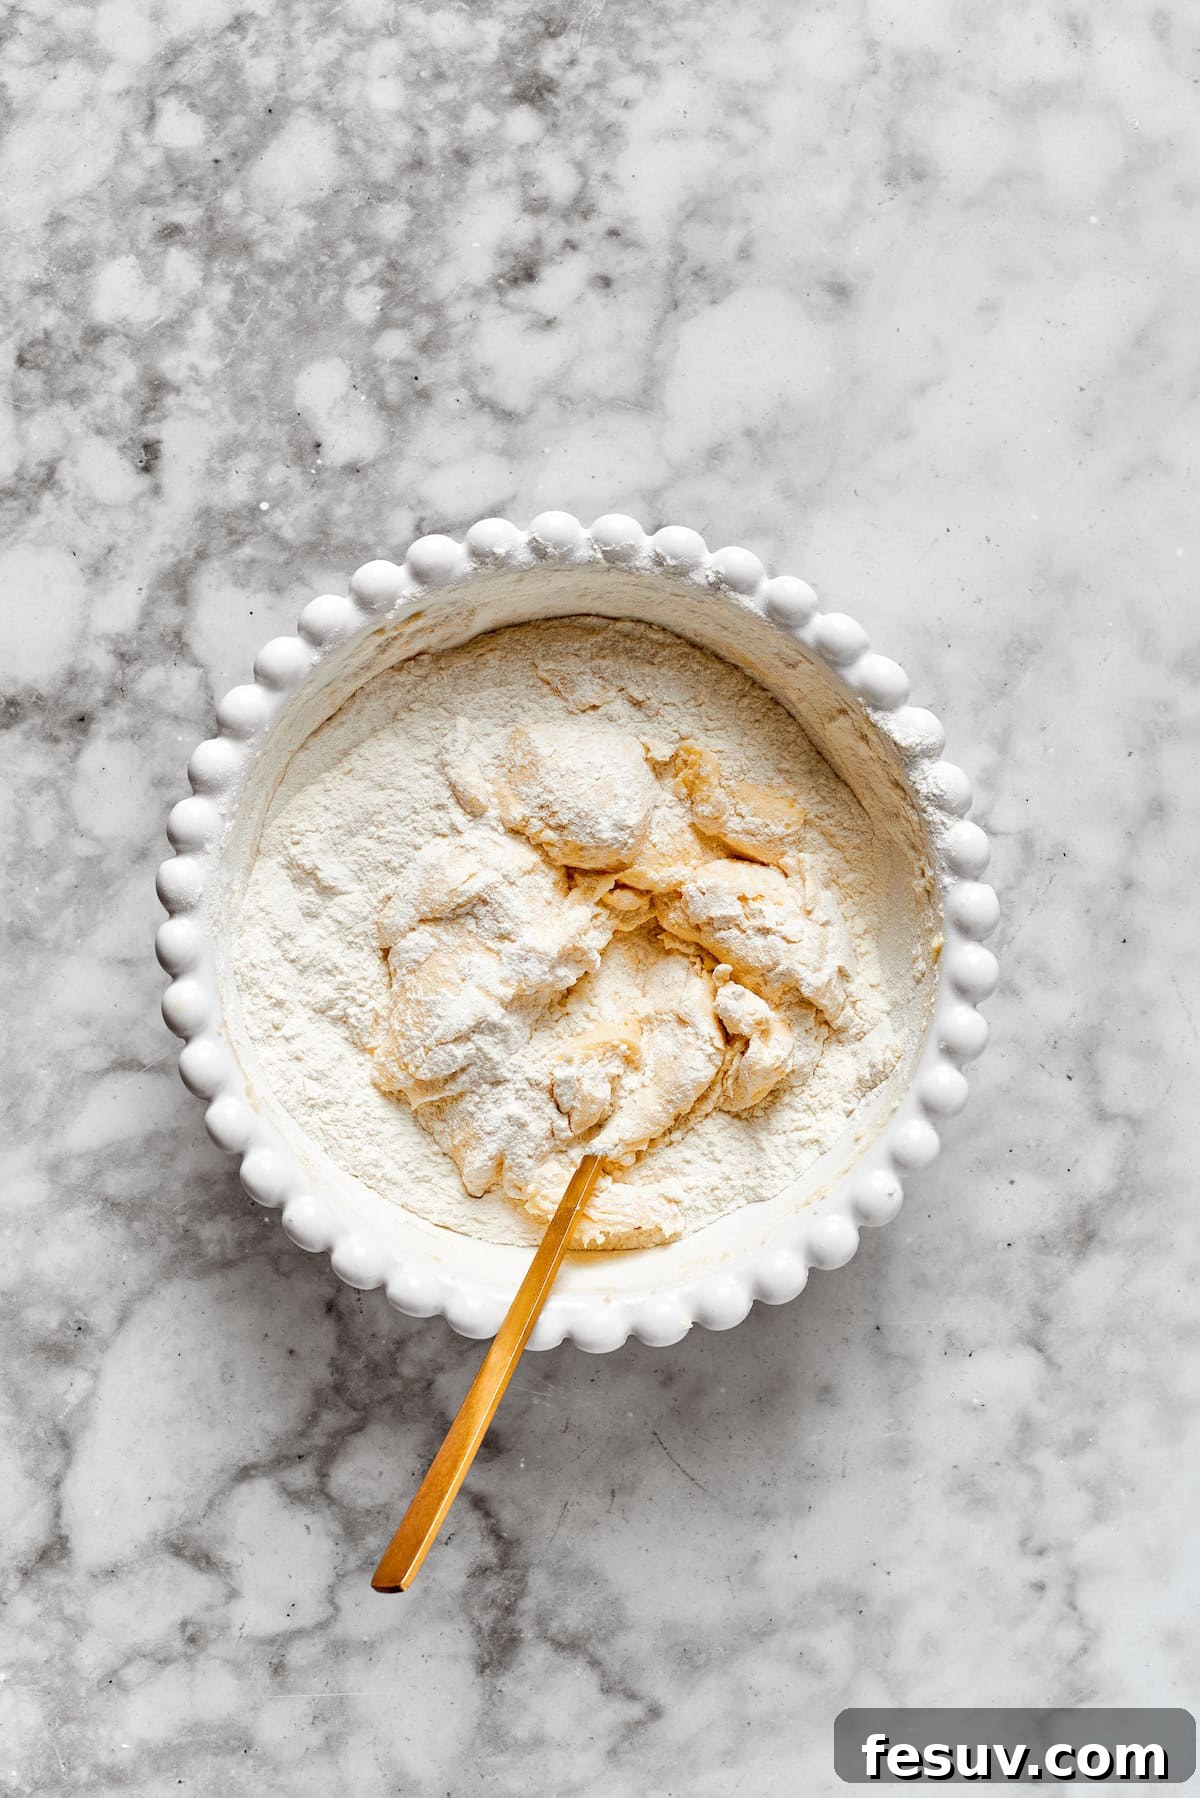
- Prepare the Dough to Perfection: Begin by creaming the softened butter and granulated sugar together in a large mixing bowl until the mixture becomes wonderfully light and fluffy. This step incorporates air, making your cookies tender. Next, beat in the room temperature egg and the pure vanilla extract (and orange extract, if using) until everything is smoothly combined.
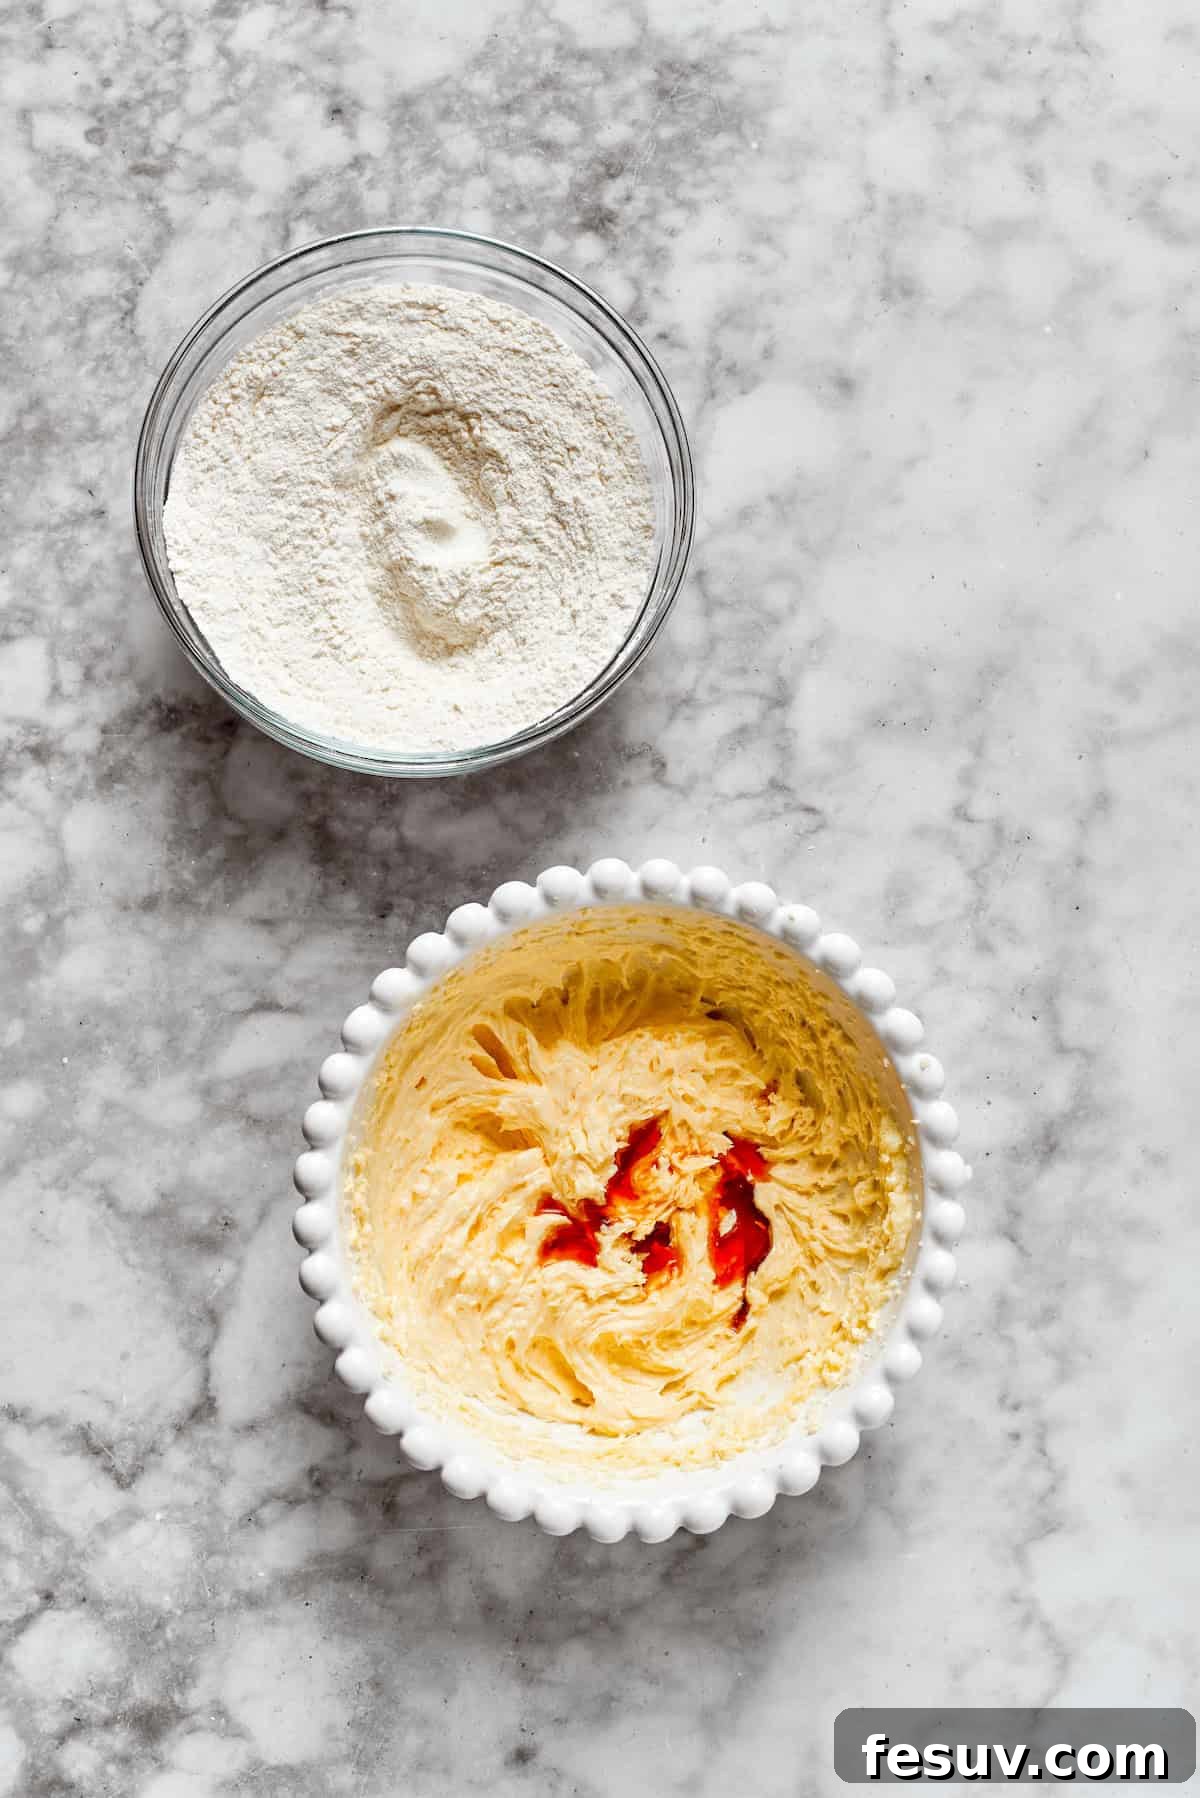
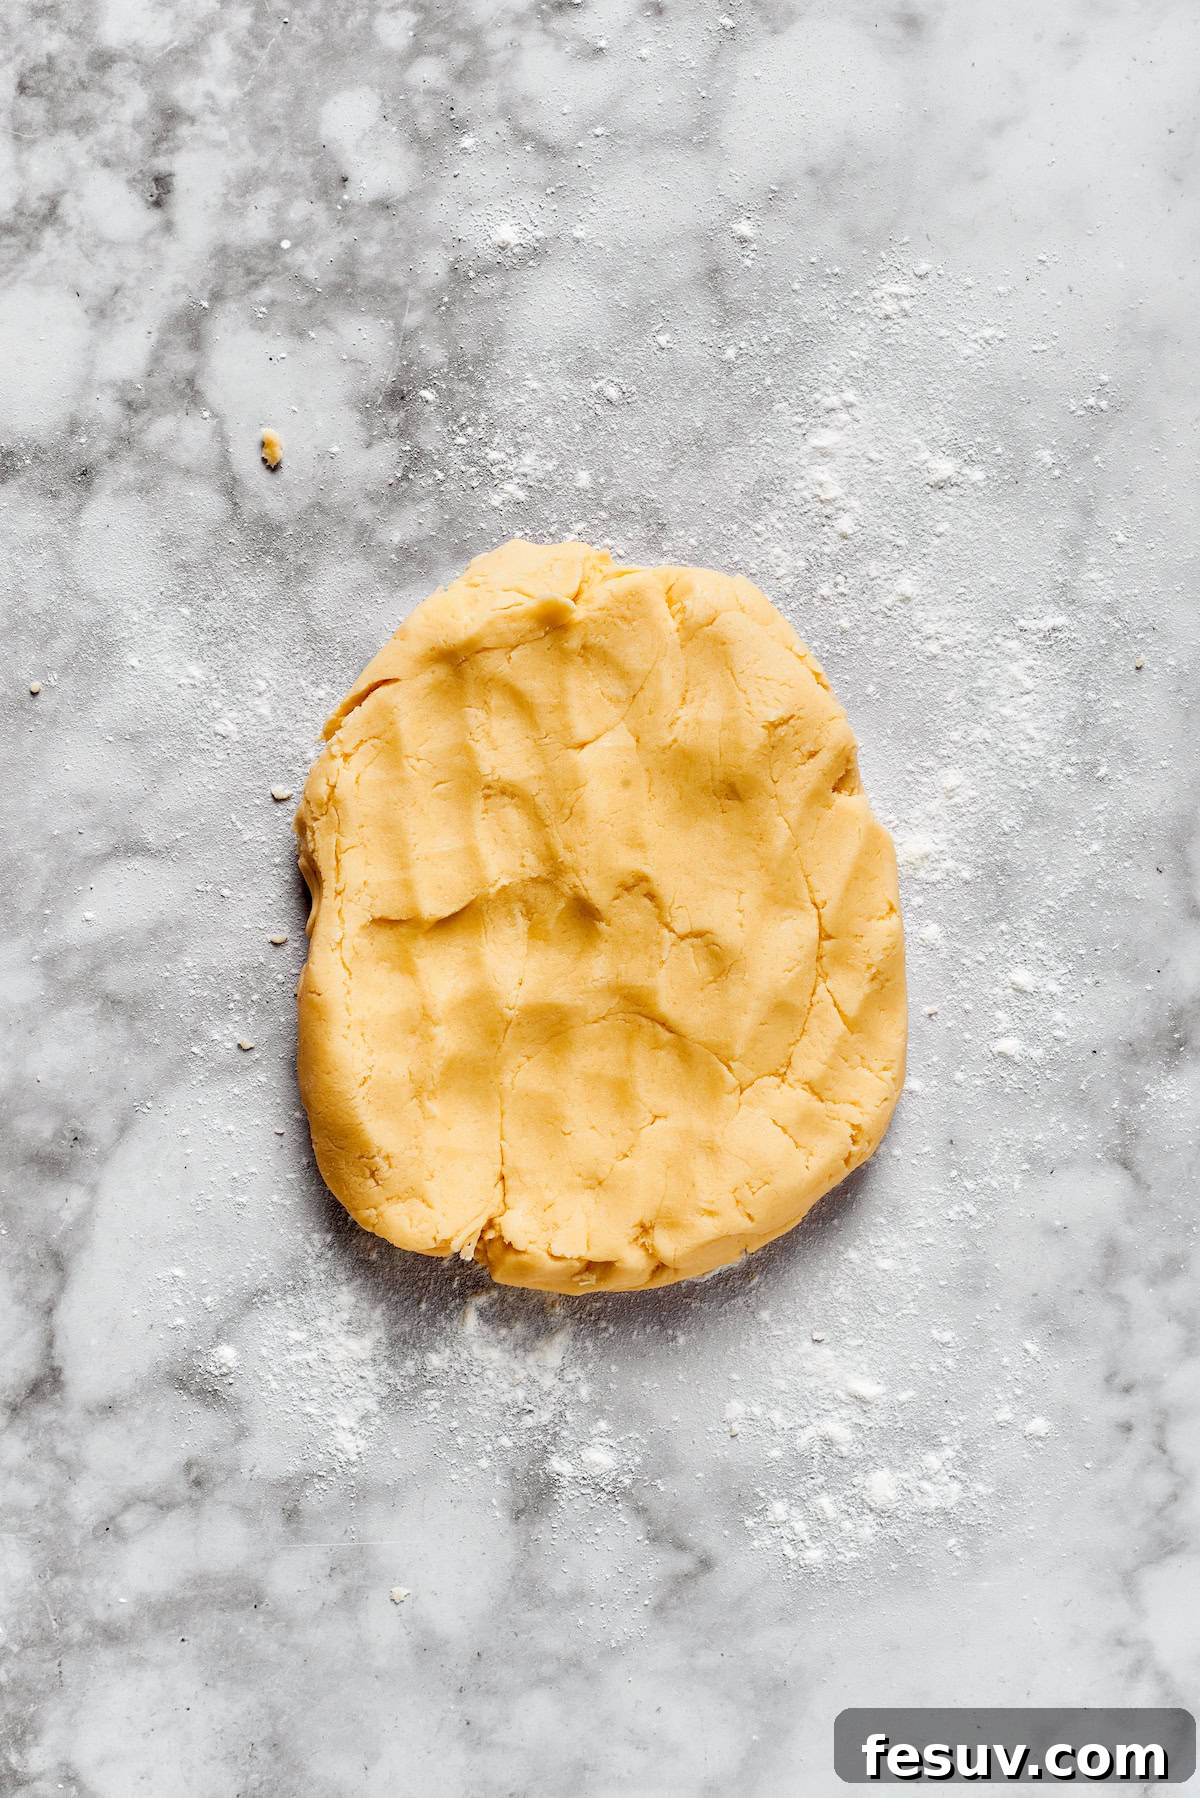
- Combine Dry and Wet Ingredients: In a separate bowl, whisk together your dry ingredients: the all-purpose flour, baking powder, and salt. This ensures they are evenly distributed. Gradually add these dry ingredients to your wet mixture, mixing on a low speed only until a soft, pliable dough forms. Be careful not to overmix, as this can lead to tough cookies.
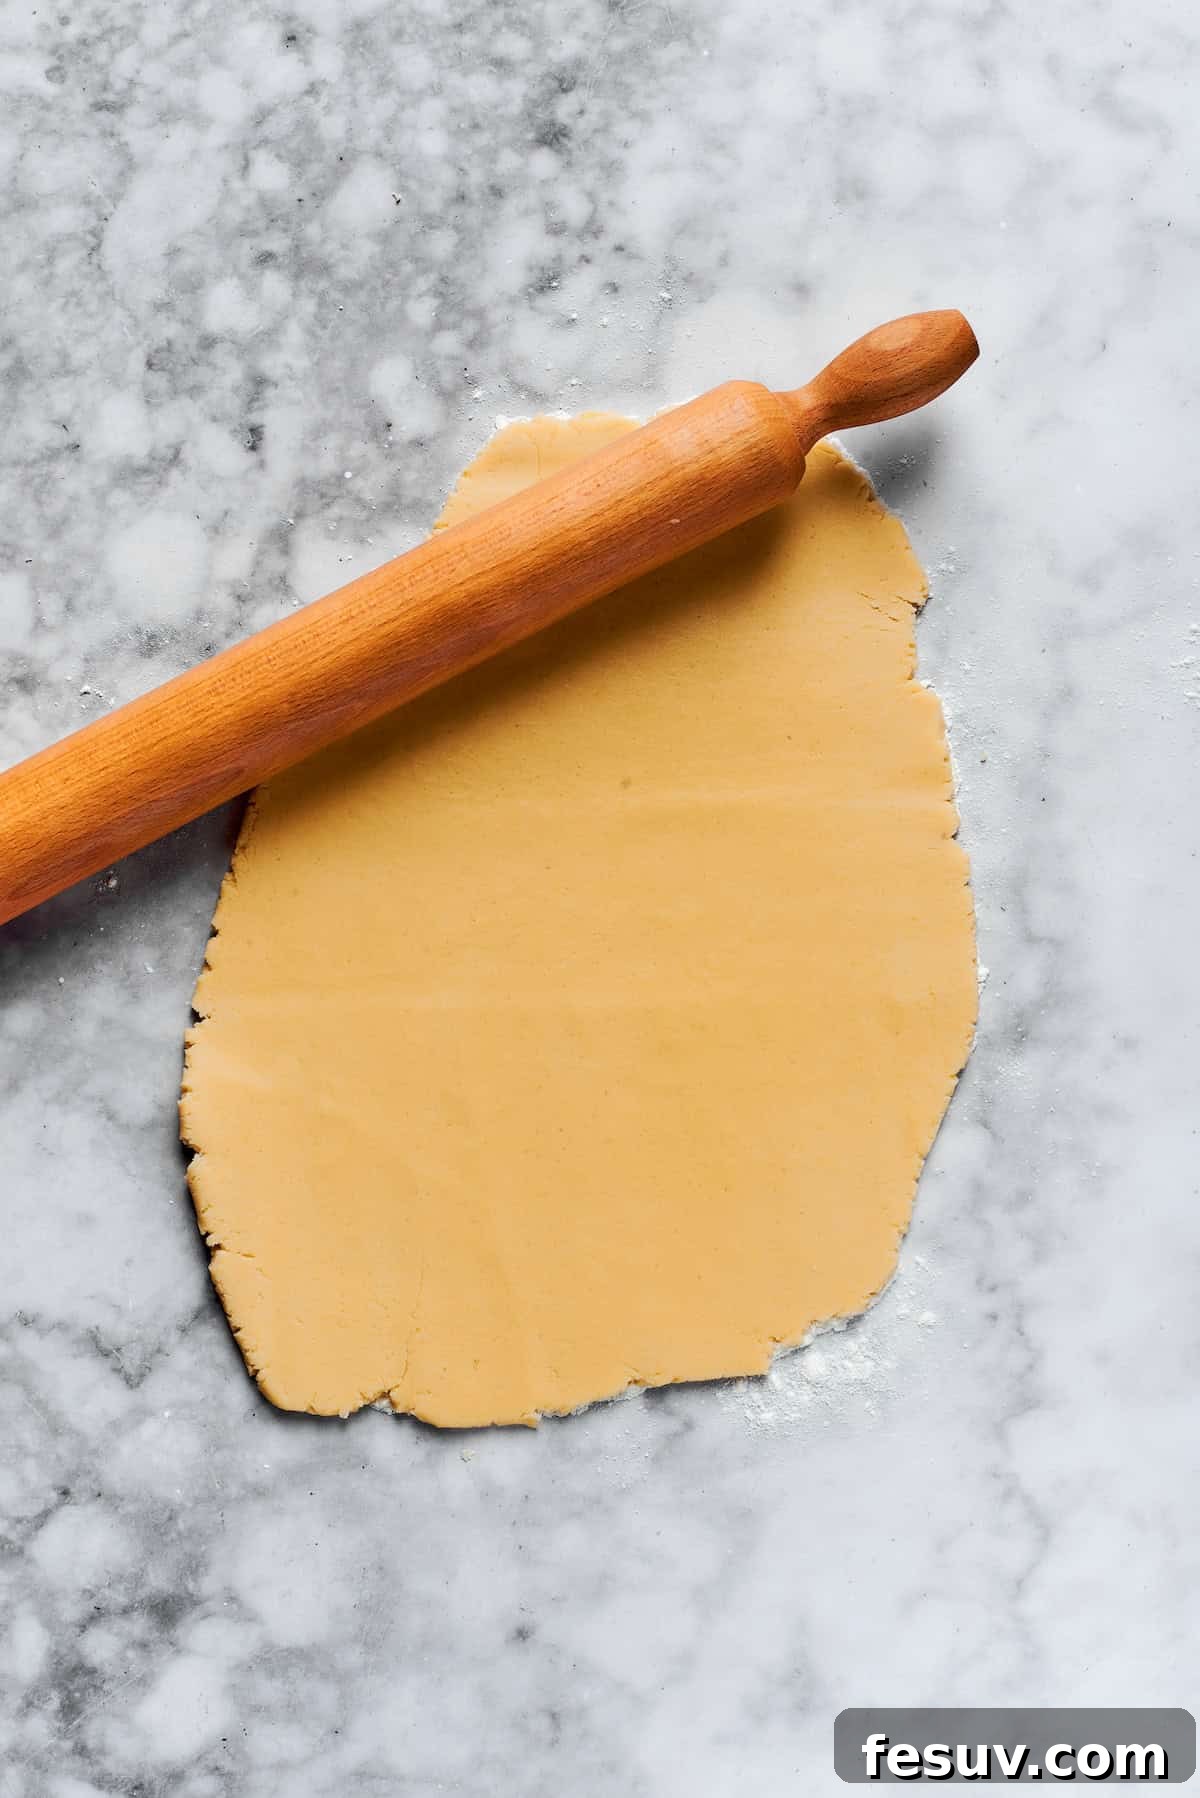
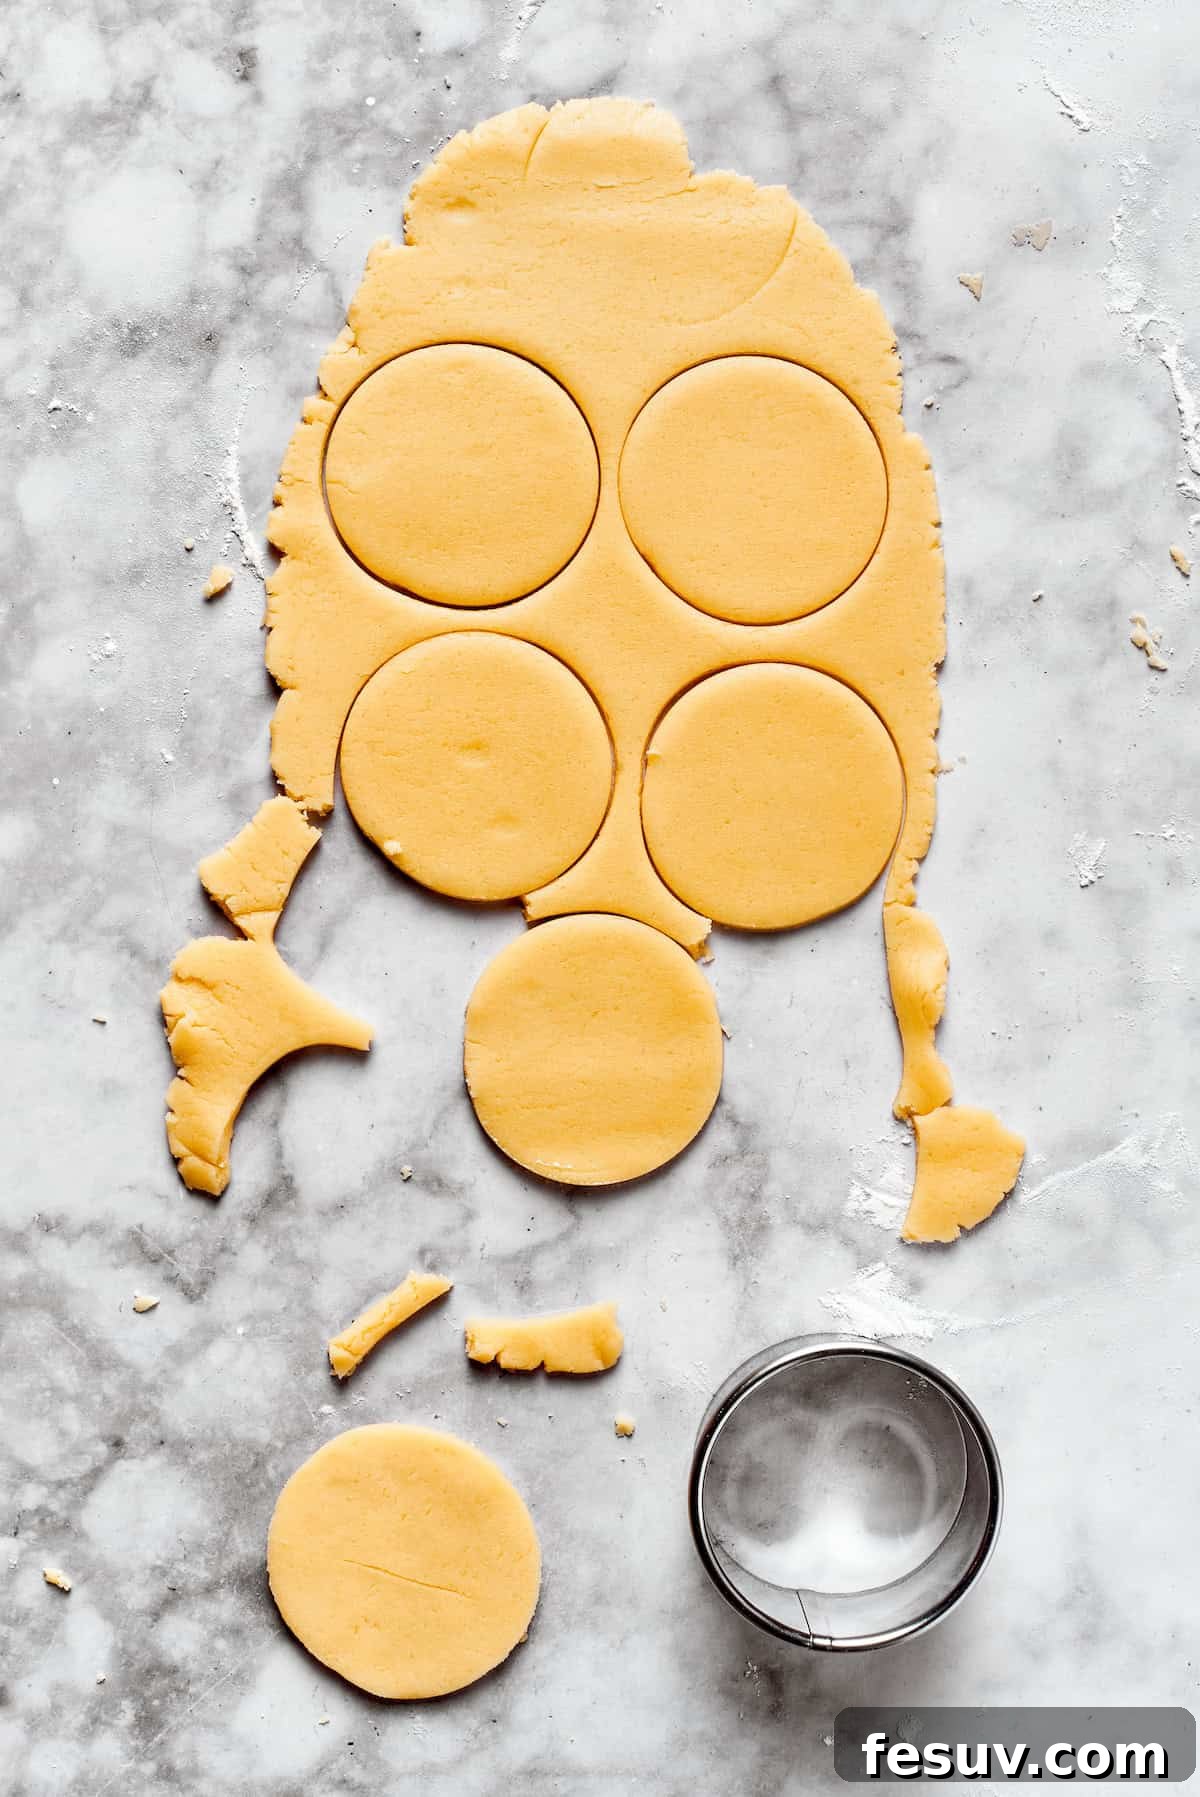
- Roll, Cut, and Bake: Lightly flour your work surface and rolling pin. Roll out the cookie dough to an even ¼ inch thickness. Using a 2-3 inch round cookie cutter, cut out your cookie shapes. Carefully transfer these rounds to baking sheets lined with parchment paper, leaving about 2 inches between each cookie. Bake them in a preheated oven at 350°F (175°C) for approximately 12-14 minutes, or until the edges are just lightly golden. Once baked, allow them to cool on the baking sheet for a few minutes before transferring to a wire rack to cool completely. This is crucial for successful decorating!
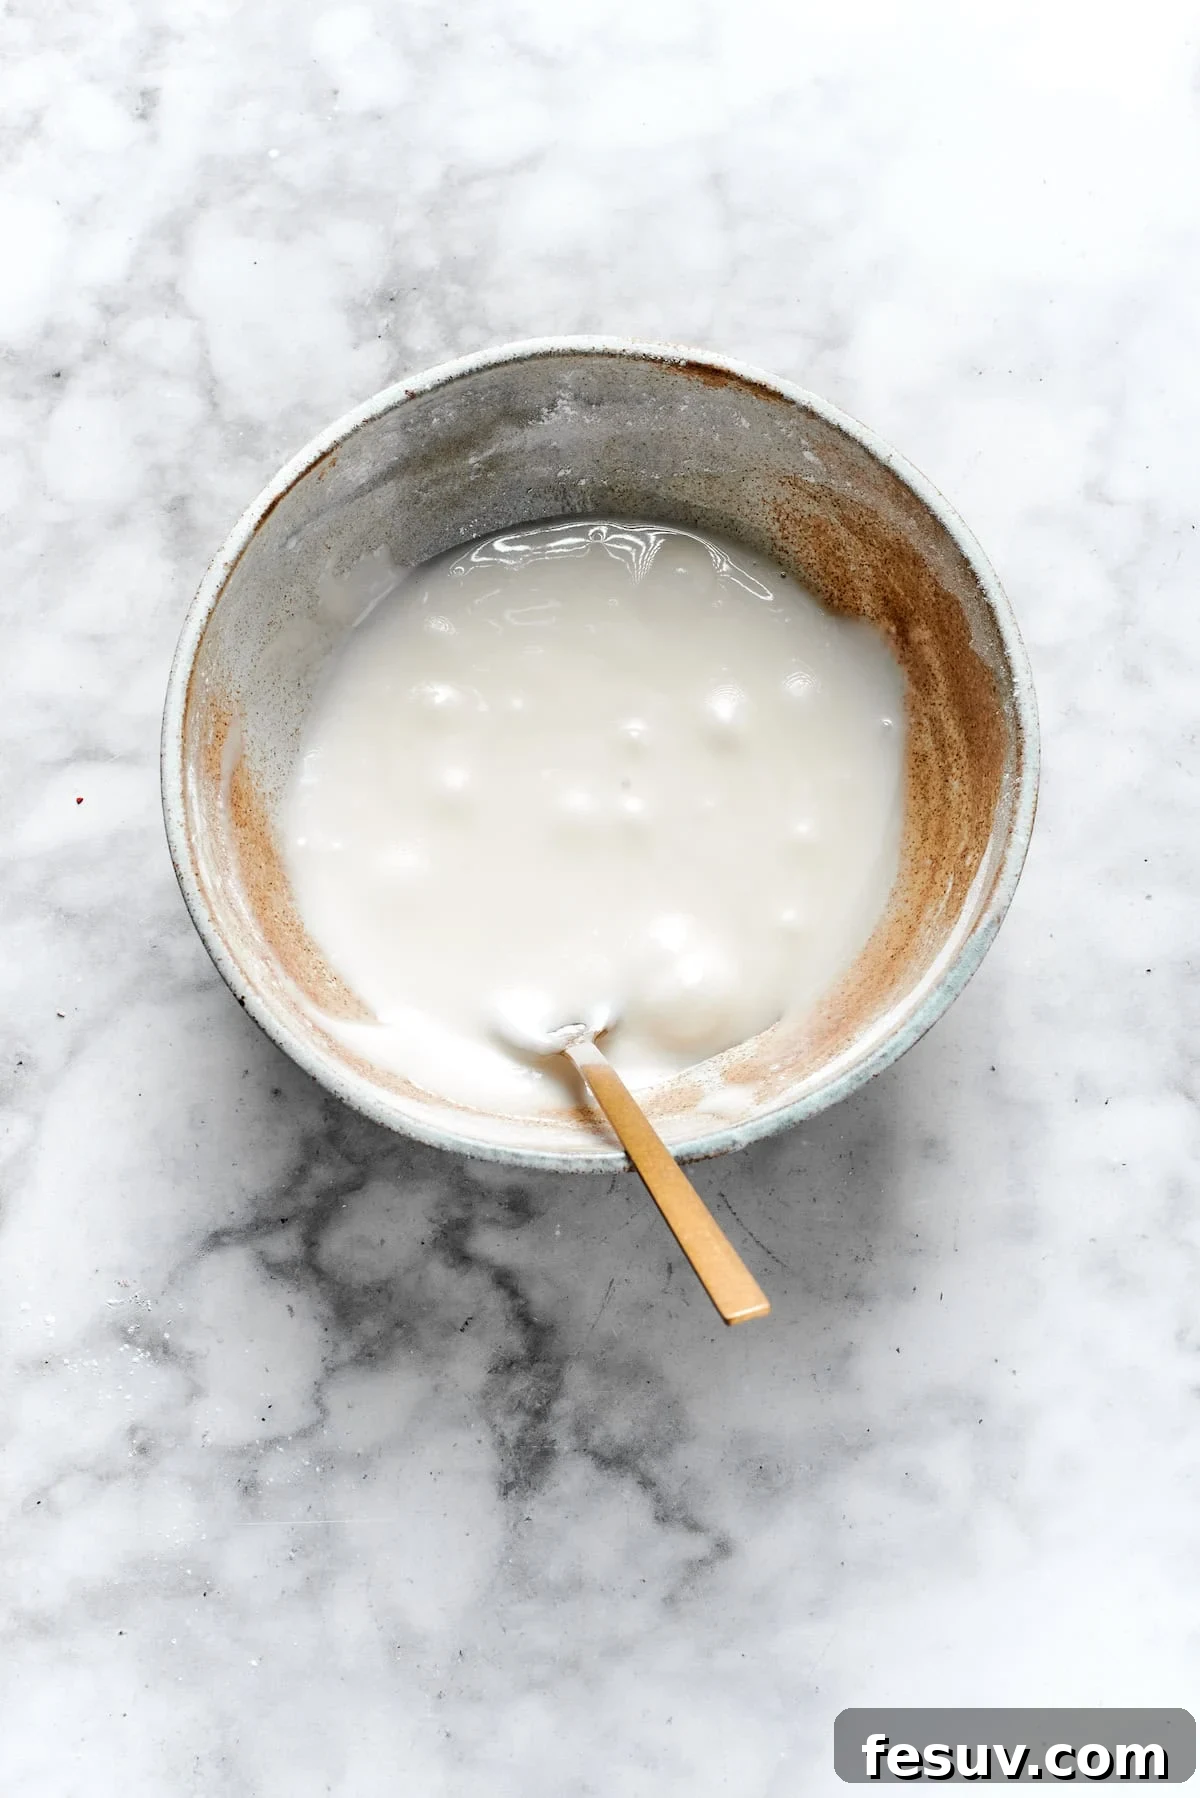
- Whip Up the Smooth Icing: While your cookies are cooling, prepare the simple yet delicious vanilla icing. In a small bowl, combine the sifted powdered sugar with milk, adding one teaspoon at a time. Whisk continuously until you achieve a smooth, slightly thick consistency that is easily spreadable but won’t drip off the sides of your cookies. Adjust the milk quantity as needed to reach this ideal texture.
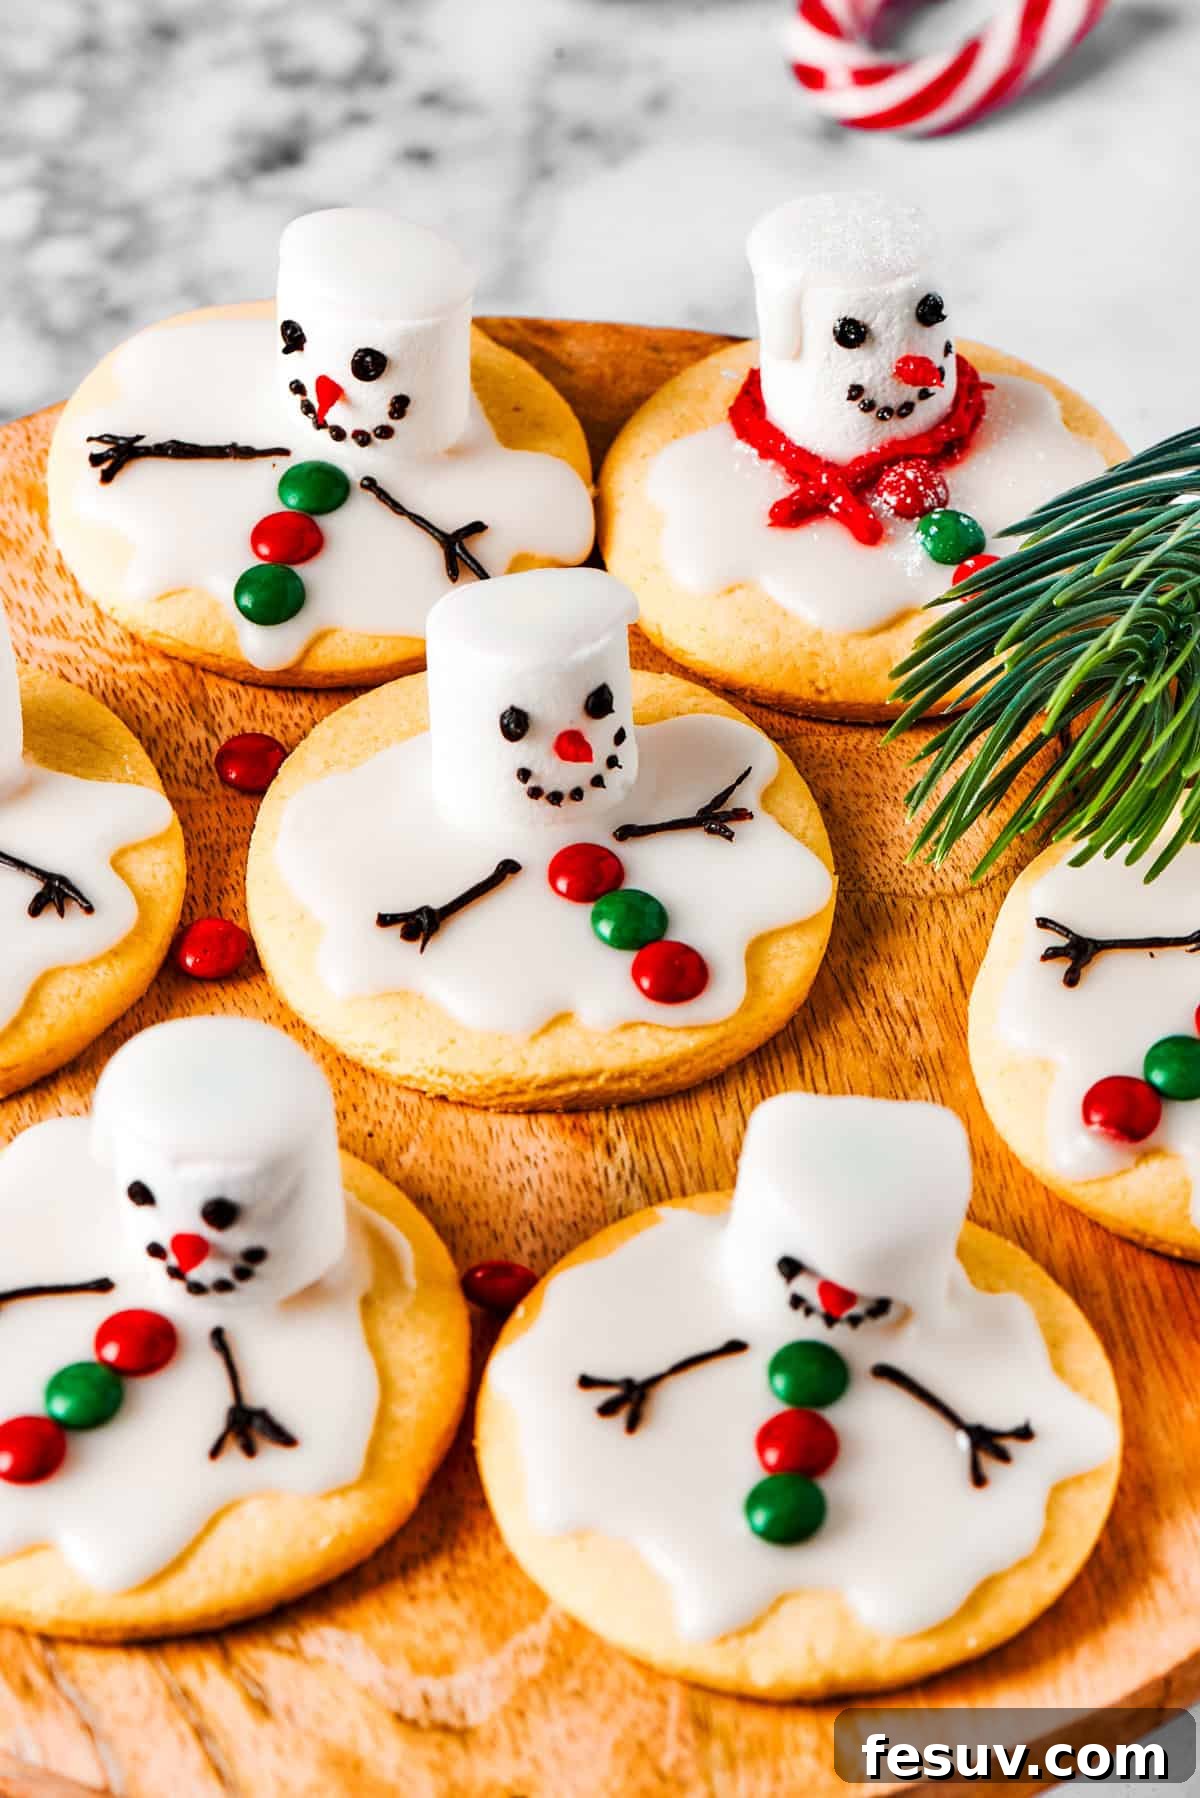
- Bring Your Snowmen to Life: Once the cookies are completely cool, it’s time for the fun! Spread a generous layer of the vanilla icing over each cookie, creating the “melted snow” base. Immediately place a large marshmallow on one side of each cookie, pressing gently so it adheres to the icing – this will be your snowman’s head. Now, grab your edible food coloring pens (or writing gel) and let your creativity shine! Draw cute faces with dots for eyes and a small triangle for a carrot nose. You can also draw stick arms, buttons down the “body” (the cookie itself), or even a tiny scarf. For extra sparkle, add some Christmas sprinkles!
Expert Tips for Flawless Melted Snowman Cookies
Achieving bakery-quality melted snowman cookies is easier than you think with these helpful tips and tricks:
- Embrace Room Temperature Ingredients: This is a golden rule in baking, especially for cookies. Using butter and eggs at room temperature ensures they cream together smoothly, creating a homogeneous mixture. Cold ingredients can cause the batter to curdle and result in a dense, inconsistent dough. Plan ahead by taking your butter and eggs out of the fridge at least 30-60 minutes before you start baking.
- Plan Ahead and Freeze: These cookies are perfect for make-ahead convenience. You can prepare the cookie dough and wrap it tightly in plastic wrap, then freeze it for up to 3 months. When ready to bake, simply thaw the dough in the refrigerator overnight, then roll and cut as usual. Alternatively, bake the cookies completely, let them cool, and then freeze them undecorated in an airtight container for up to 3 months. Thaw completely before proceeding with the icing and decorating steps.
- The Store-Bought Shortcut: If time is of the essence, don’t shy away from a clever shortcut! Head to your local grocery store or bakery and pick up a package of plain, round sugar cookies. They provide the perfect base, allowing you to jump straight to the fun part: preparing the icing and transforming them into adorable melted snowmen. Just make sure the cookies are completely cool before decorating.
- Experiment with White Chocolate: For an alternative to traditional icing, try using melted white chocolate! Gently melt white chocolate chips or a white chocolate bar (using a double boiler or microwave with caution) and smooth it over each cooled cookie. The slightly thicker texture of the chocolate creates a lovely, realistic “melted snow” effect. Allow it to set slightly before adding your marshmallow snowman.
- Prevent Overmixing the Dough: Once you add the flour, mix just until combined. Overmixing develops the gluten in the flour, which can lead to tough, chewy cookies instead of tender ones. A light hand is key!
- Ensure Cookies are Fully Cooled: Before applying any icing or decorations, your cookies must be completely cool. Warm cookies will melt the icing and marshmallow, leading to a messy, unappealing result. Patience is a virtue here!
- Perfect Icing Consistency: The icing should be thick enough to stay on the cookie but thin enough to spread easily. If it’s too thick, add a tiny bit more milk (half a teaspoon at a time). If it’s too thin, sift in a little more powdered sugar until you reach the desired consistency.
Storage and Serving Suggestions
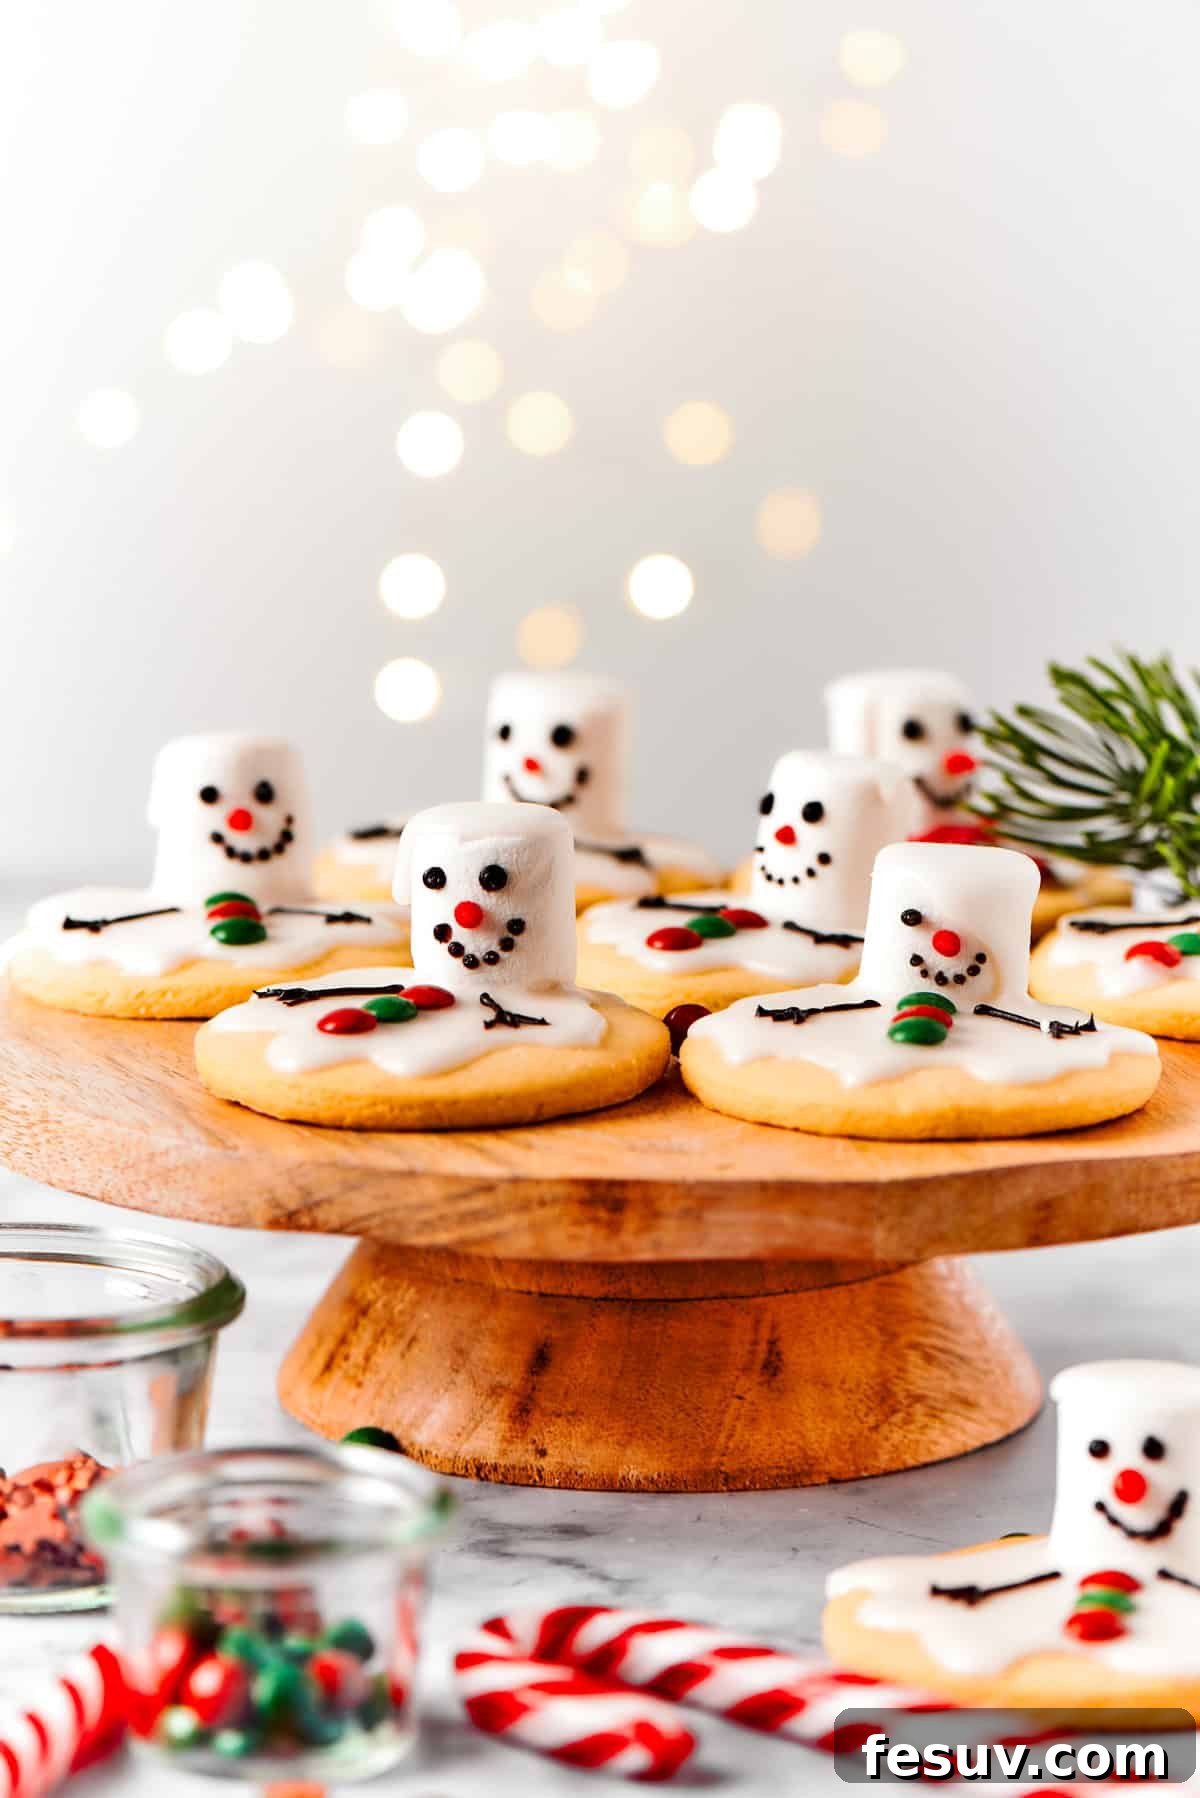
To keep your delightful melted snowman cookies fresh and delicious, store them in an airtight container at room temperature. They will maintain their quality and charming appearance for up to 4 days. I typically advise against refrigerating or freezing decorated snowman cookies, as the change in temperature and humidity can significantly affect the texture of the marshmallows, making them tough or sticky. However, if you absolutely need to extend their shelf life slightly, placing the container in the fridge for up to 7 days is an option. Just remember to let them come back to room temperature for at least 30 minutes before serving to ensure the best texture and flavor. For best results, always enjoy these festive treats at room temperature.
Frequently Asked Questions About Melted Snowman Cookies
Got questions about making these adorable treats? Here are some common queries and their answers:
- Can I use different types of cookies as the base? Absolutely! While traditional sugar cookies offer a great neutral canvas, you can experiment with other sturdy, flat cookies like shortbread or even gingerbread for a spicy twist. Just ensure the cookie base is robust enough to hold the frosting and marshmallow.
- My icing is too thin/thick. How can I fix it? If your icing is too thin and runny, gradually sift in more powdered sugar, a tablespoon at a time, until you reach a spreadable consistency. If it’s too thick, add milk a quarter-teaspoon at a time until it’s smooth and easily spreadable without being watery.
- What kind of edible food colors work best for decorating? Gel food coloring pens or writing gel tubes are ideal for drawing the snowman’s features. They offer precise lines and vibrant colors without adding too much moisture to the marshmallow or icing. Liquid food coloring can be too runny.
- Can I make these cookies gluten-free or dairy-free? Yes, with some modifications! For gluten-free, substitute all-purpose flour with a 1:1 gluten-free baking flour blend that contains xanthan gum. For dairy-free, use a high-quality plant-based butter alternative and dairy-free milk (like almond or oat milk) for both the cookies and the icing.
- How can I prevent my marshmallows from drying out? Once decorated, if you’re not serving them immediately, store the cookies in an airtight container. The container will help keep the marshmallows soft. Avoid leaving them exposed to air for extended periods.
- What are some other creative decorating ideas? Beyond the basics, you can use mini chocolate chips for buttons or eyes, small pieces of red or green candy for scarves, edible glitter for a snowy sparkle, or even tiny pretzel sticks for arms. Get creative with what you have!
- Can I use mini marshmallows instead of large ones? You can, but large marshmallows create the most impactful “melted head” effect. Mini marshmallows might look a bit disproportionate but could work if you’re making smaller cookies.
- How far in advance can I decorate these? It’s best to decorate them 1-2 days before serving to ensure freshness and the best marshmallow texture. While they store well for up to 4 days, the marshmallow is at its softest within the first couple of days.
Explore More Festive Christmas Cookie Recipes
If you’re eager to continue your holiday baking adventure, we have a curated collection of other beloved Christmas cookie recipes that are sure to impress and delight. Each recipe offers its own unique charm and flavor, perfect for expanding your festive repertoire:
- Stained Glass Cookies: Beautiful, jewel-toned cookies that shimmer and shine, perfect for a magical touch.
- Hot Chocolate Sugar Cookies: All the cozy flavors of your favorite winter drink, transformed into a delicious cookie.
- White Chocolate Chip Cookies: A classic favorite with creamy white chocolate chips for an irresistible treat.
We hope these recipes inspire you to create a truly memorable and delicious holiday season!

Pin
Snowman Cookies
Ingredients
For the cookies:
- ½ cup unsalted butter, softened to room temperature
- ¾ cup granulated white sugar
- 1 large egg, at room temperature
- 1 teaspoon pure vanilla extract
- 1 teaspoon orange extract, optional
- 2 cups all-purpose flour
- ½ teaspoon baking powder
- ¼ teaspoon salt
For the Icing:
- 1 cup Icing sugar, sifted
- 1 tablespoon milk
For the decorating:
- 16 white large marshmallows
- edible food colors, I use this writing gel
- Christmas sprinkles
Instructions
-
Prep. Preheat the oven to 350°F (175°C) and line baking sheets with parchment paper. Set aside.
-
Cream the butter and sugar. Using an electric mixer, cream the softened butter and granulated sugar in a large mixing bowl until light and fluffy, about 2-3 minutes. Add the large egg and vanilla extract (and orange extract if using), and continue mixing until smooth and well combined. Scrape down the sides of the bowl as needed.
-
Combine the ingredients. In a separate medium bowl, sift together the all-purpose flour, baking powder, and salt. Gradually add these dry ingredients to the wet mixture, mixing on low speed until a soft dough forms. Be careful not to overmix, mixing just until no dry streaks of flour remain.
-
Roll and cut the cookies. Lightly flour a clean work surface and your rolling pin. Roll out the cookie dough to an even ¼ inch thickness. Use a 2–3 inch round cookie cutter to cut out shapes. Carefully transfer the cutouts to the prepared baking sheets, spacing them about 2 inches apart to allow for spreading. Reroll any dough scraps as needed.
-
Bake the cookies. Bake the cookies in the preheated oven for 12-14 minutes, or until the edges are lightly golden and the centers are set. Remove the baking sheets from the oven and let the cookies cool on the sheets for 5 minutes before carefully transferring them to a wire rack to cool completely. This step is crucial for preventing breakage.
-
Prepare the icing. In a small bowl, mix the sifted icing sugar with milk, adding one teaspoon at a time. Whisk thoroughly until a smooth and slightly thick consistency is achieved. The icing should be easily spreadable but not too runny; adjust milk or powdered sugar as needed.
-
Decorate the cookies. Once the cookies are completely cool, spread a layer of the prepared icing over each cookie to resemble melted snow. Immediately place a large marshmallow on one side of each cookie (over the icing so it sticks) to act as the snowman’s head. Using edible food coloring pens or writing gel, draw faces (eyes, carrot nose) on the marshmallows and add decorative elements like buttons, stick arms, or scarves directly on the “melted snow” icing. You can also add Christmas sprinkles at this stage.
-
Set and serve. Allow the decorated cookies to sit undisturbed for about 30 minutes to an hour, or until the icing has fully set. Once the icing is firm to the touch, your adorable Melted Snowman Cookies are ready to be served and enjoyed!
Equipment
-
Round Cookie Cutters
-
Electric Mixer (Stand or Handheld)
-
Baking Sheets
-
Parchment Paper
-
Wire Rack for Cooling
-
Rolling Pin
Nutrition
Nutritional info is an estimate and provided as courtesy. Values may vary according to the ingredients and tools used. Please use your preferred nutritional calculator for more detailed info.
Did you make a recipe? Leave a rating