
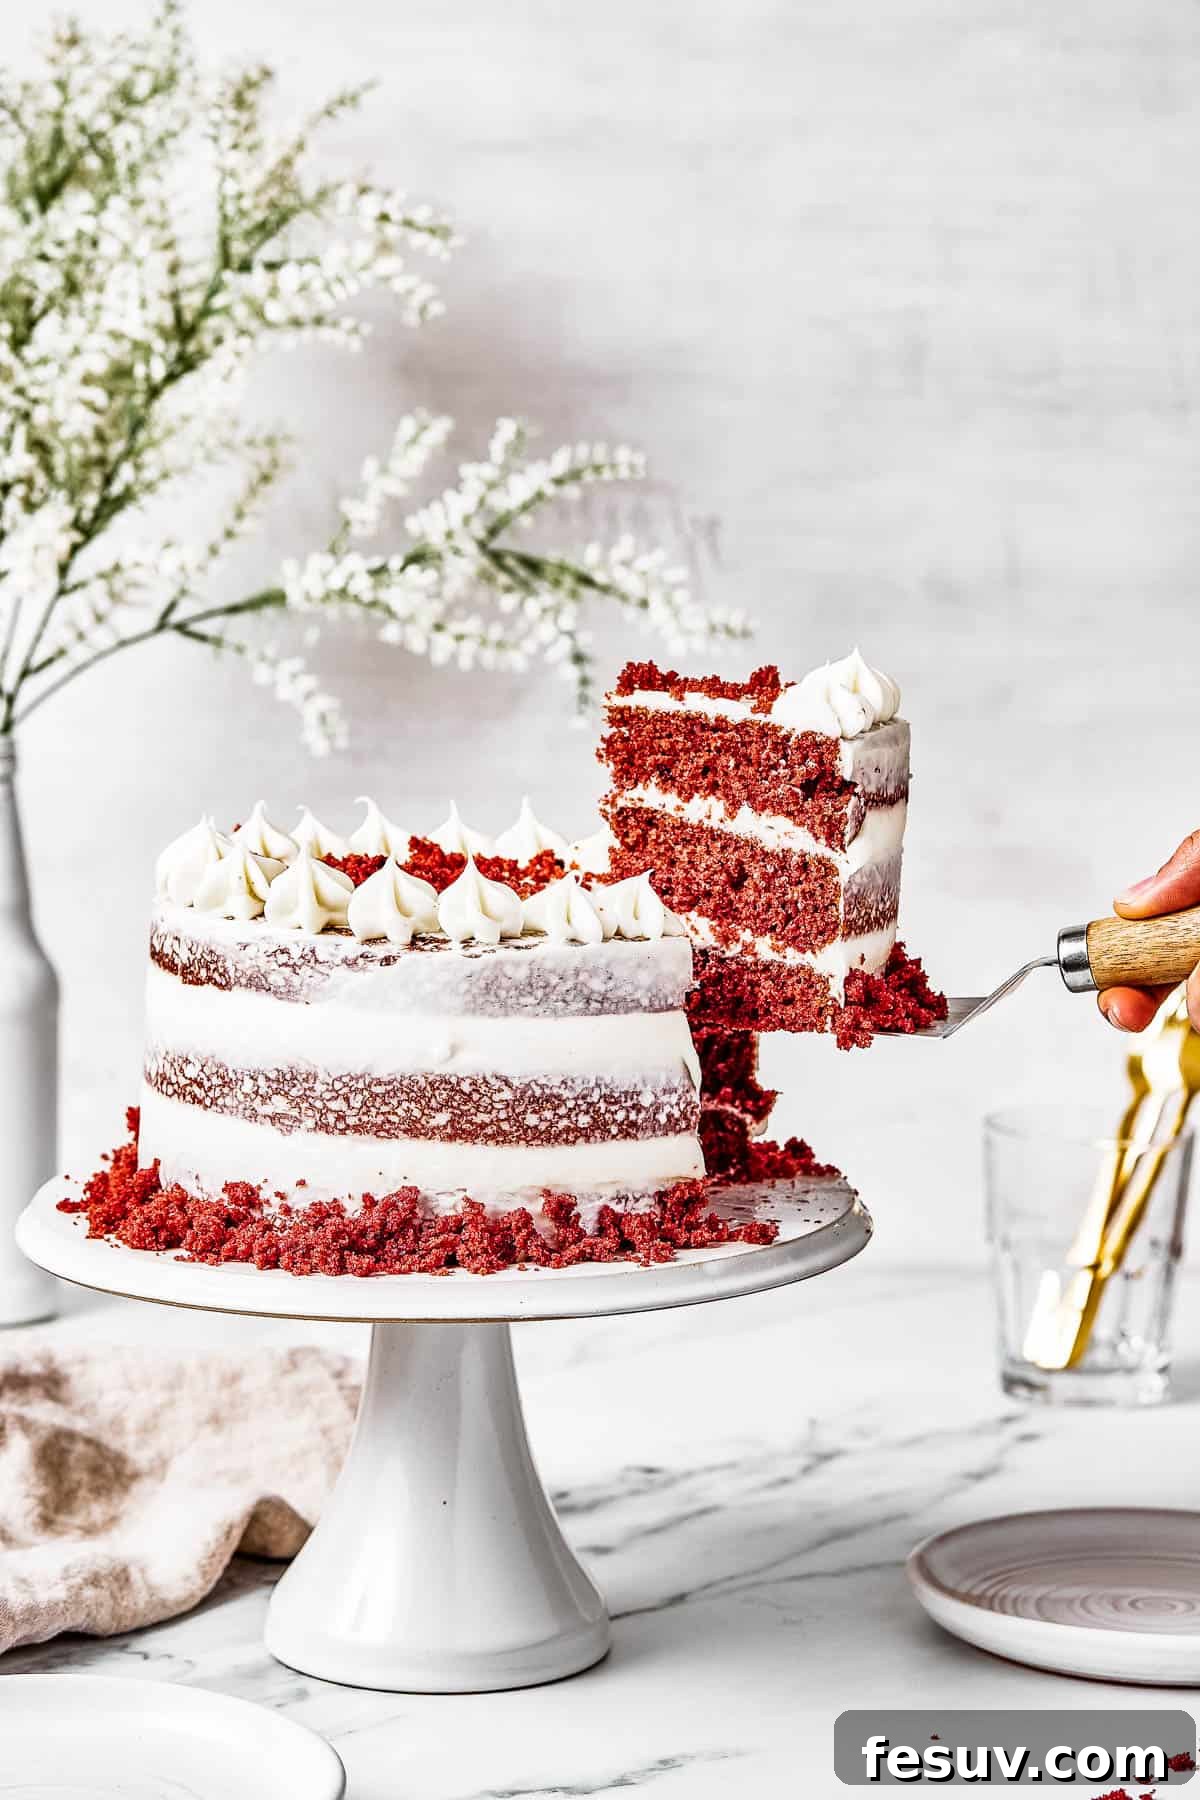
The Ultimate Homemade Red Velvet Cake with Cream Cheese Frosting
Indulge in the timeless charm of a classic Red Velvet Cake. This easy-to-follow recipe promises three spectacularly light, moist, and fluffy layers of deep red cake, subtly flavored with chocolate, all generously adorned with luscious swirls of tangy cream cheese frosting. Perfect for any celebration or simply to brighten an ordinary day, this homemade masterpiece is destined to become a cherished favorite.
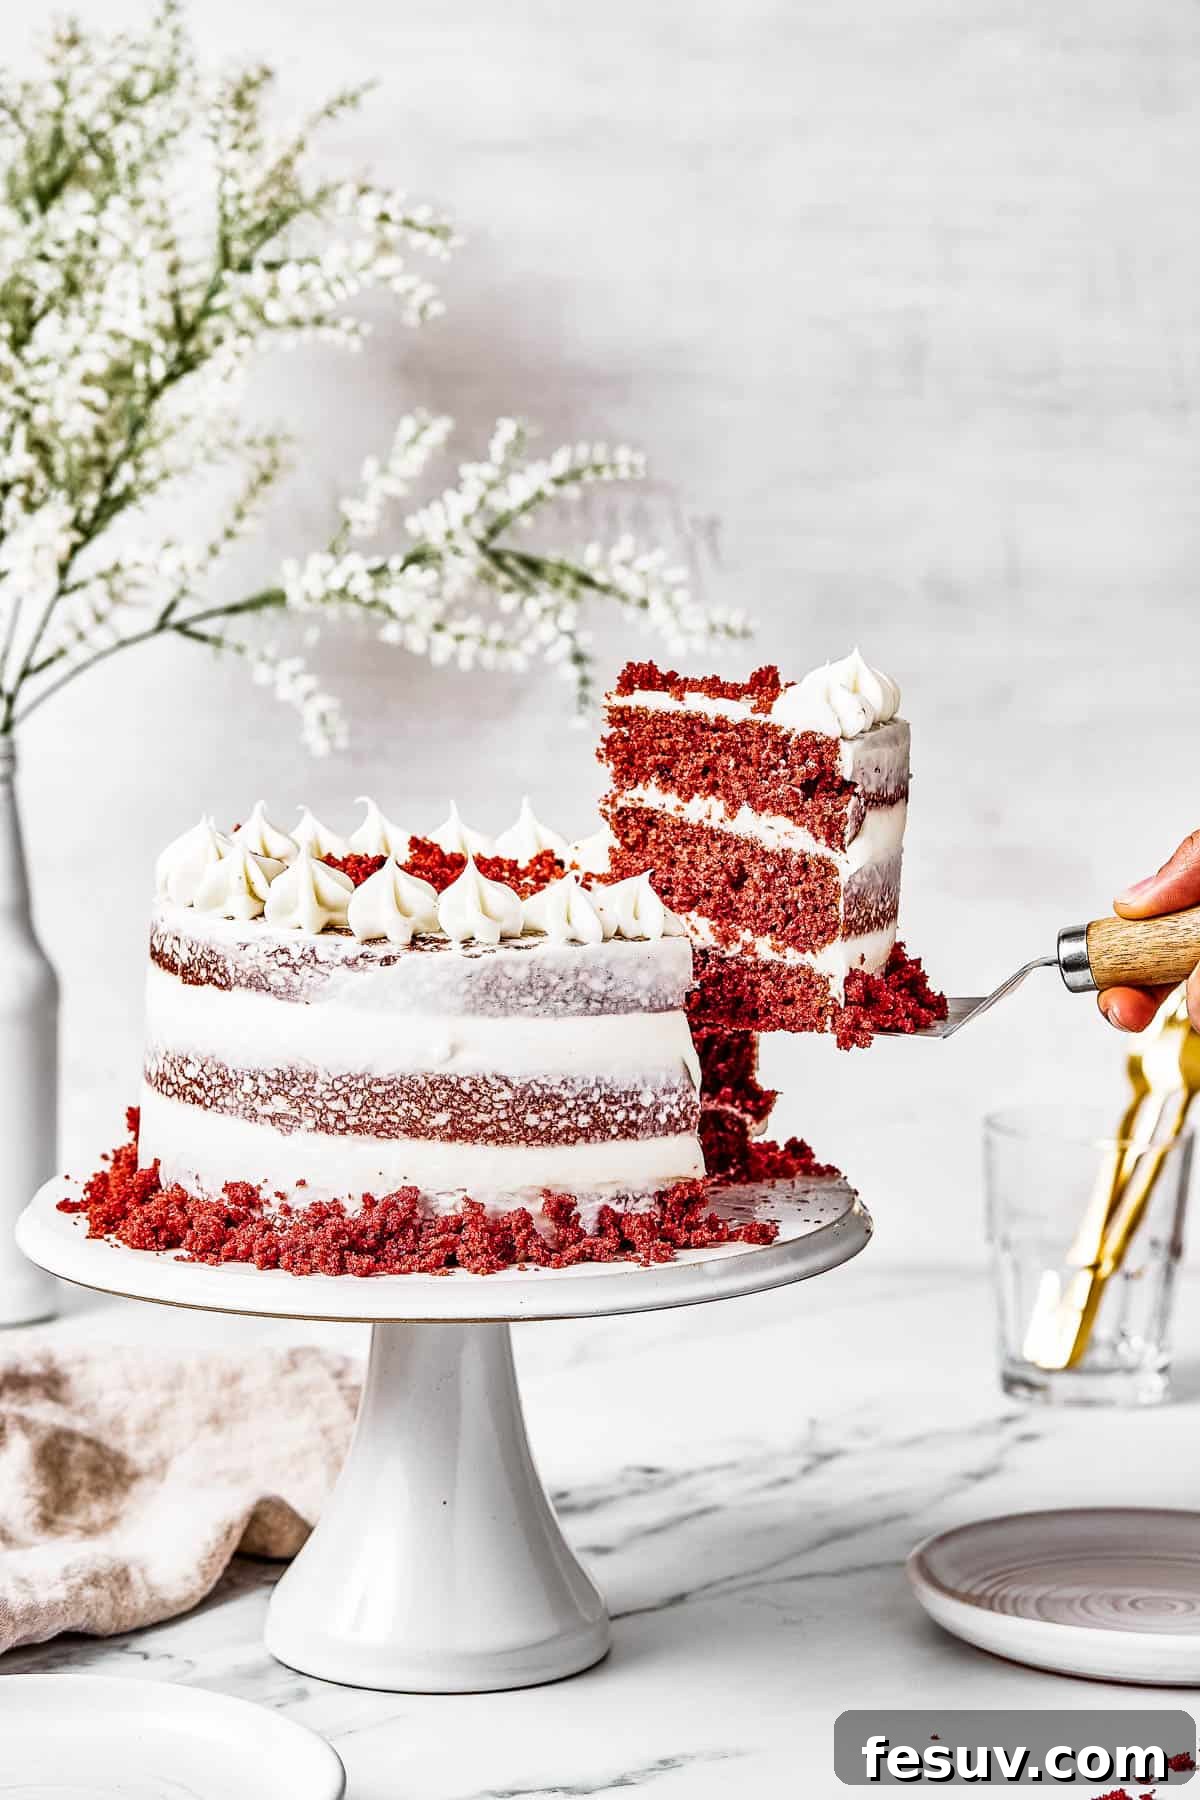
Discovering the Magic of Homemade Red Velvet Cake
For me, cake isn’t just a dessert; it’s a celebration, a comfort, and often, the highlight of an occasion. From simple loaf cakes to elaborate multi-tiered creations, if there’s cake involved, you can count me in! And among all the delightful confections, Red Velvet Cake holds a special place in my heart.
There’s something uniquely captivating about Red Velvet. Its striking deep red layers, often contrasted by pristine white, ultra-creamy frosting, create an undeniable visual appeal. But beyond its stunning appearance, it’s the unique flavor and tender texture that truly make it unforgettable. This beautiful cake is wonderfully versatile, gracing tables from festive Christmas gatherings and romantic Valentine’s Day dinners to milestone birthdays and other special events.
Serving a slice of this magnificent cake is more than just offering dessert; it’s a gesture of warmth and affection, making anyone feel truly special and loved. This recipe brings that extraordinary experience right into your home, allowing you to create a masterpiece from scratch that tastes as incredible as it looks.
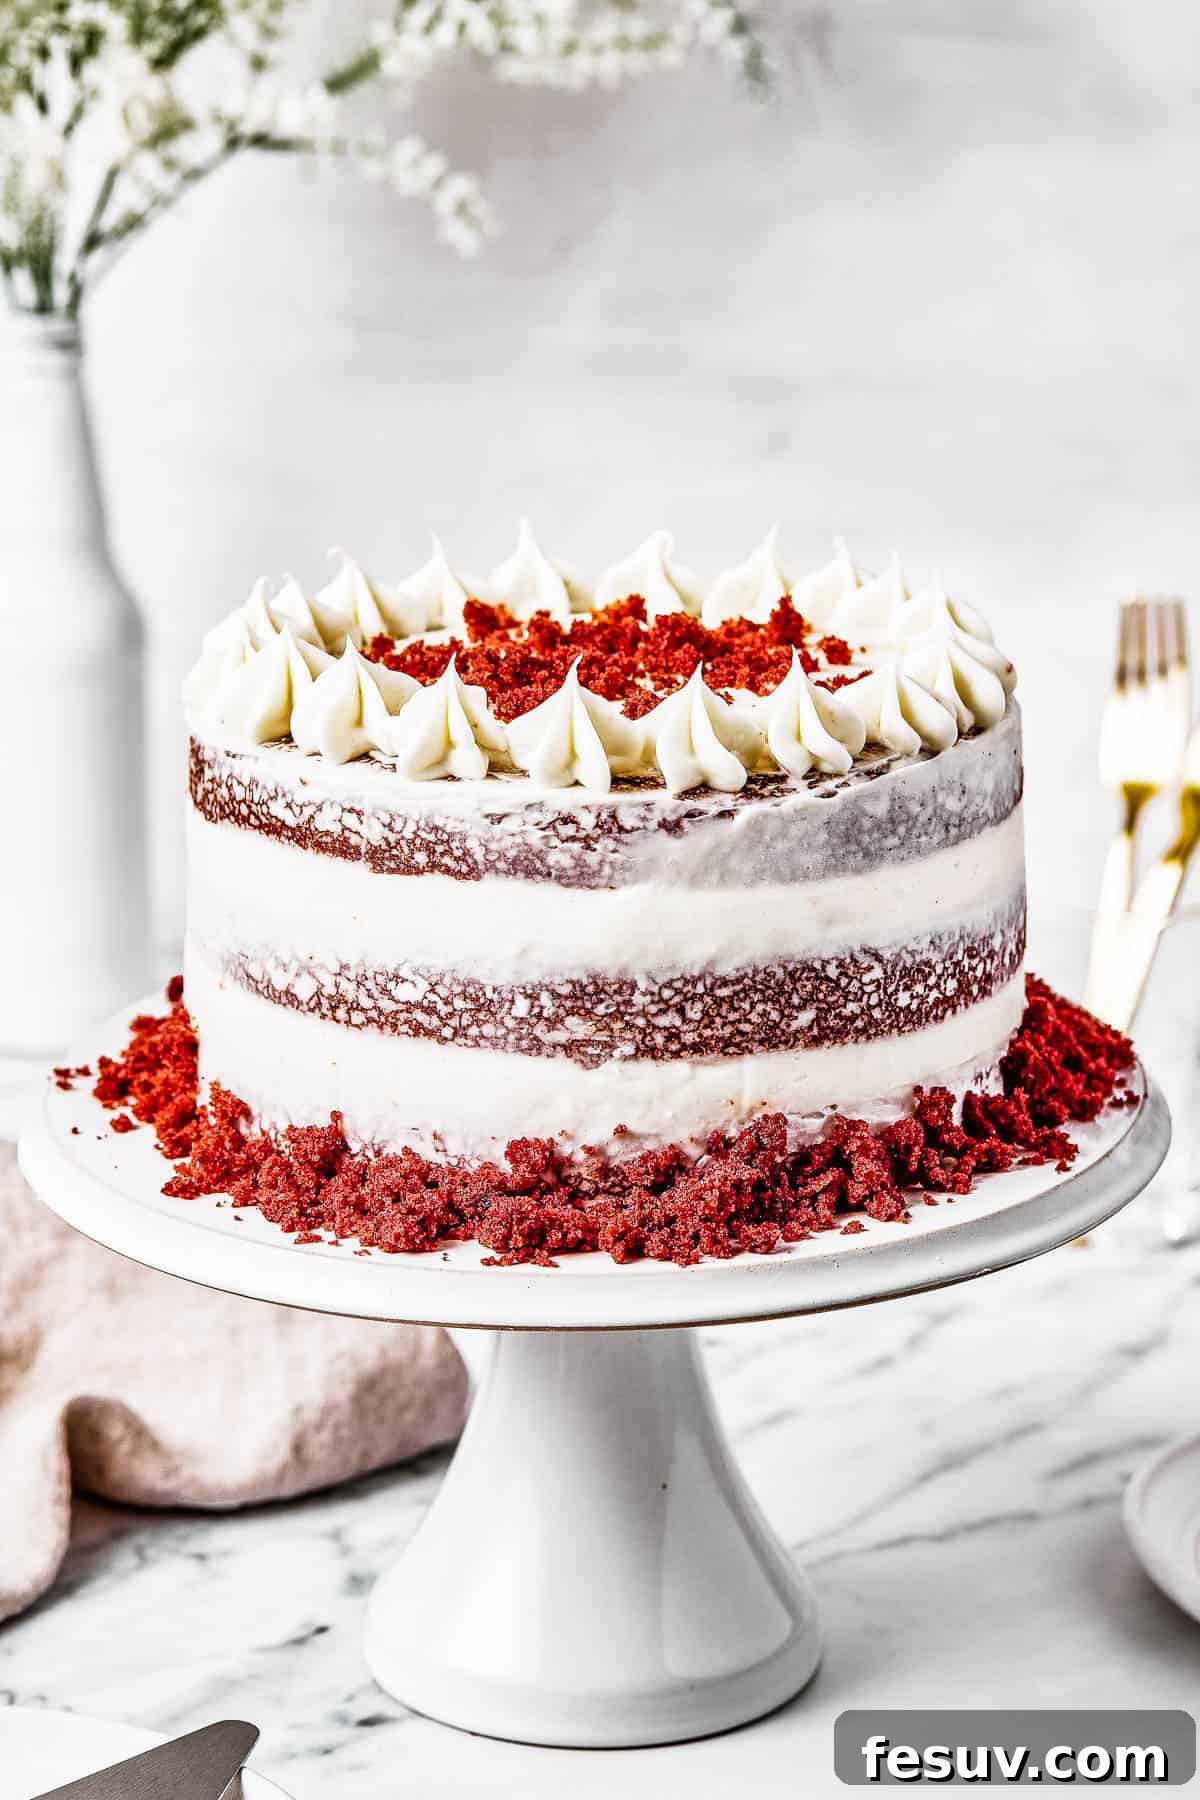
The Distinctive Allure: What Defines a Red Velvet Cake?
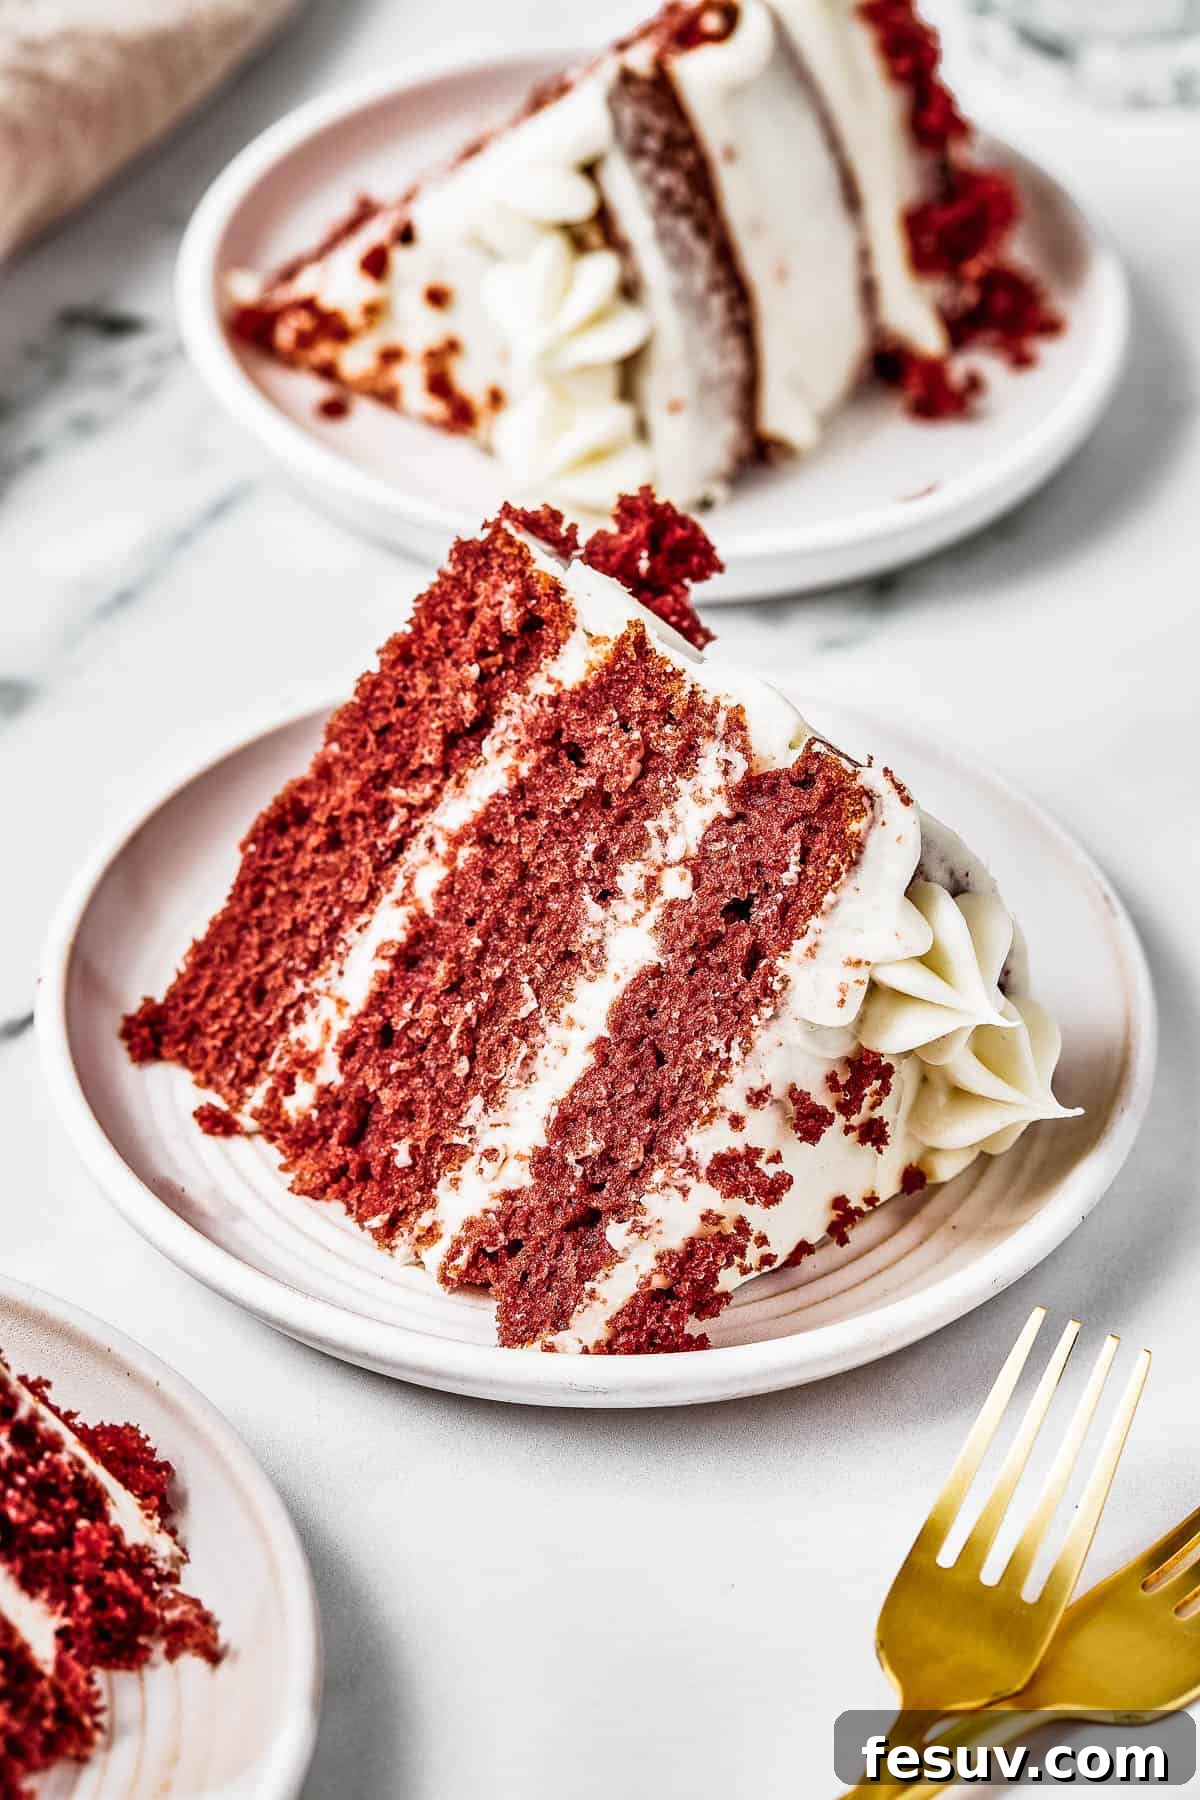
Red Velvet Cake is more than just a red-colored chocolate cake; it’s an iconic Southern dessert renowned for its tender crumb, subtle chocolate notes, and a characteristic tangy finish, often compared to cheesecake. The magic of Red Velvet lies in its incredibly soft, moist, and fluffy texture, which creates a delightful contrast with the rich, decadent cream cheese frosting that is its perfect companion.
But perhaps the most striking feature of Red Velvet Cake is its signature crimson hue. Historically, this beautiful reddish color was a natural outcome of a chemical reaction between the non-Dutched cocoa powder, vinegar, and buttermilk present in traditional recipes. These acidic ingredients would react with the anthocyanin pigments in the cocoa, enhancing the red tones. Over time, as cocoa processing changed (most cocoa powder today is “Dutched,” meaning it’s processed with an alkali to reduce acidity), food coloring became a standard addition to achieve the vibrant, unmistakable red we know and love today. While modern recipes often rely on food coloring for visual impact, the classic ingredients like buttermilk and vinegar remain crucial for achieving that characteristic velvety texture and subtle tang.
Unlike a rich, dense chocolate cake, Red Velvet offers a more nuanced flavor profile. It’s lightly chocolatey, with a delicate balance of sweetness and a distinct tang that makes each bite incredibly refreshing and complex. This unique combination sets it apart, making it a truly special treat for discerning palates.
Essential Ingredients for Your Red Velvet Masterpiece
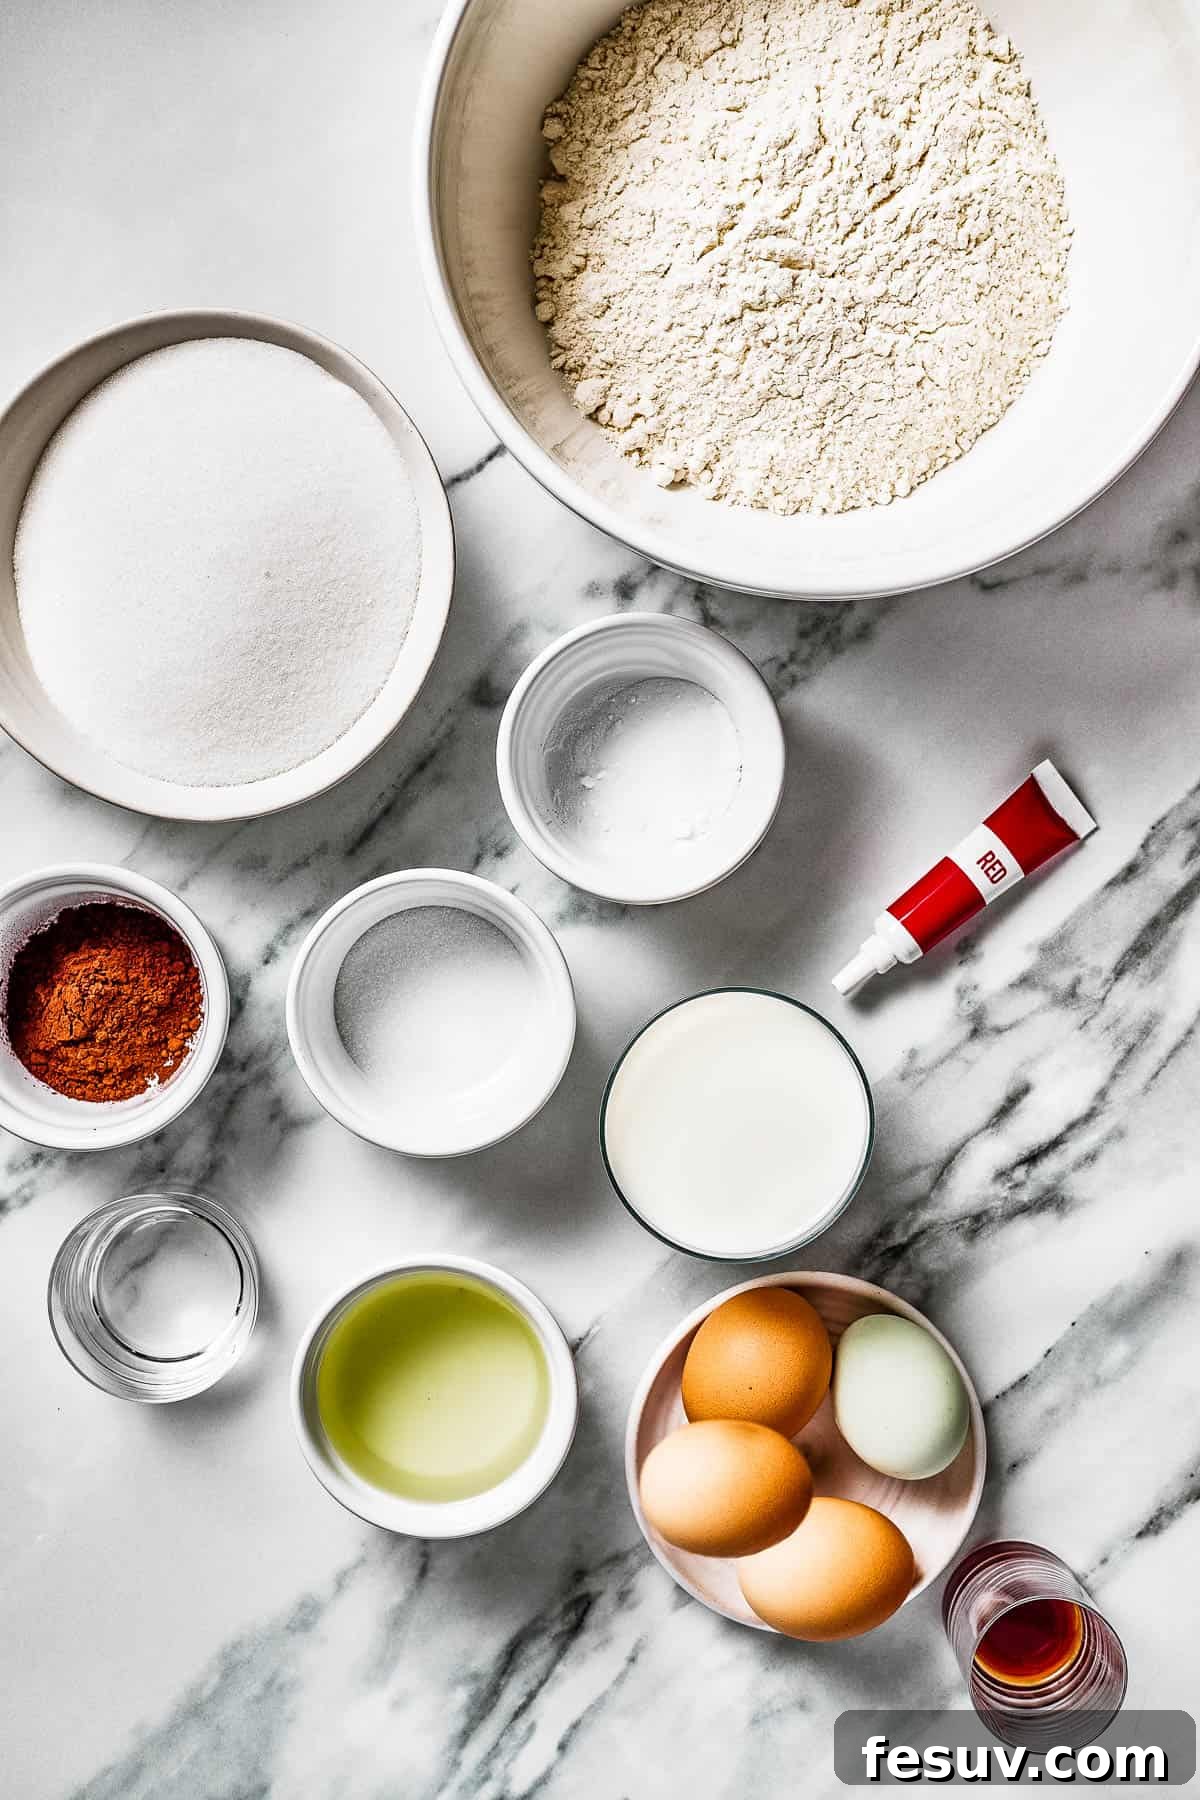
Crafting this spectacular cake requires a few pantry staples, but paying attention to their quality and temperature is key to achieving the perfect result. Here’s a detailed look at the ingredients you’ll need to create both the cake layers and the signature cream cheese frosting:
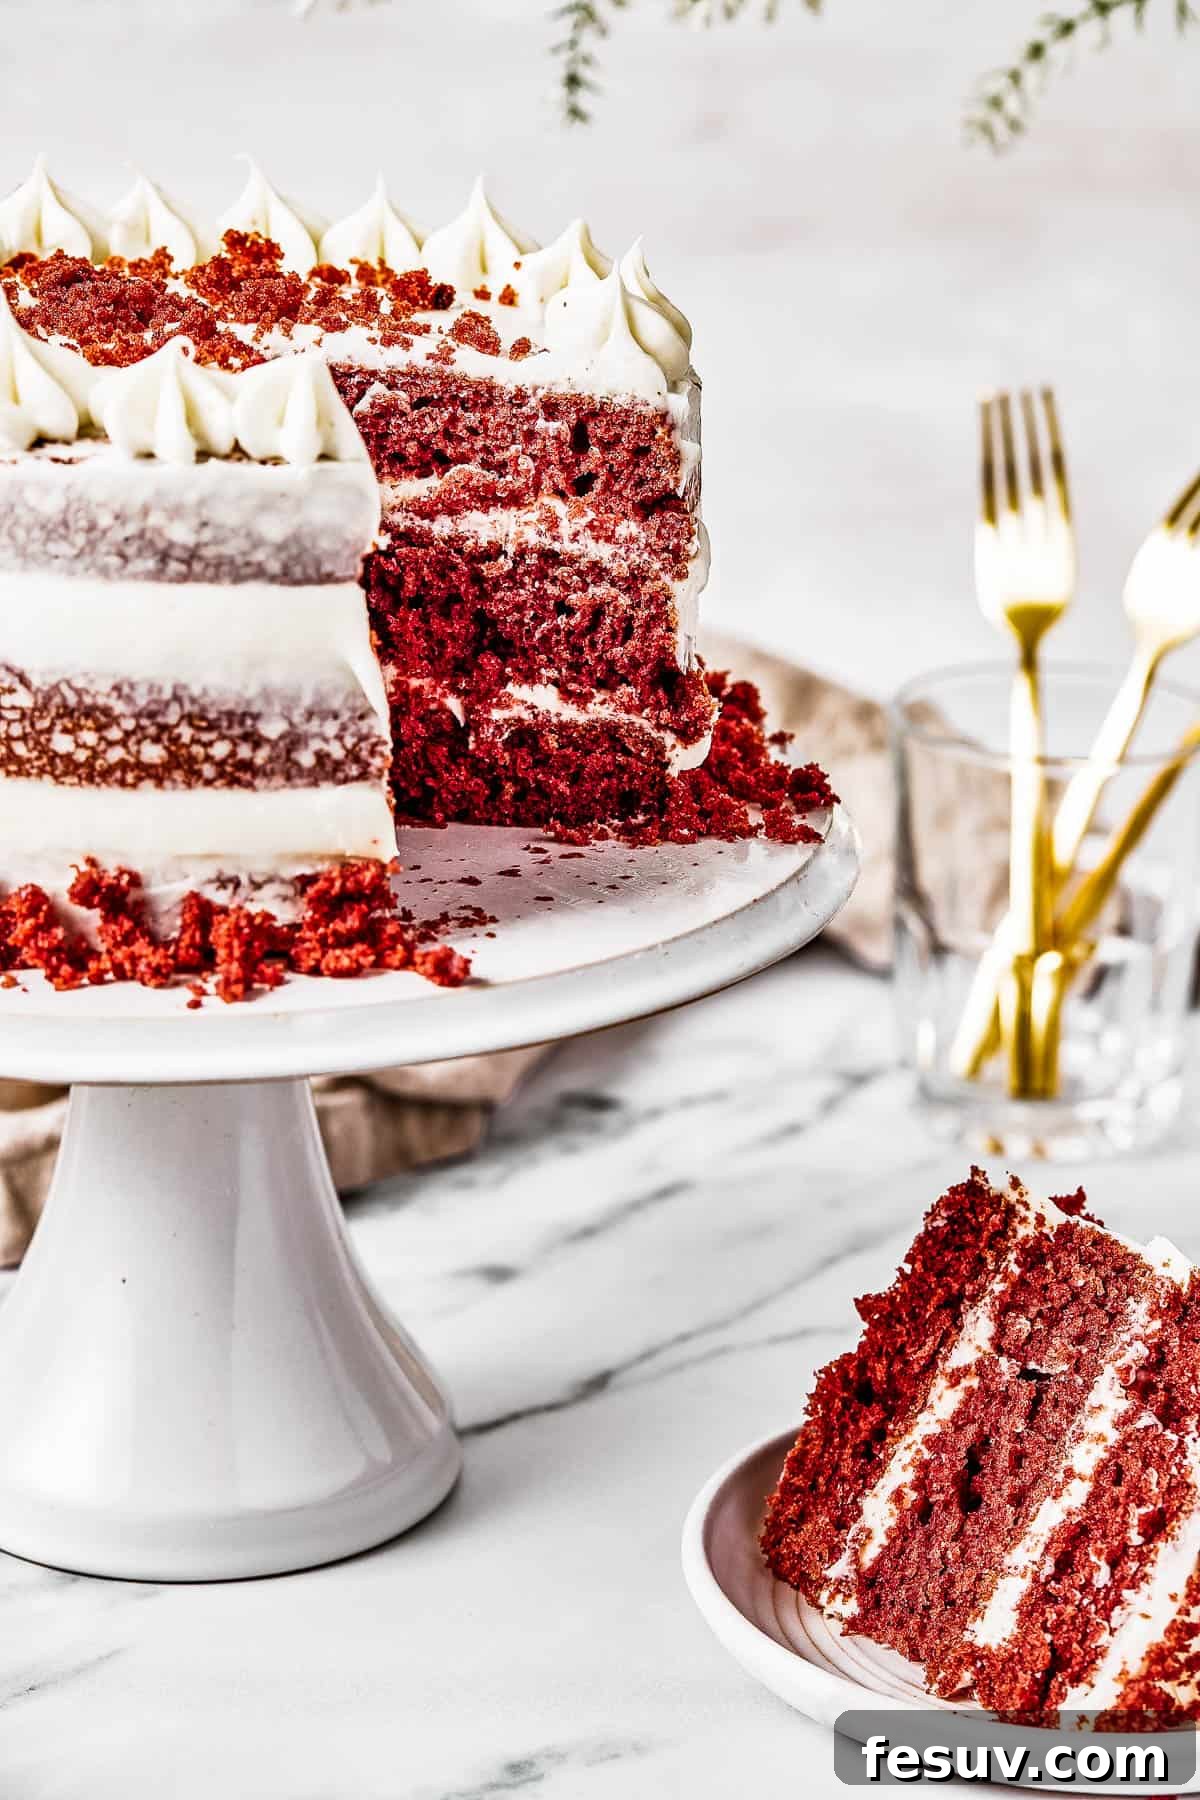
For the Cake Layers:
- All-Purpose Flour: Provides the fundamental structure for your cake. Ensure it’s plain flour, not self-rising or whole-wheat, for optimal texture control.
- Cocoa Powder: Essential for the subtle chocolate flavor and contributes to the original reddish hue. Regular unsweetened cocoa powder is ideal here.
- Salt: A crucial flavor enhancer, salt balances the sweetness and deepens the overall taste.
- Baking Soda: This leavening agent reacts with the acidic ingredients (vinegar and buttermilk/milk) to create carbon dioxide, giving the cake its signature light and airy rise. Do not substitute with baking powder.
- Eggs: Act as binders and contribute to the cake’s structure, richness, and moisture. For best results, allow eggs to come to room temperature for about 15-30 minutes before baking. Room temperature eggs emulsify better with other ingredients, leading to a smoother batter and a more uniform cake crumb.
- Milk: Adds moisture and helps create a tender, soft crumb. If you prefer a more traditional approach, you can substitute milk with buttermilk. If using regular milk, the vinegar in the recipe will help to mimic the acidity of buttermilk.
- Vegetable Oil: Unlike butter, oil ensures a consistently moist and tender cake crumb that stays soft longer. It also contributes to the cake’s light and fluffy texture, making it less dense than butter-based cakes.
- White Vinegar: A non-negotiable ingredient! Vinegar activates the baking soda, aiding in the cake’s rise, and contributes to the characteristic tangy flavor that balances the sweetness. It also helps enhance the red color when reacting with cocoa powder.
- Vanilla Extract: Pure vanilla extract is always recommended for the best, most aromatic flavor, complementing the chocolate and tang beautifully.
- Granulated Sugar: Sweetens the cake and helps tenderize it, contributing to a moist texture.
- Red Food Coloring: While traditionally a natural reaction, modern recipes use red gel food coloring to achieve the iconic, vibrant red. Gel coloring offers a deeper, more concentrated color with less liquid, preventing thinning of the batter.
For the Cream Cheese Frosting:
- Cream Cheese: The star of the frosting! Ensure it’s full-fat cream cheese and softened to room temperature for a smooth, lump-free frosting.
- Unsalted Butter: Softened to room temperature, butter adds richness, structure, and creaminess to the frosting. If using salted butter, you may want to reduce or omit the added salt.
- Heavy Whipping Cream: A splash of heavy cream lightens the frosting, making it extra fluffy and easier to spread, while maintaining richness.
- Vanilla Extract: Again, pure vanilla extract enhances the flavor profile, complementing the tangy cream cheese and sweet butter.
- Salt: A pinch of salt balances the sweetness of the powdered sugar and brightens the flavors in the frosting.
- Powdered Sugar (Confectioners’ Sugar): Provides sweetness and gives the frosting its smooth, melt-in-your-mouth texture. Sifting it can prevent lumps.
Crafting Your Perfect Red Velvet Cake: A Step-by-Step Guide
Baking this stunning Red Velvet Cake is a rewarding journey, divided into three manageable stages: preparing the cake layers, whipping up the irresistible cream cheese frosting, and finally, assembling your magnificent dessert. Let’s dive into each step with precision and care.
Part 1: Baking the Velvety Cake Layers
- Prepare Your Oven and Cake Pans: Begin by preheating your oven to 350°F (175°C). This ensures a consistently hot oven for even baking. Next, meticulously grease three 8-inch round cake pans using baking spray, butter, or oil. For easy release and perfect layers, line the bottom of each pan with a parchment paper circle cut to fit. This crucial step prevents sticking and helps maintain the cake’s delicate structure.
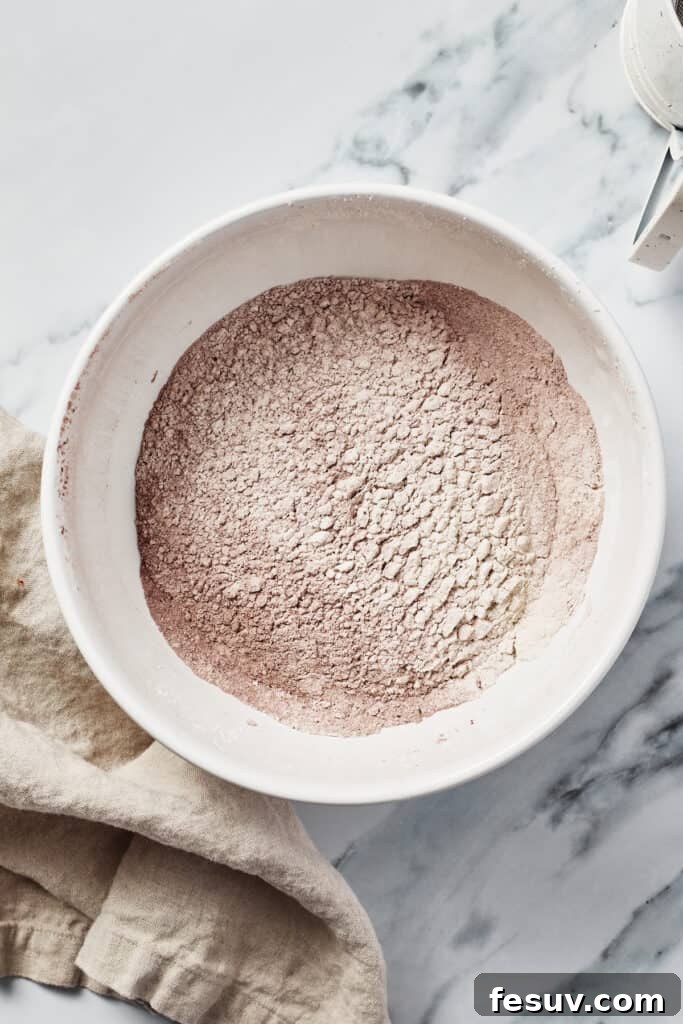
- Combine the Dry Ingredients: In a large mixing bowl, sift together the all-purpose flour, cocoa powder, salt, and baking soda. Sifting is essential here as it breaks up any lumps, aerates the flour, and ensures all dry ingredients are evenly distributed, leading to a lighter, more uniform cake crumb. Set this mixture aside.
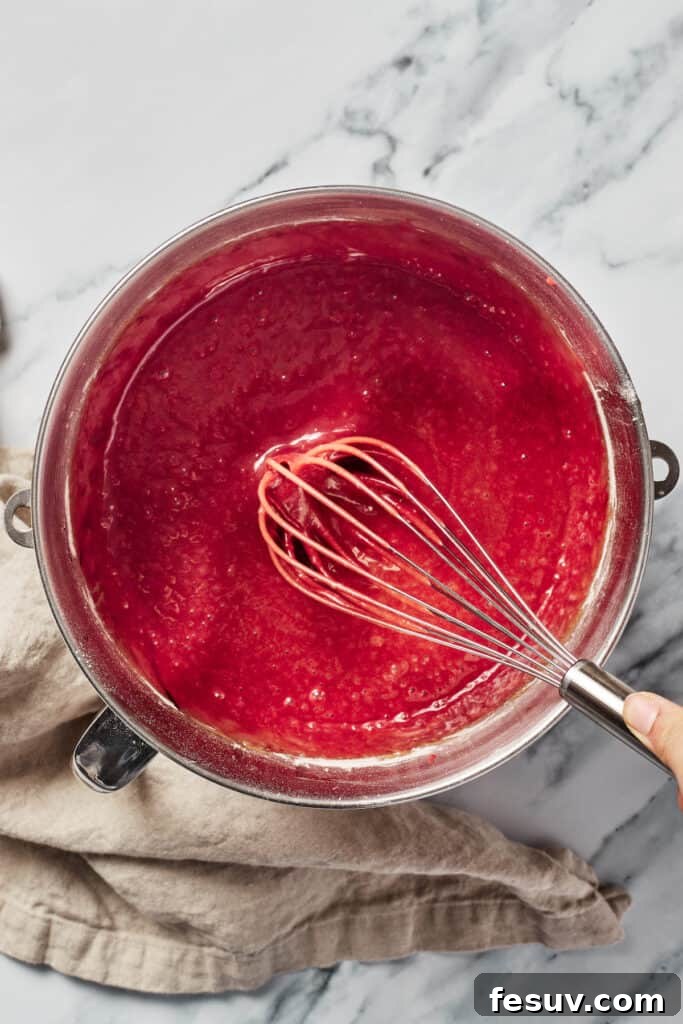
- Whisk the Wet Ingredients: In a separate large bowl, combine the room-temperature eggs, milk, vegetable oil, white vinegar, and vanilla extract. Whisk these ingredients thoroughly until they are completely combined and smooth. This step creates a homogenous liquid base for your batter.
- Incorporate the Sugar: Add the granulated sugar to the wet ingredient mixture and whisk again until the sugar has fully dissolved. This prevents a grainy texture in the final cake.
- Gently Combine Wet and Dry: Gradually pour the sifted dry ingredients into the bowl containing the wet ingredients. With a whisk or a rubber spatula, slowly mix them until the batter is *just* combined. The key here is to avoid overmixing. Overmixing develops the gluten in the flour excessively, which can result in a dense, tough, or gummy cake. A few small lumps are perfectly fine.
- Stir in the Food Coloring: Finally, add the red gel food coloring to the batter. Gently fold it in until the batter achieves an even, dark, and vibrant red color. Be patient, as it might take a moment to distribute the color uniformly.
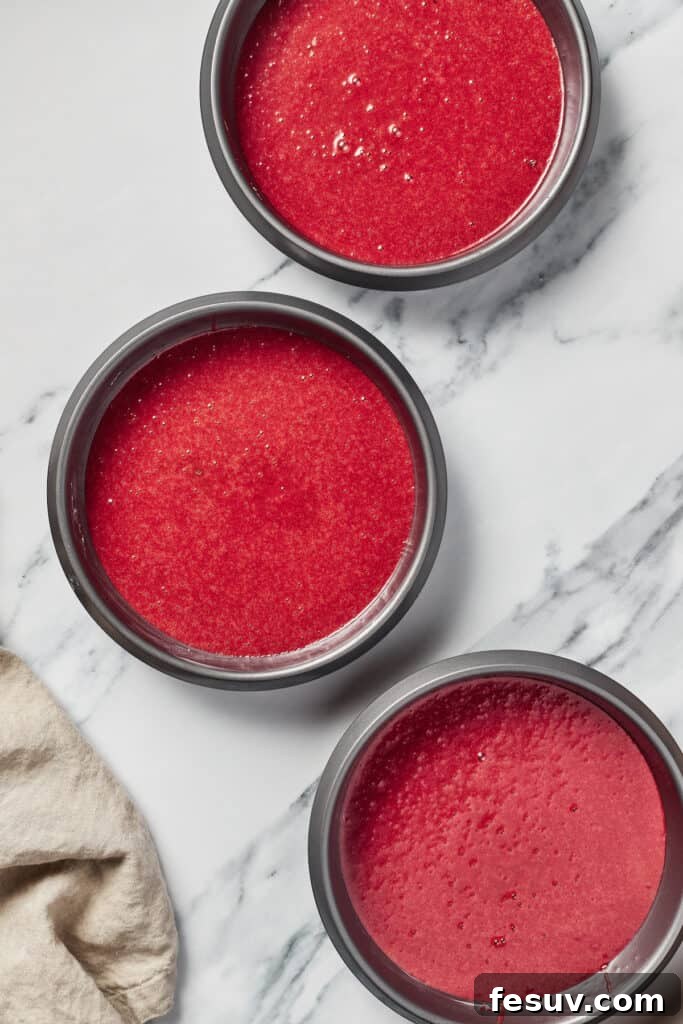
- Bake to Perfection: Divide the prepared batter evenly among the three lined cake pans. For consistent layers, you can use a ladle, adding one scoop at a time to each pan. Bake for approximately 25 to 28 minutes. For even heat distribution and uniform baking, rotate the cake pans halfway through the baking time. To check for doneness, a wooden skewer or toothpick inserted into the center of a cake layer should come out clean.
- Cool the Cake Layers: Once baked, remove the cakes from the oven and allow them to cool in their pans on a wire rack for 10 minutes. This crucial cooling period helps the cakes firm up, making them less fragile. After 10 minutes, carefully invert the cakes onto the wire cooling rack and let them cool completely to room temperature before attempting to frost them. Frosting a warm cake will cause the frosting to melt.
Part 2: Whipping Up the Dreamy Cream Cheese Frosting
- Cream Together the Base Ingredients: In a large mixing bowl or the bowl of a stand mixer fitted with the paddle attachment, beat the softened cream cheese, softened unsalted butter, and heavy whipping cream together until the mixture is completely smooth and light. Ensure there are no lumps of cream cheese or butter remaining.
- Add Flavorings: Incorporate the vanilla extract and salt into the creamed mixture. Mix again on medium speed until all ingredients are well-combined and fragrant.
- Gradually Add Powdered Sugar: Begin adding the powdered sugar, one cup at a time, to the mixture. Start on a slow speed to prevent a cloud of sugar from escaping the bowl, then increase to medium until each addition is fully incorporated. Continue until all the powdered sugar has been added and the frosting is smooth and creamy.
- Adjust Consistency as Needed: The ideal cream cheese frosting should be thick enough to hold its shape but spreadable. If your frosting appears too thick, you can thin it by adding an additional tablespoon of heavy cream, one at a time, until the desired consistency is achieved. Conversely, if the frosting is too thin, beat in two to four tablespoons of additional powdered sugar, one at a time, until it thickens. Once you have the perfect consistency, cover the frosting and set it aside (or refrigerate if your kitchen is warm) until you are ready to assemble and frost the cake.
Part 3: Assembling Your Showstopping Cake
- Level the Cake Layers: For a professional-looking cake with even layers, use a long serrated knife or a dedicated cake leveling tool to carefully trim off any dome-shaped tops from your cooled cake layers. This creates flat surfaces that stack neatly. As a bonus, you can save these cake scraps, crumble them, and use them later for decorating the sides of your finished cake.
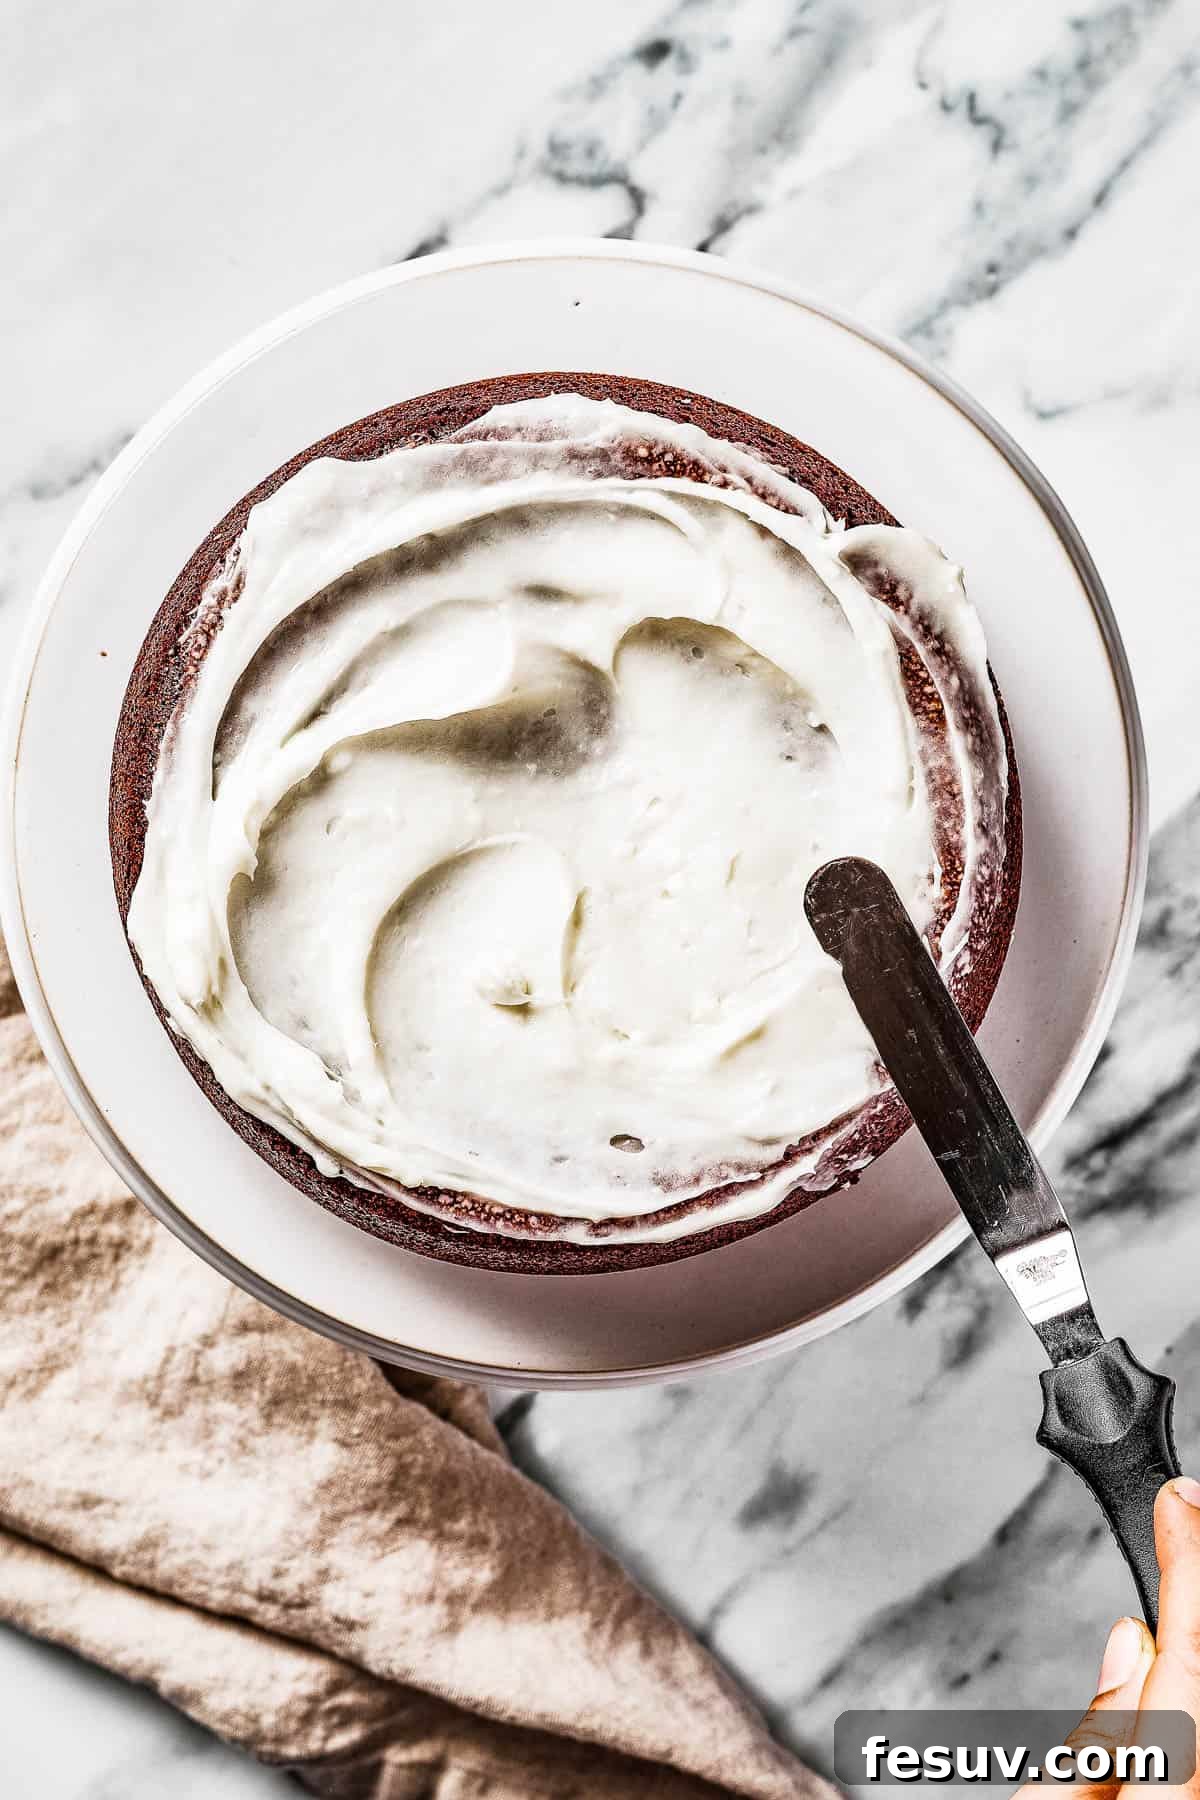
- Secure and Frost the Layers: To prevent your cake from sliding while frosting, spread a small dollop of frosting in the center of your cake stand or serving plate. Place the first leveled cake layer on top, pressing gently to secure it. Spread an even layer of cream cheese frosting over the top of this layer, extending almost to the edges. Carefully place the second cake layer on top, followed by another even layer of frosting. Repeat with the final cake layer and a generous layer of frosting on top.
- Crumb Coat and Final Frosting: Apply a very thin “crumb coat” of frosting all around the sides of the cake. This thin layer traps any loose crumbs, ensuring a smooth finish for your final coat. Use an offset spatula or a bench scraper to smooth it down. Once the crumb coat is applied, you can optionally chill the cake for 15-20 minutes to set it. Then, apply a thicker, final layer of frosting to the sides and top, smoothing it beautifully with a bench scraper or spatula. You can opt for a rustic look by leaving the frosting thinly scraped, or build it up for a thicker, more traditional finish.
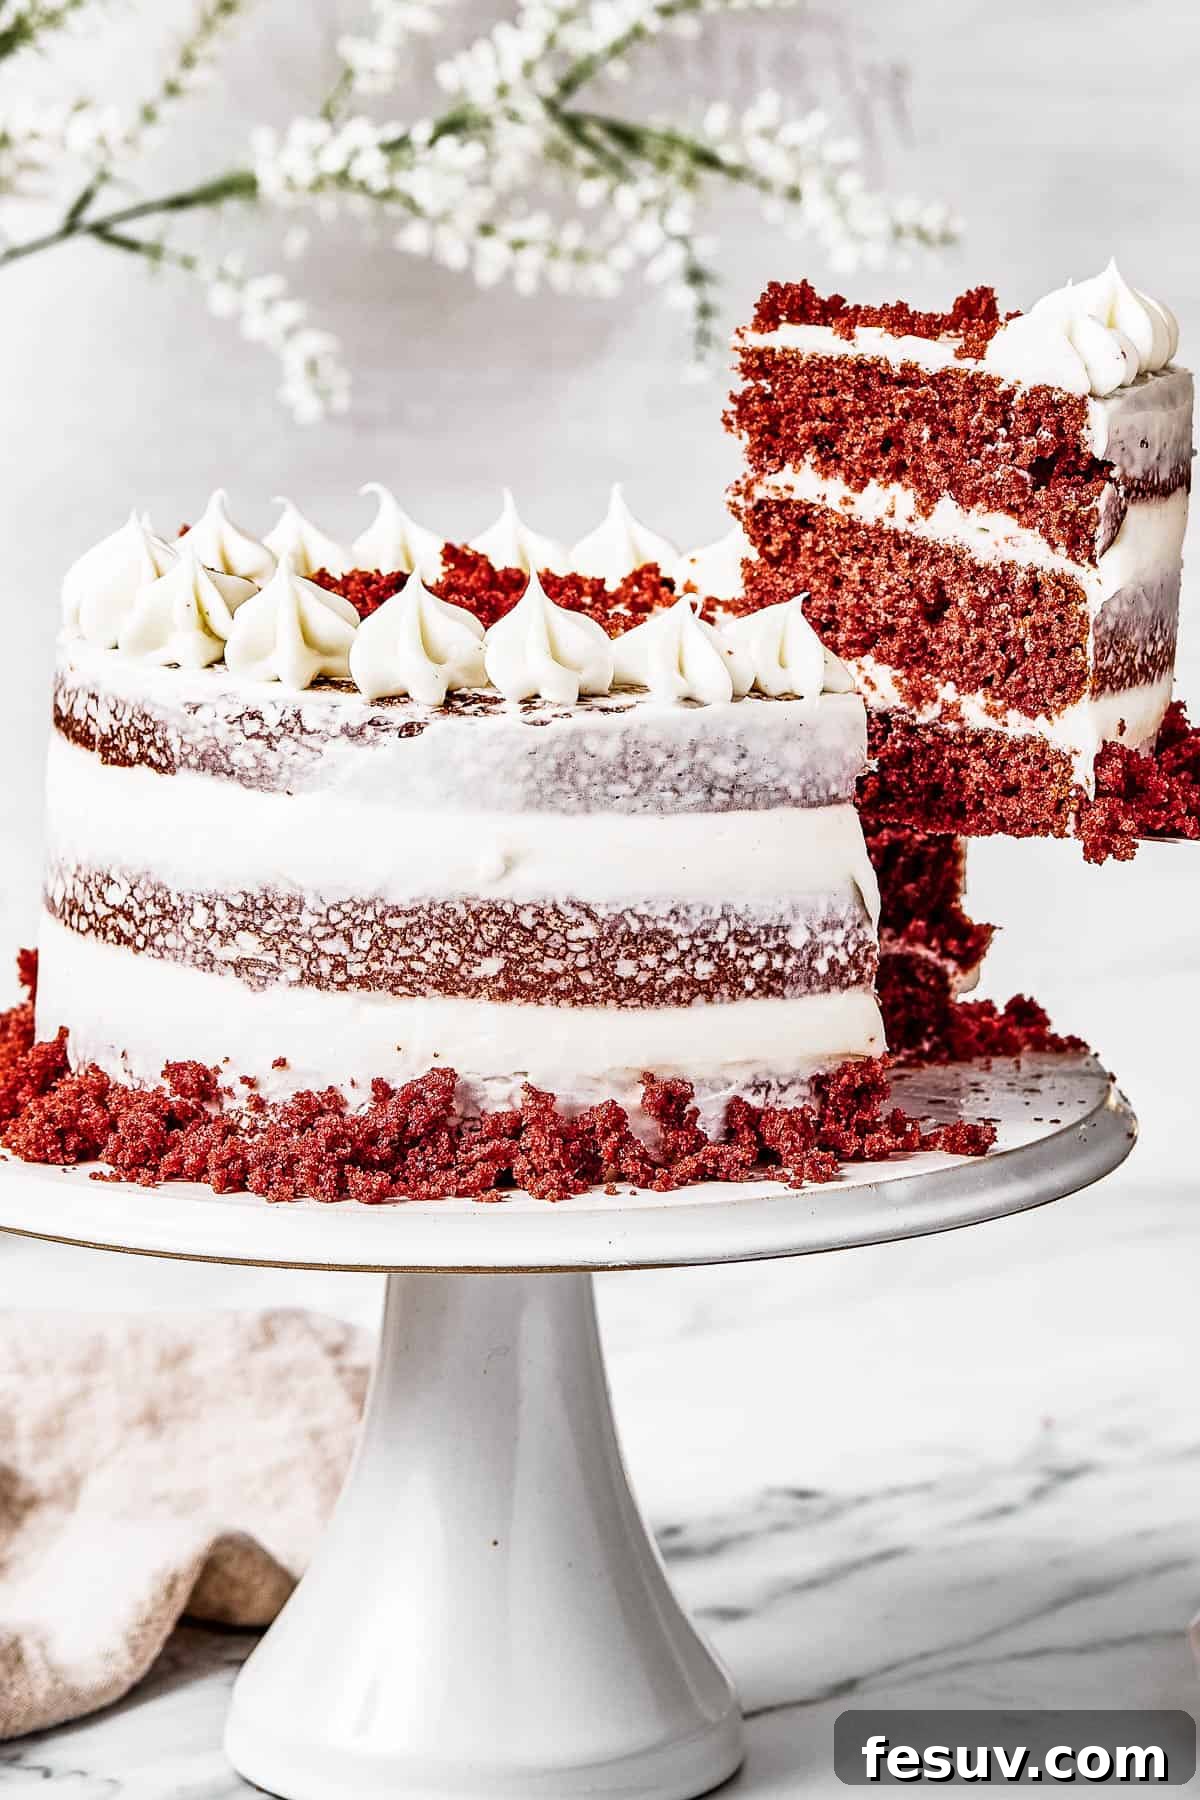
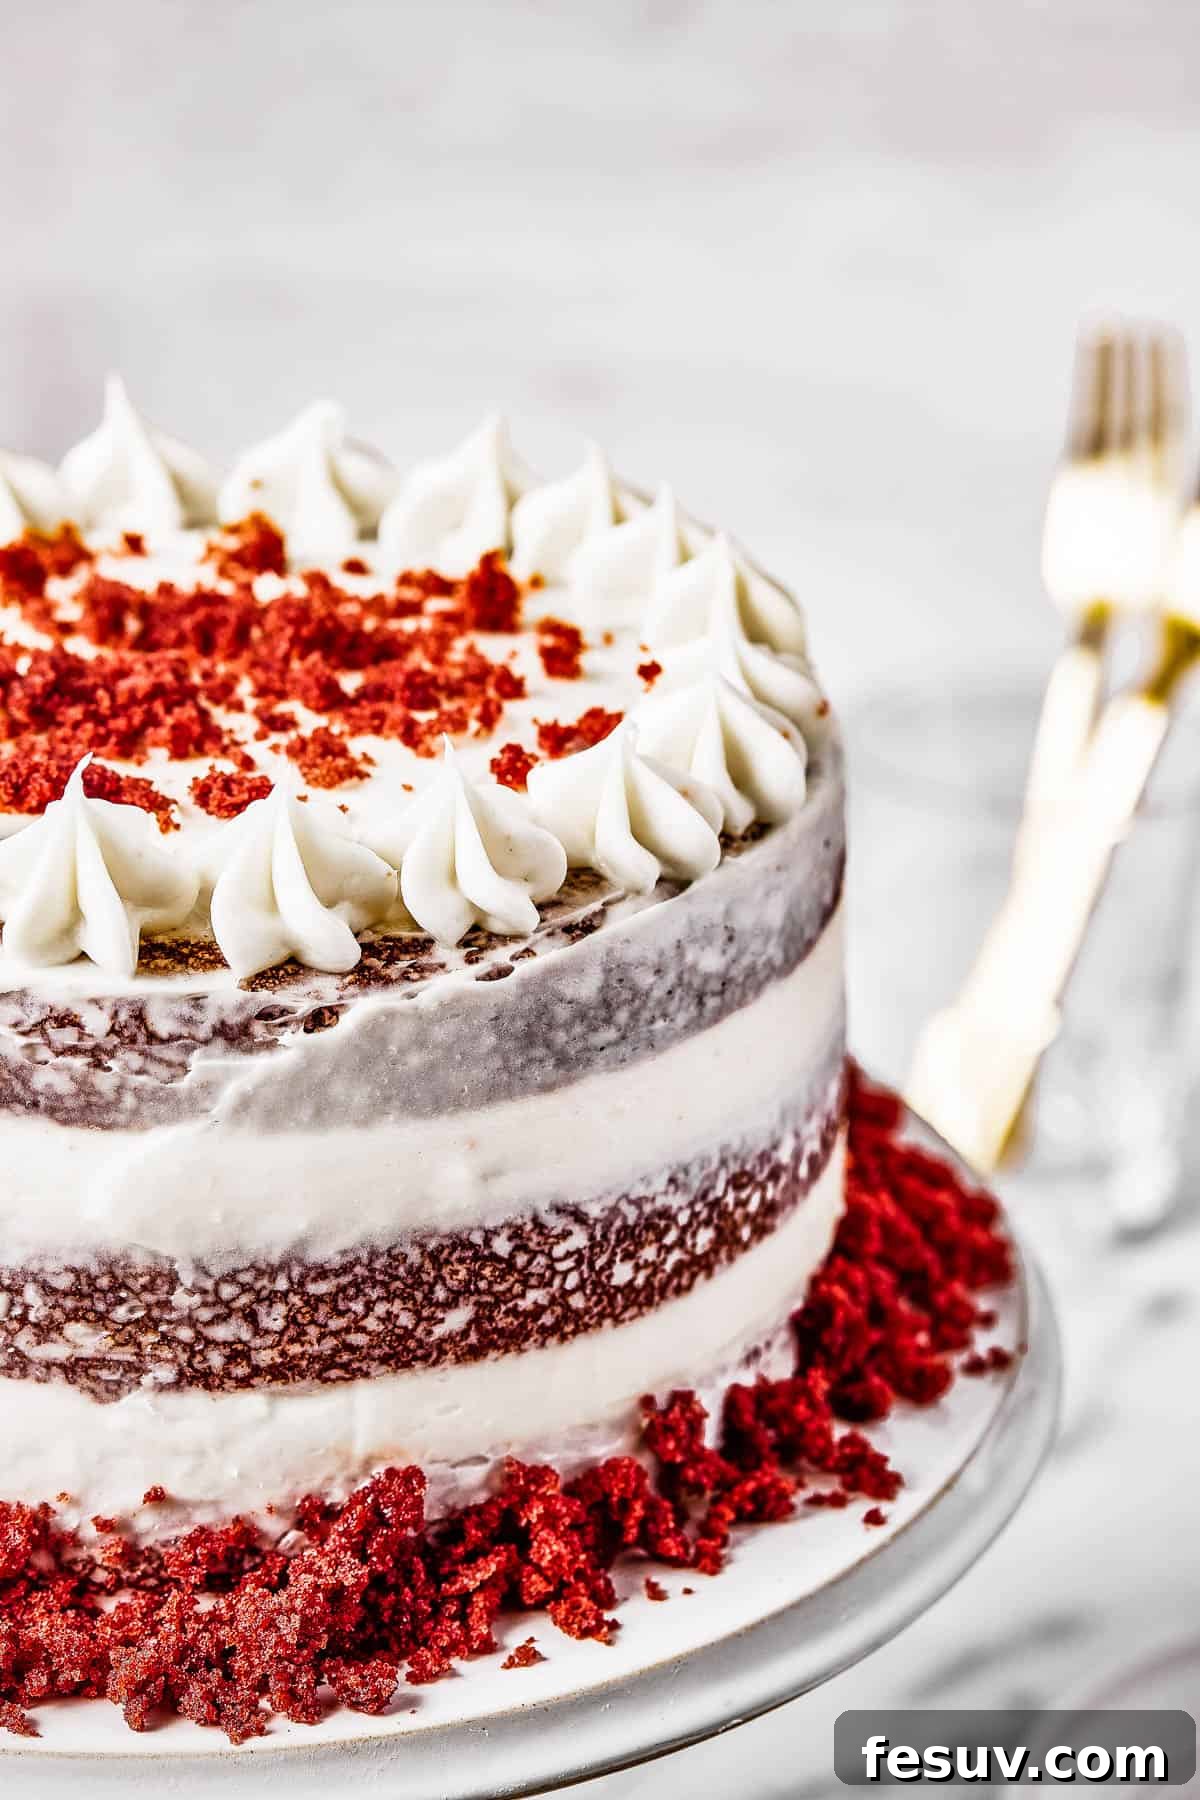
- Decorate with Flair: Get creative with your decorations! If you have leftover frosting, you can pipe elegant borders or decorative swirls along the edges of the cake using a piping bag fitted with your favorite tip. Alternatively, remember those reserved cake crumbs? Gently press them onto the sides of the cake for a classic Red Velvet look. Other options include finely chopped nuts, sprinkles, or delicate chocolate shavings and curls for an extra touch of sophistication.
Expert Tips for Red Velvet Cake Success
Baking this classic dessert is a truly rewarding experience, and with these helpful tips, you’re guaranteed to achieve a stunning and delicious result every time. Embrace these insights to ensure your Red Velvet Cake is nothing short of fantastic!
- Room Temperature Ingredients are Key: This cannot be stressed enough, especially for the frosting! Softened cream cheese and butter combine smoothly, preventing lumps. Room temperature eggs also create a more homogeneous batter, resulting in a finer, more tender cake crumb.
- Sift Your Dry Ingredients: Always sift your flour, cocoa powder, baking soda, and salt. This step aerates the dry ingredients, removes any lumps, and ensures they are evenly distributed, contributing to a consistently light and tender cake.
- Don’t Overmix the Batter: Once you add the dry ingredients to the wet, mix only until they are *just* combined. Overmixing develops the gluten in the flour too much, which can lead to a tough, dense, or gummy cake. A few small lumps are better than an overmixed batter.
- Embrace the Vinegar: While it might seem like an unusual ingredient for a cake, don’t skimp on the vinegar! It’s crucial for two reasons: it activates the baking soda, providing lift and lightness, and it imparts the signature tangy flavor that is essential to Red Velvet Cake, balancing its sweetness.
- Use Quality Food Coloring: For the most vibrant and true red hue, opt for a good quality gel food coloring. Gel colors are more concentrated than liquid food coloring, allowing you to achieve a deep red without adding too much liquid to your batter, which could alter its consistency.
- Cool Cakes Completely: Resist the urge to frost warm cakes. Warm cakes will melt the frosting, creating a messy situation and potentially compromising the structure of your layers. Ensure your cake layers are fully cooled to room temperature before applying any frosting.
- Crumb Coat for a Smooth Finish: A thin “crumb coat” of frosting is your secret weapon for a professional-looking cake. Apply a thin layer to trap any stray crumbs, then chill briefly before applying your final, smooth coat.
Delightful Red Velvet Cake Variations to Explore
This classic Red Velvet Cake recipe is a fantastic starting point, but don’t hesitate to personalize it! These easy variations allow you to tailor the cake to your preferences and unleash your creativity.
- Alternative Cake Pan Sizes: This versatile batter can be adapted for different baking needs. Instead of three 8-inch rounds, you can use the same recipe to create two 9-inch cake layers, which will be slightly thinner. Alternatively, bake it as a single 13×9 inch sheet cake, perfect for potlucks or larger gatherings. For individual servings, bake the batter into 24 standard cupcakes, adjusting the baking time accordingly (usually 18-22 minutes).
- Coffee & Cream Enhancement: For an extra layer of depth and to subtly enhance the chocolate flavor, try a “Coffee and Cream” variation. Substitute half of the milk in the cake recipe with strong, brewed coffee and the other half with heavy cream. This adds a rich complexity without making the cake taste overtly like coffee.
- Exciting Decoration Ideas: Red Velvet Cake is inherently showy, providing a wonderful canvas for creative decorations.
- Cake Crumb Skirt: For a traditional and rustic look, save the trimmed cake scraps, crumble them finely, and gently press them onto the sides of the frosted cake.
- Chopped Nuts: Finely chopped pecans or walnuts pressed into the sides or sprinkled on top add a delightful crunch and nutty flavor.
- Sprinkle Spectacle: For birthdays or festive occasions, a scattering of colorful sprinkles on top or around the base can add a playful touch.
- Elegant Chocolate Shavings: For a more sophisticated presentation, garnish the top of the cake with delicate chocolate shavings or curls.
- Fresh Berries or Edible Flowers: Bright red raspberries or strawberries, along with a few mint leaves or edible flowers, can add a fresh, vibrant, and elegant touch, especially for spring or summer events.
- Almond Extract Boost: For a slightly different flavor profile, add a quarter to half teaspoon of almond extract along with the vanilla extract in the cake batter. Almond pairs beautifully with red velvet’s subtle chocolate and tangy notes.
Storing and Freezing Your Red Velvet Cake
To ensure your homemade Red Velvet Cake remains as delicious as the day it was baked, proper storage is essential, especially with its cream cheese frosting.
- Refrigeration for Freshness: Due to the cream cheese frosting, this cake must be stored in the refrigerator. Place the cake on a domed cake plate or in an airtight cake carrier to protect it from drying out and absorbing other refrigerator odors. Stored correctly, the cake will remain fresh and delightful for up to 3 days.
- Can I Freeze Red Velvet Cake? Absolutely! Freezing is an excellent way to prepare ahead or preserve leftovers.
- Freezing Unfrosted Layers: For the best results, I highly recommend freezing the cake layers unfrosted. Once they are completely cooled, wrap each individual cake layer tightly in two layers of plastic wrap, followed by a layer of aluminum foil. This double-layer protection prevents freezer burn. Unfrosted cake layers can be stored in the freezer for up to 2 months.
- Thawing and Frosting: When you’re ready to enjoy, simply remove the desired layers from the freezer and thaw them for several hours or overnight at room temperature while still wrapped. Once thawed, unwrap and proceed with making and applying the fresh cream cheese frosting.
- Freezing a Frosted Cake: If you must freeze a frosted cake, ensure the frosting is firm before wrapping. Place the cake in the freezer uncovered for about an hour until the frosting is solid to the touch. Then, wrap it tightly in plastic wrap and foil. While possible, the texture of the frosting can sometimes change slightly after freezing and thawing.
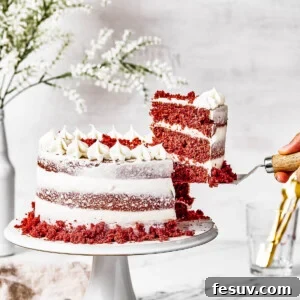
Red Velvet Cake
Katerina | Easy Weeknight Recipes
25 minutes
25 minutes
3 hours
3 hours 50 minutes
18
Ingredients
For the Cake:
- 3 cups all-purpose flour
- 2 tablespoons cocoa powder
- 1 teaspoon salt
- 1 teaspoon baking soda
- 4 whole eggs, at room temperature
- 1 ½ cup milk
- 1 cup vegetable oil
- 2 tablespoons white vinegar
- 2 teaspoons vanilla extract
- 1 ¾ cups granulated sugar
- 1 tablespoon red gel food coloring
For the Frosting:
- 16 ounces cream cheese, at room temperature
- 1 cup unsalted butter, at room temperature
- ¼ cup heavy whipping cream
- 2 teaspoons vanilla extract
- ½ teaspoon salt
- 4 cups powdered sugar
Instructions
Prepare the Cake:
- Preheat the oven to 350°F (175°C). Grease 3 cake pans (8-inch), line with parchment paper, and set aside.
- Sift together the flour, cocoa powder, salt, and baking soda in a large bowl. Set aside.
- In another large bowl, whisk the eggs, milk, vegetable oil, white vinegar, and vanilla extract until thoroughly combined.
- Add sugar to the wet ingredients and whisk until the sugar has dissolved.
- Add in the sifted dry ingredients. Slowly whisk or fold until the mixture is just combined. Be careful not to overmix, as this could lead to a dense and gummy cake.
- Add the food coloring and mix until the batter is an even, dark red color.
- Divide the batter evenly into the three cake pans.
- Bake for 25 to 28 minutes, rotating the pans halfway through the bake time.
- Remove the cake from the oven and cool in the pans for 10 minutes.
- Carefully flip the cakes out of the pans onto a wire cooling rack. Allow to cool completely.
Prepare the frosting:
- In a bowl or stand mixer, beat the cream cheese, butter, and heavy whipping cream until smooth.
- Add in the vanilla and salt and mix until incorporated.
- Mix in the powdered sugar one cup at a time at a slow speed.
- If the frosting is too thick, add in 1 tablespoon of heavy cream at a time. If it is too thin, add in 2 to 4 tablespoons of powdered sugar at a time.
- Cover and set aside until ready to use.
Assemble the cake:
- Using a serrated knife or a cake leveling tool, trim and level the tops of the cakes. You can reserve the scraps of cake to crumble and decorate the cake with after frosting.
- Add a bit of icing to the cake stand to help the cake stick to the stand and not move.
- Spread an even layer of cream cheese frosting between each layer of cake.
- Spread a thin coat of frosting on the sides and top of the cake. Smooth it using a bench scraper. Add another layer of frosting, if desired.
- Optionally, pipe a frosting border along the edge of the cake.
- Cut and serve.
Notes
- To store, place the cake in a domed cake plate or airtight container.
- Keep in the refrigerator for up to 3 days.
- Cake layers can be frozen unfrosted for up to 2 months; thaw at room temperature before frosting.
Nutrition
Nutritional info is an estimate and provided as courtesy. Values may vary according to the ingredients and tools used. Please use your preferred nutritional calculator for more detailed info.
Explore More Classic Dessert Recipes
If you’ve enjoyed crafting this magnificent Red Velvet Cake, you’re in for a treat with more of our beloved dessert recipes. Expand your baking repertoire with these timeless favorites:
- Easy Creme Brûlée: Indulge in the silky custard and crisp caramelized sugar topping of this elegant French classic.
- Homemade Apple Pie from Scratch: A comforting slice of Americana, featuring tender, spiced apples encased in a flaky, buttery crust.
- Peach Crisp Recipe: Enjoy the sweet juiciness of peaches topped with a delightful, crunchy oat crumble – a perfect dessert for any season.
Happy baking, and enjoy every delicious bite!