
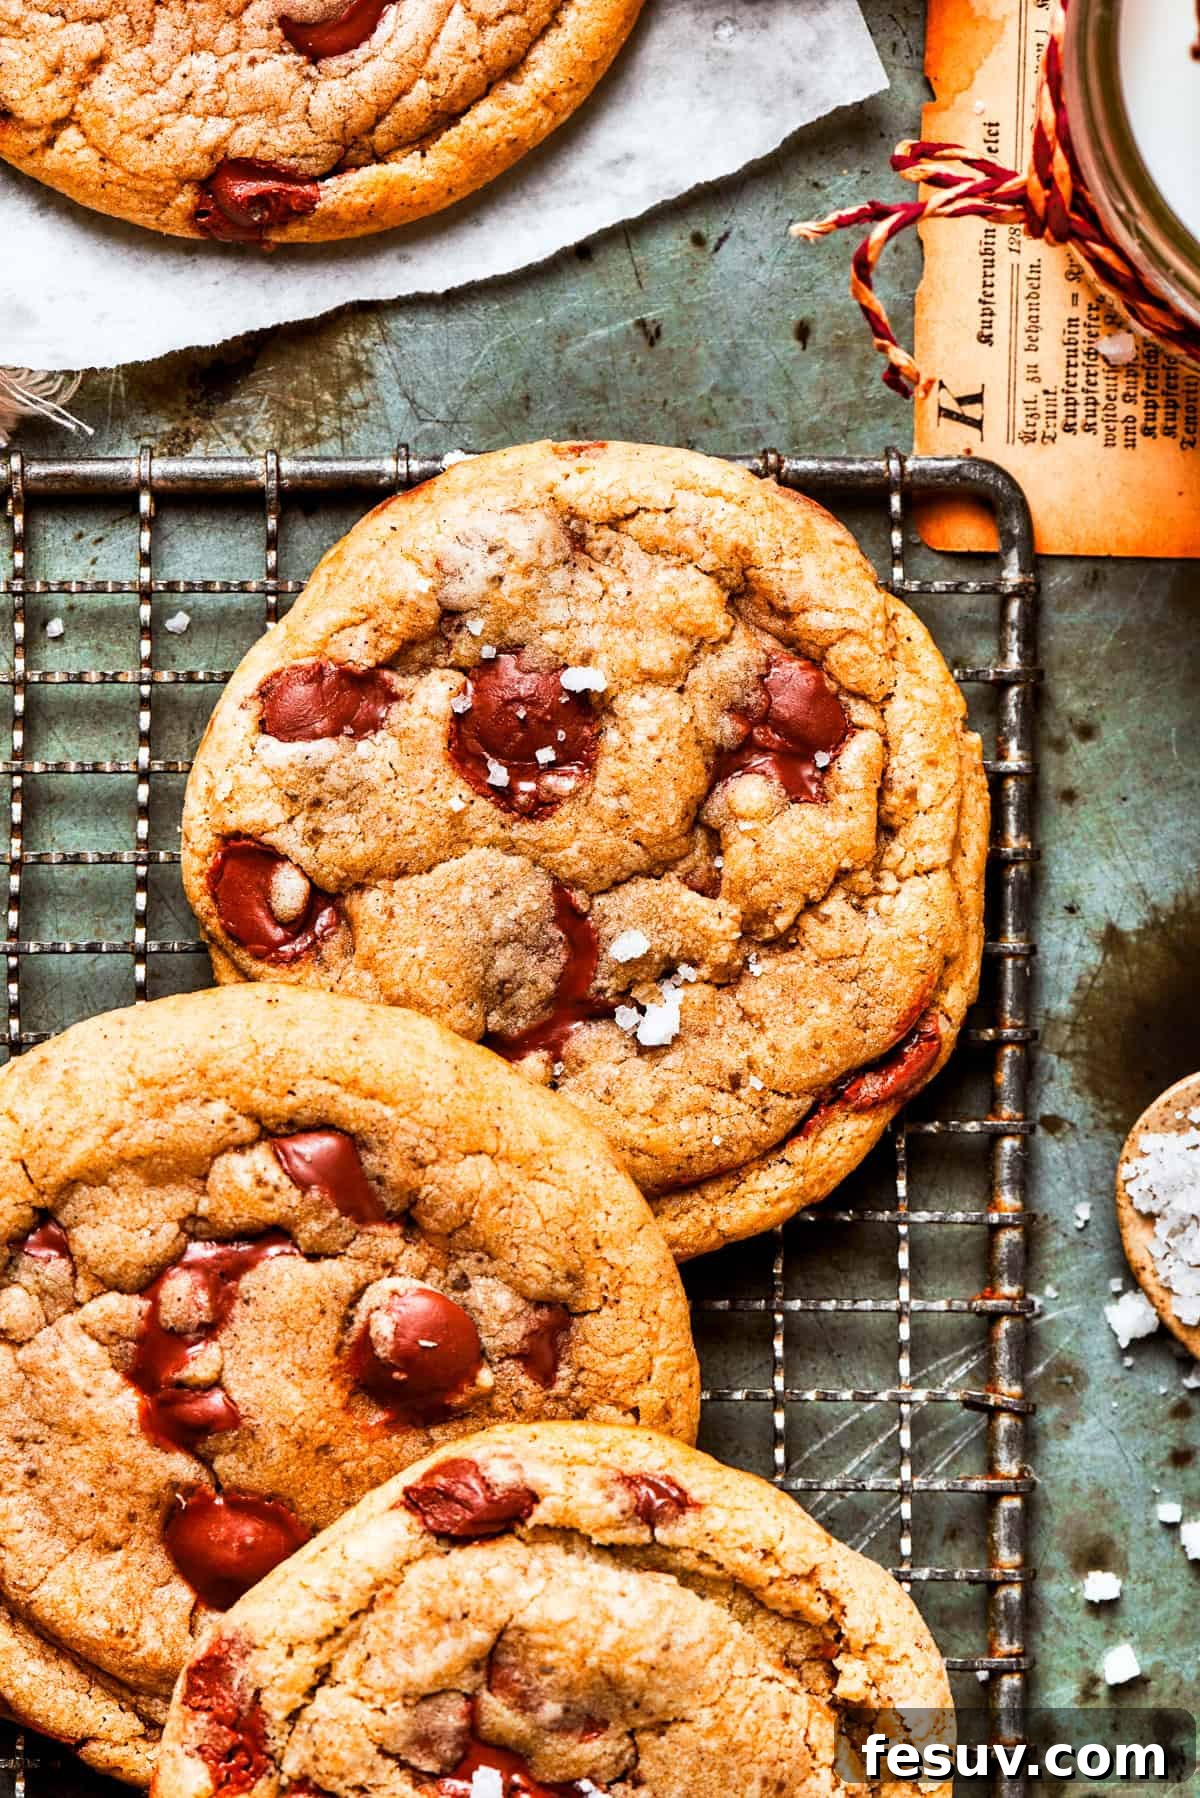
Unleash Unforgettable Flavor: The Best Brown Butter Chocolate Chip Cookies You’ll Ever Make
Prepare yourself for a truly extraordinary cookie experience! These aren’t just any chocolate chip cookies; these are the absolute best Brown Butter Chocolate Chip Cookies you’ll ever taste. Each warm, toasty bite is an explosion of rich, caramelized flavor, perfectly balanced with the deep sweetness of dark brown sugar and an abundance of melty chocolate chips. With their irresistible crisp edges and gloriously chewy centers, these cookies elevate the classic to an art form. Forget your basic recipes; once you try brown butter, you’ll never go back.
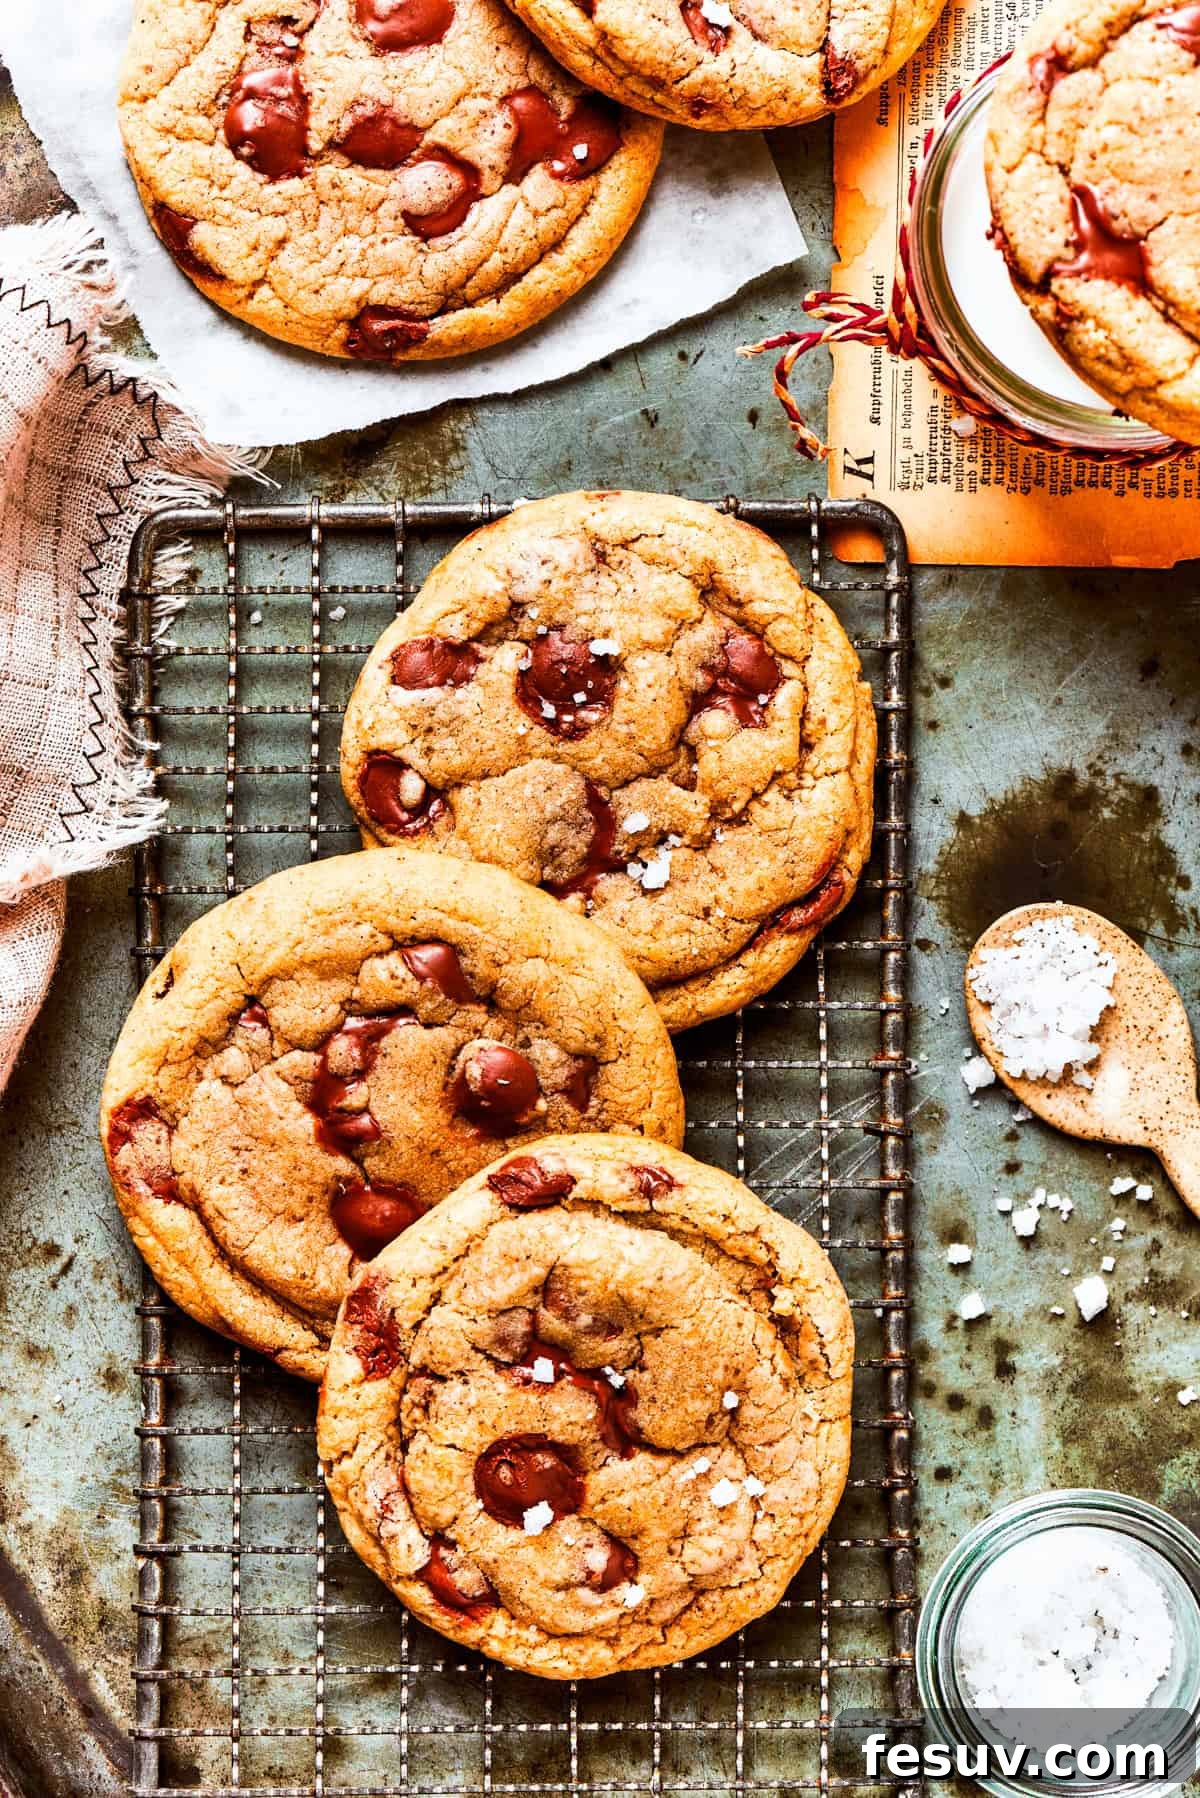
While many claim their chocolate chip cookies are the “best,” these brown butter chocolate chip cookies truly stand in a league of their own. The secret lies in one simple, yet transformative step: browning the butter. This process develops an incredible depth of nutty, caramel-like flavor that takes these cookies far beyond what you’d expect from an ordinary batch. This unique taste profile sets them apart, making them utterly addictive. While our classic chewy chocolate chip cookies are a fantastic option if you’re short on time, the extra few minutes spent browning the butter is an investment in unparalleled flavor that you won’t regret. To complete this masterpiece, a delicate sprinkling of flaky sea salt after baking provides that perfect sweet and salty contrast, making each cookie sing.
Why These Brown Butter Chocolate Chip Cookies Will Become Your Go-To Recipe
You might wonder what makes these particular brown butter chocolate chip cookies so special. It’s a combination of simple techniques and thoughtfully chosen ingredients that come together to create a truly superior cookie. Here’s why we – and soon, you – absolutely adore them:
- The Unrivaled Depth of Browned Butter: This isn’t just a simple step; it’s a game-changer. Browning the butter isn’t merely melting it; it’s a magical process where the milk solids caramelize, infusing the butter with a rich, nutty, and toasted aroma. This Maillard reaction creates complex flavor notes that a regular melted butter can’t replicate, giving your cookies an unparalleled warm and sophisticated taste. It’s the difference between a good cookie and an unforgettable one.
- Effortless Preparation, Incredible Results: Despite their gourmet taste, these cookies are surprisingly easy to make. Because the butter is melted first, there’s no need for a stand mixer or even a hand mixer. All you require are a whisk, a spoon, and a bowl, making cleanup a breeze and the baking process genuinely enjoyable. This simplicity means you can whip up a batch of these extraordinary treats even on a busy weeknight.
- A Beloved Treat for All Ages: Every bite is designed to please. If your family is anything like ours, chocolate chip cookies are always a hit. These brown butter versions are no exception! The deep flavor and perfectly melty chocolate make them irresistible. For younger palates, I often dust half the batch with flaky sea salt and leave the rest plain, catering to everyone’s preference. They’re perfect for school lunches, after-dinner desserts, or a comforting snack.
- Perfect Texture Every Time: We’ve mastered the ideal balance – crisp, golden-brown edges that give way to a soft, chewy, and gooey center. The combination of sugars and cornstarch ensures this delightful contrast, making each cookie a textural marvel.
- Versatile and Customizable: While perfect as they are, these cookies also serve as an excellent base for various additions. Whether you prefer nuts, different types of chocolate, or other mix-ins, the brown butter flavor complements a wide array of ingredients beautifully.
Essential Ingredients for Your Perfect Batch
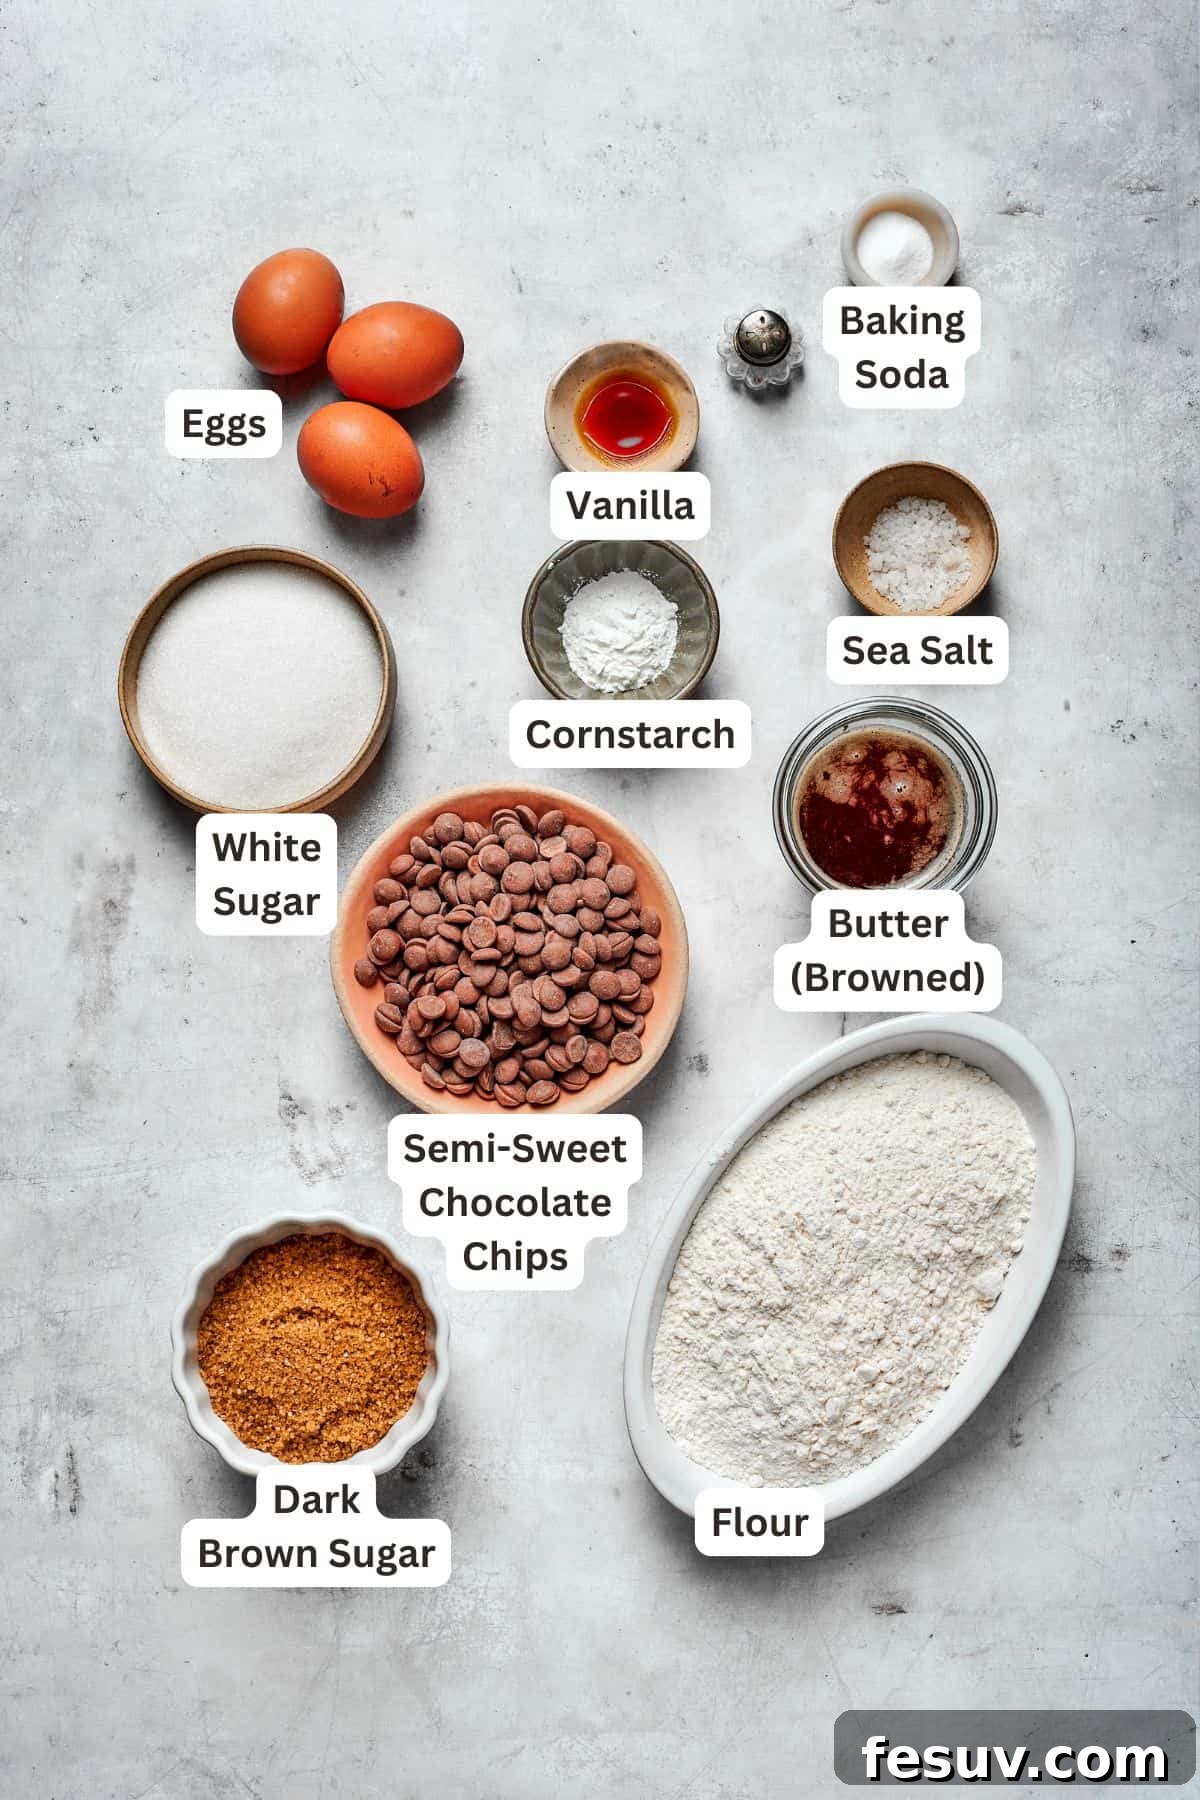
Crafting these deeply flavorful brown butter chocolate chip cookies requires mostly common pantry staples, plus a few fresh additions like butter and eggs. However, the quality and preparation of these ingredients play a crucial role in the final outcome. Here are some detailed notes on what you’ll need to create these crisp-chewy beauties:
- Unsalted Butter: We specify unsalted butter because you’ll be browning it. Using unsalted butter gives you complete control over the total salt content in your cookies, which is vital for achieving the perfect flavor balance. There’s no need to soften it to room temperature beforehand, as the first step involves melting it.
- Sugars – Granulated and Dark Brown: This recipe utilizes a powerful duo of sugars. Granulated sugar contributes to the crispness of the cookie edges and helps with spread, creating that classic chocolate chip cookie texture. Dark brown sugar, on the other hand, is rich in molasses, which not only provides a deeper, more caramel-like sweetness but also ensures a wonderfully chewy interior and enhances moisture retention. While light brown sugar can be substituted, dark brown sugar is highly recommended for its richer flavor and superior chewiness.
- Eggs – Large Eggs plus 1 Egg Yolk: Large eggs provide structure and moisture. The addition of an extra egg yolk is a secret weapon for super chewy cookies. The yolk adds extra fat and emulsifiers, resulting in a richer, more tender, and chewier texture without making the cookie cakey. Ensure both the whole eggs and the extra yolk are at room temperature, as this allows them to blend more smoothly and evenly into the butter-sugar mixture, preventing a curdled appearance and ensuring uniform dough consistency.
- Pure Vanilla Extract: Use a good quality pure vanilla extract or vanilla bean paste. Vanilla is not just a background flavor here; it amplifies and complements the rich notes of the brown butter and dark brown sugar, adding a layer of aromatic warmth that is essential to the cookie’s overall profile.
- Dry Ingredients: These foundational elements include:
- All-Purpose Flour: The standard for most cookie recipes, providing the necessary structure. Measure it correctly by spooning it into your measuring cup and leveling it off.
- Cornstarch: A surprisingly effective ingredient often found in bakery-style cookie recipes. Cornstarch helps to tenderize the dough, resulting in a softer cookie that stays chewy for longer. It also plays a role in preventing the cookies from spreading too thinly.
- Baking Soda: This leavening agent reacts with the acidic brown sugar to create carbon dioxide, which helps the cookies rise and spread, giving them that characteristic slightly puffed and then crinkled appearance.
- Salt: A pinch of fine sea salt in the dough is crucial for balancing the sweetness and enhancing all the other flavors. Don’t skip it!
- Quality Chocolate Chips: The chocolate is a star in a chocolate chip cookie. For the very best results, invest in a good-quality brand of semi-sweet chocolate chips, such as Guittard or Ghirardelli. Semi-sweet chips offer a classic flavor that perfectly complements the brown butter, but you can also experiment with dark chocolate for a more intense flavor, milk chocolate for extra sweetness, or even chopped chocolate bars for pools of melty goodness.
- Flaky Sea Salt (for finishing): This is an optional but highly recommended ingredient that takes these cookies over the top. A light sprinkle of flaky sea salt (like Maldon) on the warm cookies immediately after they come out of the oven provides a delightful crunch and a beautiful sweet-salty contrast that enhances every flavor.
Crafting Perfection: How to Make Brown Butter Chocolate Chip Cookies
The magic of these cookies begins with the brown butter. While it might sound intimidating, it’s a straightforward process that just requires a bit of attention. Follow these steps for truly exceptional cookies:
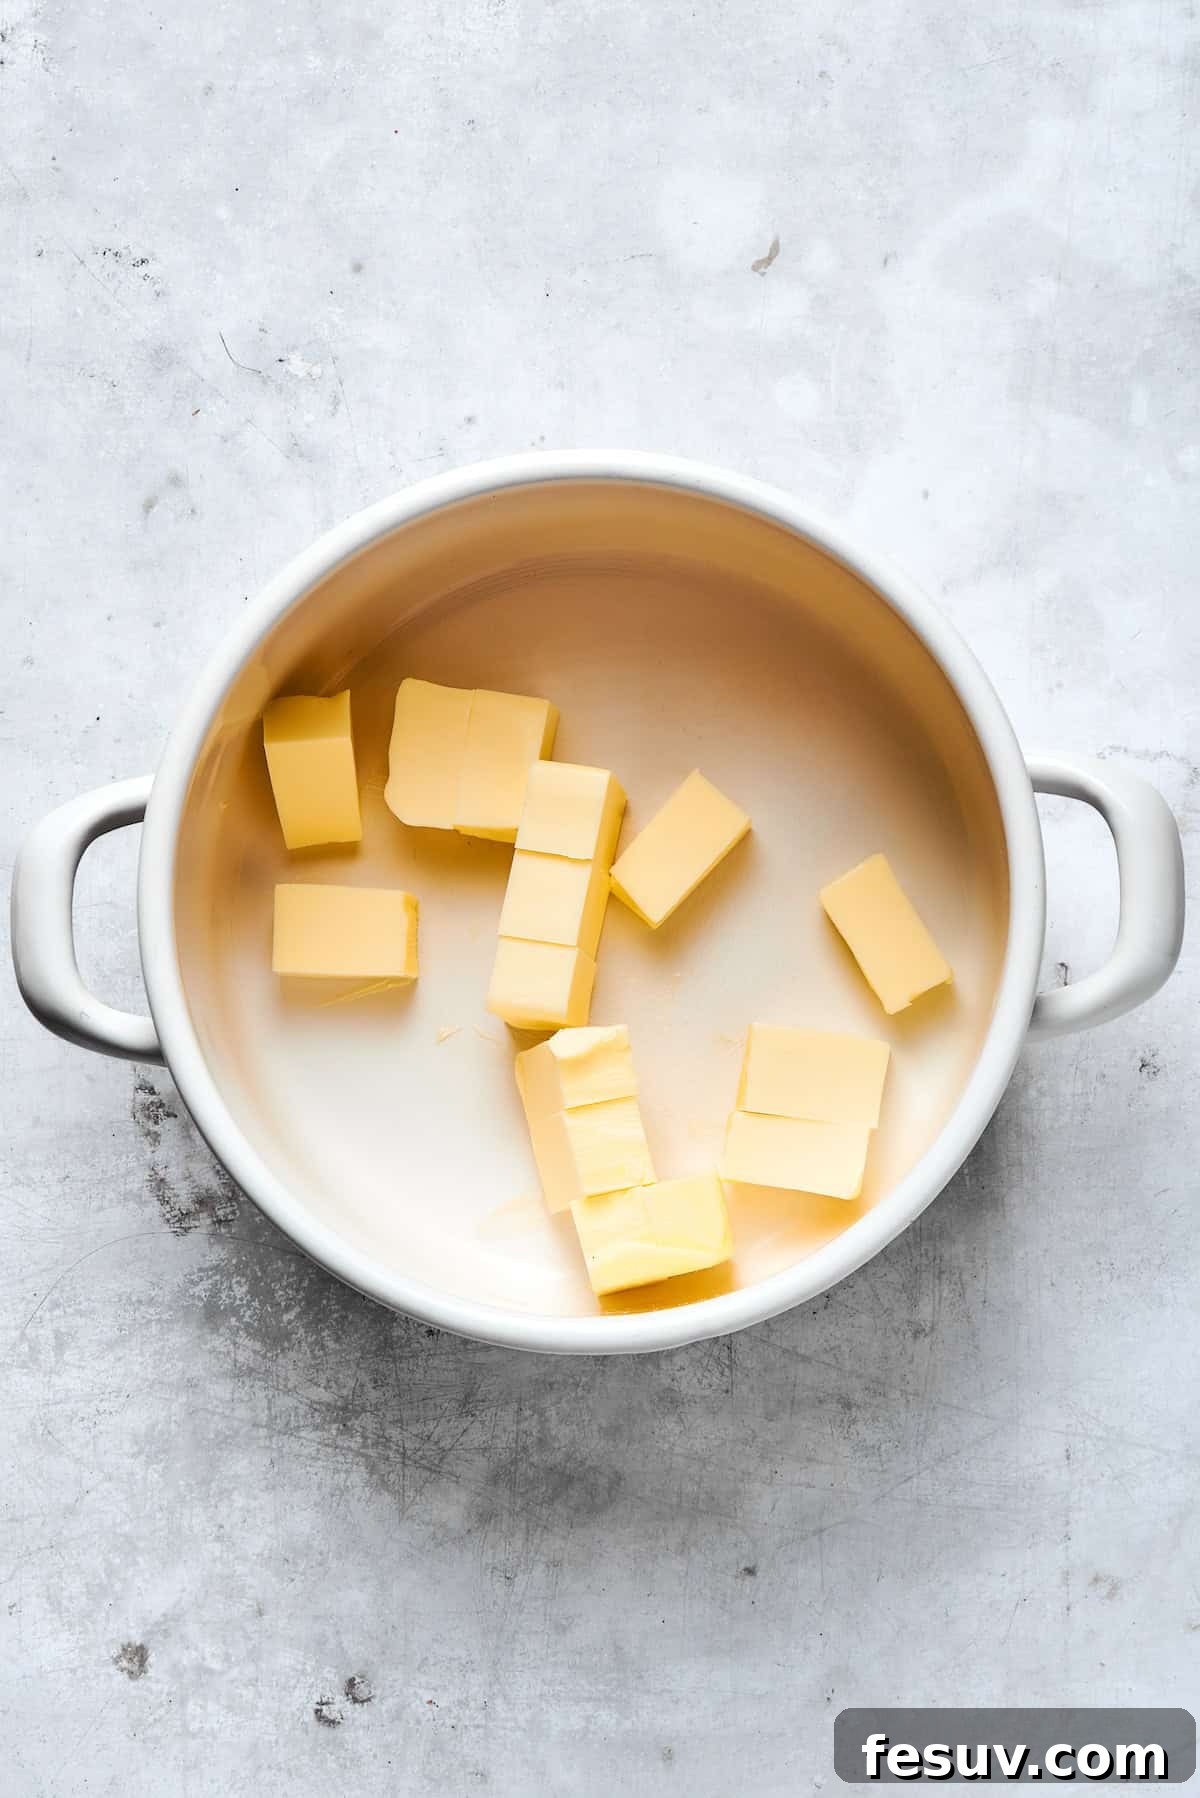

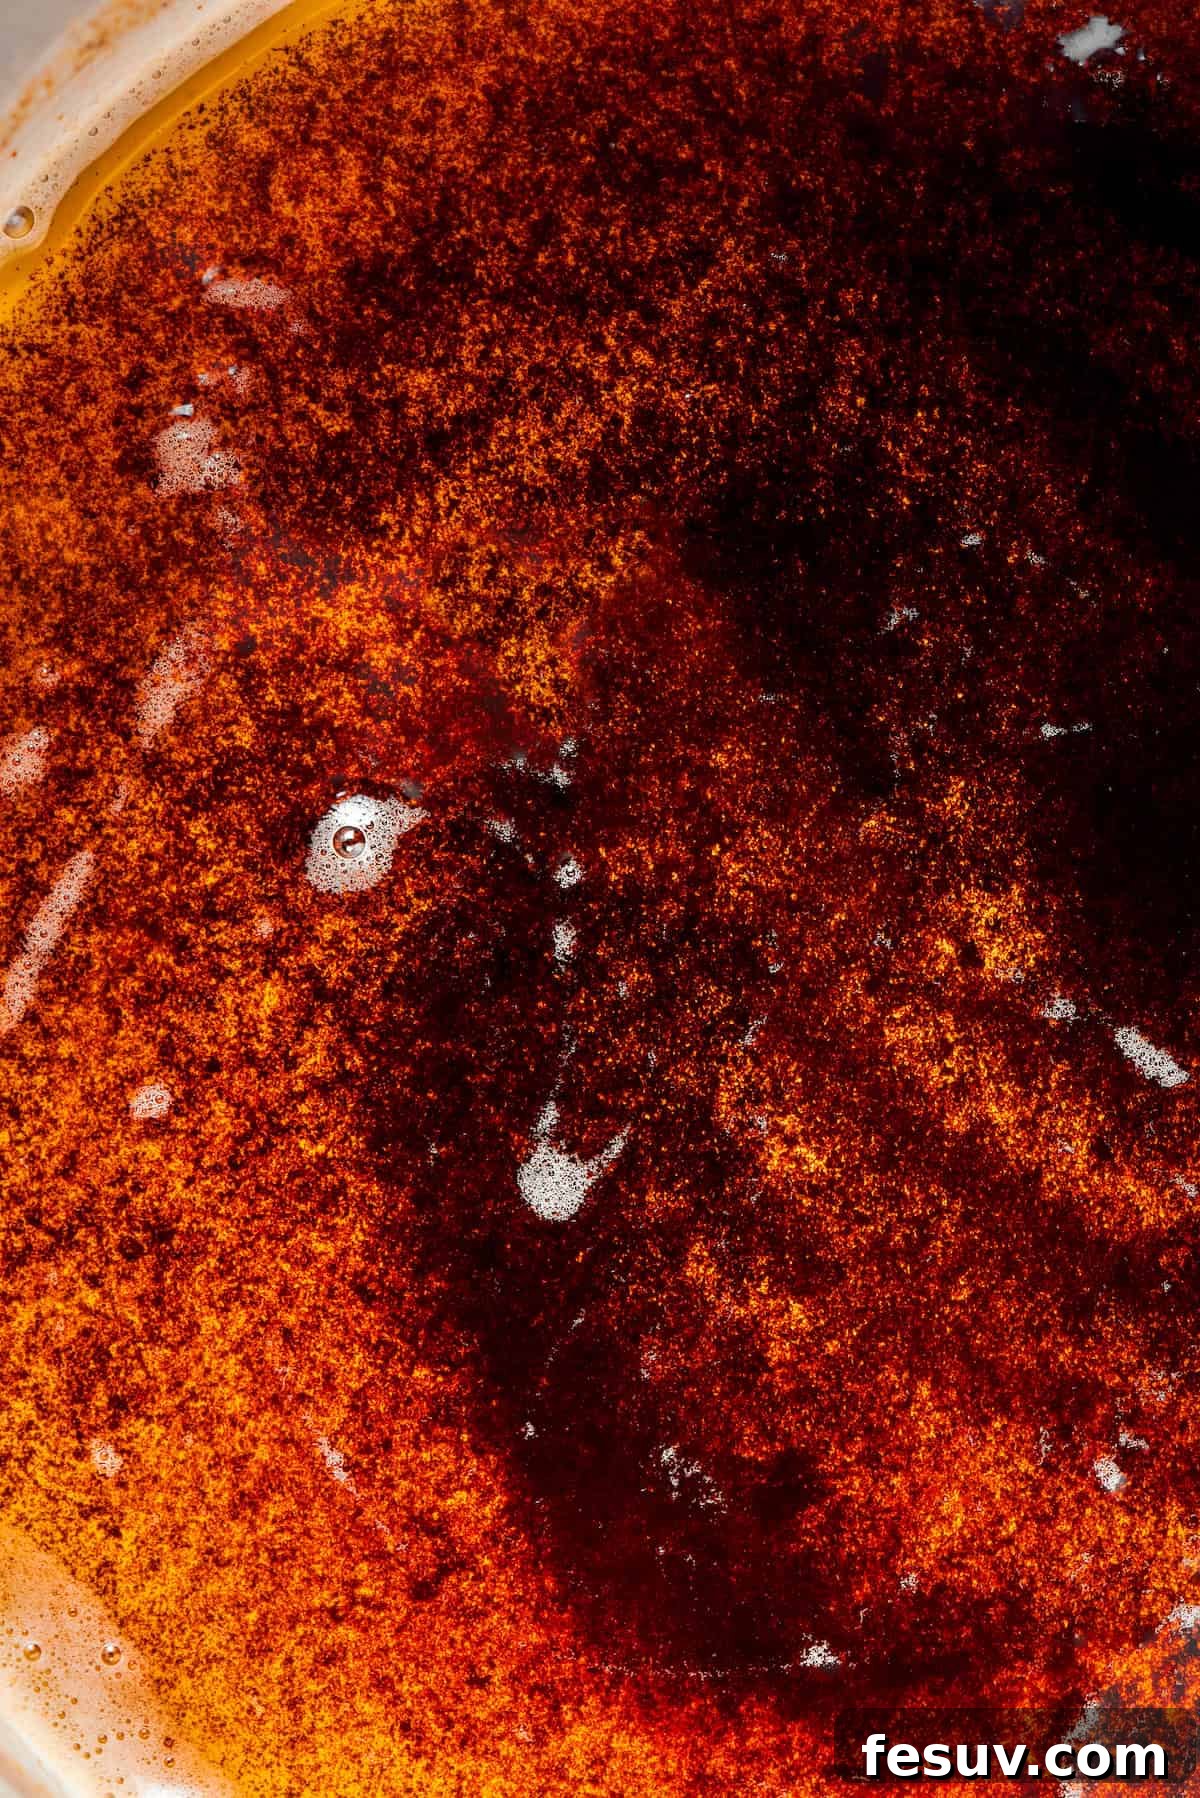
- Begin with Brown Butter: In a medium-sized, light-colored saucepan, melt the unsalted butter over medium heat. As it melts, gently whisk it occasionally. The butter will start to foam. Continue cooking, whisking consistently once foam forms, as this allows you to see the milk solids at the bottom. These solids will transition from pale to a beautiful golden brown, releasing a rich, nutty aroma. This process typically takes 4-7 minutes. Once they reach a deep amber color, immediately remove the pan from the heat to prevent burning. Scrape all the flavorful browned bits into a heatproof bowl or glass measuring cup and let the brown butter cool completely to room temperature. This cooling step is critical for the cookie dough’s texture.
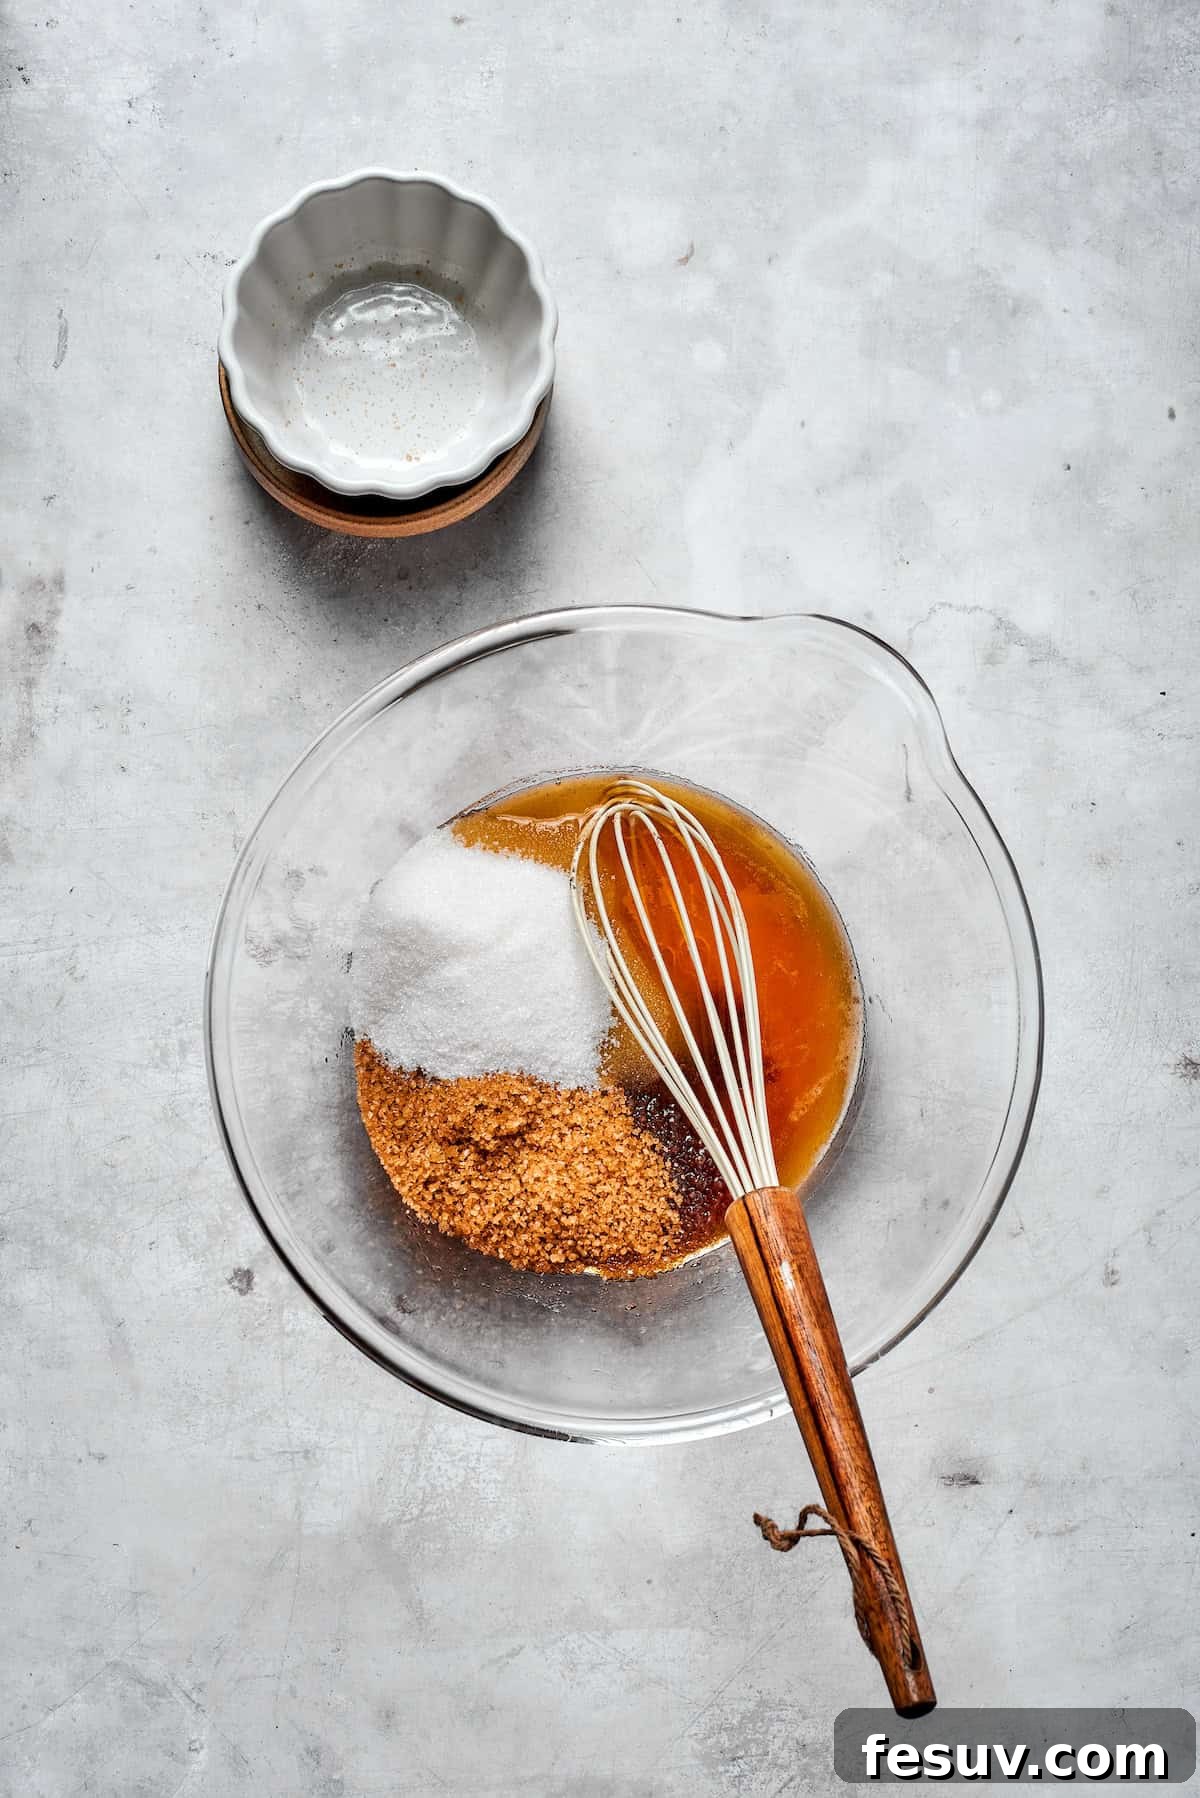
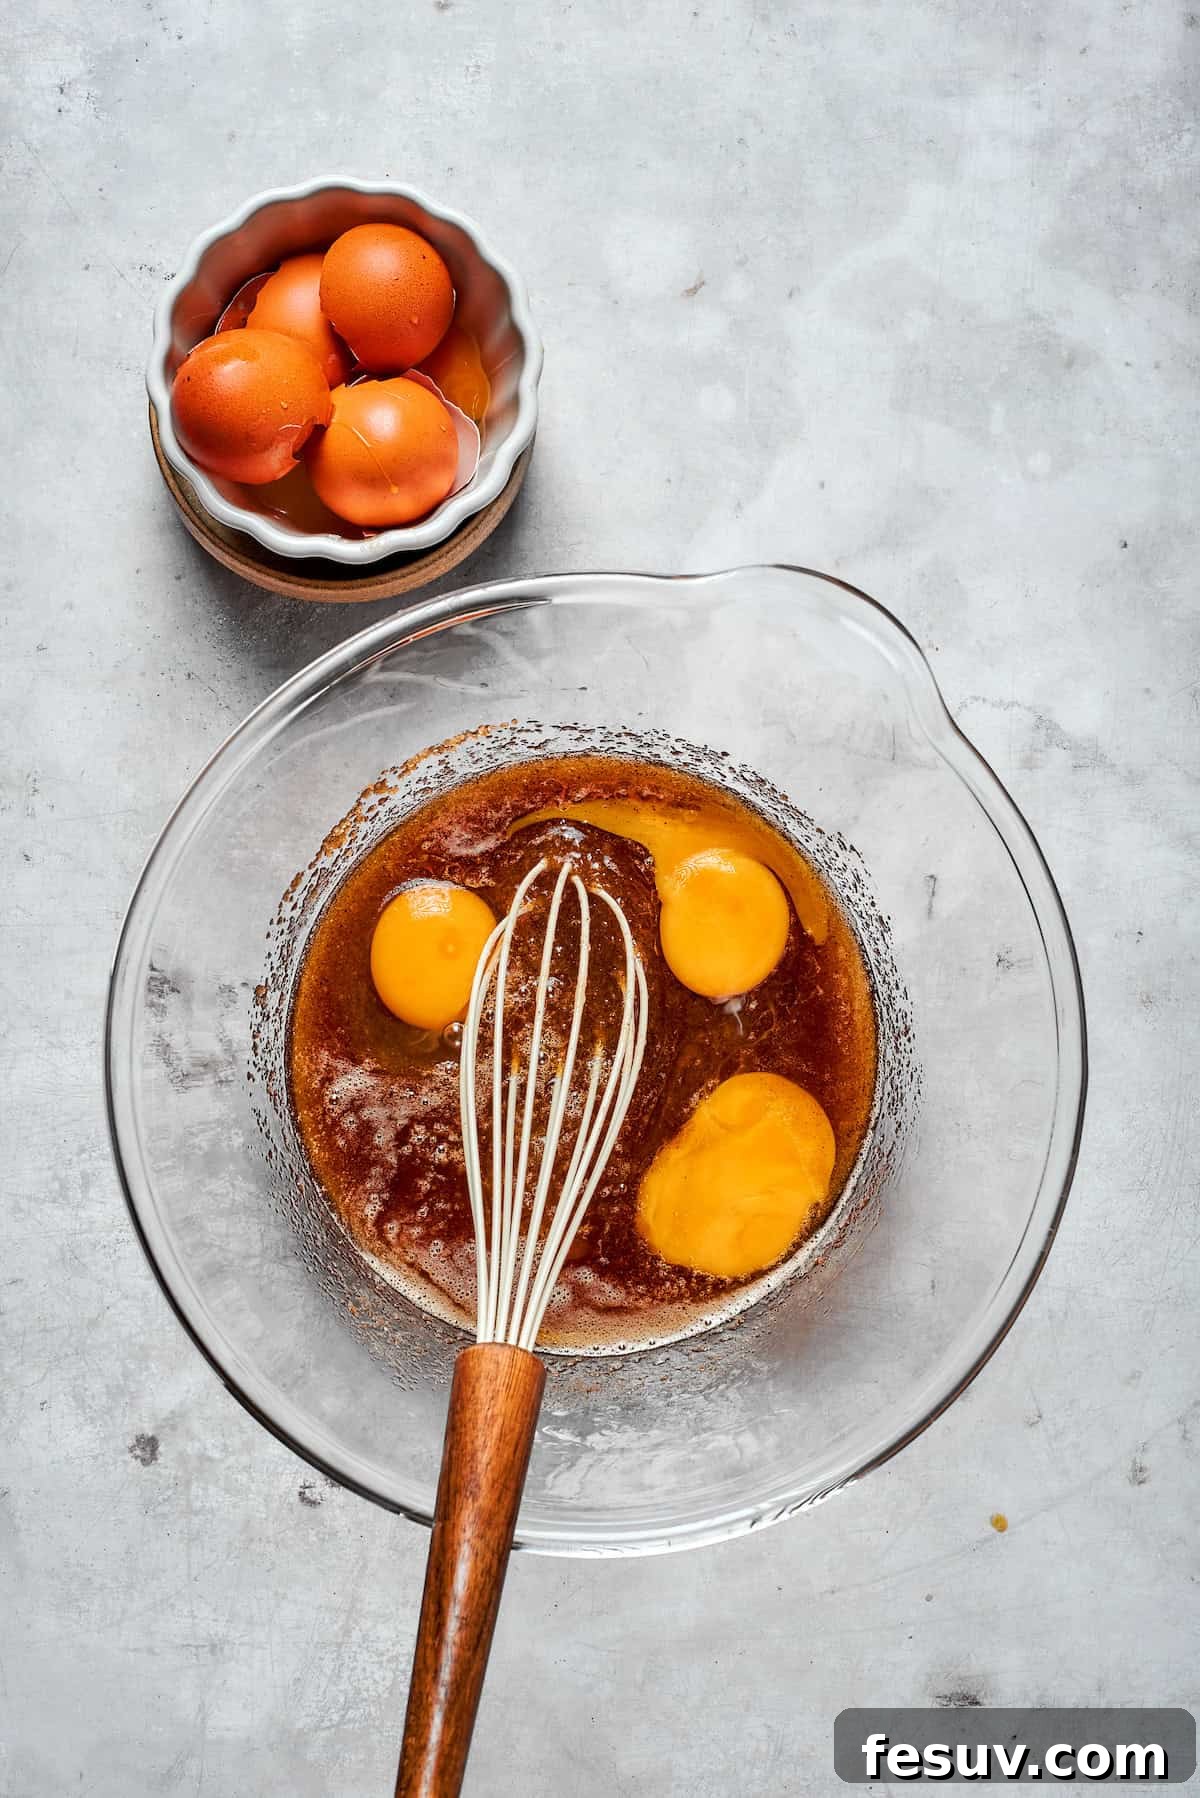
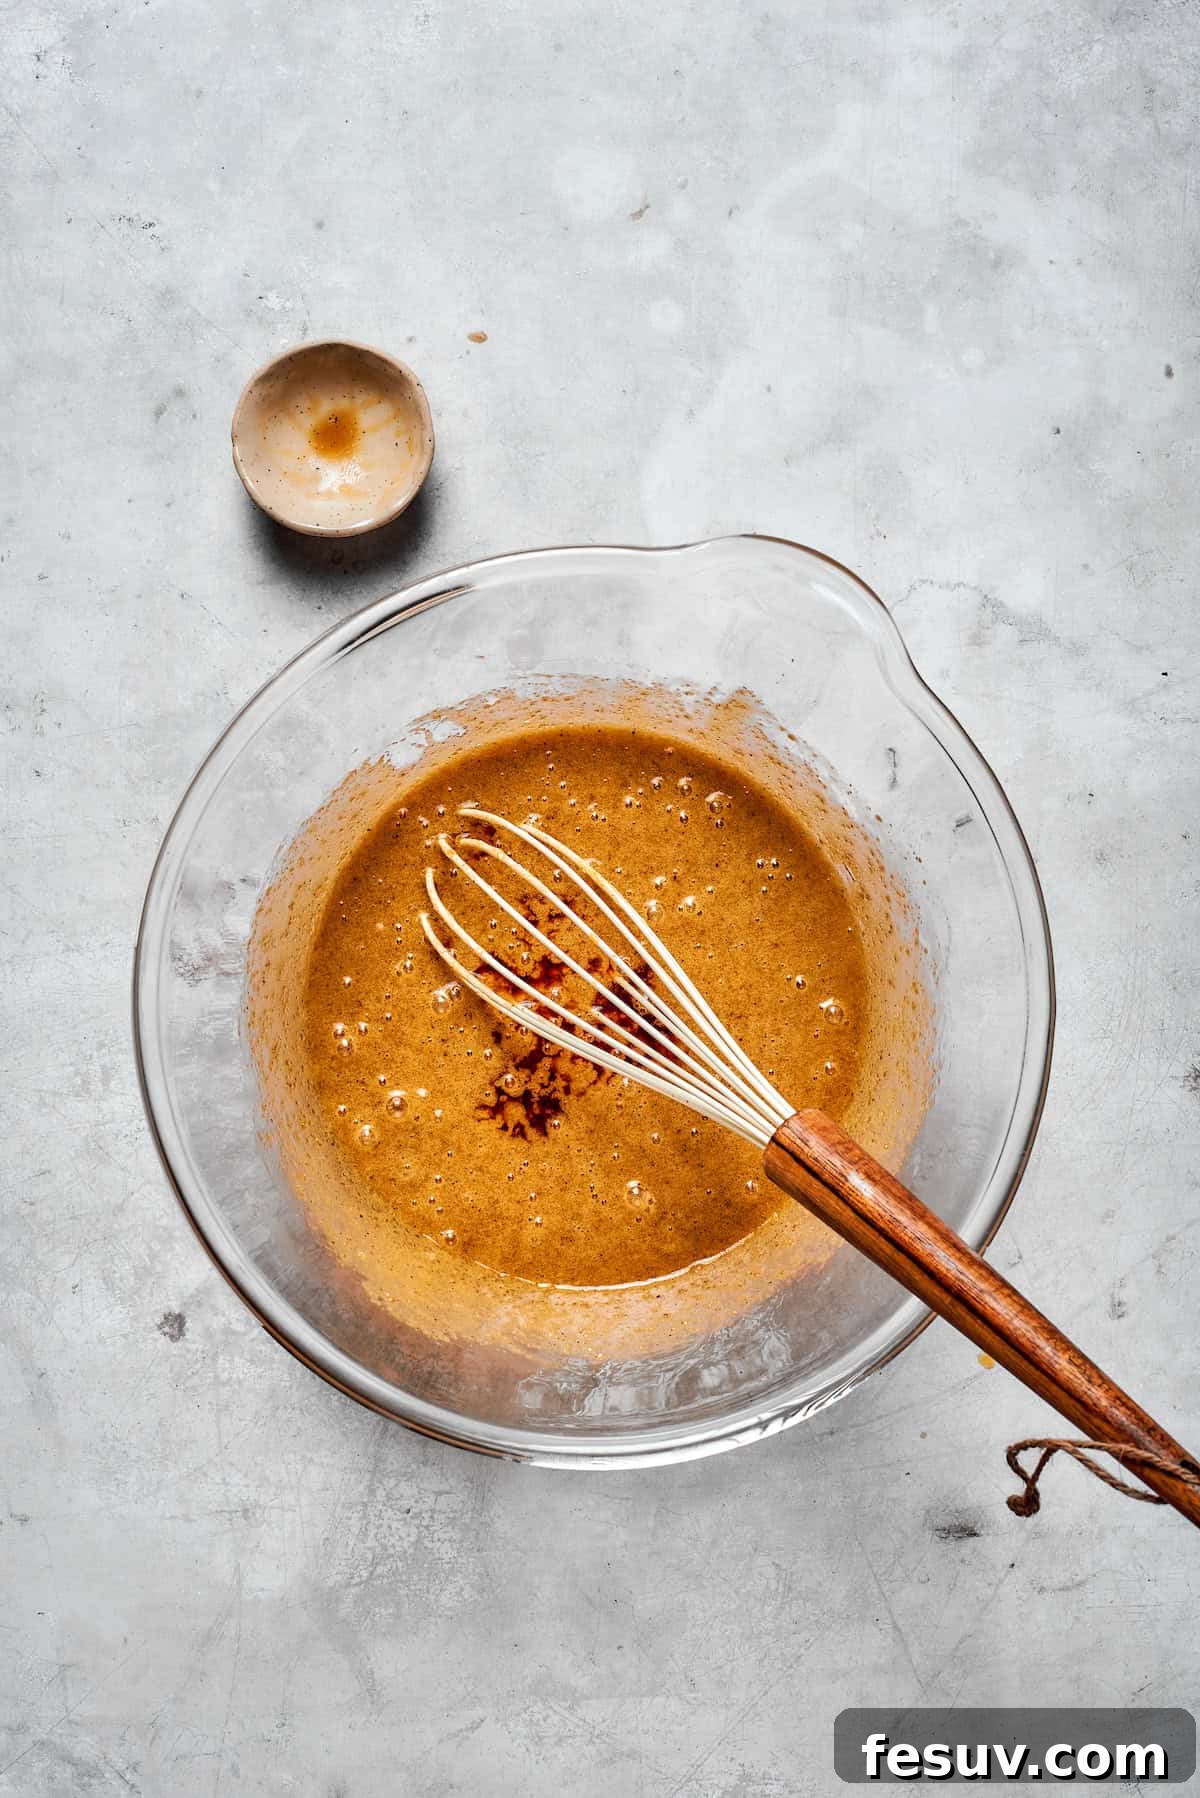
- Combine Wet Ingredients: Once the brown butter has cooled, transfer it to a large mixing bowl. Add both the granulated sugar and the dark brown sugar. Whisk vigorously until the mixture is smooth and creamy. Next, crack in the two large eggs and the extra egg yolk, followed by the pure vanilla extract. Whisk thoroughly until all ingredients are well combined and the mixture is uniform.
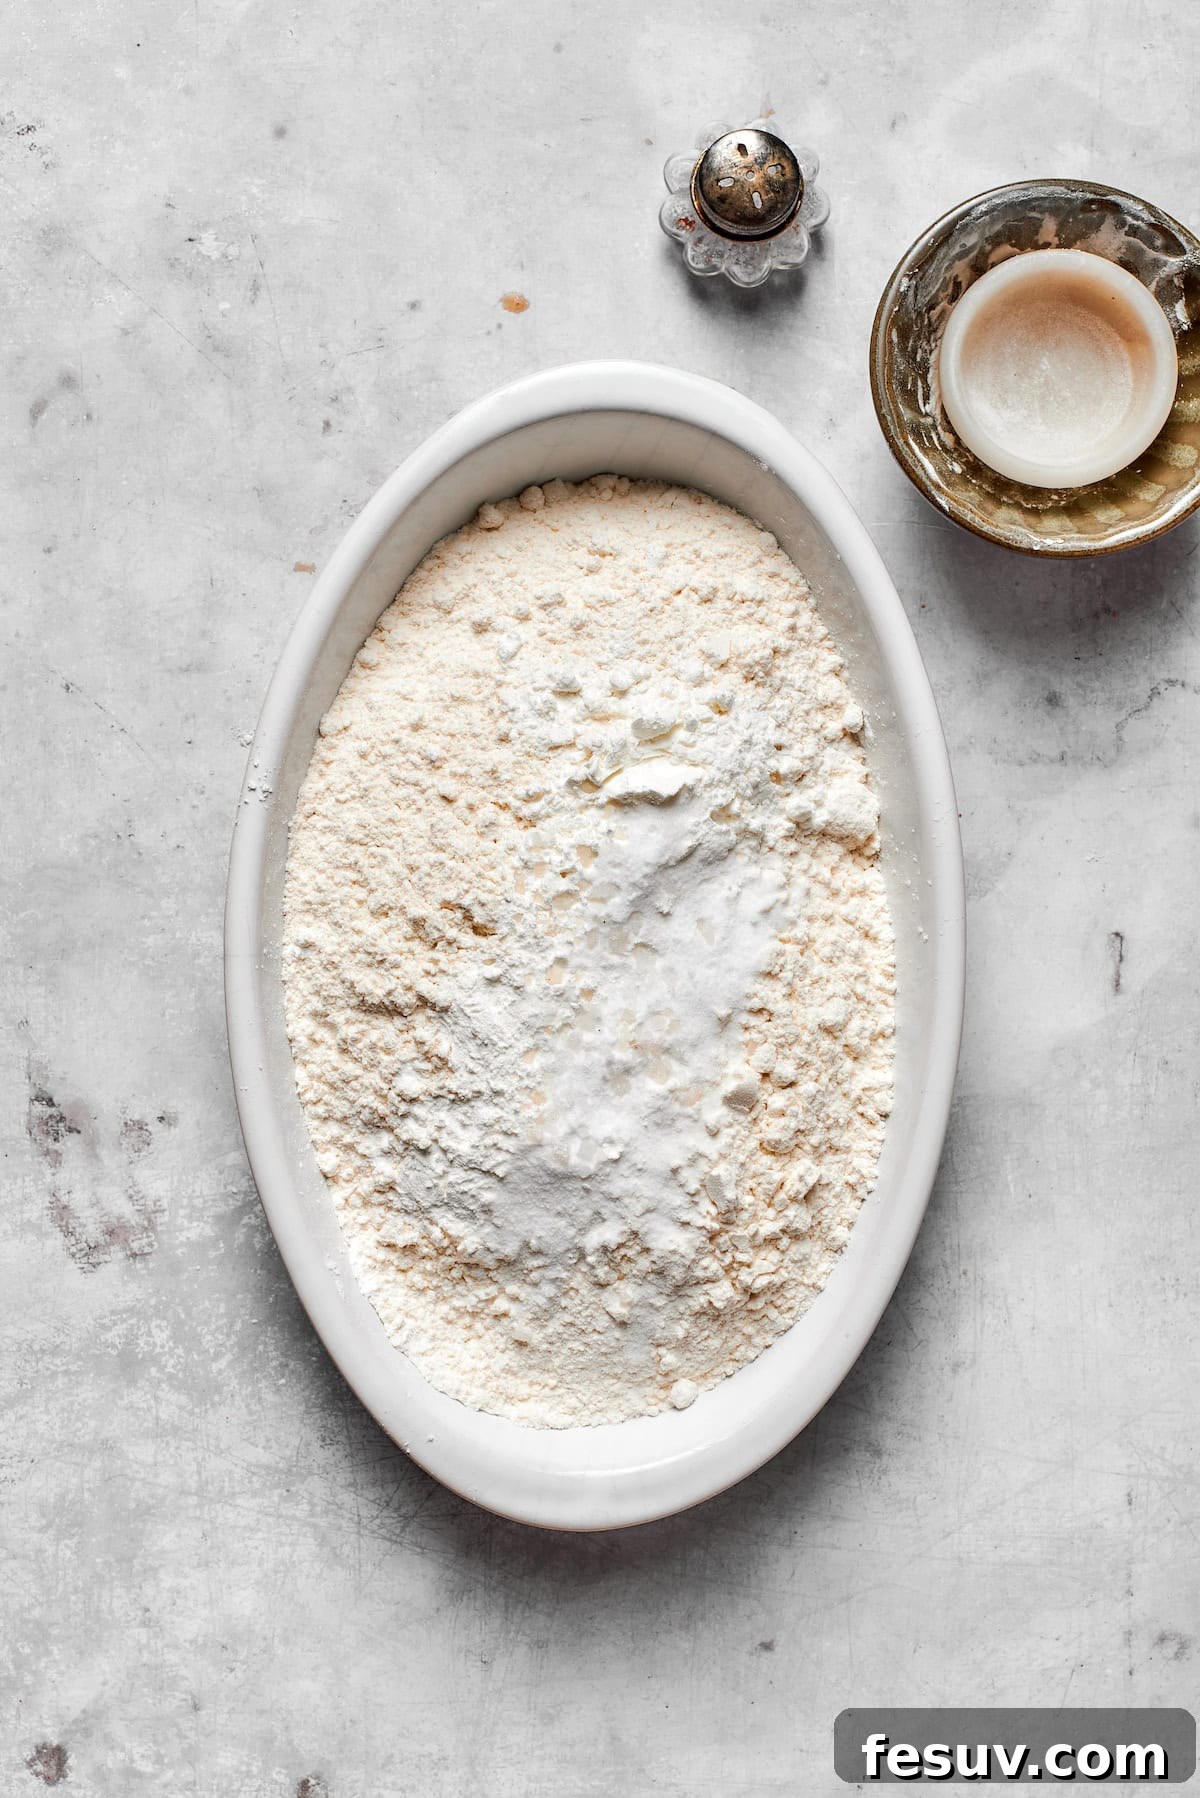
- Prepare Dry Ingredients: In a separate medium bowl, combine your all-purpose flour, cornstarch, baking soda, and a pinch of salt. Whisk these dry ingredients together thoroughly to ensure they are evenly distributed. This prevents pockets of leavening or salt in your cookies.
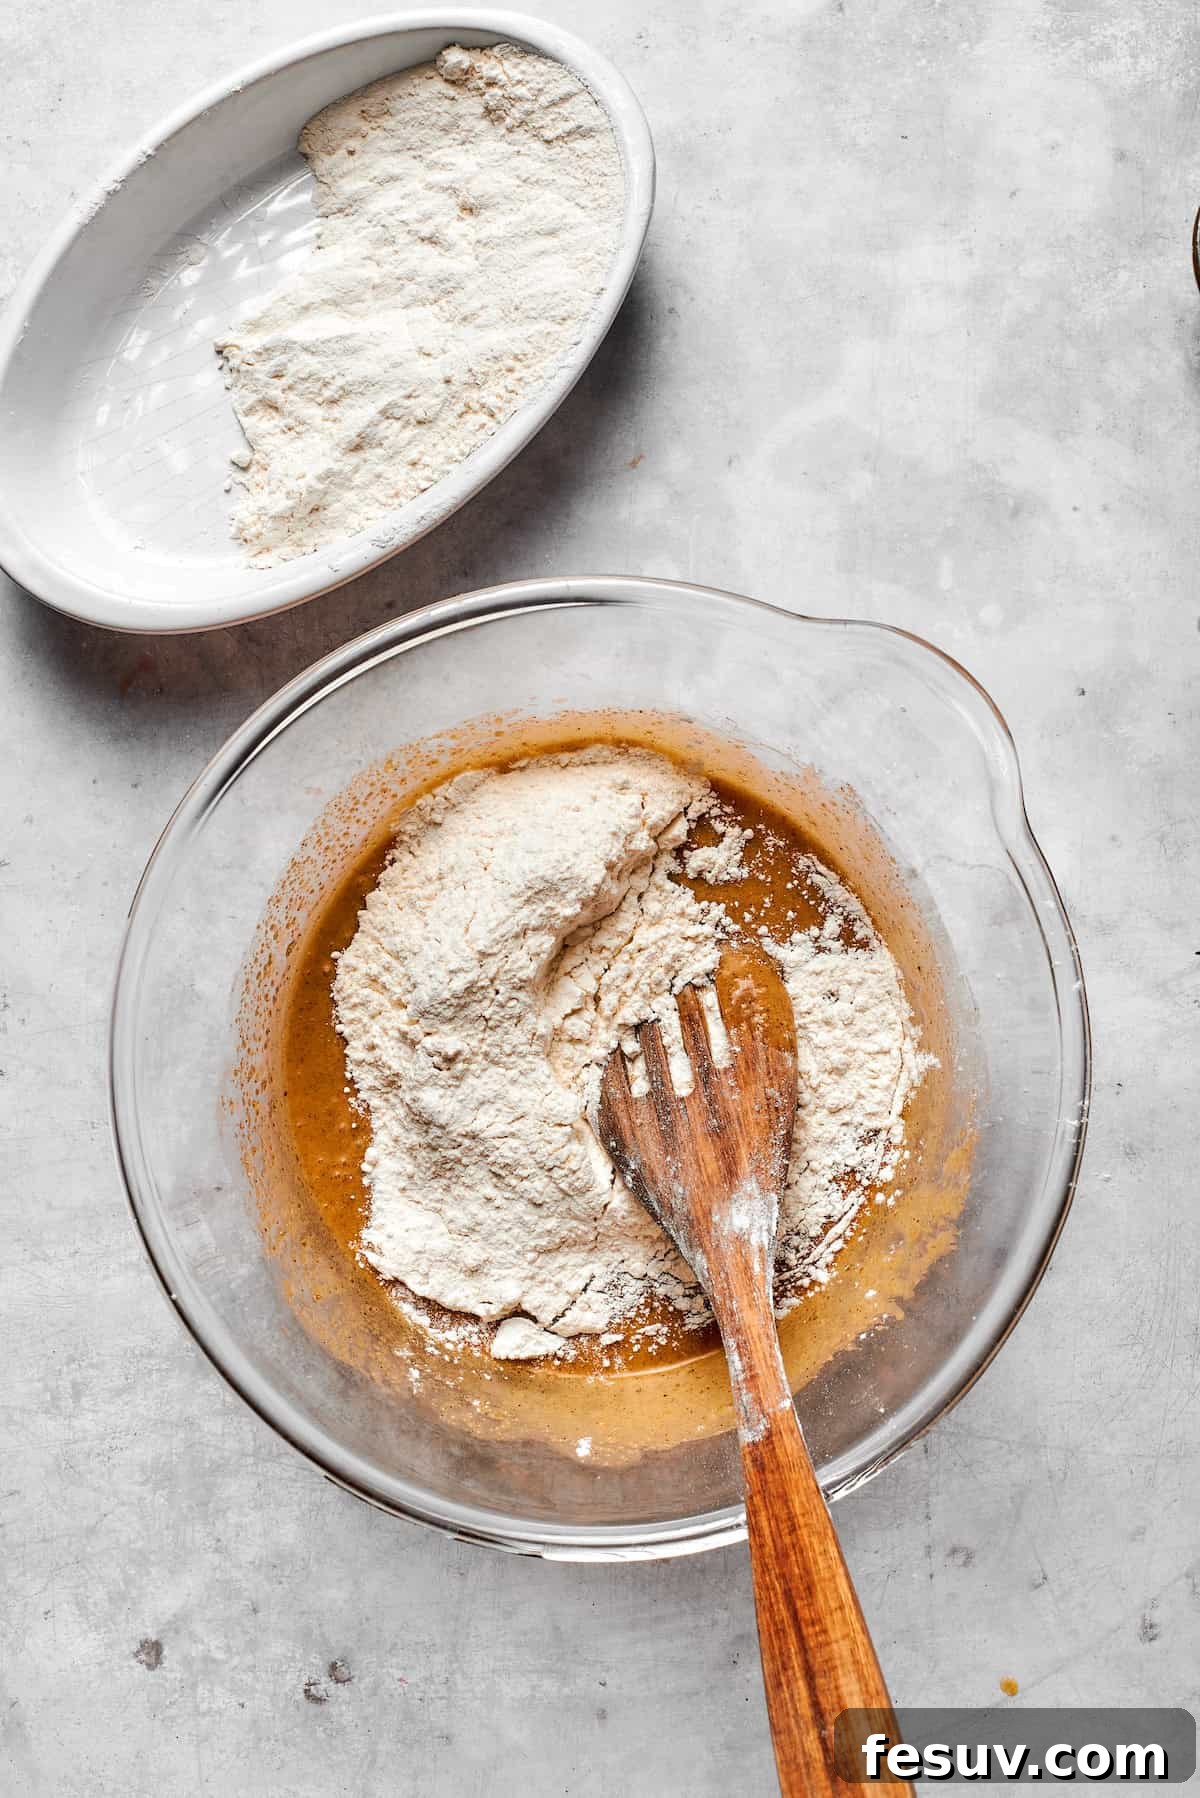
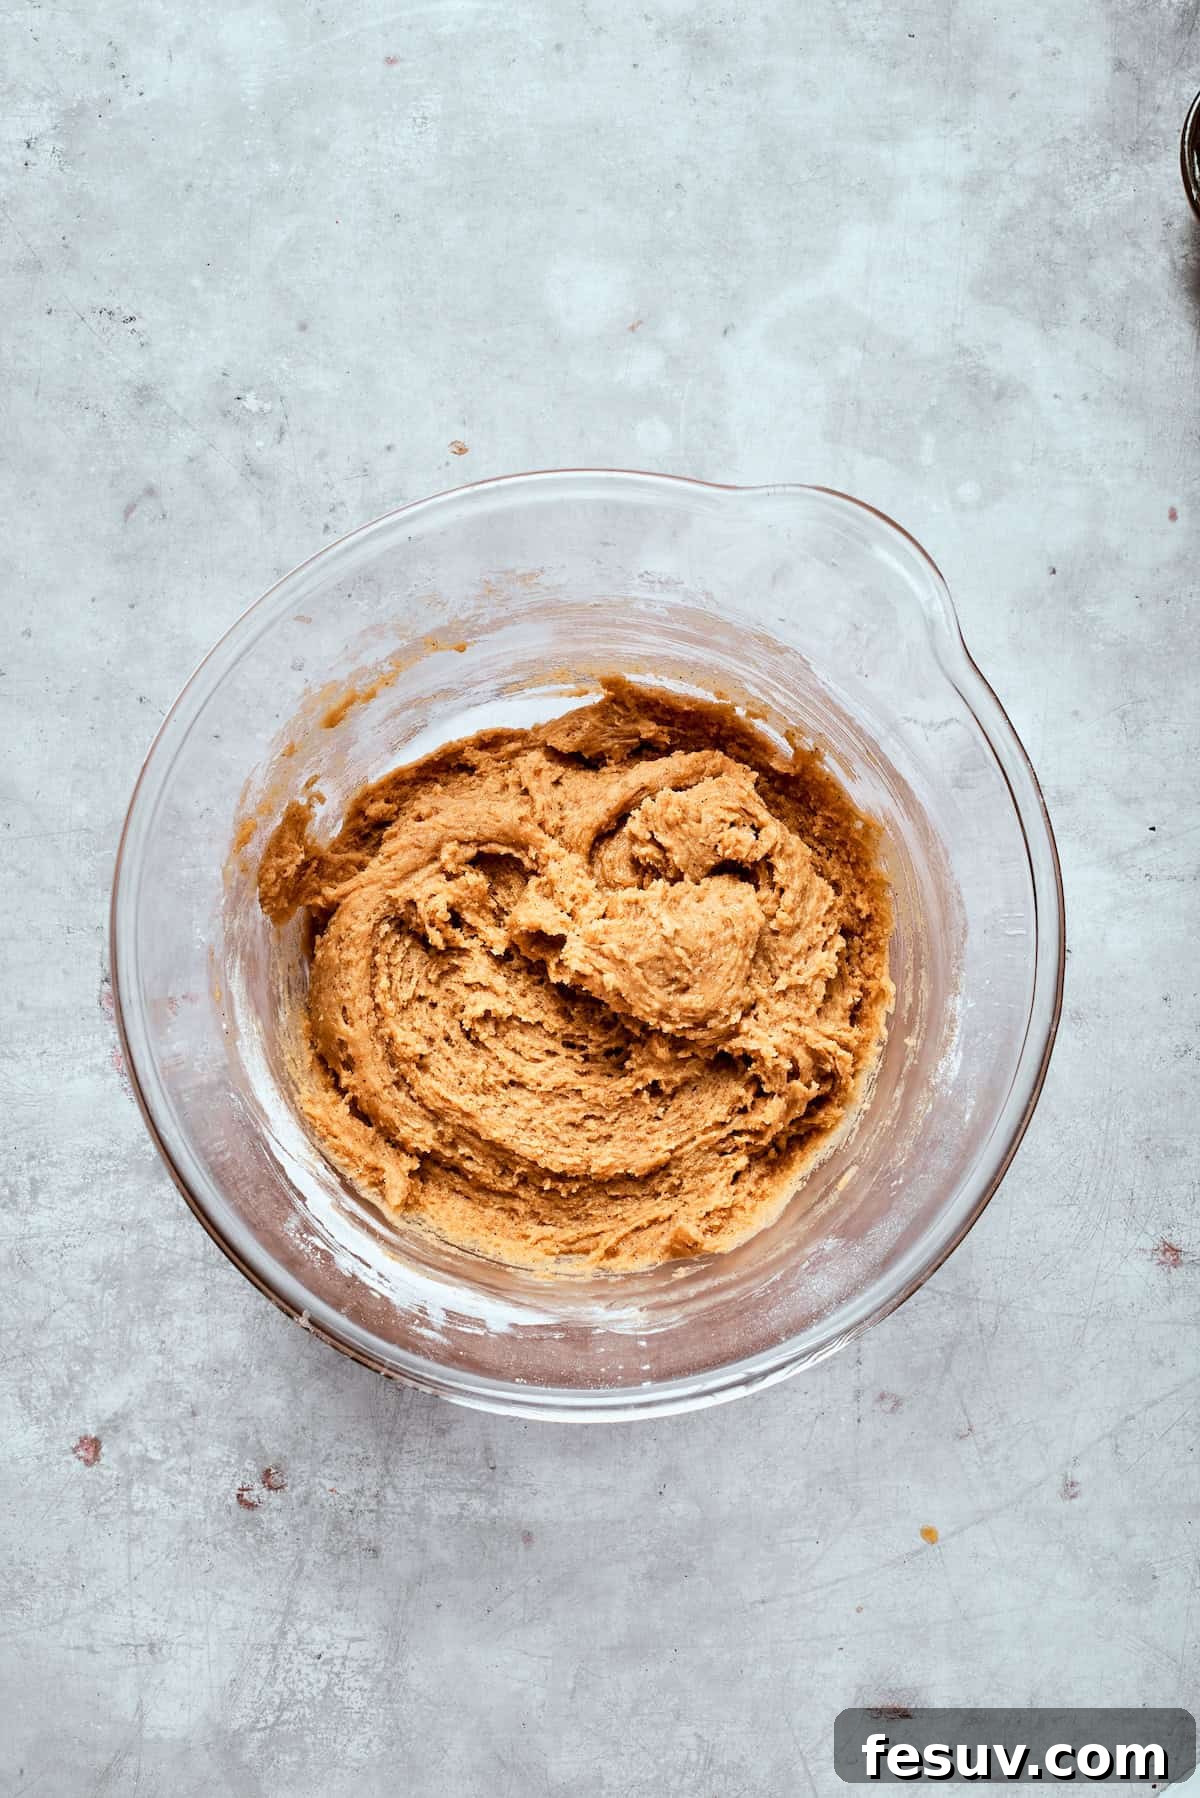
- Merge Wet and Dry: Gradually add the dry ingredient mixture into the wet butter and sugar mixture. Using a sturdy spoon or a whisk, stir gently until just combined. Be careful not to overmix the dough, as excessive mixing can develop the gluten in the flour, leading to tough cookies. The dough will appear thick and slightly sticky.
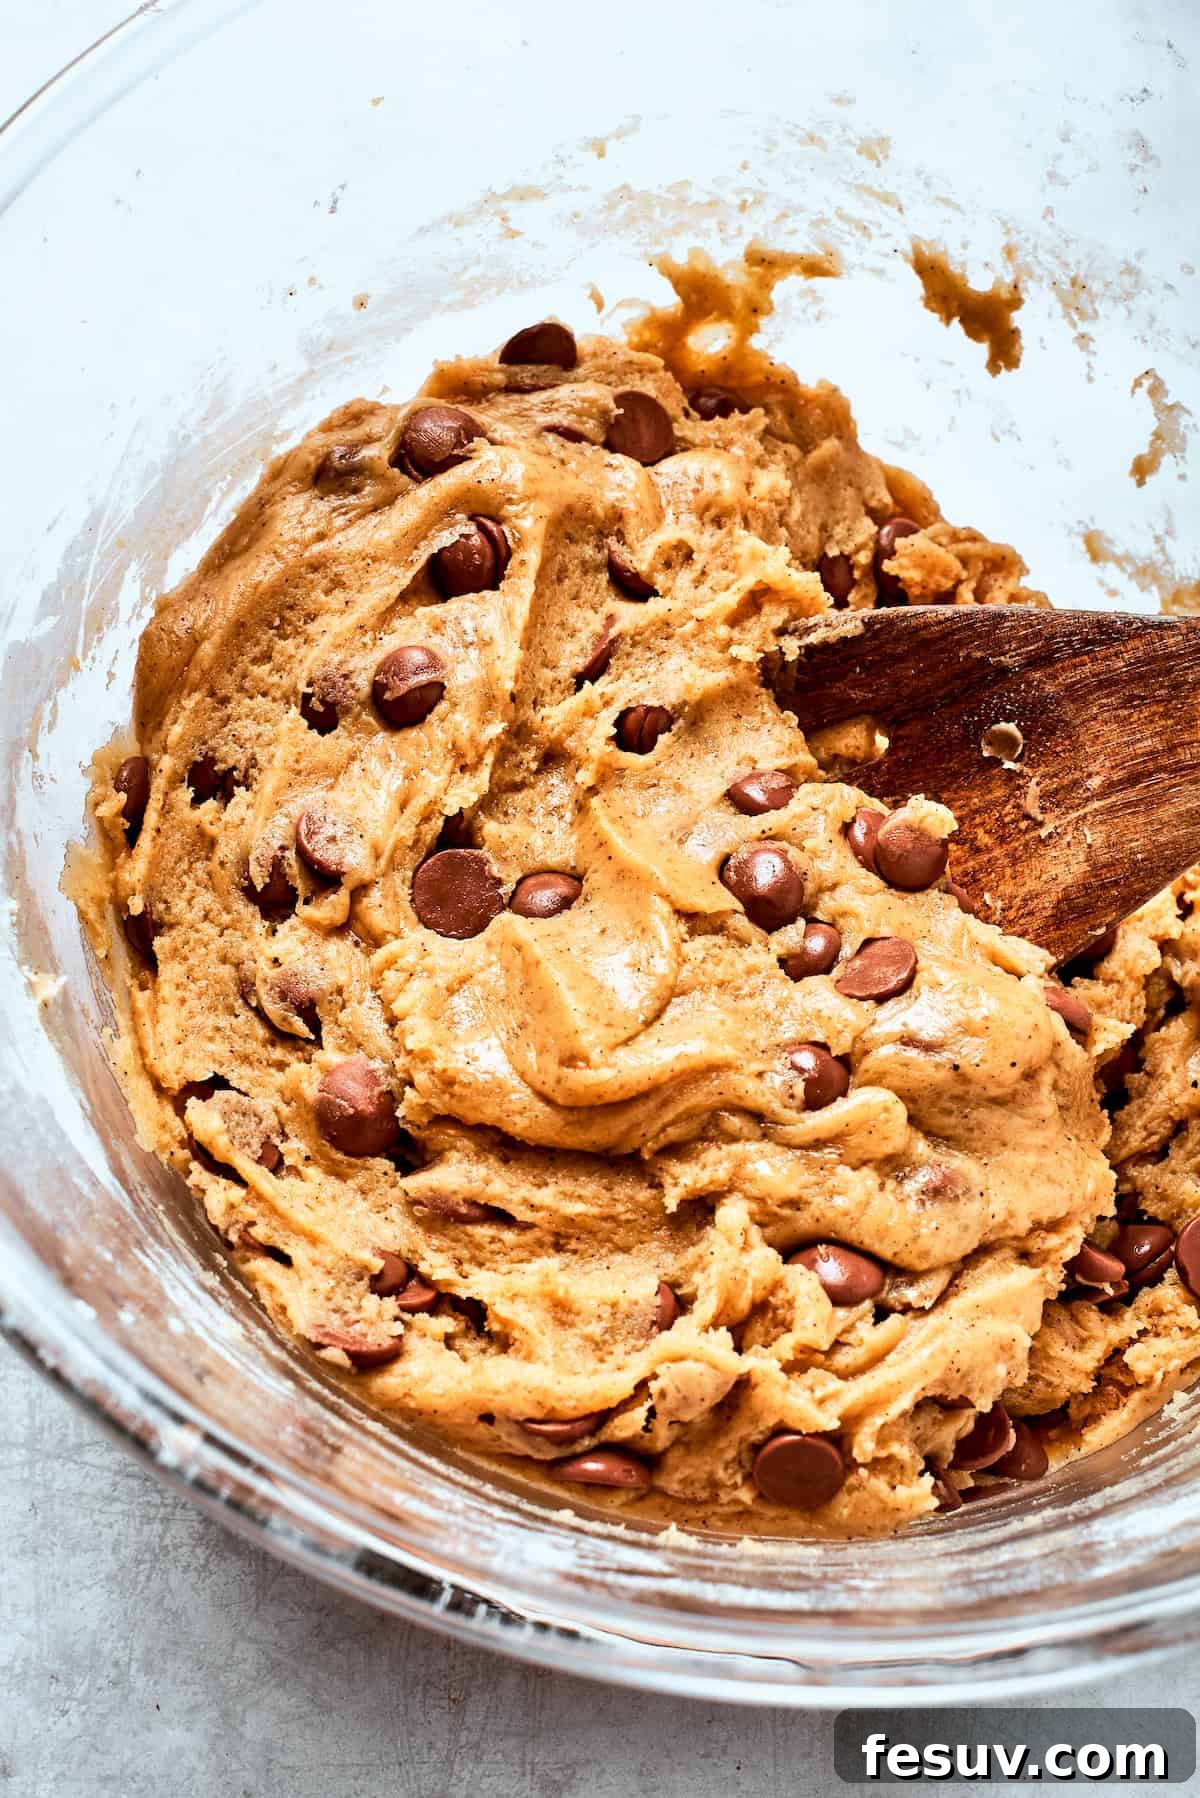
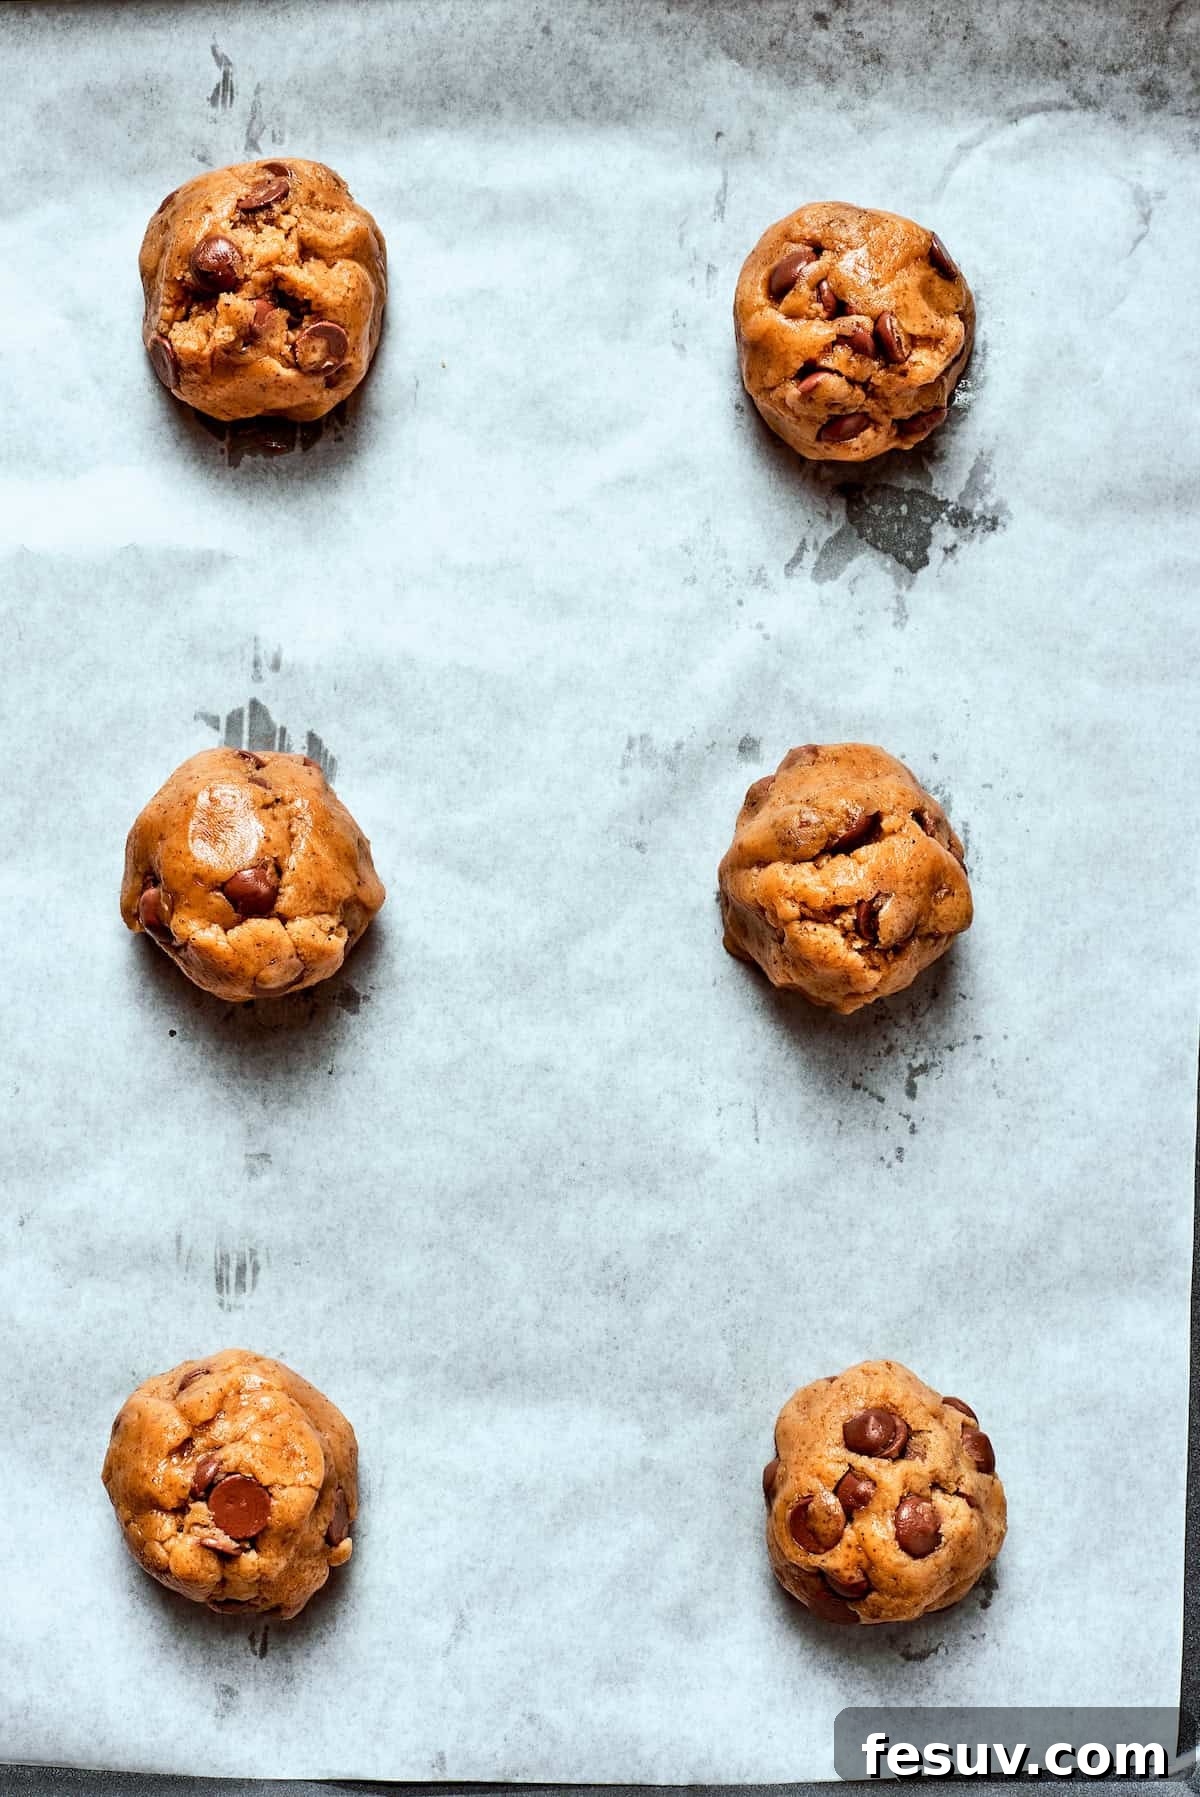
- Fold in Chocolate Chips: Once the dry ingredients are just incorporated, add your semi-sweet chocolate chips. Use a spoon or spatula to gently fold them into the dough until they are evenly distributed.
- Chill the Dough (Crucial Step): Cover the cookie dough tightly with plastic wrap and refrigerate it for at least 30 minutes, or up to 24 hours. This chilling period is non-negotiable! It solidifies the butter, which prevents the cookies from spreading too much during baking, and it also allows the flavors to meld and deepen, resulting in a more complex and delicious cookie.
- Prepare for Baking: Preheat your oven to 350°F (175°C). Line two baking sheets with parchment paper or silicone baking mats. This prevents sticking and ensures even baking.
- Portion and Bake: Using a cookie scoop (about 1.5-2 tablespoons) or a regular tablespoon, portion out the chilled dough. Roll each scoop into a smooth ball. Place the dough balls on the prepared baking sheets, leaving approximately 2 inches of space between each to allow for proper spreading. Bake for 10-12 minutes, or until the edges are golden brown and the centers still look slightly soft and set. Remember, cookies continue to bake slightly as they cool on the hot baking sheet, so avoid overbaking if you want a chewy interior.
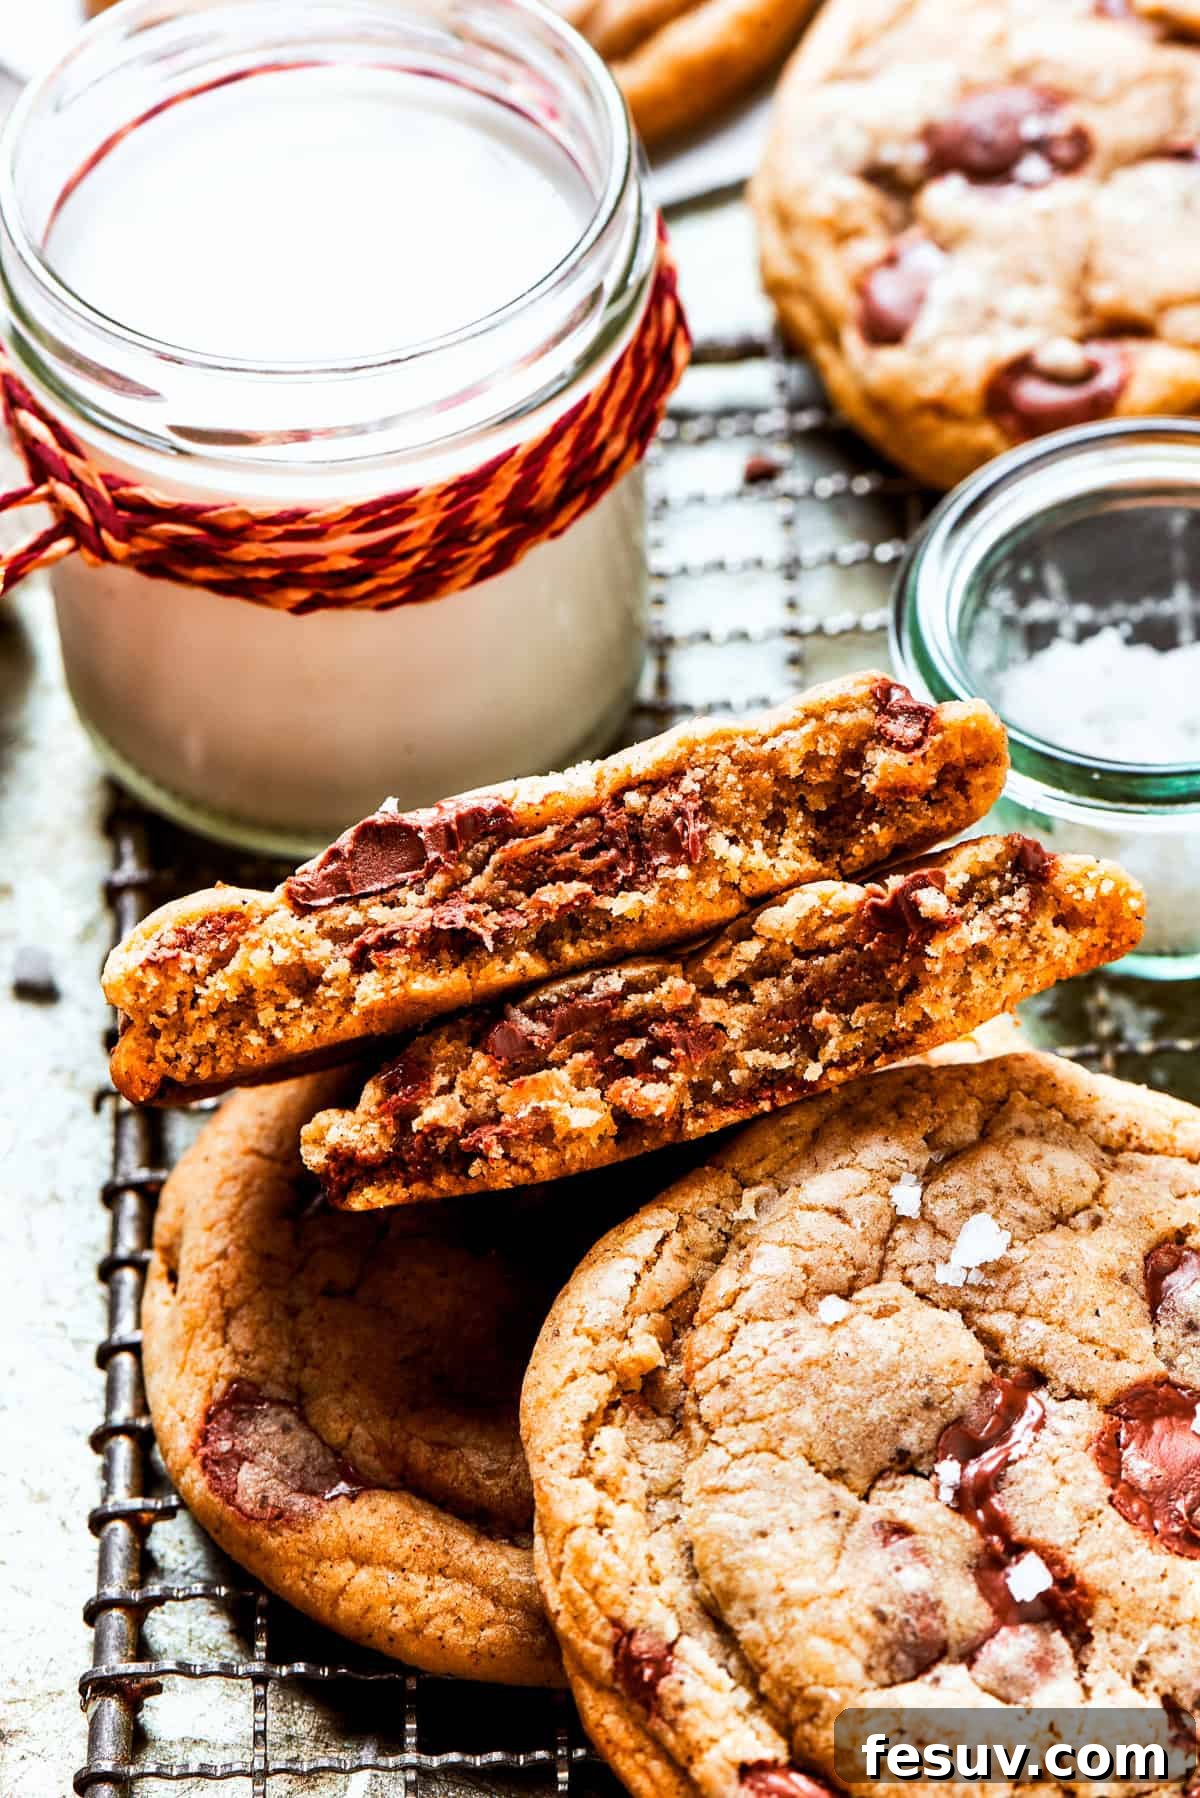
- Finishing Touch: As soon as the cookies emerge from the oven, and while they are still hot, sprinkle a tiny pinch of flaky sea salt over each one. This enhances the flavor and adds a gourmet touch. Allow the cookies to cool on the baking sheet for 5 minutes before carefully transferring them to a wire rack to cool completely. Enjoy them warm while the chocolate is still melty for the ultimate experience!
Mastering the Art of Browning Butter: Tips for Success
Browning butter is a simple technique that yields incredible flavor rewards, but it requires a bit of attention. Here’s how to master it and avoid common pitfalls:
- Use a Light-Colored Pan: This is a crucial tip! A light-colored saucepan allows you to easily observe the butter’s color transformation. In a dark pan, it’s much harder to see the subtle changes from golden to amber, increasing your risk of burning.
- The Stages of Browning:
- Melting: The butter will first melt and turn into a clear liquid.
- Foaming: It will then start to foam and bubble. This foam is the water evaporating from the butter. Keep whisking or swirling.
- Separation and Browning: Beneath the foam, the milk solids will begin to separate and sink to the bottom of the pan. These solids will change from pale yellow to golden, then to a beautiful amber color. This is when the magic happens, releasing a distinct nutty aroma.
- Whisk and Swirl Consistently: To ensure even browning and prevent the milk solids from sticking and burning at the bottom of the pan, continuously whisk or swirl the pan. This motion helps distribute the heat and cook the butter evenly.
- Watch Carefully (and Smell!): Trust your senses. Keep a close eye on the color of the milk solids at the bottom of the pan. They should be a deep golden amber, resembling caramel. Simultaneously, take note of the aroma – it should smell wonderfully nutty and toasty, not burnt. The transition from perfectly browned to burnt can happen quickly, often in a matter of seconds.
- Act Quickly: As soon as the butter reaches that deep amber color and emits a rich, nutty scent, immediately remove the pan from the heat. Pour the browned butter, including all the precious toasted bits, into a separate heatproof bowl or glass measuring cup. Leaving it in the hot pan will cause it to continue cooking and potentially burn.
- Cool Completely: Before proceeding with the cookie recipe, ensure the brown butter has cooled completely to room temperature. Warm butter will cause your cookie dough to become too greasy and lead to excessive spreading during baking, resulting in thin, flat cookies. Plan ahead for this cooling time.
- If It Burns, Toss It: If you accidentally cook the butter for too long and it turns dark brown or black, emitting a bitter, acrid smell, you must discard it and start over. Burnt butter will impart a foul taste to your cookies, and there’s no way to salvage it. It’s better to waste a stick of butter than an entire batch of cookies.
Expert Tips and Creative Variation Ideas for Your Cookies
These brown butter chocolate chip cookies are spectacular on their own, but a few extra tips and creative variations can make them even better and suit any occasion:
- The Dough Chill is Non-Negotiable: We cannot stress this enough – chilling the dough for at least 30 minutes (and preferably longer, up to 24 hours) is essential. It allows the brown butter to re-solidify, which prevents the cookies from spreading too much in the oven. More importantly, it gives the flour time to fully hydrate and the flavors to meld and deepen, resulting in a chewier cookie with a more complex, irresistible taste.
- Don’t Overmix the Dough: Once you add the dry ingredients to the wet, mix only until just combined. Overmixing develops the gluten in the flour, leading to tougher cookies. A few streaks of flour are fine; they will disappear during baking.
- Use a Cookie Scoop for Uniformity: For consistently sized and evenly baked cookies, use a cookie scoop. This ensures each cookie bakes at the same rate and looks picture-perfect.
- Don’t Overcrowd Your Baking Sheets: Leave ample space (about 2 inches) between each cookie dough ball on the baking sheet. This allows for proper air circulation and prevents the cookies from merging into one giant cookie blob.
- The “Pan-Banging” Technique (Optional): For flatter, chewier cookies with crinkly edges, try the pan-banging technique. A few times during the last half of baking (e.g., at 6 minutes, then again at 9 minutes), open the oven door and firmly lift the baking sheet a few inches, then drop it back onto the oven rack. This causes the cookies to deflate, creating those desirable ripples and concentrating the chewiness.
- Make a Double Batch for Convenience: This dough doubles beautifully! Bake off as many cookies as you desire for immediate enjoyment, then freeze the rest for later. To freeze, form the dough into balls, place them on a parchment-lined cookie sheet, and freeze until solid (about 1-2 hours). Once frozen, transfer the dough balls to a freezer-safe container or zip-top bag, separating layers with parchment paper. They can be frozen for up to 3 months. When cravings strike, simply bake them directly from frozen, adding an extra 2-3 minutes to the baking time.
- Serving Suggestions: These cookies are undeniably best when enjoyed warm, with the chocolate chips still delightfully melty and the texture soft and chewy. They pair exquisitely with a tall glass of cold milk, a scoop of vanilla bean ice cream, or a warm cup of coffee or a caffe macchiato for an adult treat.
- Introduce Nuts for Extra Crunch: For those who love a textural contrast, consider adding 1 to 2 cups of chopped walnuts, pecans, or almonds to your brown butter chocolate chip cookies. For an even deeper flavor, toast the nuts lightly before adding them to the dough.
- Explore Chocolate Variations: While semi-sweet is classic, feel free to experiment!
- Milk Chocolate Chips: For a sweeter, creamier cookie.
- Dark Chocolate Chunks: For a more intense, sophisticated chocolate experience. Chopped chocolate bars (70% cocoa or higher) melt beautifully into luxurious puddles.
- White Chocolate Chips: Offer a sweet, creamy contrast to the nutty brown butter.
- Combination: Mix and match different types of chocolate chips for a complex chocolate medley.
Storing Your Delicious Brown Butter Chocolate Chip Cookies
If you manage to resist devouring all your brown butter chocolate chip cookies on the day they’re baked (a challenging feat, we know!), here’s how to properly store them to maintain their freshness and flavor:
- At Room Temperature (Counter): Once completely cooled, place your cookies in an airtight container. They will stay fresh and delicious at room temperature for up to 3 days. To restore some of their warmth and chewiness, you can microwave them for 5-10 seconds.
- In the Refrigerator: For a slightly longer shelf life, store the cooled cookies in an airtight container in the fridge for up to 5 days. Chilled cookies can be lovely, or you can gently warm them before serving.
- In the Freezer (Baked Cookies): For long-term storage, transfer cooled cookies to a freezer-safe bag or airtight container, separated by parchment paper if stacking. Store them in the freezer for up to 3 months. To enjoy, simply defrost the cookies in the refrigerator overnight, or warm them directly from frozen in a low oven (around 275°F / 135°C) for 5-10 minutes until warmed through.
Other Irresistible Cookie Recipes to Explore
If you’re a cookie enthusiast like us, be sure to try some of these other delightful recipes:
- Anginetti Cookies
- Christmas Cake Mix Cookies
- Homemade Butter Cookies
- Red Velvet Crinkle Cookies

5 from 5 votes
Brown Butter Chocolate Chip Cookies
by Katerina | Easy Weeknight Recipes
These crispy yet chewy brown butter chocolate chip cookies are packed with dark brown sugar and plenty of chocolate chips in every bite.
Prep Time: 20 minutes
Cook Time: 12 minutes
Cooling Time: 10 minutes
Total Time: 42 minutes
Servings: 24 cookies
Ingredients
- 1 cup unsalted butter
- ½ cup granulated sugar
- 1 cup packed dark brown sugar
- 2 large eggs, at room temperature
- 1 egg yolk, at room temperature
- 1 teaspoon pure vanilla extract
- 2½ cups all-purpose flour
- 2 teaspoons cornstarch
- 1 teaspoon baking soda
- pinch of sea salt
- 2 cups semi-sweet chocolate chips
- flaky sea salt, for finishing
Instructions
- Melt the butter. Place 2 sticks of unsalted butter in a medium saucepan over medium heat. Once the butter melts, begin whisking occasionally. After a few minutes, the butter will start to foam. This process can take about 4-7 minutes.
- Brown the butter. Once the foam forms, whisk continuously, as it becomes harder to see what is happening underneath the surface. As the butter continues to cook, the milk solids will sink to the bottom of the pan. At first, these solids will be pale, but within a minute or two, they will begin to toast and turn golden brown.
- Continue to brown the butter. Stir continuously to prevent the solids from burning. The butter is ready when the solids reach a deep amber color and the butter gives off a rich, nutty aroma. At this point, remove the butter from the heat to prevent burning.
- Cool the butter. Carefully pour the butter into a glass measuring cup or heatproof jar, making sure to scrape in all the browned bits from the bottom of the pan. These toasted bits add depth to the flavor. Let it cool completely to room temperature.
- Mix the sugars and butter. In a large mixing bowl, combine the cooled brown butter with white granulated sugar and packed dark brown sugar. Use an electric mixer or whisk to beat the mixture until smooth and creamy.
- Add the eggs. Add two whole eggs and one egg yolk, plus the vanilla extract. Mix well until fully incorporated.
- Combine the dry ingredients. In a separate bowl, whisk together all-purpose flour, cornstarch, baking soda, and sea salt.
- Combine the dry and wet ingredients. Gradually add dry ingredients to the wet mixture, stirring with a whisk until just combined. Be careful not to overmix, as this could make the cookies tough. The dough will be thick and slightly sticky.
- Add chocolate. Gently fold in 2 cups of semi-sweet chocolate chips, making sure they are evenly distributed throughout the dough.
- Chill the dough. Cover the cookie dough with plastic wrap and chill it in the refrigerator for at least 30 minutes. This step helps solidify the butter, ensuring the cookies don’t spread too much during baking.
- Prep the oven. Preheat the oven to 350°F (175°C). Line two baking sheets with parchment paper to prevent sticking.
- Shape the cookie dough balls. Use a cookie scoop or tablespoon to portion the dough, rolling each scoop into a ball. Place the dough balls on the prepared baking sheets, leaving about 2 inches of space between them to allow for spreading.
- Bake. Bake the cookies for 10-11 minutes, or until the edges are golden brown and the centers are still soft. They will continue to set as they cool. Avoid over baking to keep the cookies chewy.
- Remove from oven and cool. As soon as the cookies come out of the oven, sprinkle each one with a pinch of flaky sea salt to enhance the flavors. Let the cookies rest on the baking sheet for 5 minutes before transferring them to a wire rack to cool completely.
Equipment
- Baking Sheets
Nutrition
Calories: 259kcal | Carbohydrates: 31g | Protein: 3g | Fat: 14g | Saturated Fat: 8g | Polyunsaturated Fat: 1g | Monounsaturated Fat: 4g | Trans Fat: 0.3g | Cholesterol: 35mg | Sodium: 56mg | Potassium: 119mg | Fiber: 2g | Sugar: 19g | Vitamin A: 264IU | Calcium: 23mg | Iron: 2mg
Nutritional info is an estimate and provided as courtesy. Values may vary according to the ingredients and tools used. Please use your preferred nutritional calculator for more detailed info.