
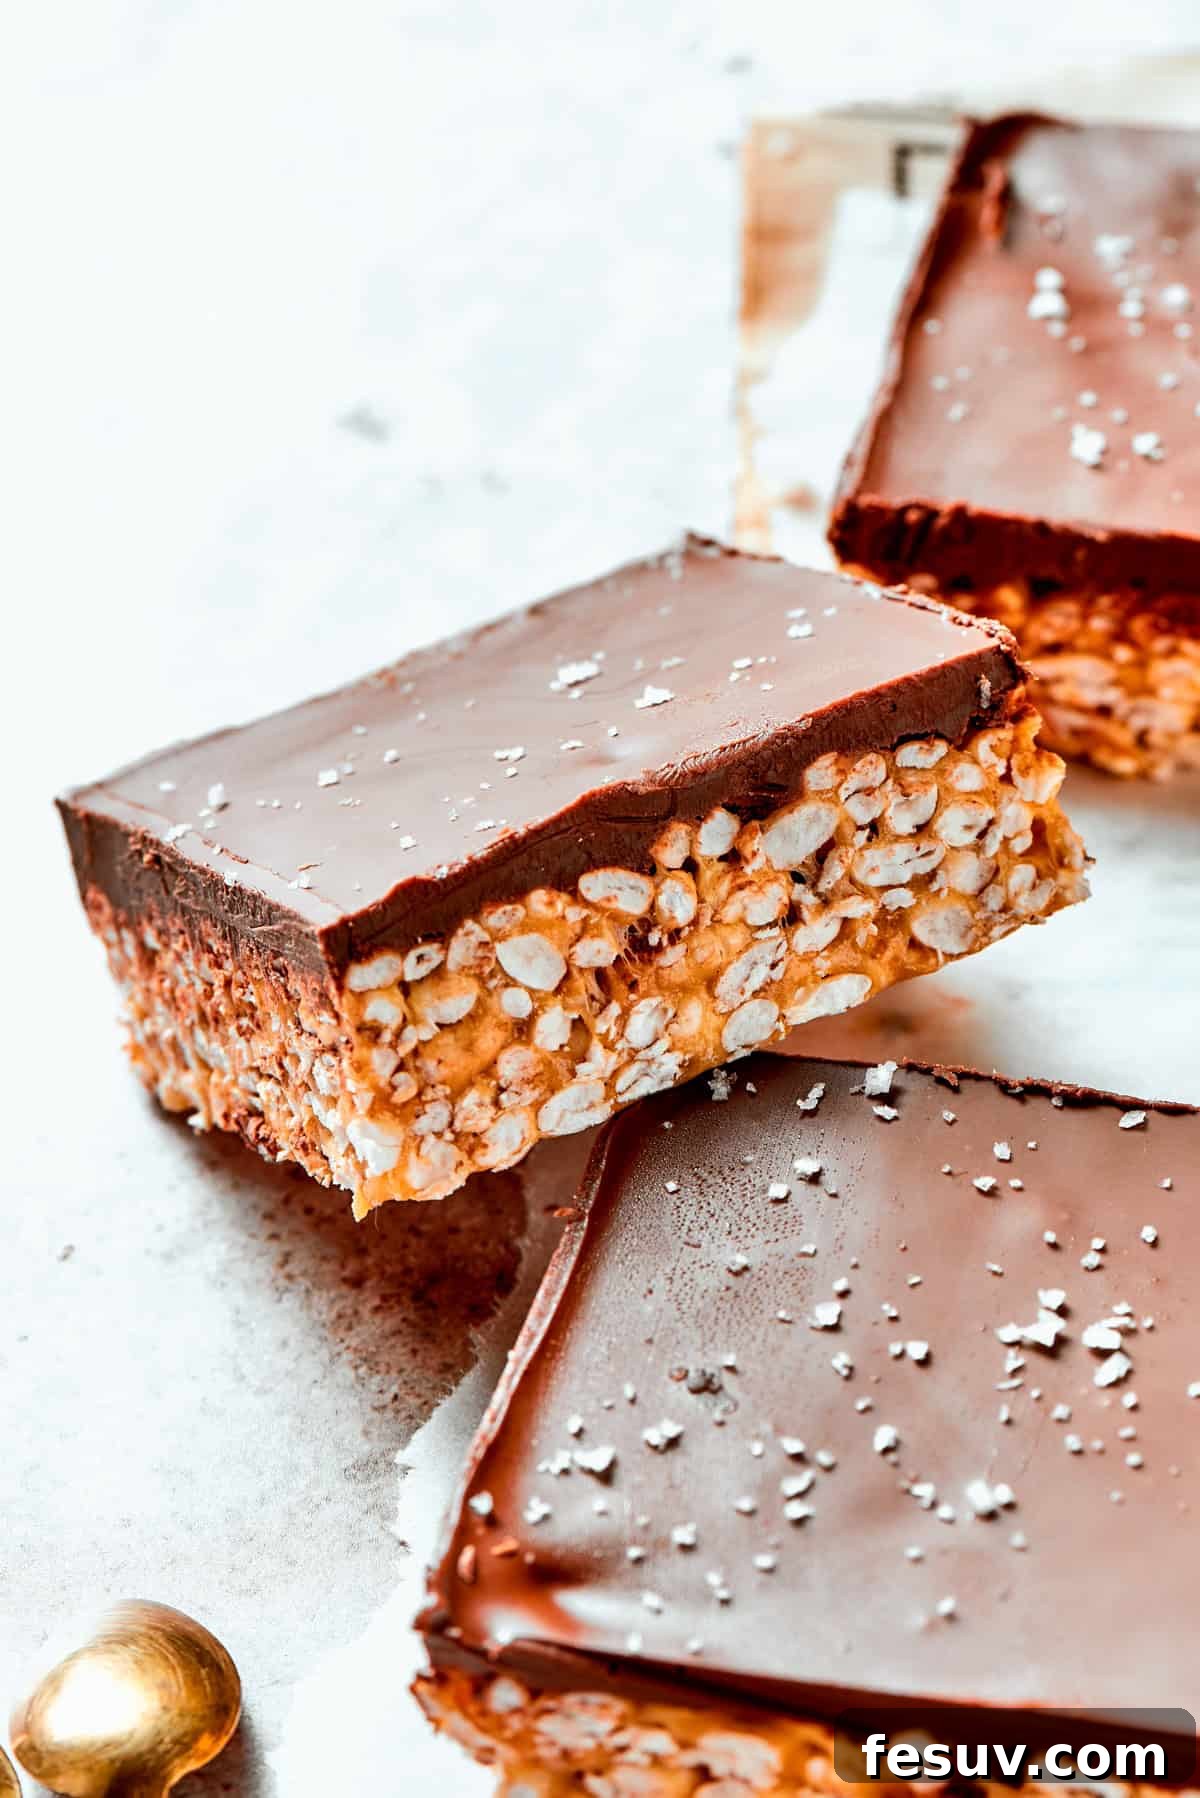
Irresistible No-Bake Peanut Butter Rice Crispy Treats with Chocolate
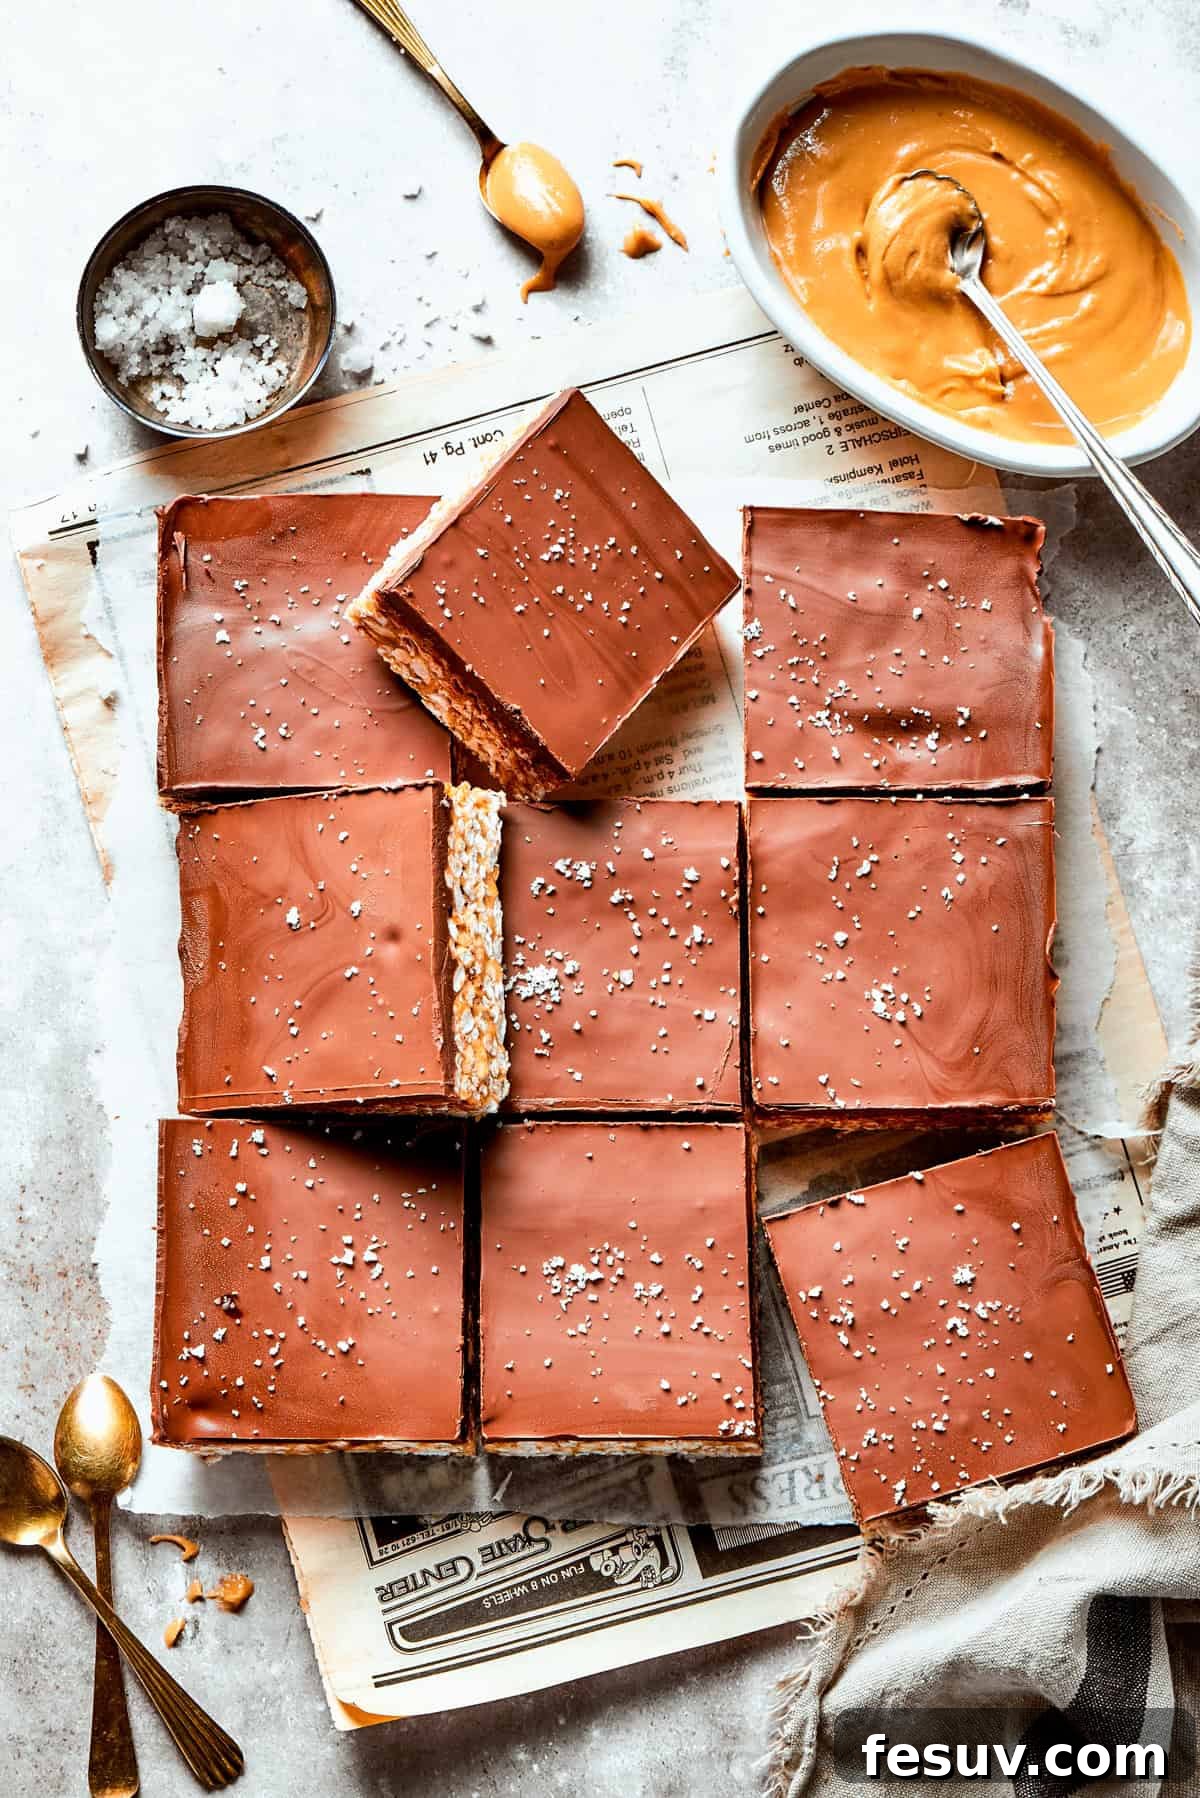
Indulge in the ultimate no-bake delight: our **Peanut Butter Rice Crispy Treats**, generously swirled with creamy peanut butter and crowned with a luscious layer of melted milk chocolate. These chewy, sweet bars are incredibly simple to prepare, offering a spectacular twist on a beloved classic dessert that everyone will adore.
If you’re a fan of creating delightful dessert bars and easy treats, you’ll certainly want to explore our other irresistible recipes. Brighten your day with our zesty Lemon Bars for a burst of citrus flavor, savor the rich and creamy goodness of our Pumpkin Cheesecake Bars, or enjoy the sweet and tangy notes of these charming Cherry Kuchen Bars. We truly have a treat to satisfy every possible craving, but these peanut butter and chocolate marvels might just become your new favorite!
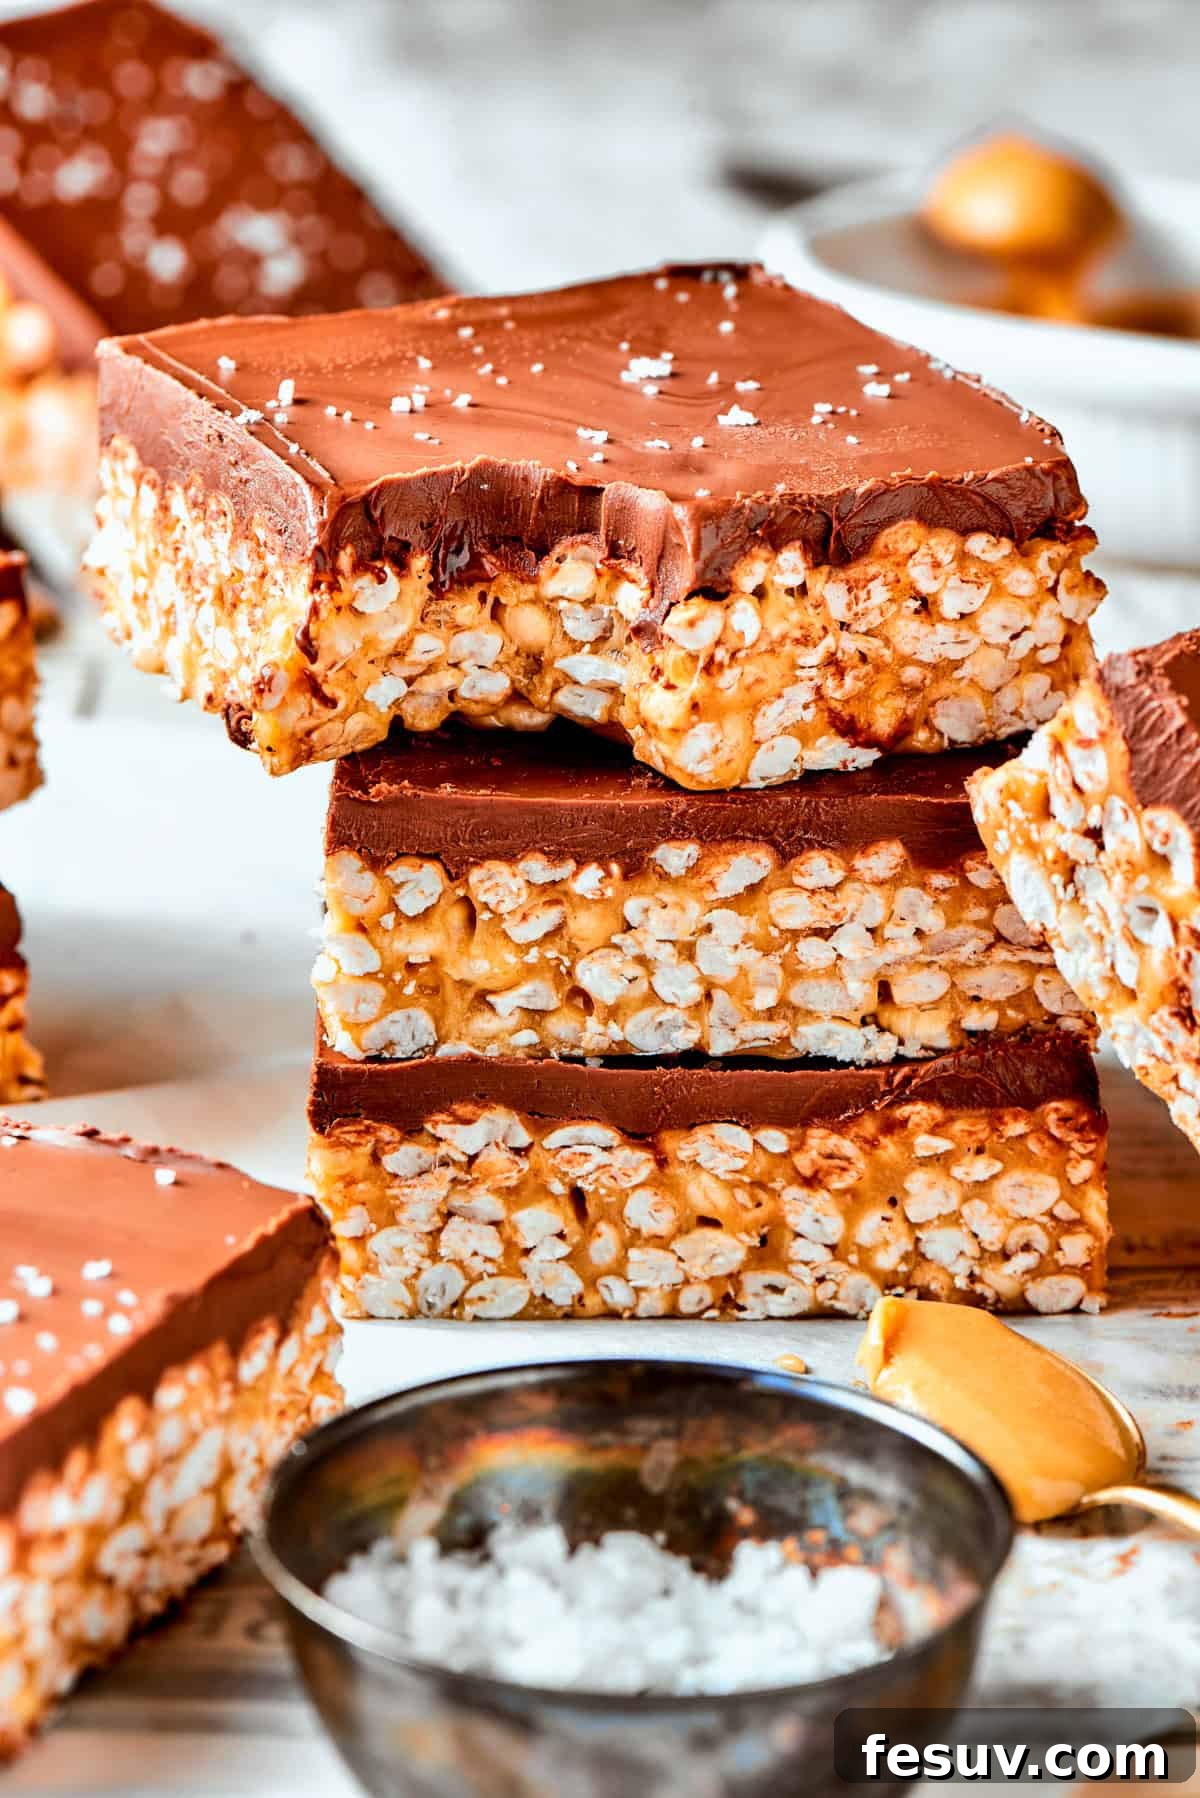
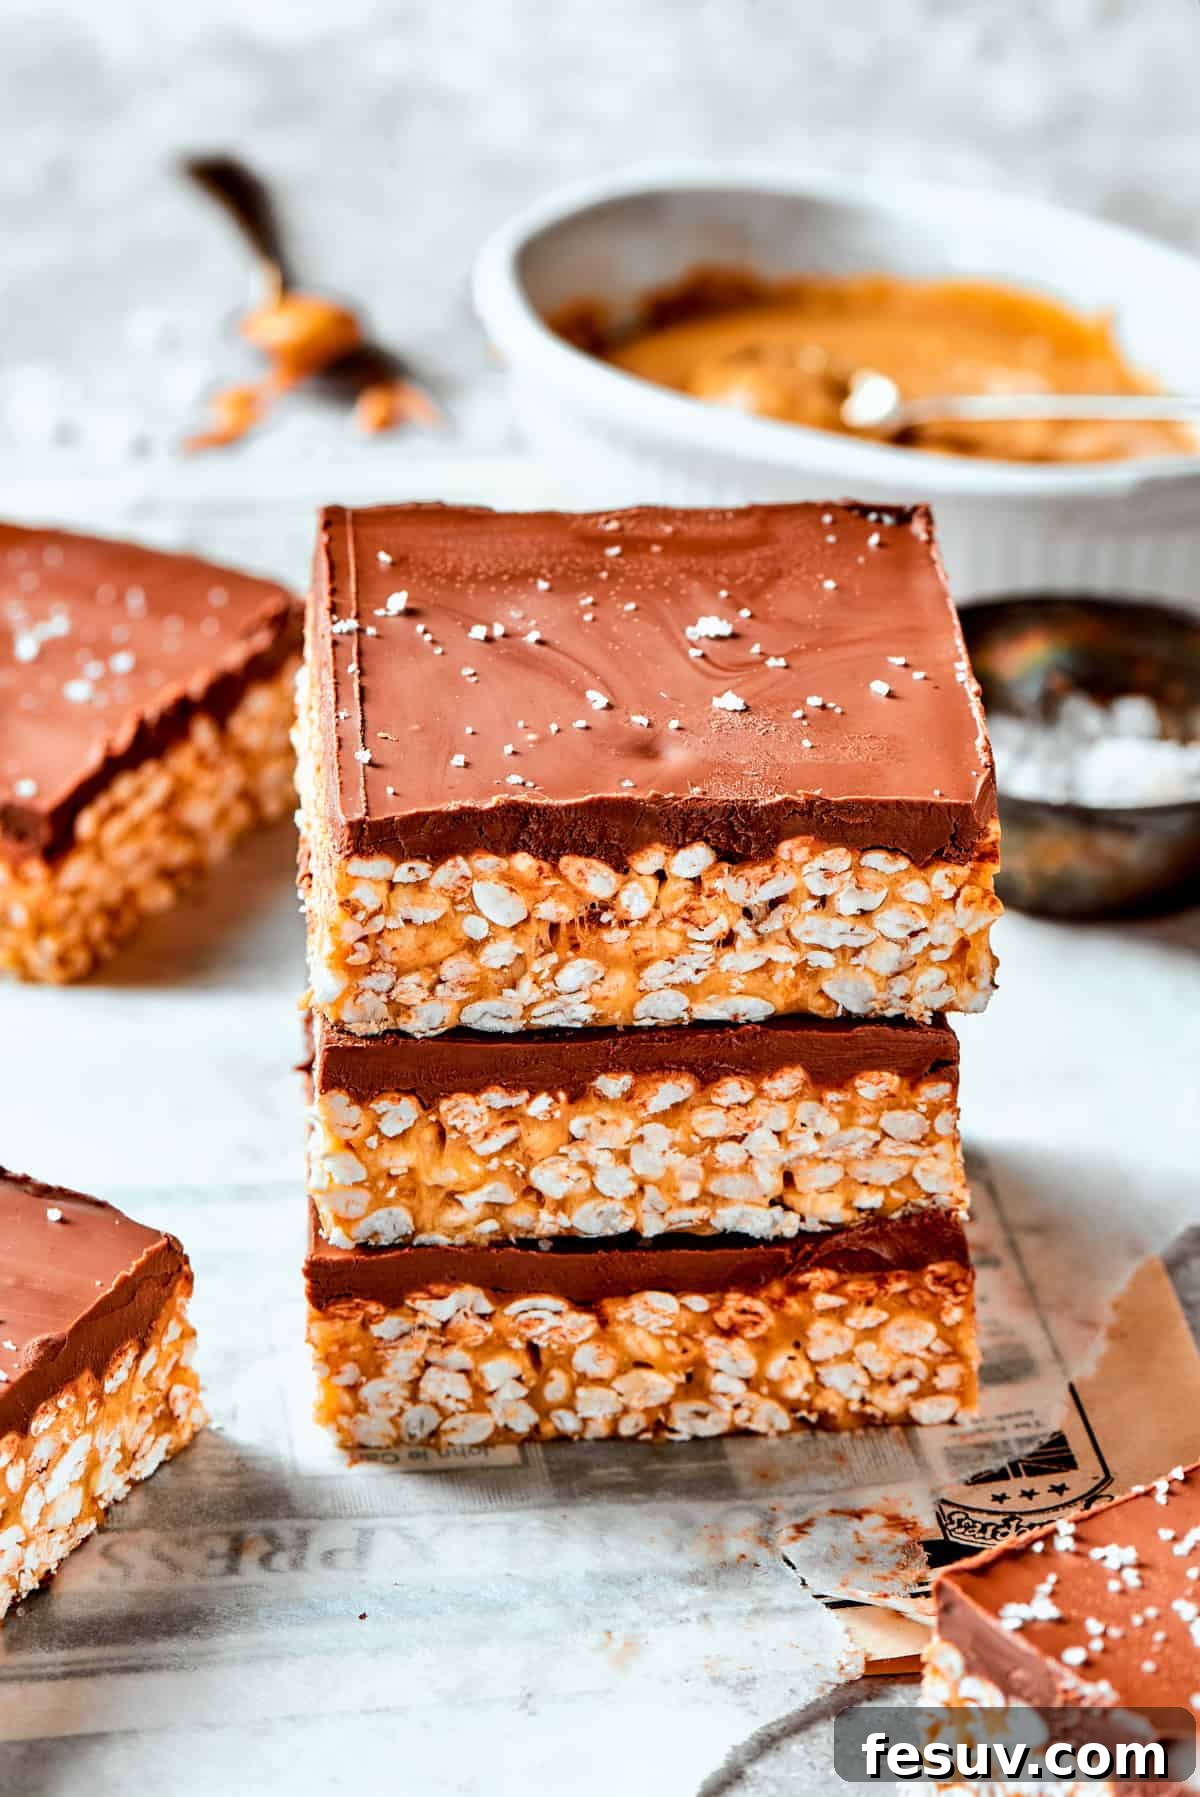
The timeless flavor combination of peanut butter and chocolate finds its perfect expression in these wonderfully chewy rice crispy treats. This recipe elevates the traditional no-bake dessert bar by infusing it with generous amounts of smooth peanut butter, a hint of maple syrup for added depth of sweetness, classic mini marshmallows, and crunchy crisp rice cereal. The grand finale is a thick, decadent layer of melted milk chocolate, creating a symphony of textures and flavors that will undoubtedly make you a devoted fan of this enhanced rice crispy treats recipe!
Why You’ll Absolutely Love These Peanut Butter Rice Crispy Treats
There are countless reasons why these peanut butter and chocolate rice crispy treats are destined to become a staple in your dessert repertoire:
- Effortlessly Easy & No-Bake: As a huge enthusiast of no-bake desserts, I can confidently say this recipe is a true gem. If you’ve ever made classic rice krispie treats, you already know the simple process: just melt a few ingredients, stir everything together, press into a pan, and let them set. Minimal fuss, maximum deliciousness, making it perfect for busy weeknights or impromptu gatherings.
- The Ultimate Peanut Butter and Chocolate Harmony: Is there a more iconic and universally loved flavor pairing than peanut butter and chocolate? These treats celebrate this dynamic duo in every bite. The rich, nutty notes of the peanut butter base are beautifully complemented by the sweet, creamy milk chocolate topping, creating an irresistible balance that satisfies every sweet tooth.
- A Sophisticated Twist on a Childhood Classic: While classic rice krispie treats are fantastic, I sometimes find them a touch too sweet. My peanut butter version introduces a wonderful complexity. The inherent sweetness of the marshmallows and chocolate is expertly balanced by the savory depth of peanut butter and a delicate sprinkle of flaky sea salt on top. This subtle addition of salt enhances all the flavors, preventing them from being overwhelmingly sweet and adding a gourmet touch.
- Kid-Friendly and Crowd-Pleasing: Not only are these treats a breeze to make, but they are also a guaranteed hit with both children and adults. Their familiar texture and beloved flavors make them perfect for school lunches, bake sales, parties, or simply as a comforting snack at home. They disappear quickly wherever they go!
- Customizable and Versatile: This recipe serves as a fantastic foundation for various customizations. Whether you want to experiment with different types of chocolate, add extra mix-ins, or adjust the sweetness, these bars are incredibly adaptable to your personal preferences.
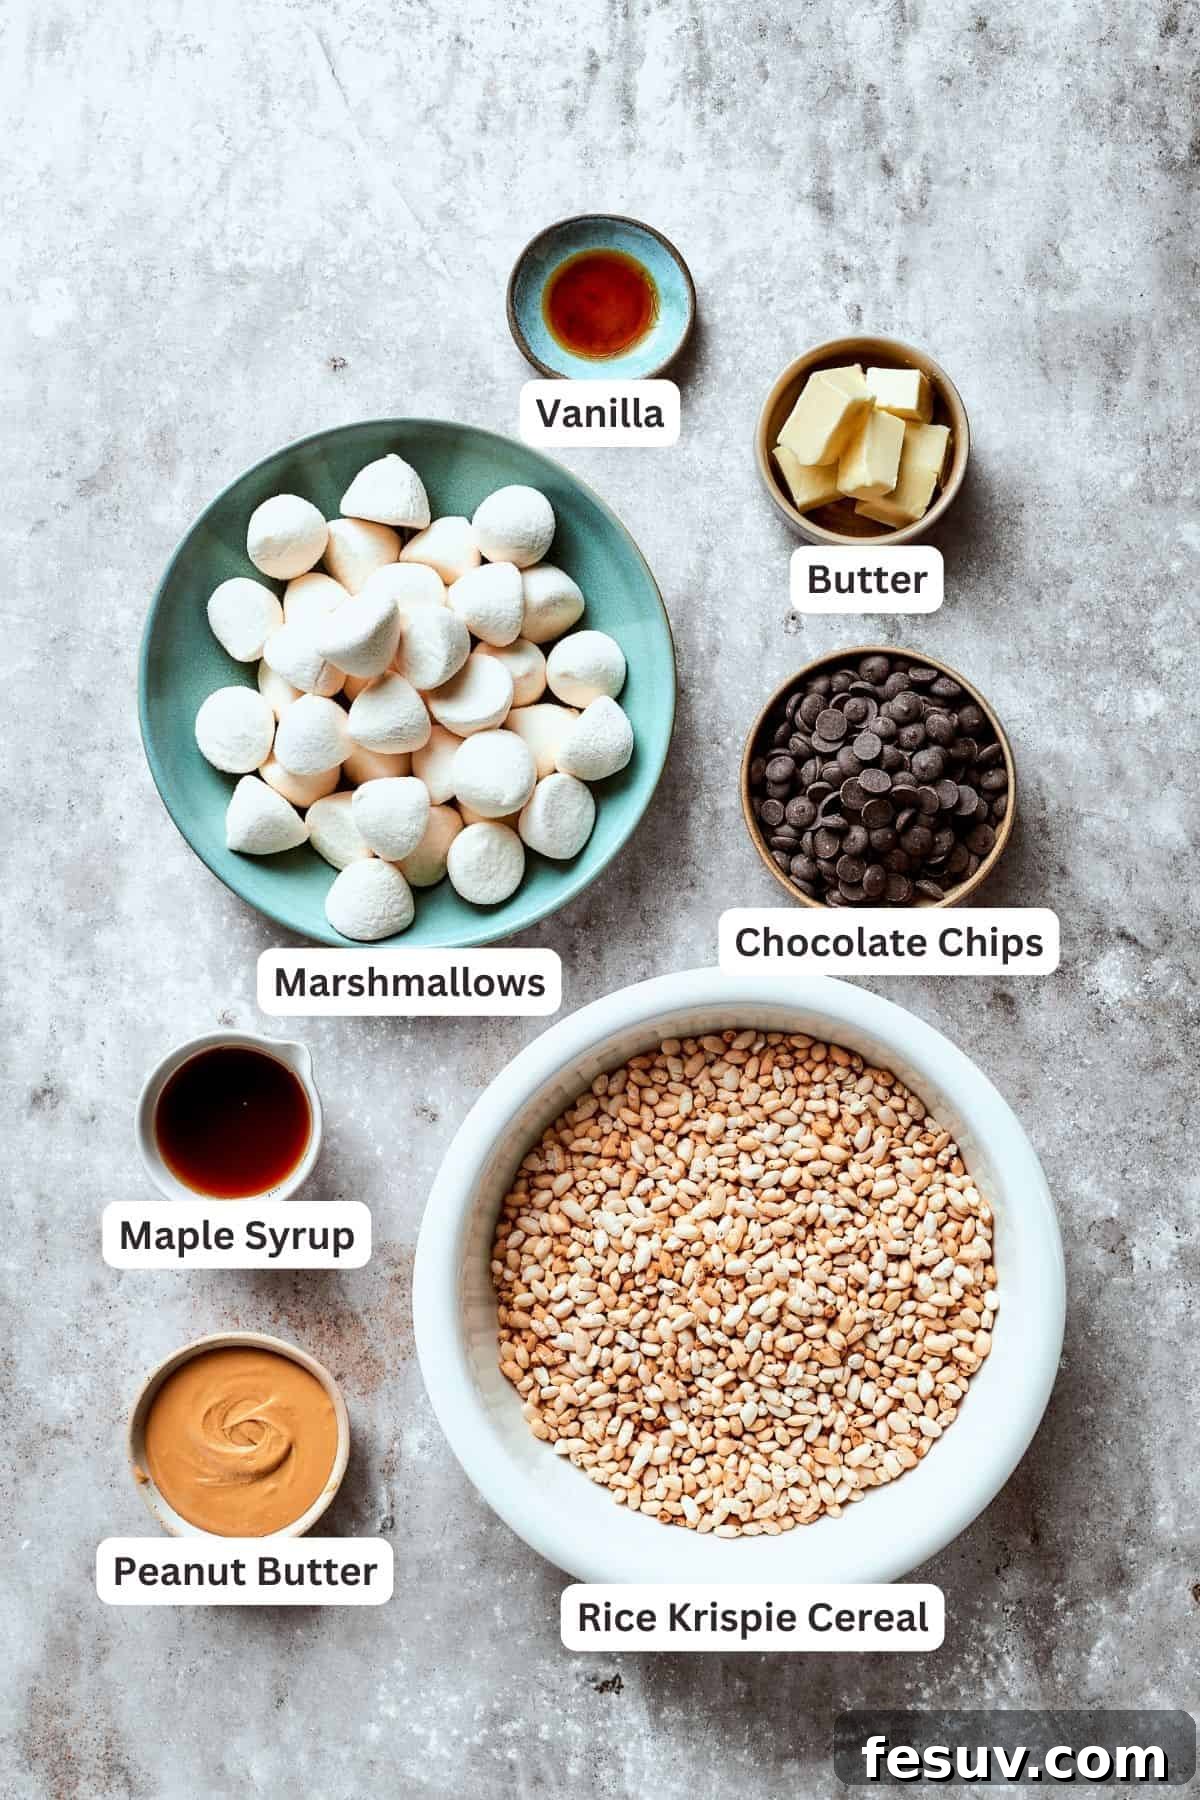
What You’ll Need: Essential Ingredients for These Decadent Treats
Gathering your ingredients is the first step towards creating these sensational no-bake bars. Here’s a detailed look at what you’ll need, along with some helpful notes:
- **Unsalted Butter:** We opt for unsalted butter to have complete control over the overall saltiness of the treats. If you only have salted butter on hand, you can use it, but you might want to omit the extra pinch of sea salt on top.
- **Maple Syrup:** This natural sweetener not only adds a lovely sweetness but also contributes a subtle, warm flavor that complements the peanut butter beautifully. If pure maple syrup isn’t available, high-quality honey can be used as a substitute, though the flavor profile will be slightly different.
- **Mini Marshmallows:** The backbone of any good rice crispy treat! Mini marshmallows melt quickly and evenly, creating that perfectly sticky, chewy binder. If you only have regular-sized marshmallows, simply ensure the total weight is 10 ounces (about 6 cups) and be prepared for them to take a little longer to melt.
- **Creamy Peanut Butter:** For the smoothest texture and best integration into the marshmallow mixture, creamy peanut butter is highly recommended. I personally avoid natural peanut butter in this recipe, as its tendency for oil separation can affect the final consistency of the treats. A classic, processed creamy peanut butter works best here.
- **Pure Vanilla Extract:** A touch of vanilla extract elevates all the other flavors, adding warmth and a hint of sophisticated sweetness to the base mixture. Don’t skip it!
- **Rice Krispie Cereal:** The iconic crunch comes from this classic ingredient. Feel free to use Kellogg’s Rice Krispies or your favorite brand of puffed crisp rice cereal to achieve that signature texture.
- **Milk Chocolate Chips:** These provide the rich, creamy, and undeniably sweet top layer. Milk chocolate melts beautifully and offers a classic, comforting flavor that pairs perfectly with peanut butter. For those who prefer a less sweet or slightly darker chocolate experience, semi-sweet chocolate chips are an excellent alternative.
- **Flaky Sea Salt (Optional, but Recommended):** A small sprinkle of flaky sea salt over the melted chocolate layer is a game-changer. It enhances the sweetness of the chocolate and cuts through the richness, creating a more balanced and addictive flavor profile.
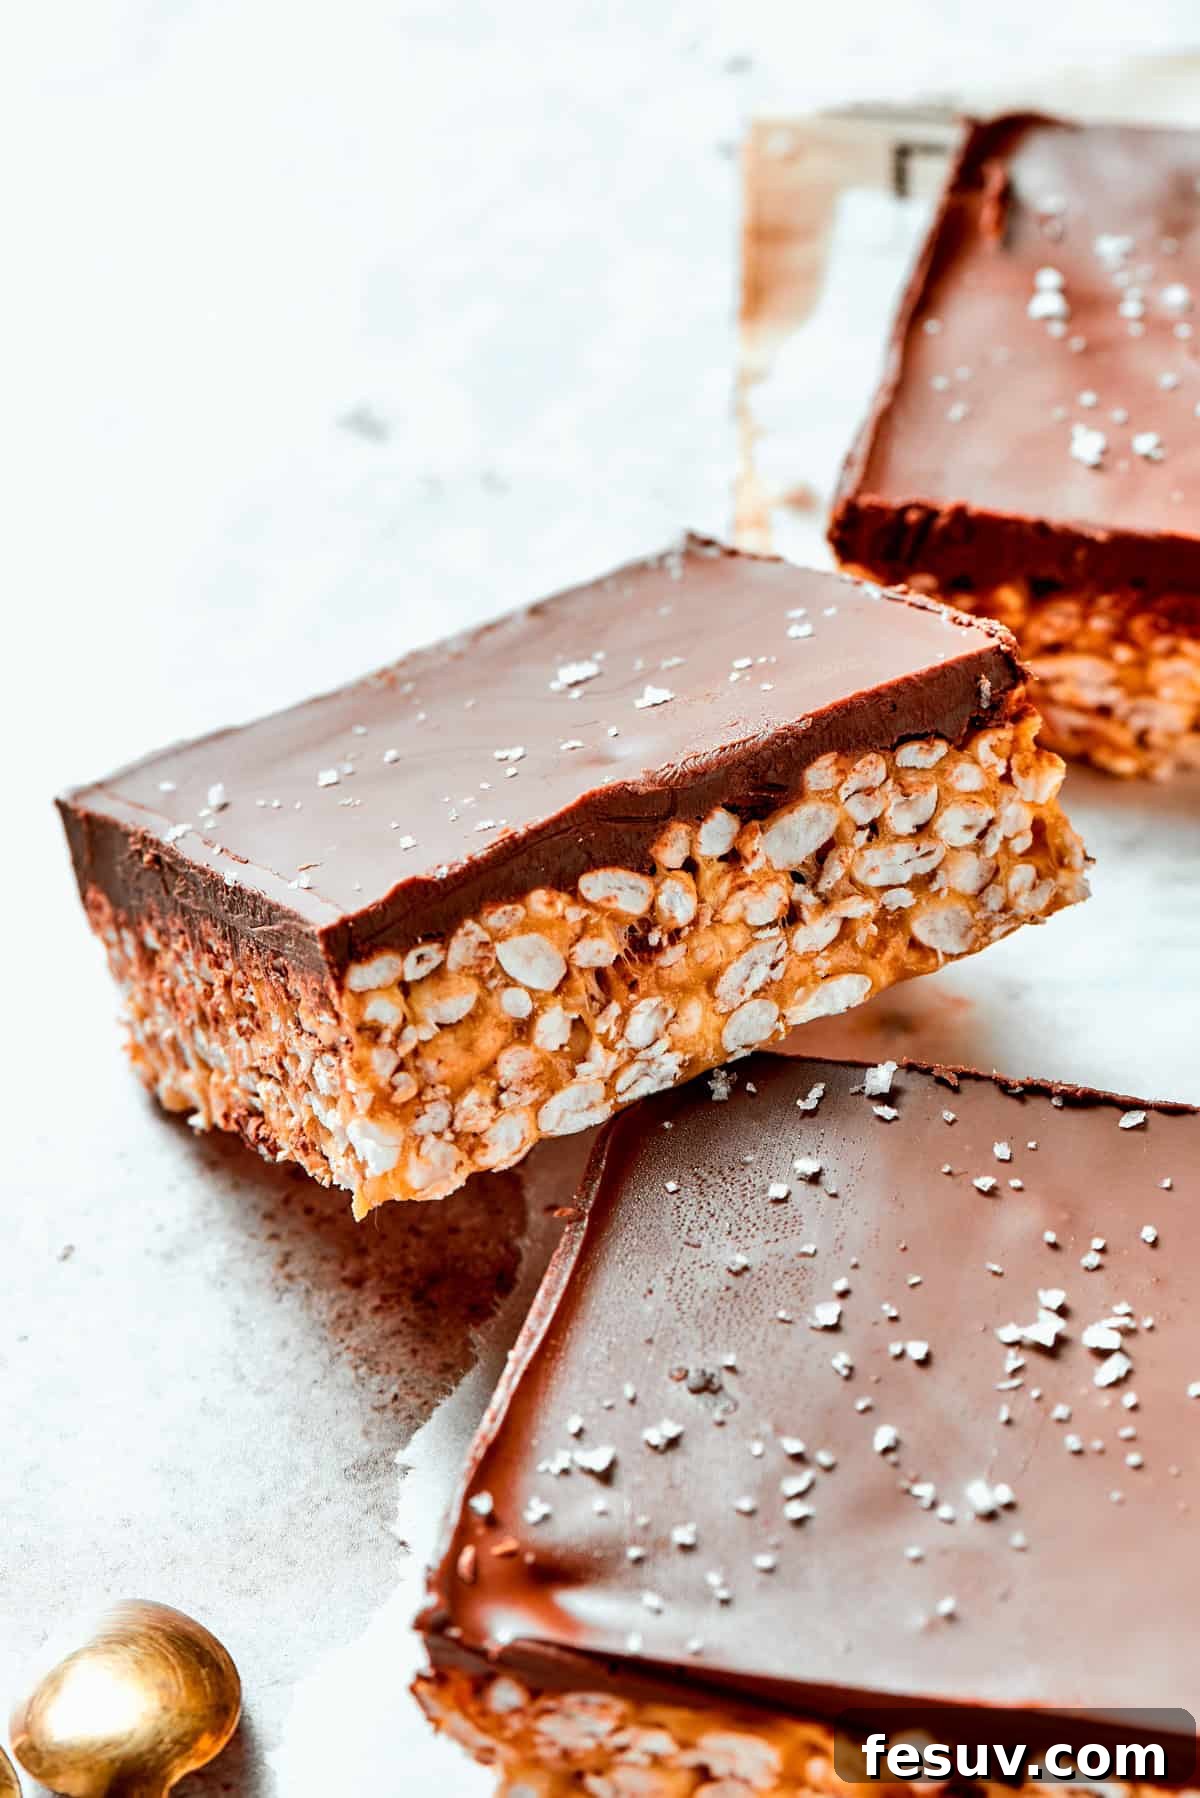
How To Make Chocolate Peanut Butter Rice Crispy Treats: A Simple Guide
These incredibly easy rice crispy treats require minimal active time, meaning you’ll be enjoying these delightful bars in no time. Follow these simple steps for perfect results:


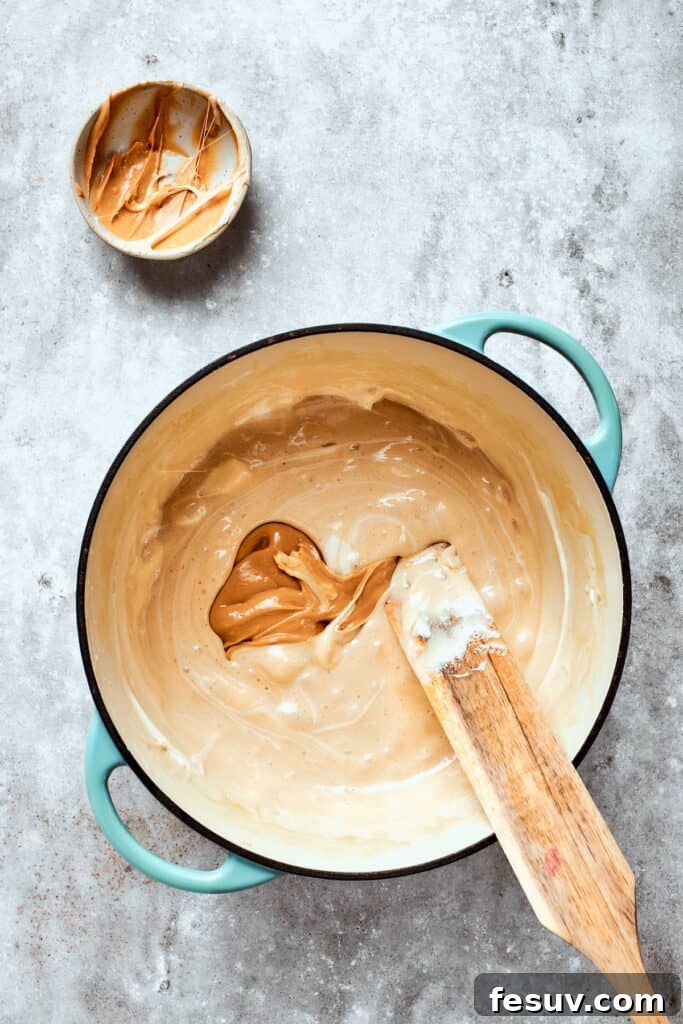
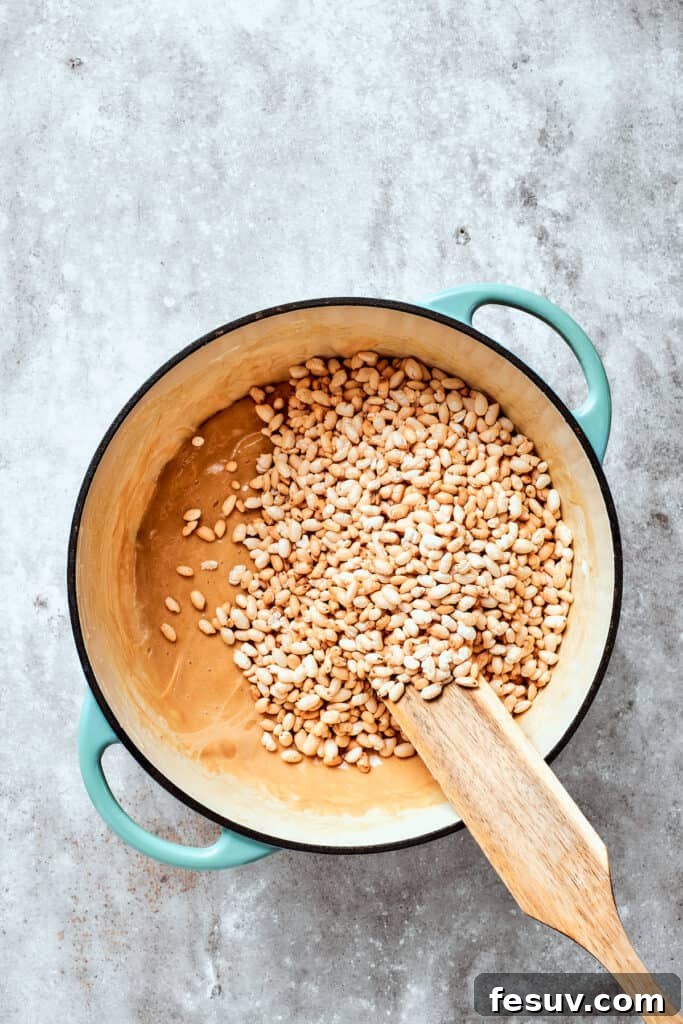
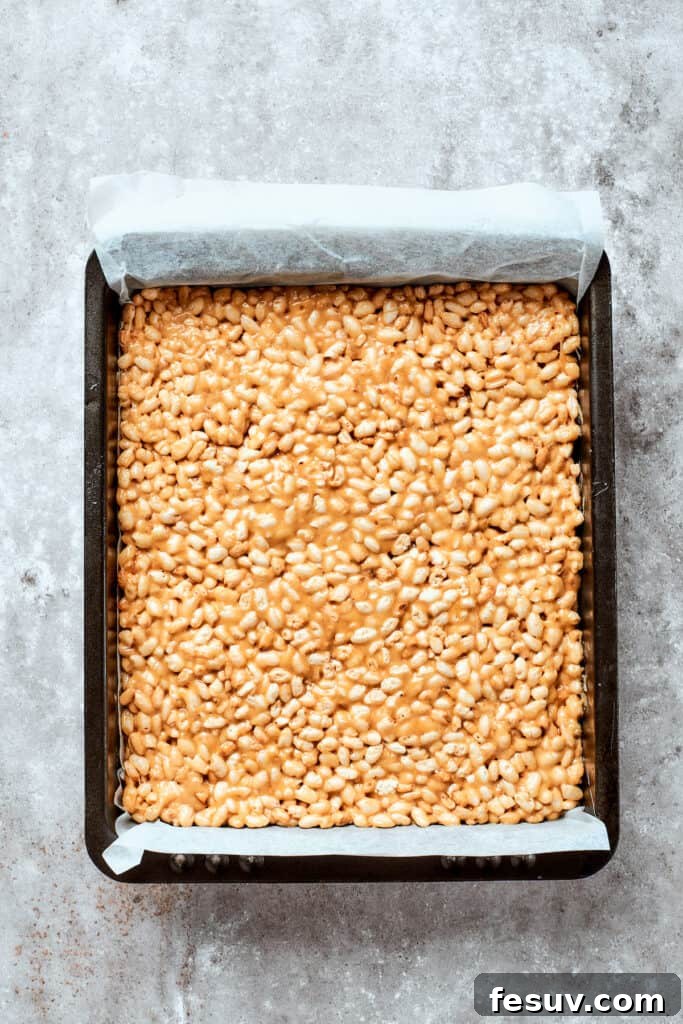
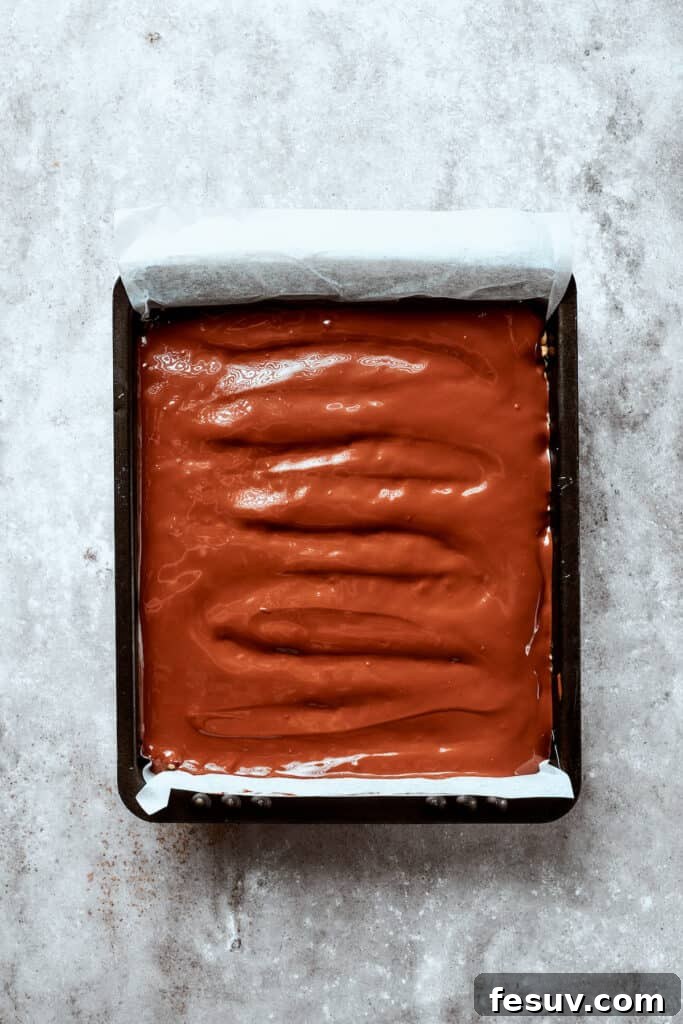
- Prepare Your Pan: Begin by lining a 9×13-inch baking dish with parchment paper. Allow the parchment paper to hang over the sides slightly, creating “handles.” This will make it significantly easier to lift the entire batch of treats out of the pan once they’ve set, allowing for clean cuts.
- Melt Butter & Syrup: In a large, heavy-bottomed saucepan, melt the unsalted butter over medium heat. Once melted, add the maple syrup. Continue to cook, stirring occasionally, until the mixture is fully combined and begins to gently bubble around the edges. This step helps create a smooth base for your marshmallows.
- Add & Melt Marshmallows: Reduce the heat to low. Add all the mini marshmallows to the saucepan. Stir continuously with a spatula or wooden spoon until the marshmallows are completely melted and the mixture is smooth, glossy, and sticky. Be patient and keep the heat low to prevent burning.
- Incorporate Peanut Butter & Vanilla: Remove the saucepan from the heat. Immediately stir in the creamy peanut butter until it is fully incorporated into the melted marshmallow mixture, creating a rich, uniform peanut butter caramel. Next, mix in the pure vanilla extract for an added layer of flavor.
- Fold in Cereal: Working quickly, add the Rice Krispie Cereal to the saucepan. Gently fold the cereal into the marshmallow-peanut butter mixture until every single piece is thoroughly and evenly coated. It’s important to work swiftly here, as the mixture will begin to cool and set.
- Press into Pan: Transfer the warm cereal mixture to your prepared baking dish. Using a piece of parchment paper, a buttered spatula, or lightly greased hands, press the mixture firmly and evenly into the pan. Ensure it’s packed down well to create dense, sturdy bars.
- Create Chocolate Topping: In a separate microwave-safe bowl, melt the milk chocolate chips. Heat them in 30-second intervals, stirring thoroughly after each interval, until the chocolate is smooth and completely melted. Alternatively, you can use a double boiler: place the chips in a heatproof bowl set over a saucepan of simmering water, stirring until smooth.
- Top with Chocolate & Set: Pour the melted chocolate evenly over the pressed rice crispy mixture in the baking dish. Use an offset spatula or the back of a spoon to spread the chocolate into a smooth, even layer. If desired, sprinkle a pinch of flaky sea salt over the chocolate layer while it’s still wet.
- Chill & Serve: Place the baking dish into the refrigerator for at least 30 minutes, or until the chocolate layer is completely set and the treats are firm. Once firm, use the parchment paper overhang to lift the entire slab out of the pan. Place it on a cutting board and slice into desired bar sizes. Serve immediately or store for later enjoyment!
Expert Tips for Success: Achieving Peanut Butter Rice Crispy Perfection
To ensure your peanut butter rice crispy treats turn out absolutely perfect every time, keep these valuable tips in mind:
- Go Gluten-Free with Ease: Making these treats suitable for gluten-sensitive individuals is incredibly simple. Many brands now offer certified gluten-free crispy rice cereal. Just swap out your usual cereal for a gluten-free alternative, and you’ll have delicious gluten-free peanut butter rice crispy treats without compromising on flavor or texture.
- Explore Other Nut Butters: While peanut butter is classic, don’t hesitate to get creative! I sometimes love to switch things up by using almond butter for a slightly different nutty profile, or even cashew butter for a creamier, milder flavor. If you need to accommodate a nut allergy, sunflower seed butter (like SunButter) is a fantastic, safe, and equally delicious alternative that still provides that rich, satisfying taste.
- Consider Salted Butter for Extended Freshness: If you’re looking for your treats to stay fresh for a little longer, or simply prefer a saltier kick within the base, try using salted butter instead of unsalted. The added salt helps to preserve the treats and balances the sweetness. If you choose salted butter, you may want to skip or reduce the additional pinch of flaky sea salt on top to avoid over-salting.
- Experiment with Chocolate Varieties: I adore the creamy sweetness that milk chocolate chips bring to these bars, as it creates a comforting, classic flavor. However, for those who prefer a more intense, bittersweet chocolate experience, semisweet chocolate chips are an excellent substitute. Dark chocolate can also be used for a truly rich and less sweet topping.
- Don’t Overcook the Marshmallows: When melting the marshmallows, keep the heat on low and stir constantly. Overcooking marshmallows can make them hard and brittle once cooled, leading to tough treats instead of chewy ones. The goal is just melted and smooth.
- Press Firmly, But Gently: When pressing the cereal mixture into the pan, apply firm, even pressure to ensure the bars hold together well. However, avoid compacting them too tightly, as this can result in overly dense and hard treats. A gentle, firm press is key to achieving that perfect chewy consistency.
- Grease Your Tools: To prevent the sticky marshmallow mixture from clinging to your hands or spatula, lightly grease them with cooking spray or butter before pressing the mixture into the pan. This makes the process much smoother and less messy.
- Allow Ample Setting Time: Rushing the cooling process can lead to messy cuts and treats that don’t hold their shape. Ensure the bars are fully chilled and the chocolate is completely set in the refrigerator before attempting to cut them. Patience here truly pays off!
Proper Storage for Optimal Freshness
To keep your delicious peanut butter rice crispy treats fresh and perfectly chewy, store them in an airtight container. They will remain wonderfully fresh on your kitchen counter at room temperature for up to 5 days. For longer storage, or if you live in a particularly warm or humid climate, you can refrigerate them. When refrigerating, they may become a bit firmer, so allow them to come to room temperature for about 15-20 minutes before serving for the best texture.
Delicious Variations to Try
These peanut butter rice crispy treats are fantastic as is, but they also make a wonderful canvas for creative variations:
- Add Crunch with Pretzels: For an extra layer of salty crunch, crush about a cup of pretzels and fold them into the cereal mixture along with the Rice Krispies. The salty pretzels perfectly complement the sweet and nutty flavors.
- Nutty Additions: Stir in a handful of chopped roasted peanuts, cashews, or almonds into the cereal mixture for added texture and a deeper nutty flavor.
- White Chocolate Drizzle: Instead of a full chocolate layer, or in addition to it, melt some white chocolate chips and drizzle them over the set milk chocolate for a beautiful contrast and extra sweetness.
- Sprinkle Fun: Before the chocolate topping sets, sprinkle some colorful sprinkles on top for a festive and fun look, perfect for birthdays or holidays.
- Caramel Swirl: After pouring the melted chocolate, drizzle some warm caramel sauce over it and swirl gently with a knife for a peanut butter, chocolate, and caramel triple threat!
Frequently Asked Questions (FAQ)
Q: Can I make these peanut butter rice crispy treats ahead of time?
A: Absolutely! These treats are ideal for making ahead. Prepare them a day or two in advance and store them in an airtight container at room temperature. They taste just as good, if not better, after a little time for the flavors to meld.
Q: Why are my rice crispy treats hard?
A: There are a few common reasons for hard rice crispy treats. The most frequent culprit is overcooking the marshmallows. Marshmallows should be melted over low heat until just smooth and combined, not simmered or boiled, which can make them stiff once cooled. Also, ensure you don’t compact the mixture too tightly into the pan. Use a gentle, firm press.
Q: Can I freeze these treats?
A: Yes, you can freeze peanut butter rice crispy treats! Once fully set, cut them into individual bars. Wrap each bar tightly in plastic wrap, then place them in an airtight freezer-safe container or bag. They can be frozen for up to 1-2 months. Thaw them at room temperature for about 30 minutes before enjoying.
Q: How do I get clean cuts when slicing the bars?
A: For clean cuts, ensure the treats are fully chilled and firm. Use a large, sharp knife. For the cleanest slices, you can lightly grease the knife with cooking spray or run it under hot water and wipe it dry between cuts. Using the parchment paper overhang to lift the whole slab out of the pan also helps immensely.
More Peanut Butter Recipes to Savor
- Muddy Buddies
- No Bake Oatmeal Cookies
- Peanut Butter Chicken
Peanut Butter Rice Crispy Treats
Ingredients
- ¾ cup unsalted butter
- 5 tablespoons maple syrup
- 10 ounces mini marshmallows
- ½ cup creamy peanut butter
- ½ teaspoon pure vanilla extract
- 4 cups Rice Krispie Cereal
- 2 cups milk chocolate chips
- sea salt, for garnishing (optional)
Instructions
-
Line a 9×13-inch baking dish with parchment paper, leaving some overhang on both sides. This will make it easier to lift the treats out of the pan later.
-
In a large saucepan over medium heat, melt the unsalted butter and maple syrup until completely melted and bubbles form.
-
Add the mini marshmallows to the saucepan and stir constantly until they completely melt and the mixture becomes smooth and sticky.
-
Stir in the creamy peanut butter until fully combined with the melted marshmallow mixture. Mix in the pure vanilla extract to enhance the flavor of the mixture.
-
Remove the saucepan from the heat and quickly fold in the Rice Krispie Cereal until evenly coated with the marshmallow mixture. The mixture will start to set, so work swiftly.
-
Transfer the cereal mixture to the prepared baking dish and work fast to shape and press it firmly and evenly into the pan. To prevent sticking, moisten your hands with spray cooking oil or use a damp spoon to smooth the mixture.
-
Melt the milk chocolate chips in the microwave in 30-second intervals, stirring between intervals until smooth, or use a double boiler. If using a double boiler, place the chocolate chips in a heatproof bowl set over a pot of simmering water. Stir occasionally until the chocolate has melted.
-
Pour the melted chocolate over the pressed cereal mixture, spreading it evenly with a spatula.
-
Sprinkle a pinch of sea salt over the chocolate layer, if desired.
-
Place the dish in the refrigerator for about 30 minutes or until the chocolate is set and the treats are firm.
-
Once set, remove the treats from the refrigerator, cut them into bars, and serve.
Nutrition
Nutritional info is an estimate and provided as courtesy. Values may vary according to the ingredients and tools used. Please use your preferred nutritional calculator for more detailed info.